
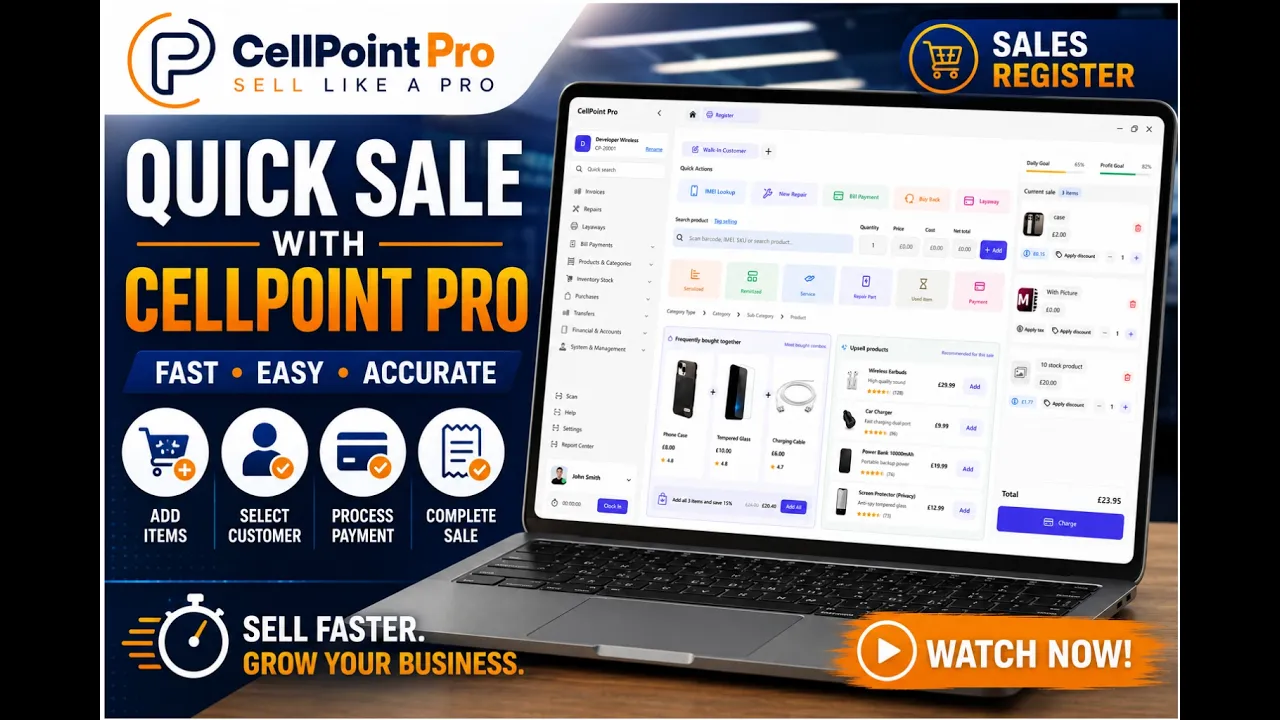
Getting Started
·
Tutorial
4 min read

Quick Sale Workflow in Cellpoint Pro
This document describes how to complete a quick sale in Cellpoint Pro, from logging in and adding products to applying taxes/discounts, taking payment, and viewing the final invoice.
Step 1: Log in to Cellpoint Pro
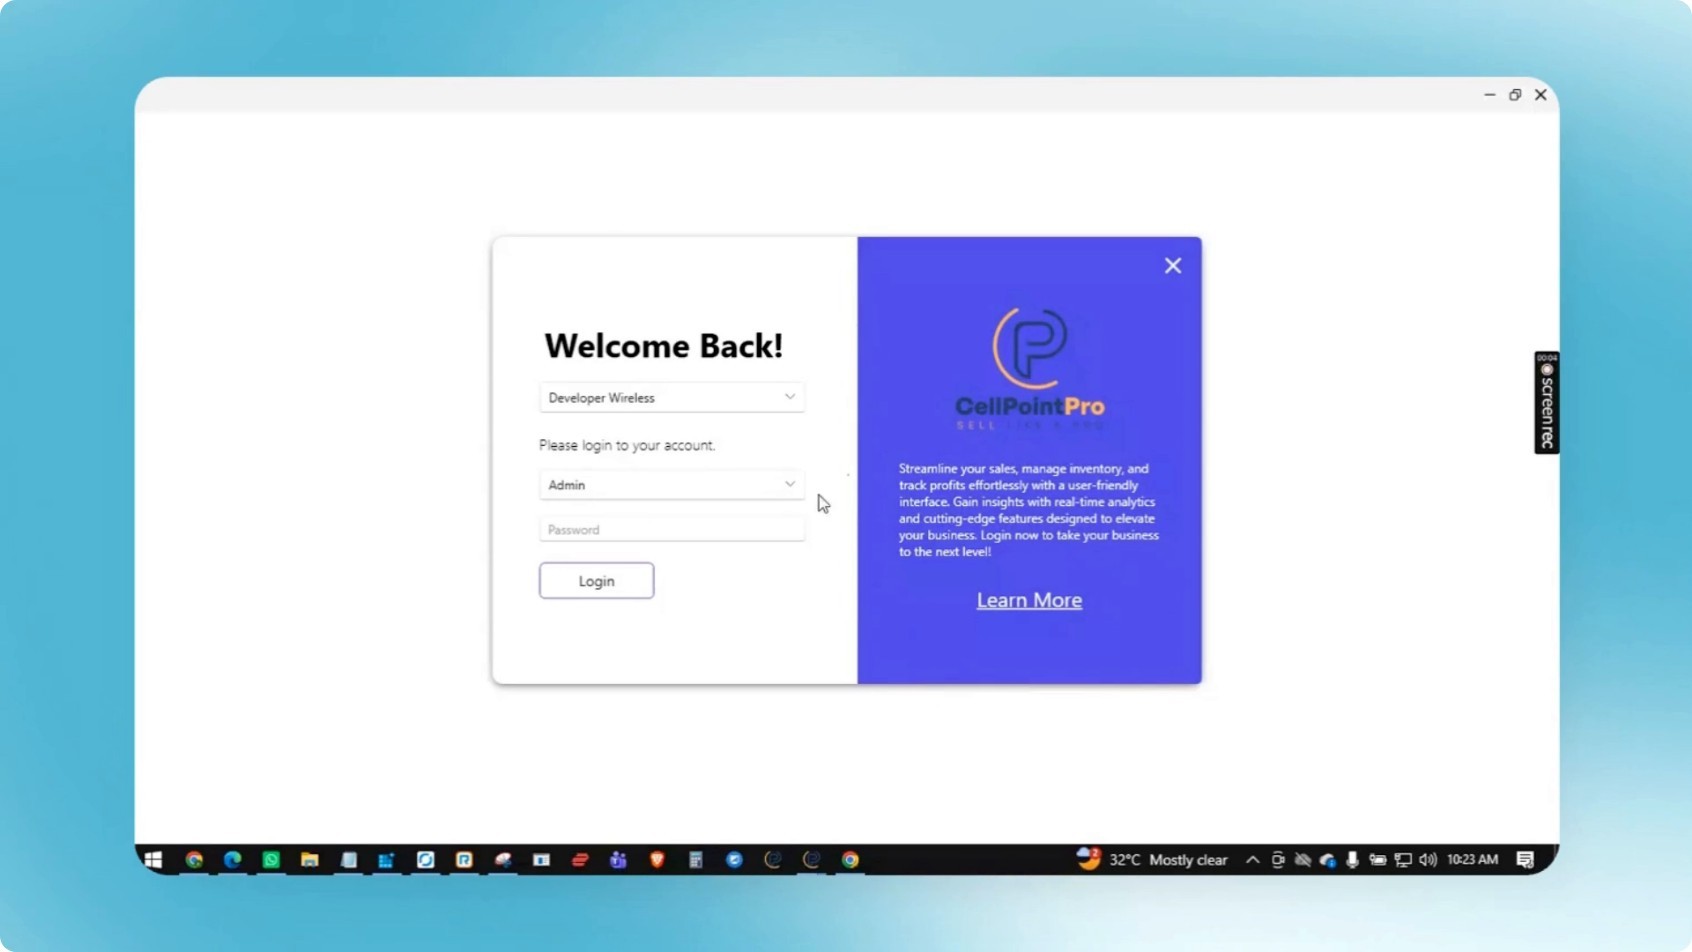
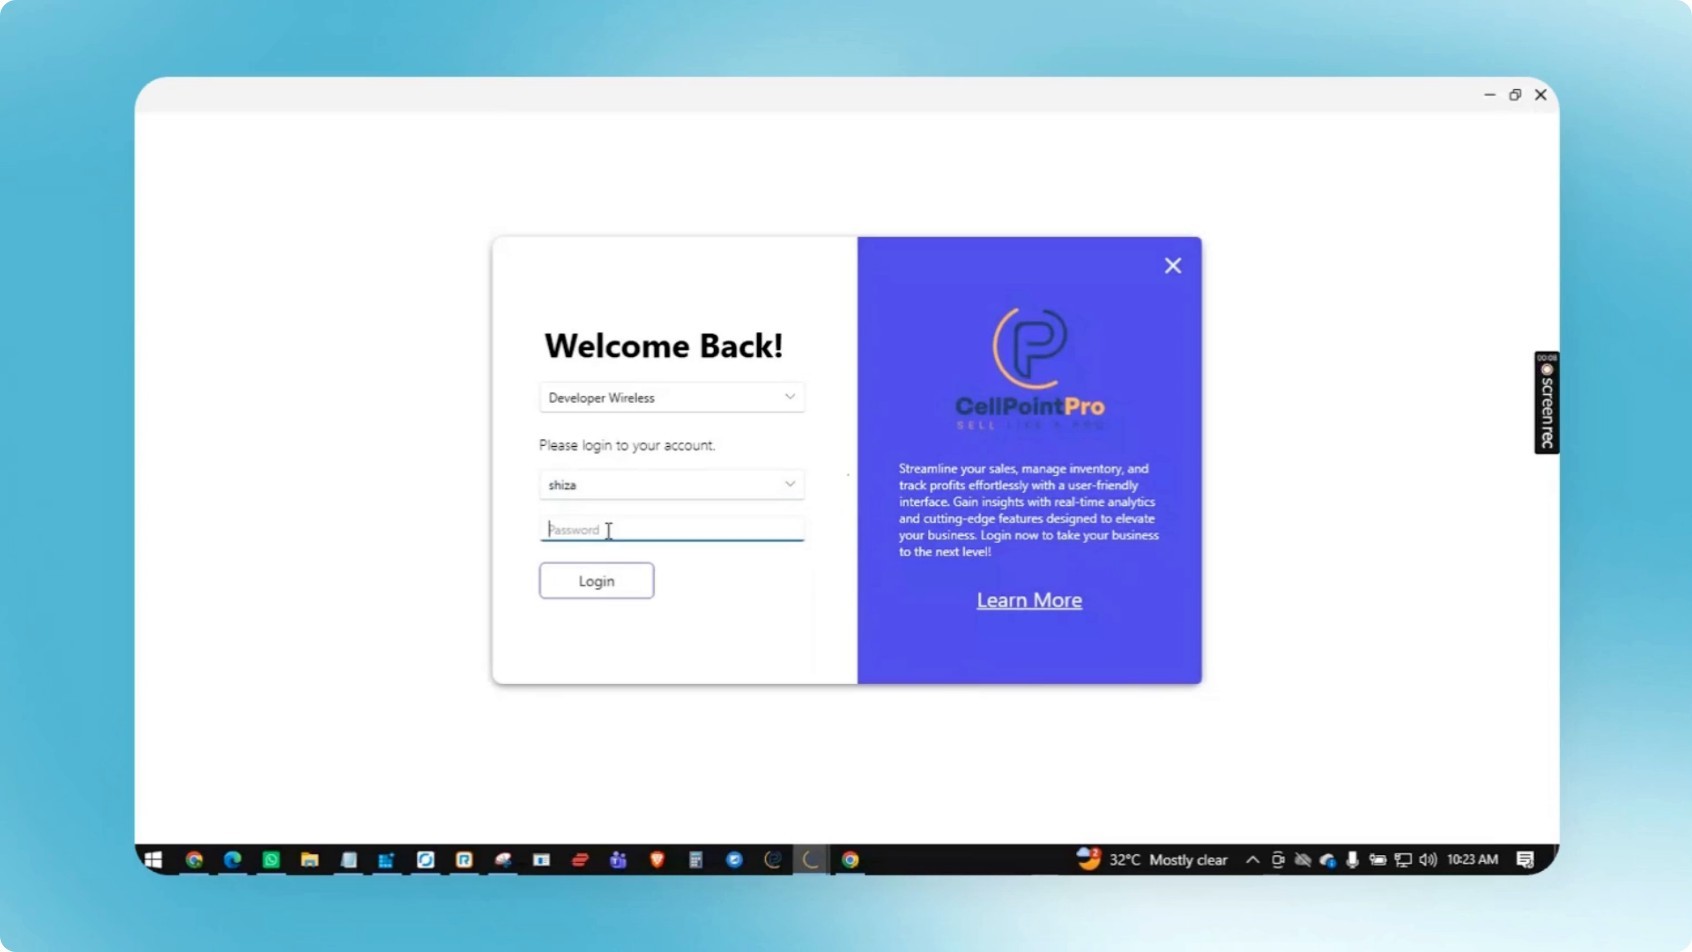
From the login screen, select your user, enter your password, and press Enter to log in.
Step 2: Start a Quick Sale and Locate the Product
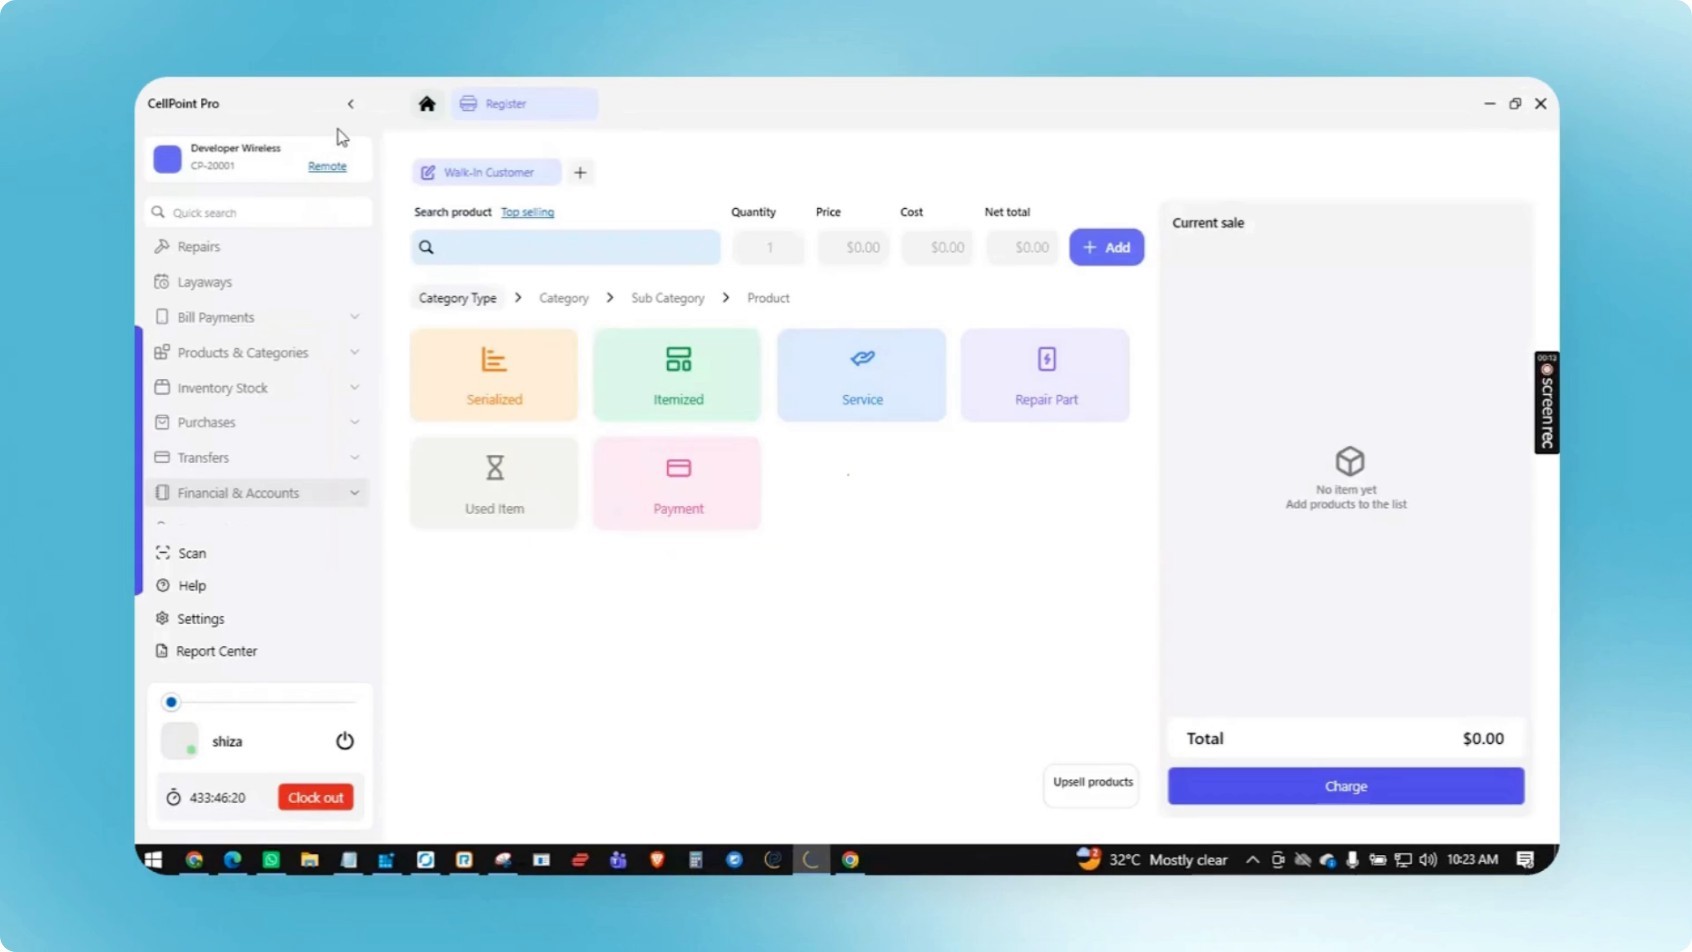
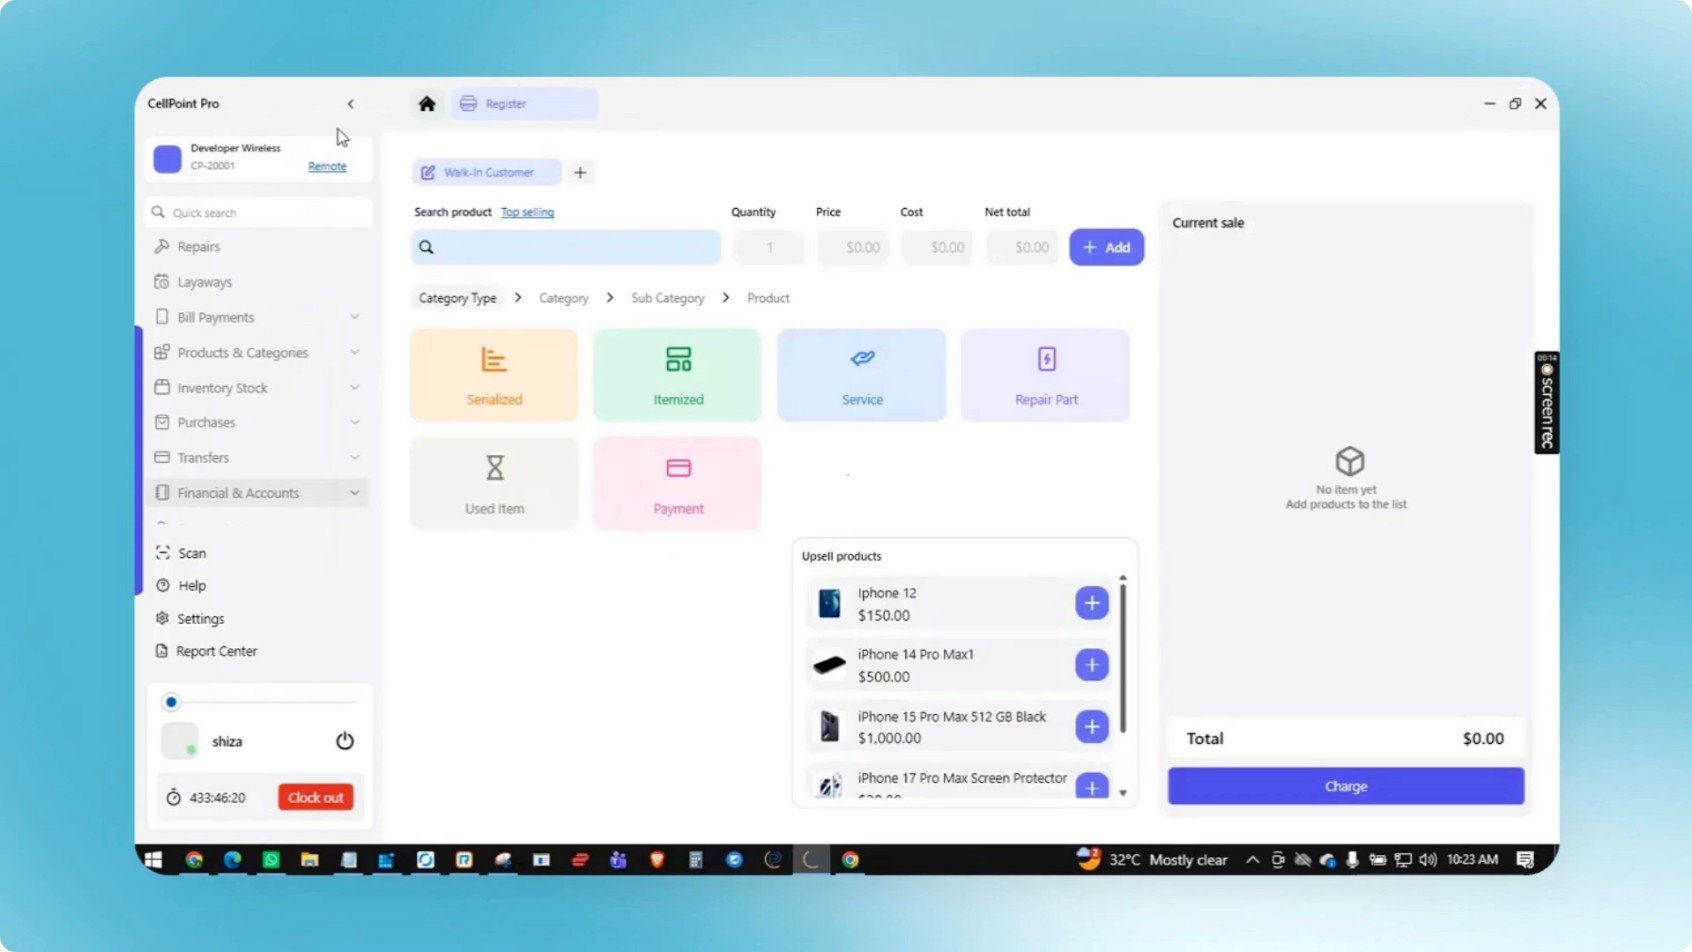
Begin a quick sale by going to the register and searching for the product you want to sell. You can use the categorized options to navigate to the product or simply type the product name (for example, “iPhone 17 Pro Max 1TB Orange”).
Step 3: Select IMEI and Activation Type
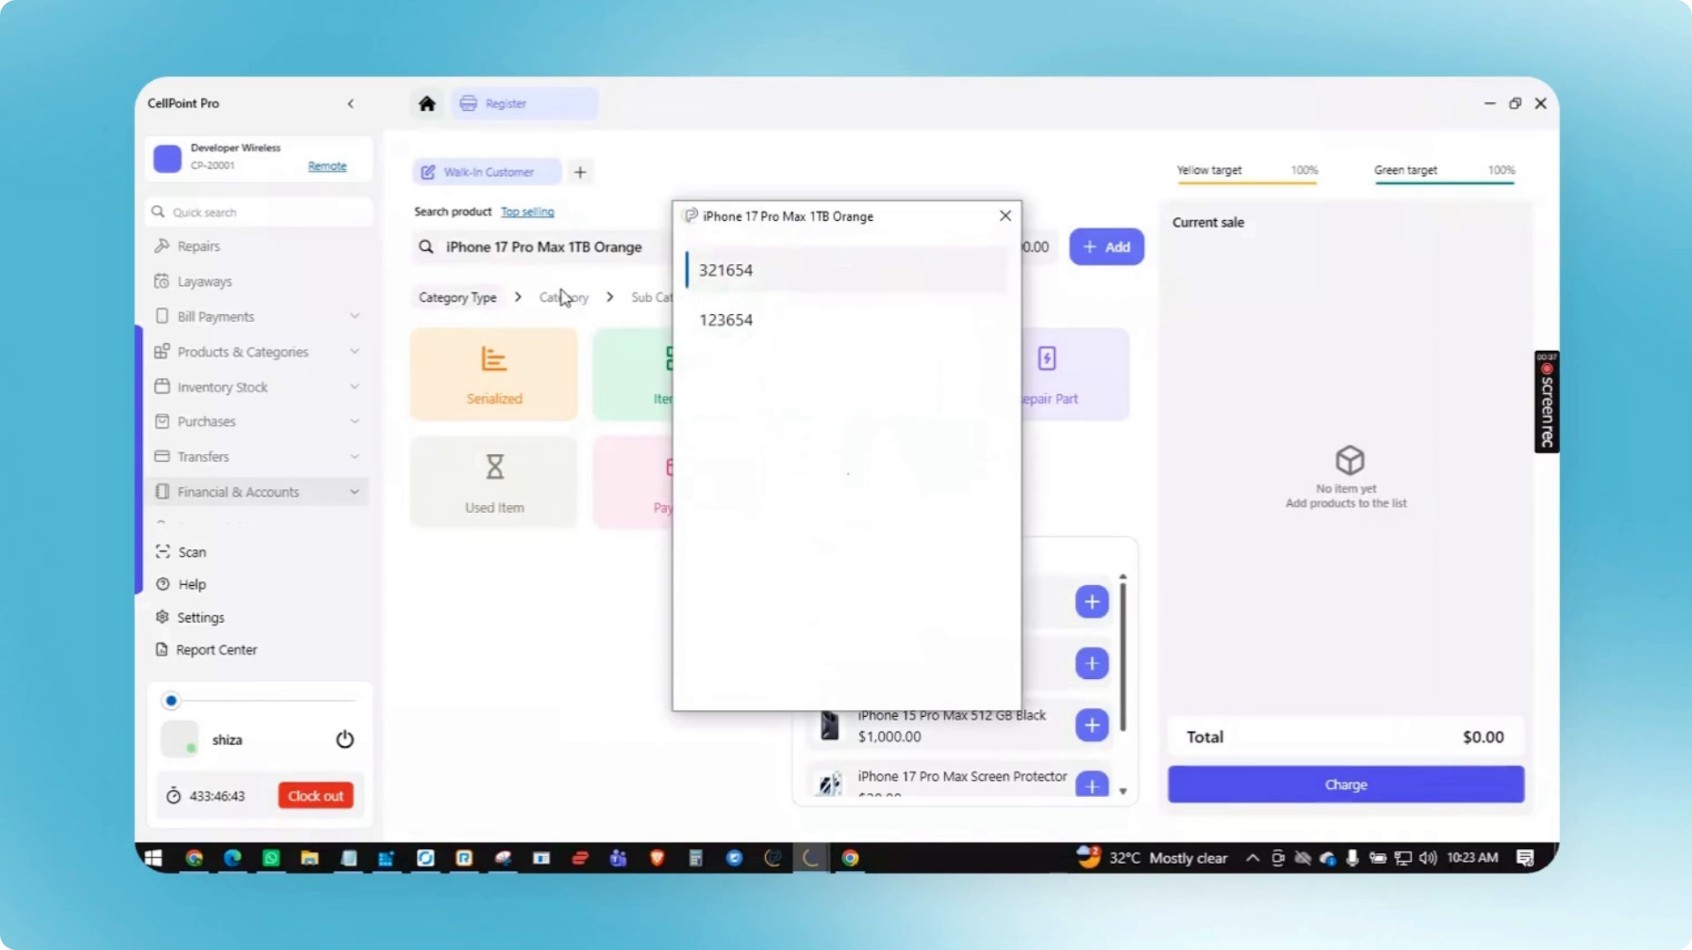
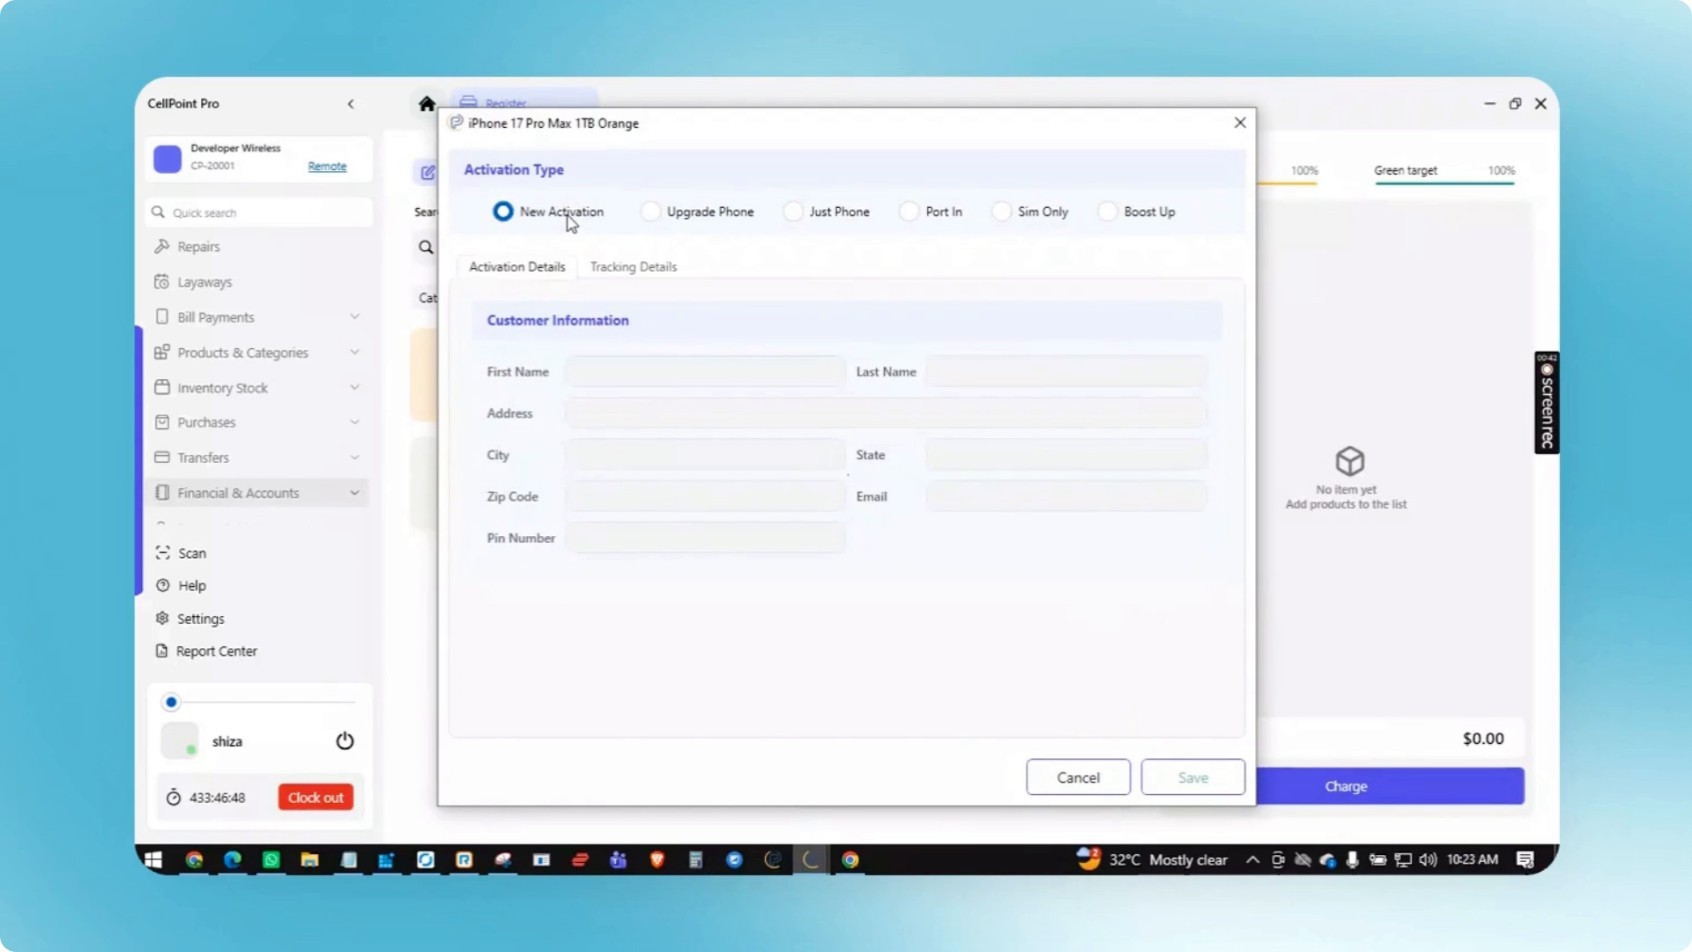
Select the appropriate IMEI for the device, then choose the required activation type for the sale.
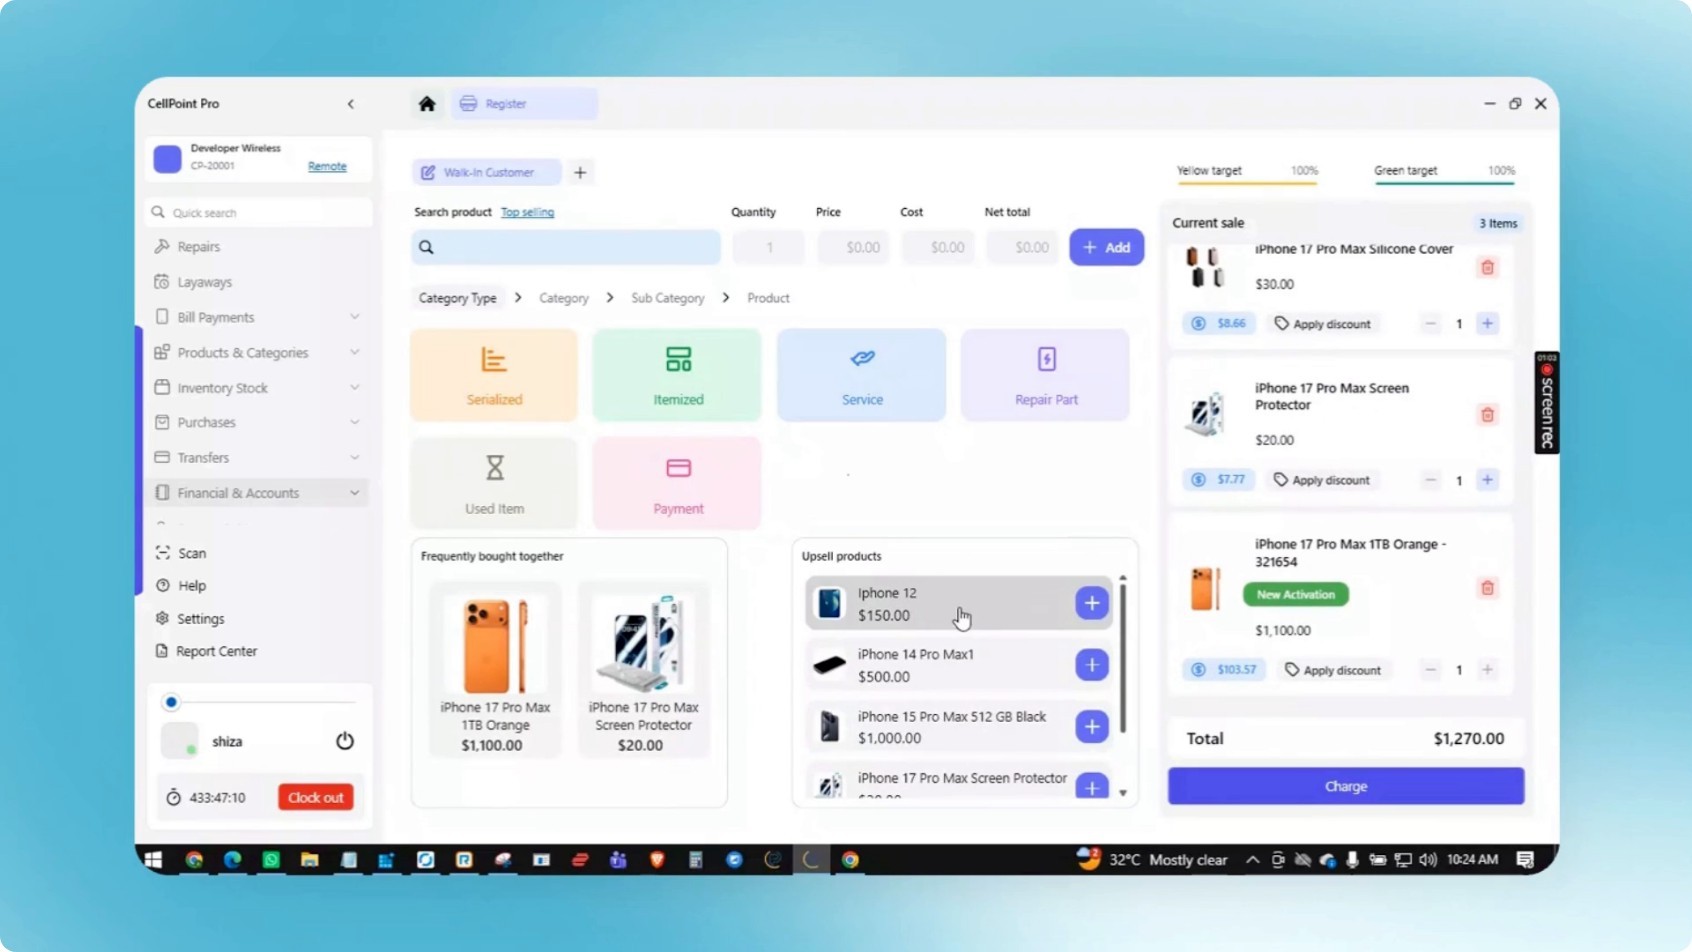
Step 4: Add Frequently Bought Together Products
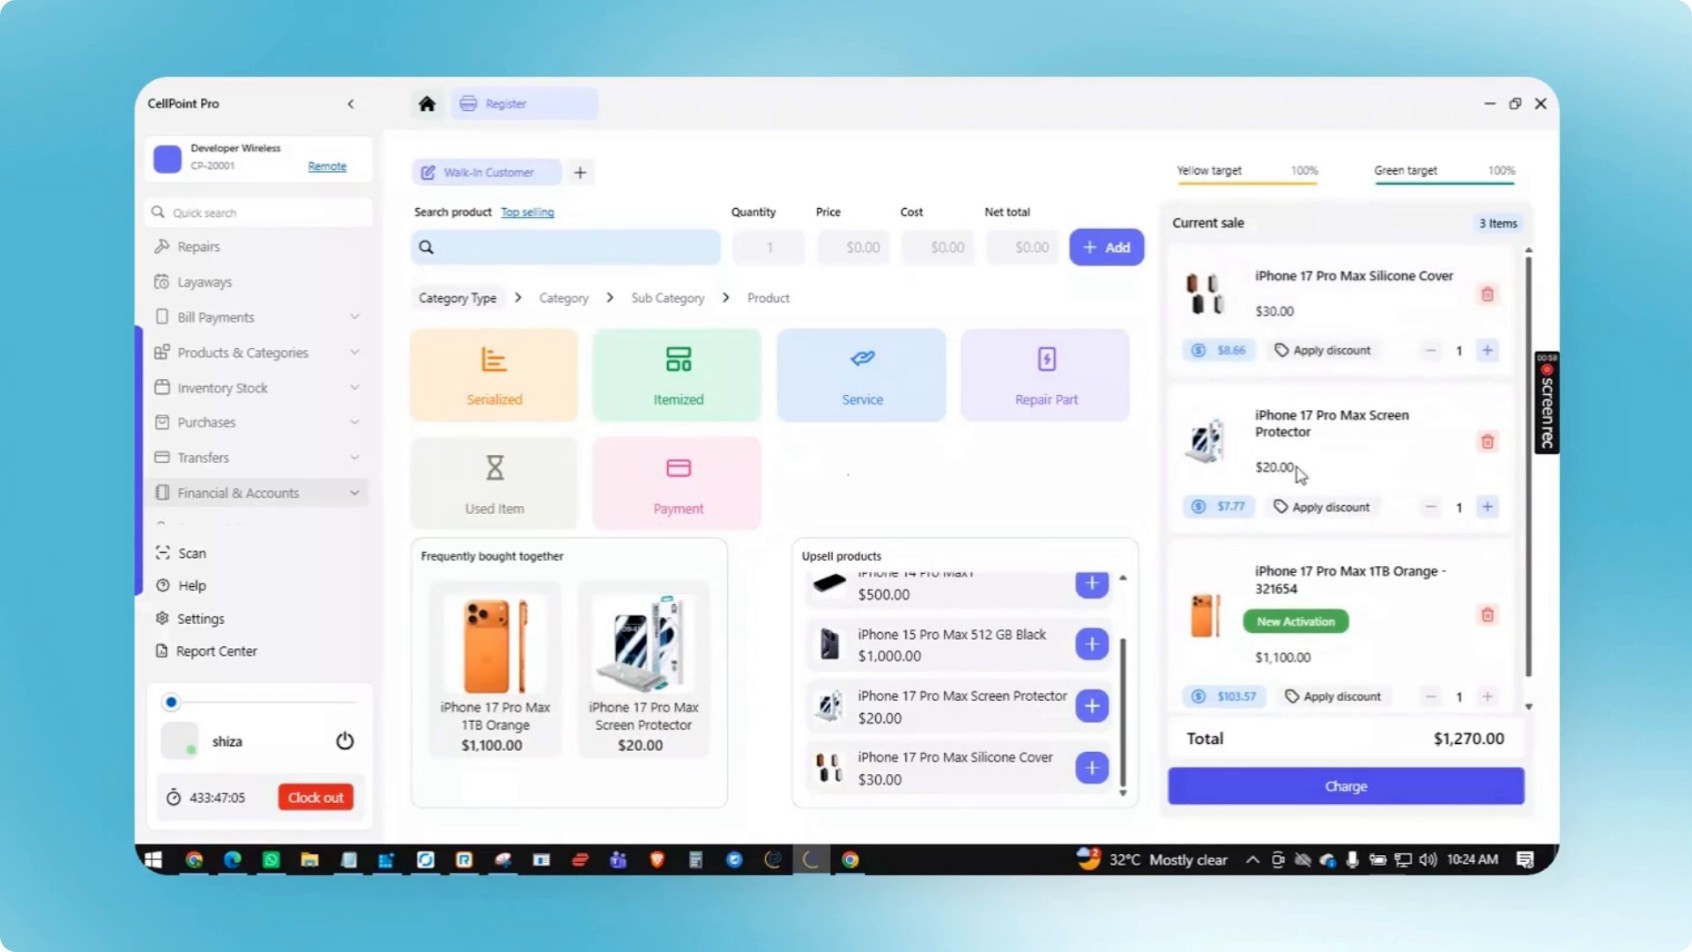
Review the automatically suggested “frequently bought together” products for the selected device and add any relevant items to the register with a single click.
Step 5: Use Upsell Products to Promote Additional Items
Use the upsell products feature to keep selected devices visible to employees so they can promote them during customer interactions.
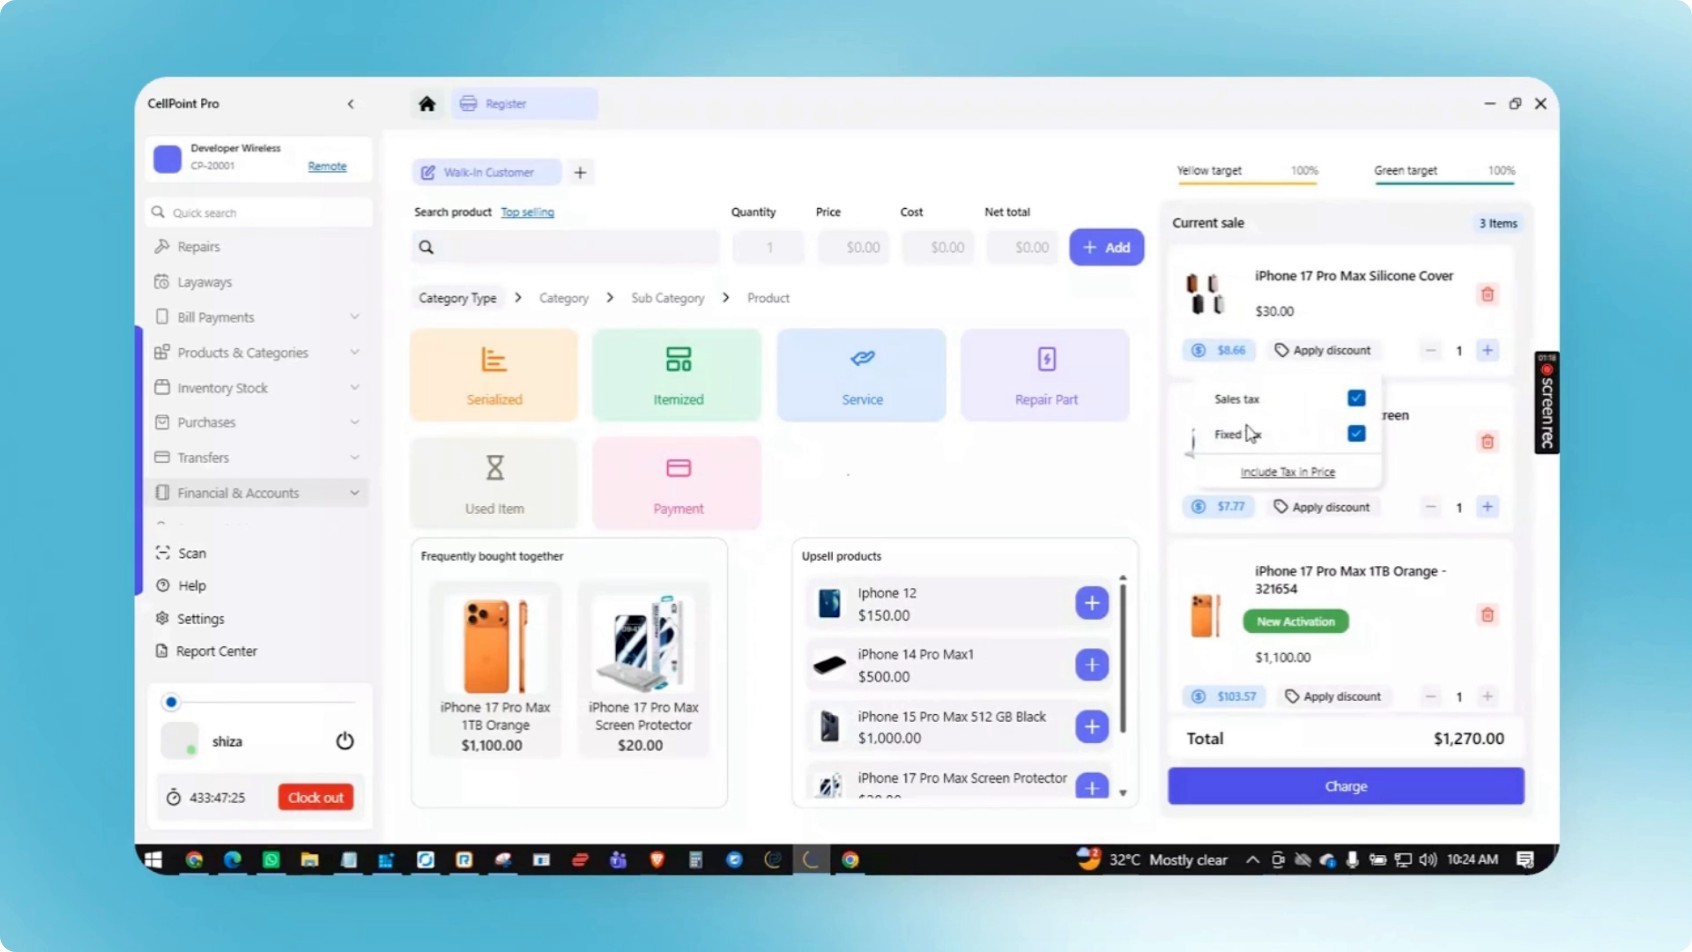
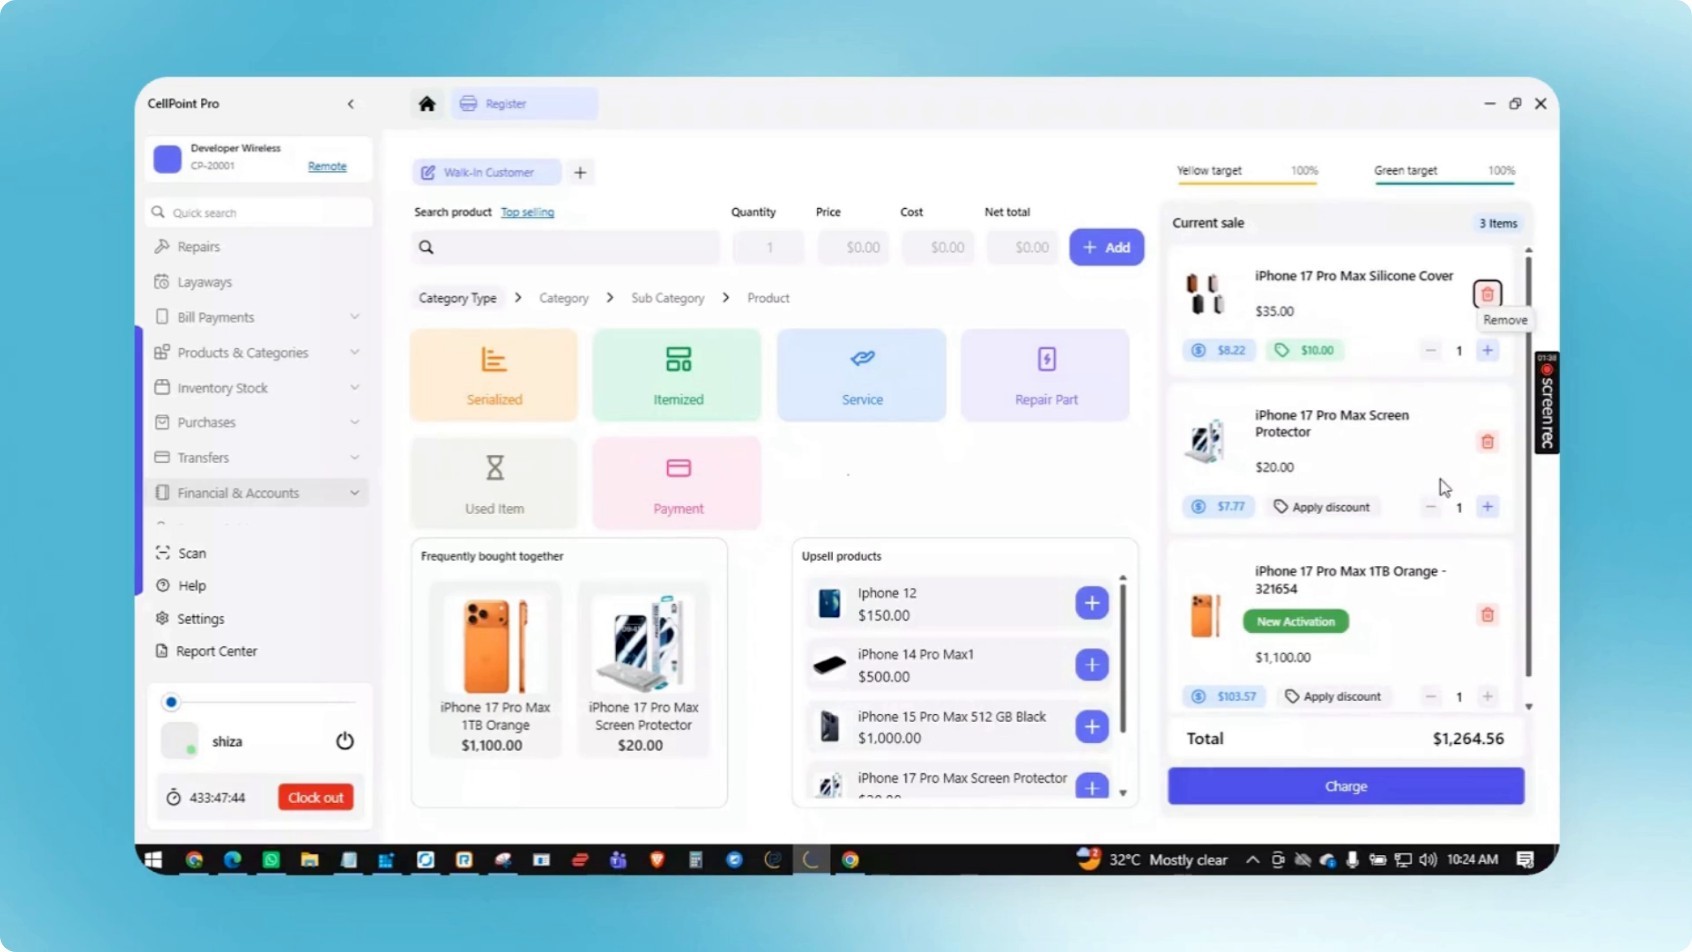
Step 6: Configure Taxes at the Item Level
At the product level, within the item-based bucket, add or remove applicable taxes or configure the item so that tax is included in the price.

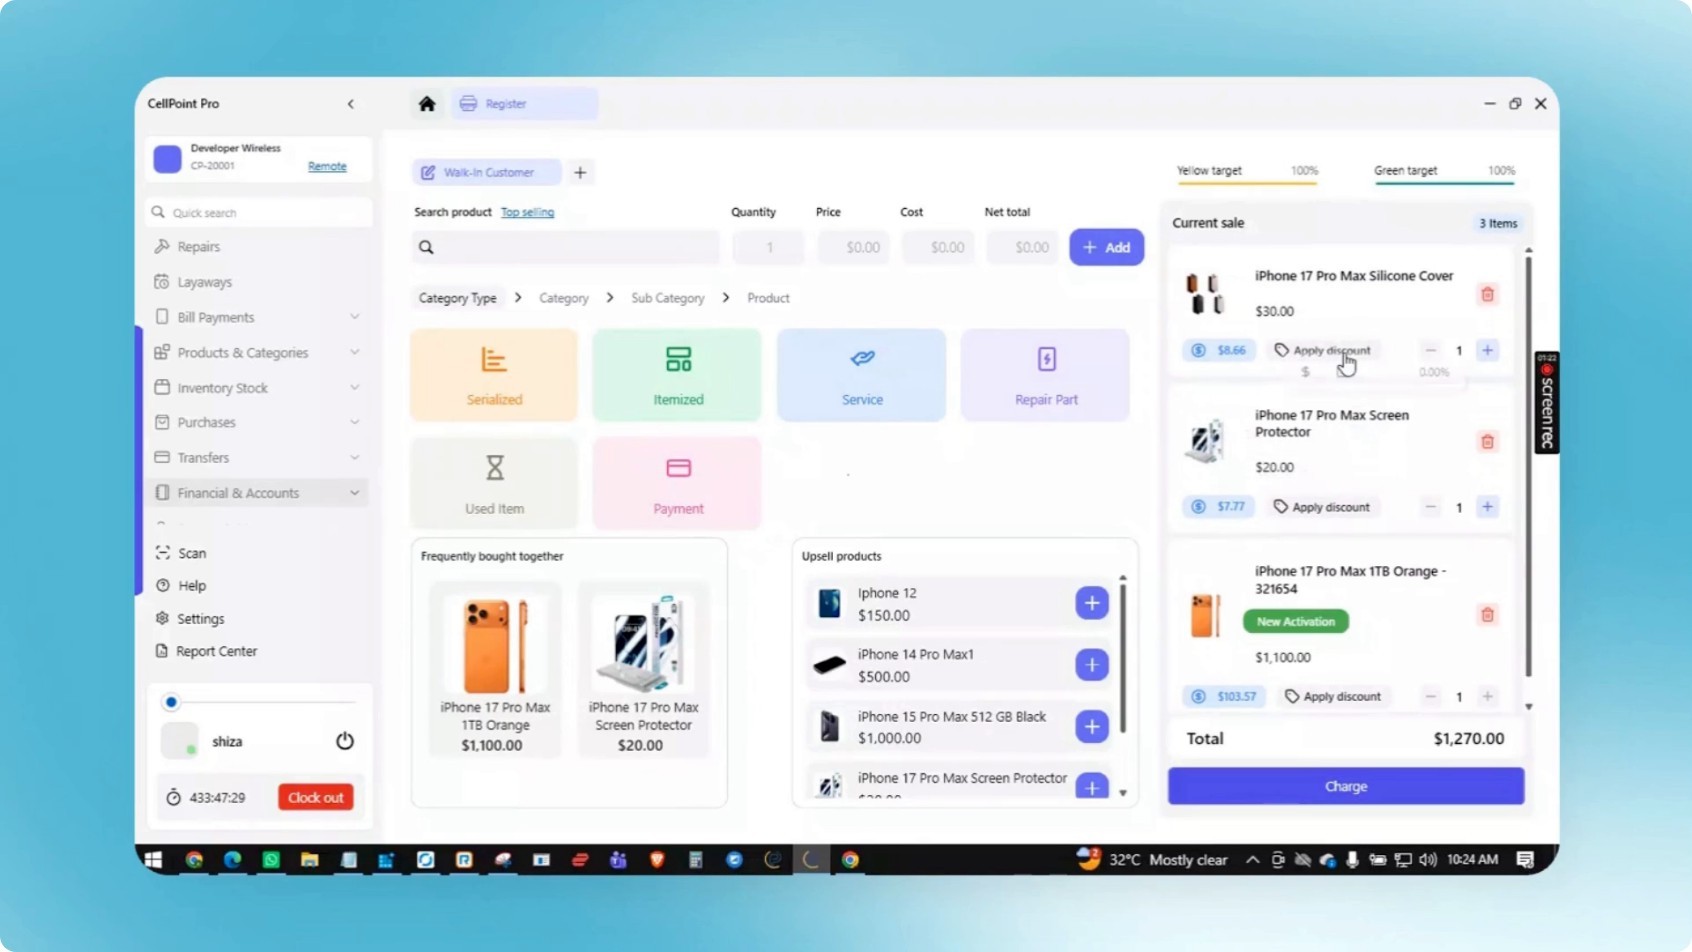
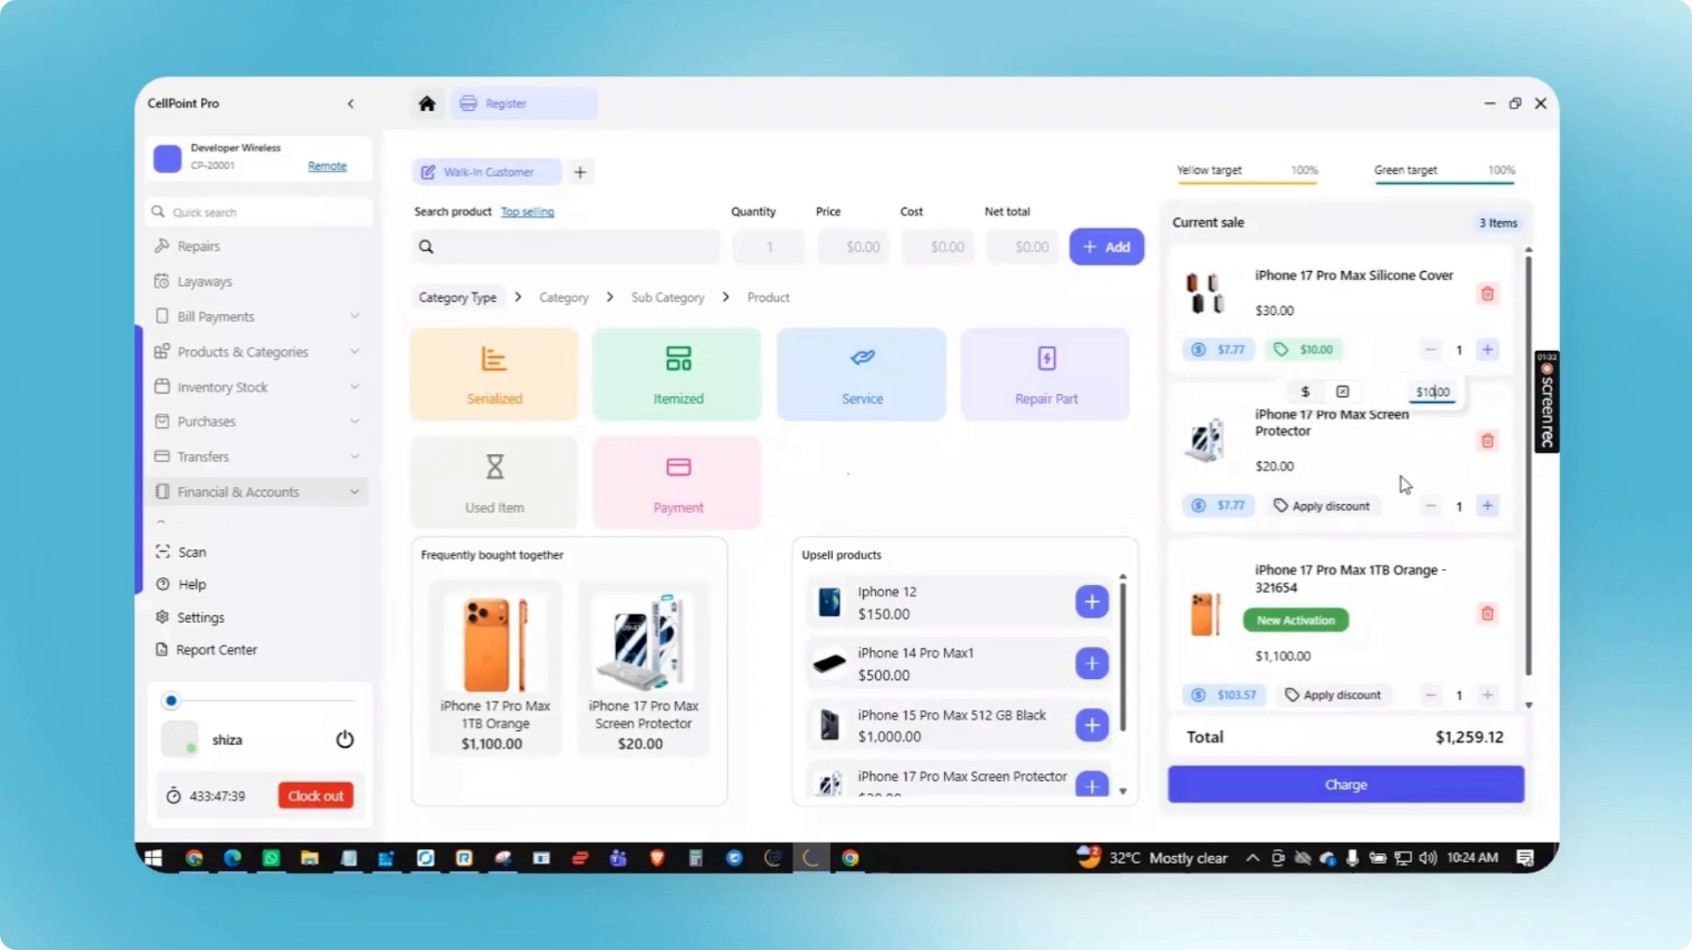
Step 7: Apply Discounts or Adjust Selling Price
For discounts, choose whether to apply a fixed amount discount or a percentage discount. Select the discount type, then enter either the discount percentage or the discount amount. If needed, you can also directly adjust the selling price based on the specifics of the sale.
Step 8: Remove Items from the Bucket
If you need to remove an item from the bucket, use the trash bin button to delete it from the current sale.
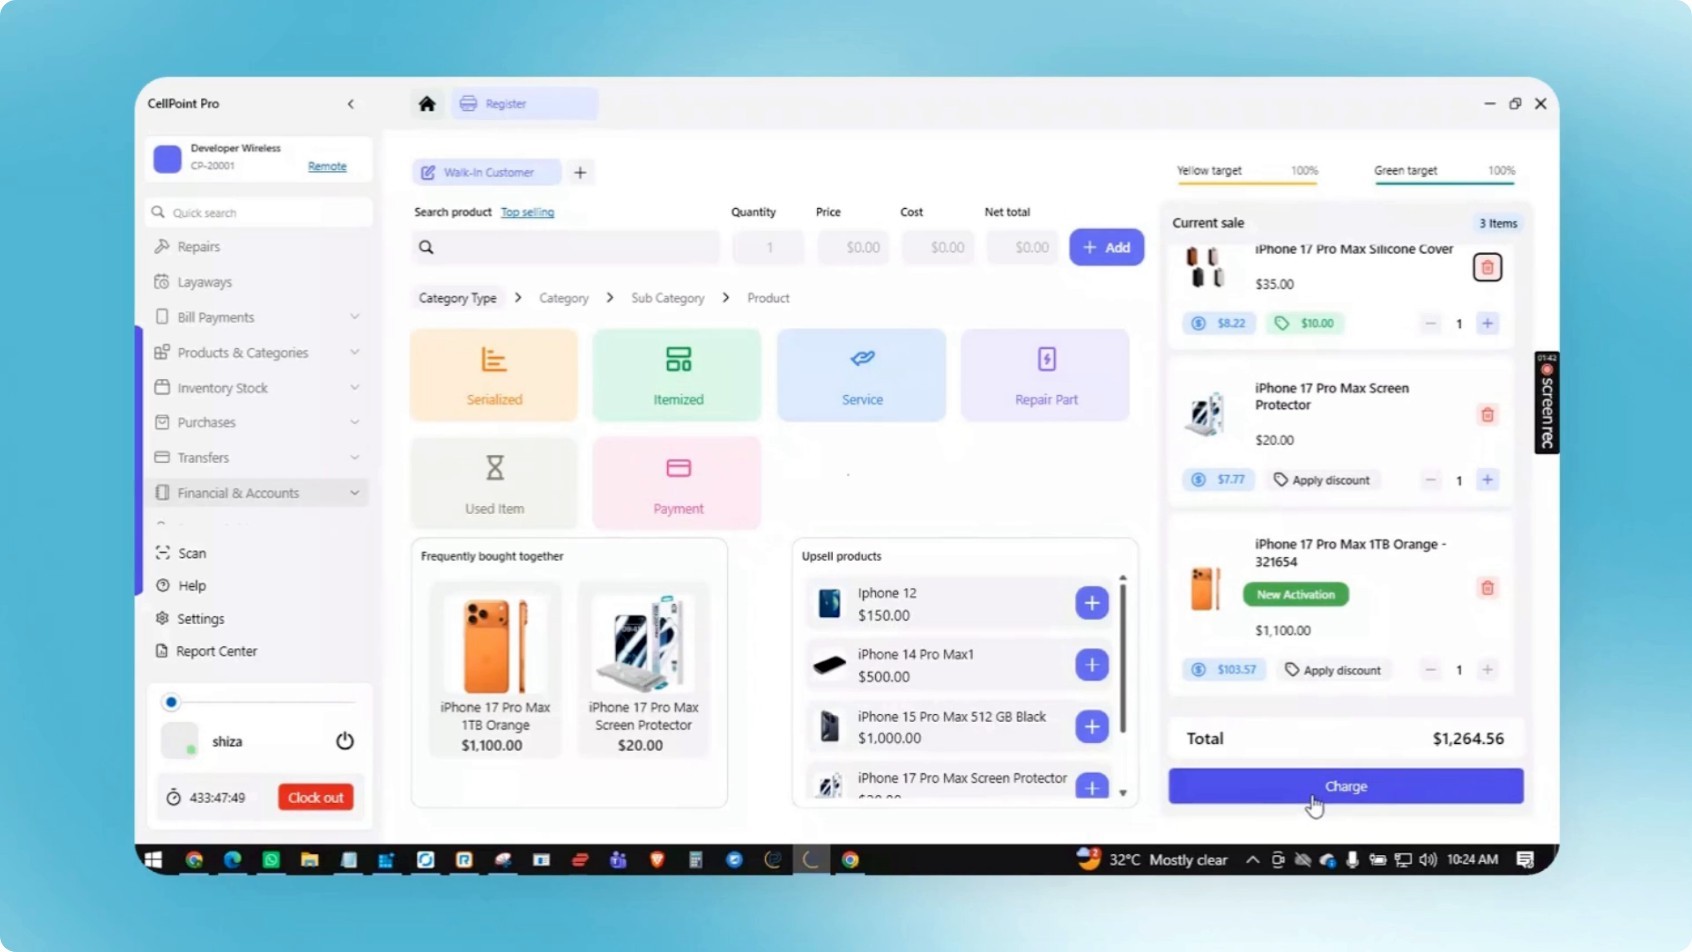
Step 9: Initiate Charging the Customer
When the cart is ready, click on Charge to proceed.
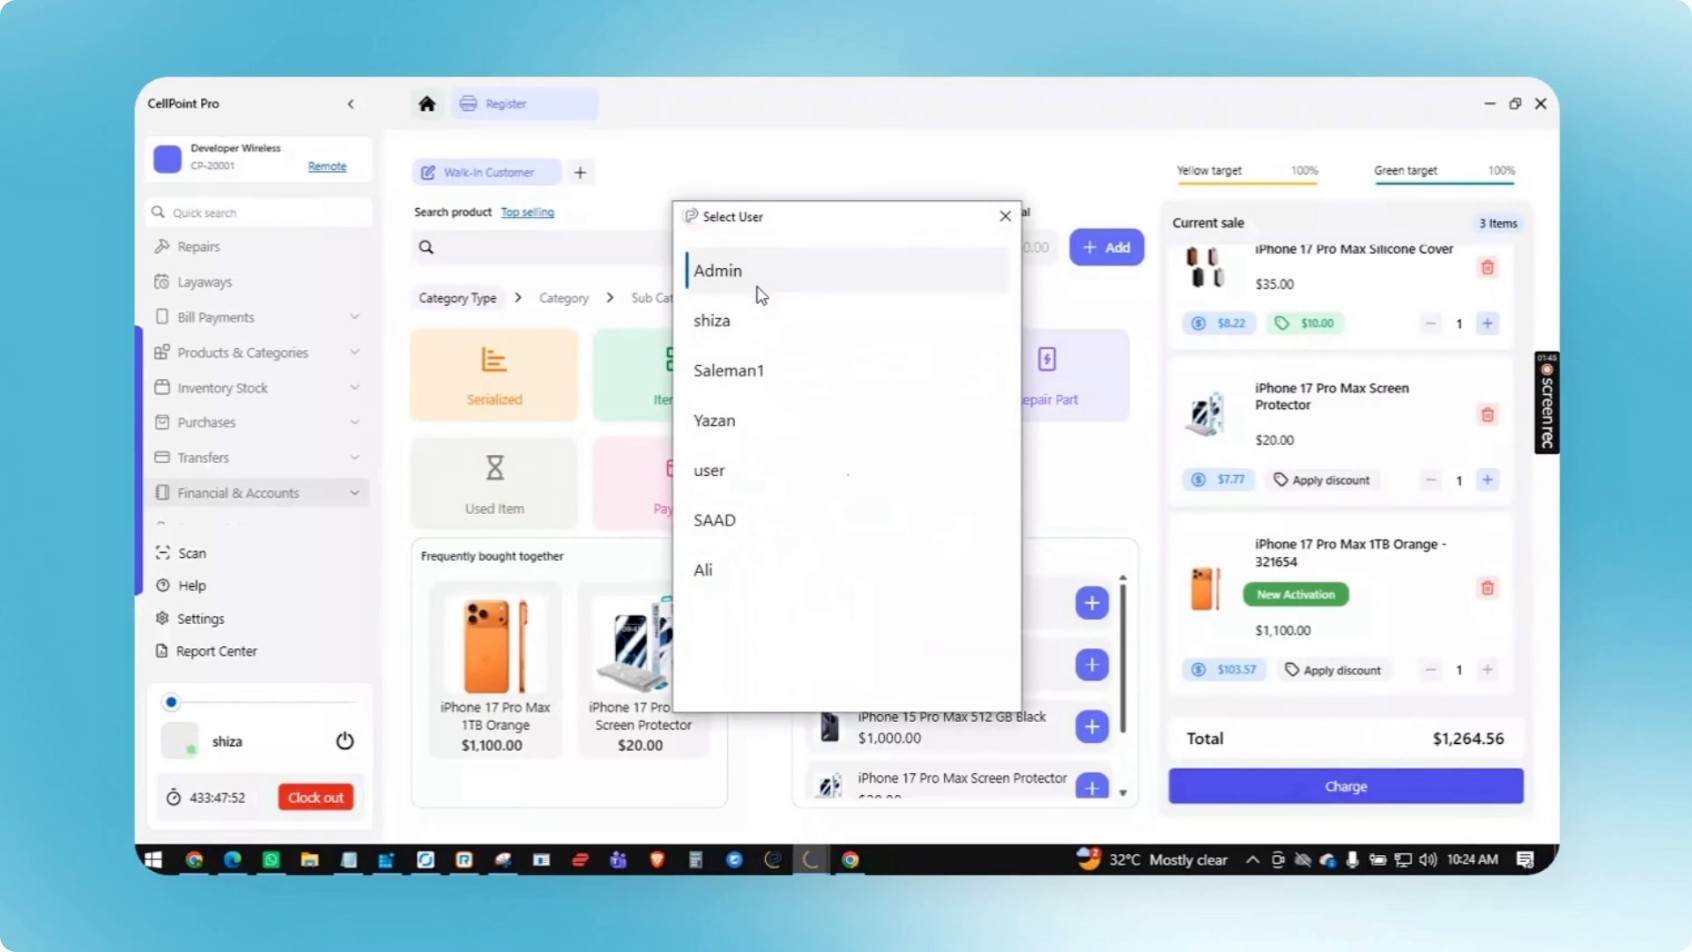
Step 10: Select User and Payment Method
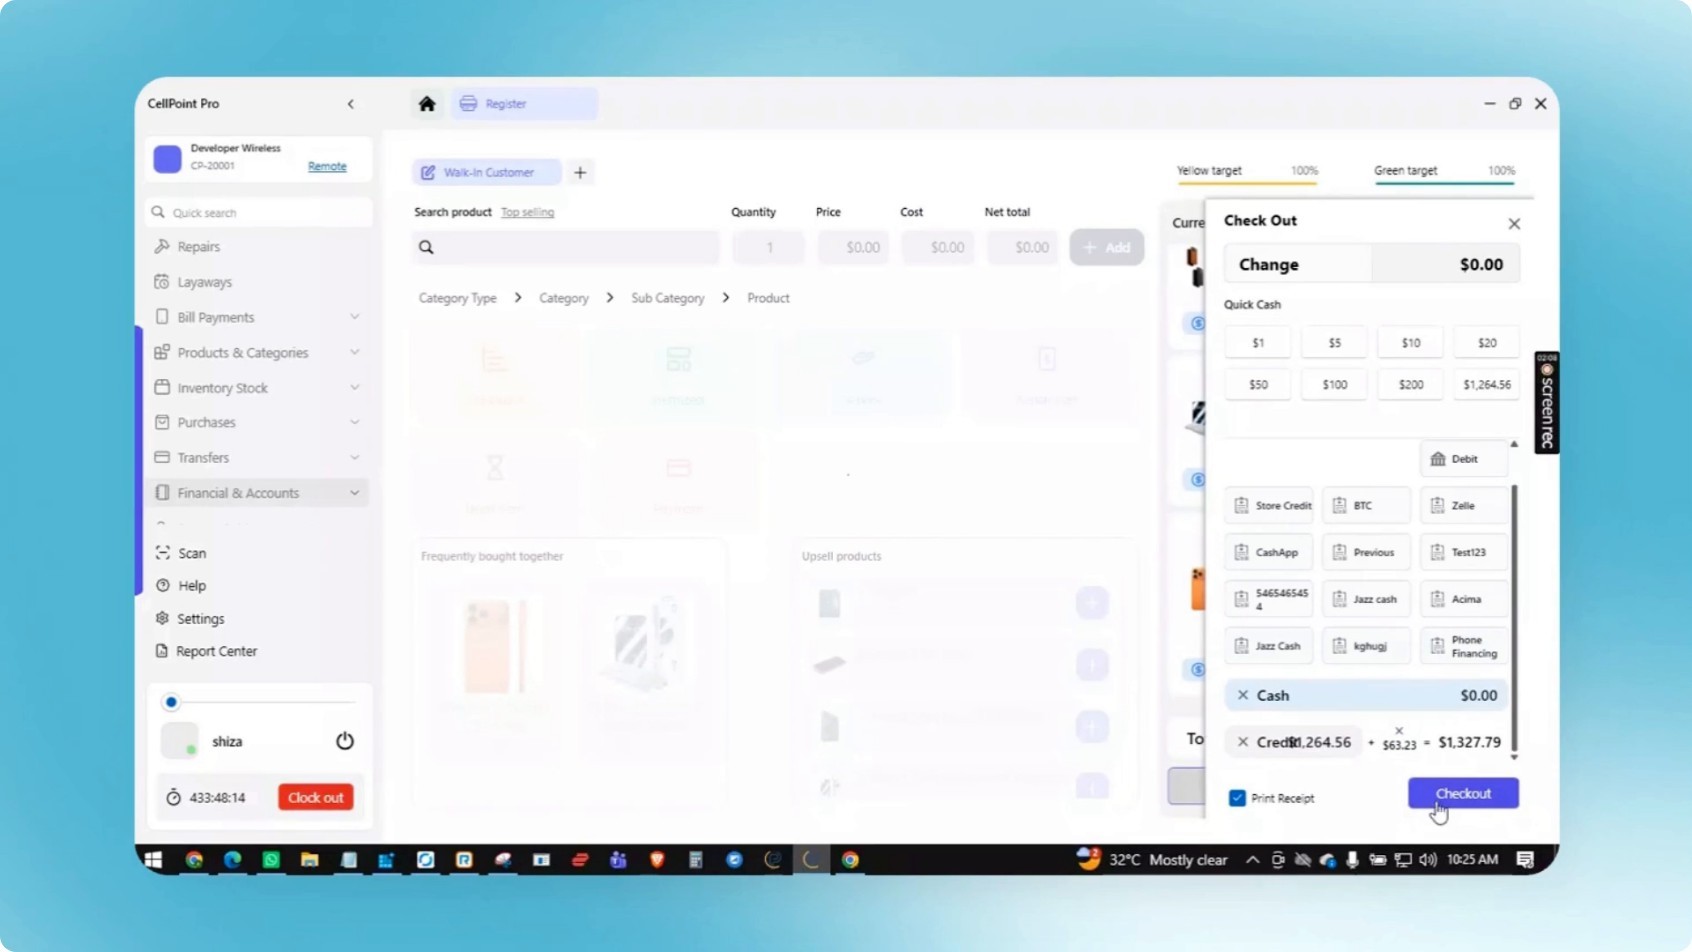
Select the user performing the sale, then choose one of the available payment methods or add a custom payment method if required. After that, select the payment method to be used for this transaction.
Then Choose Payment Method
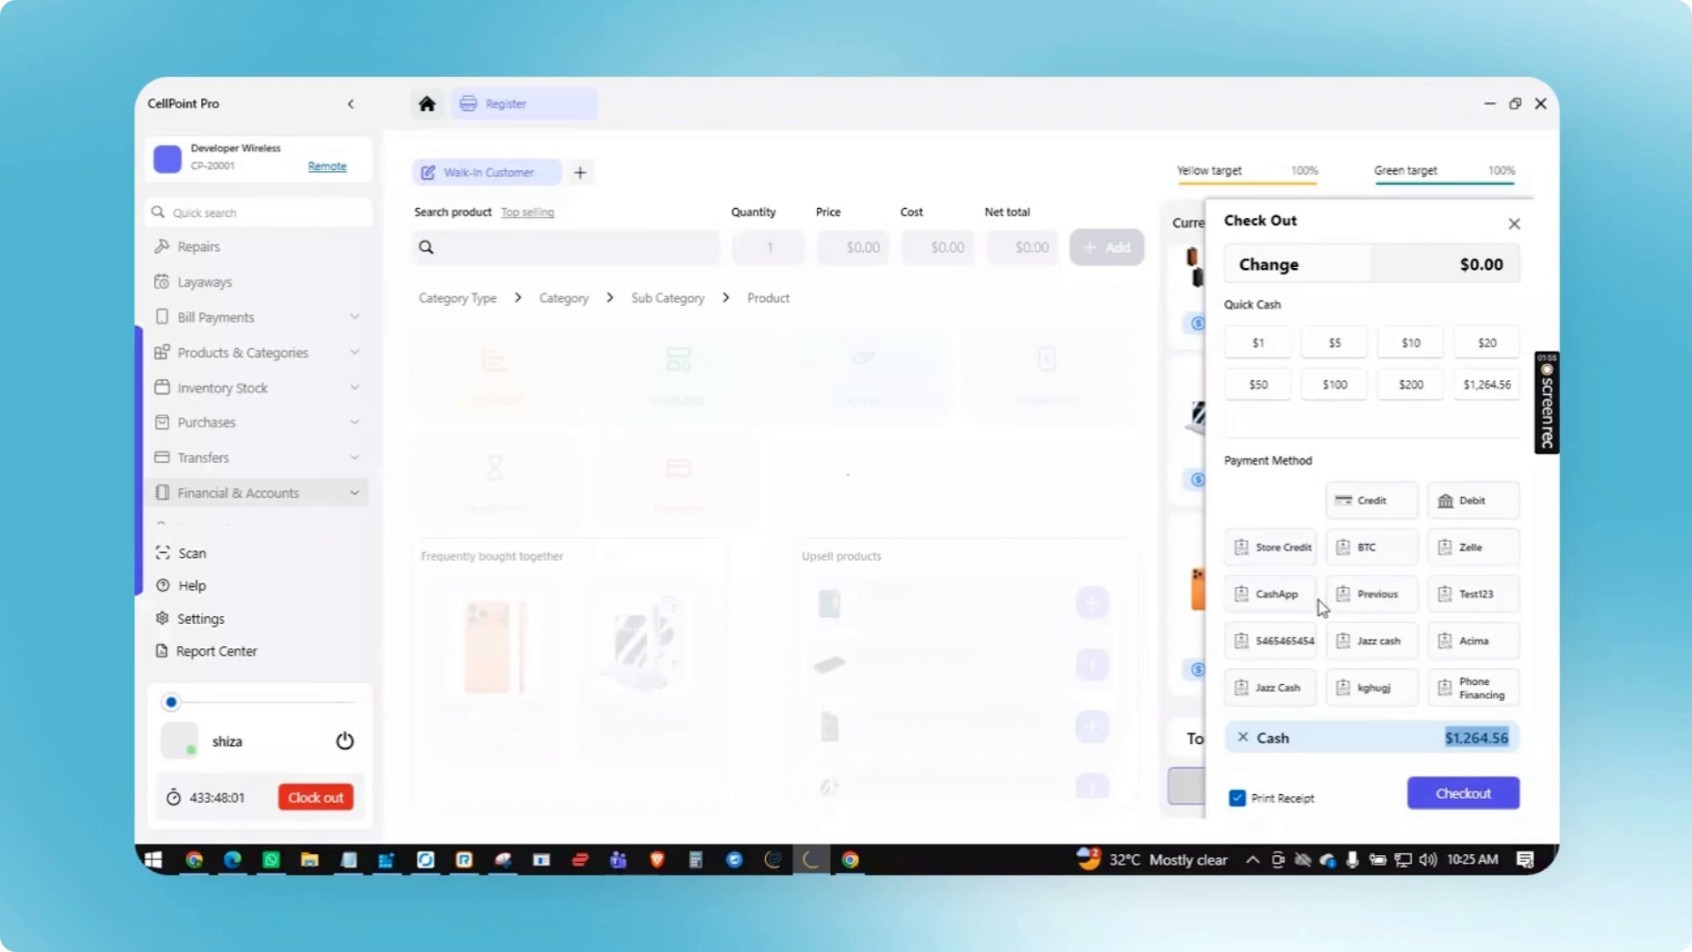
Step 11: Handle Split Payments and Surcharges
If it is a split payment, configure the split as needed. For credit card payments, any configured credit card surcharge or payment processing surcharge can be added automatically.
Step 12: Complete the Sale
To finalize the transaction, click on Checkout to complete the sale. The system will display the change due to the customer for a configurable amount of time, helping employees complete the payment handoff accurately.
Step 13: Preview the Invoice
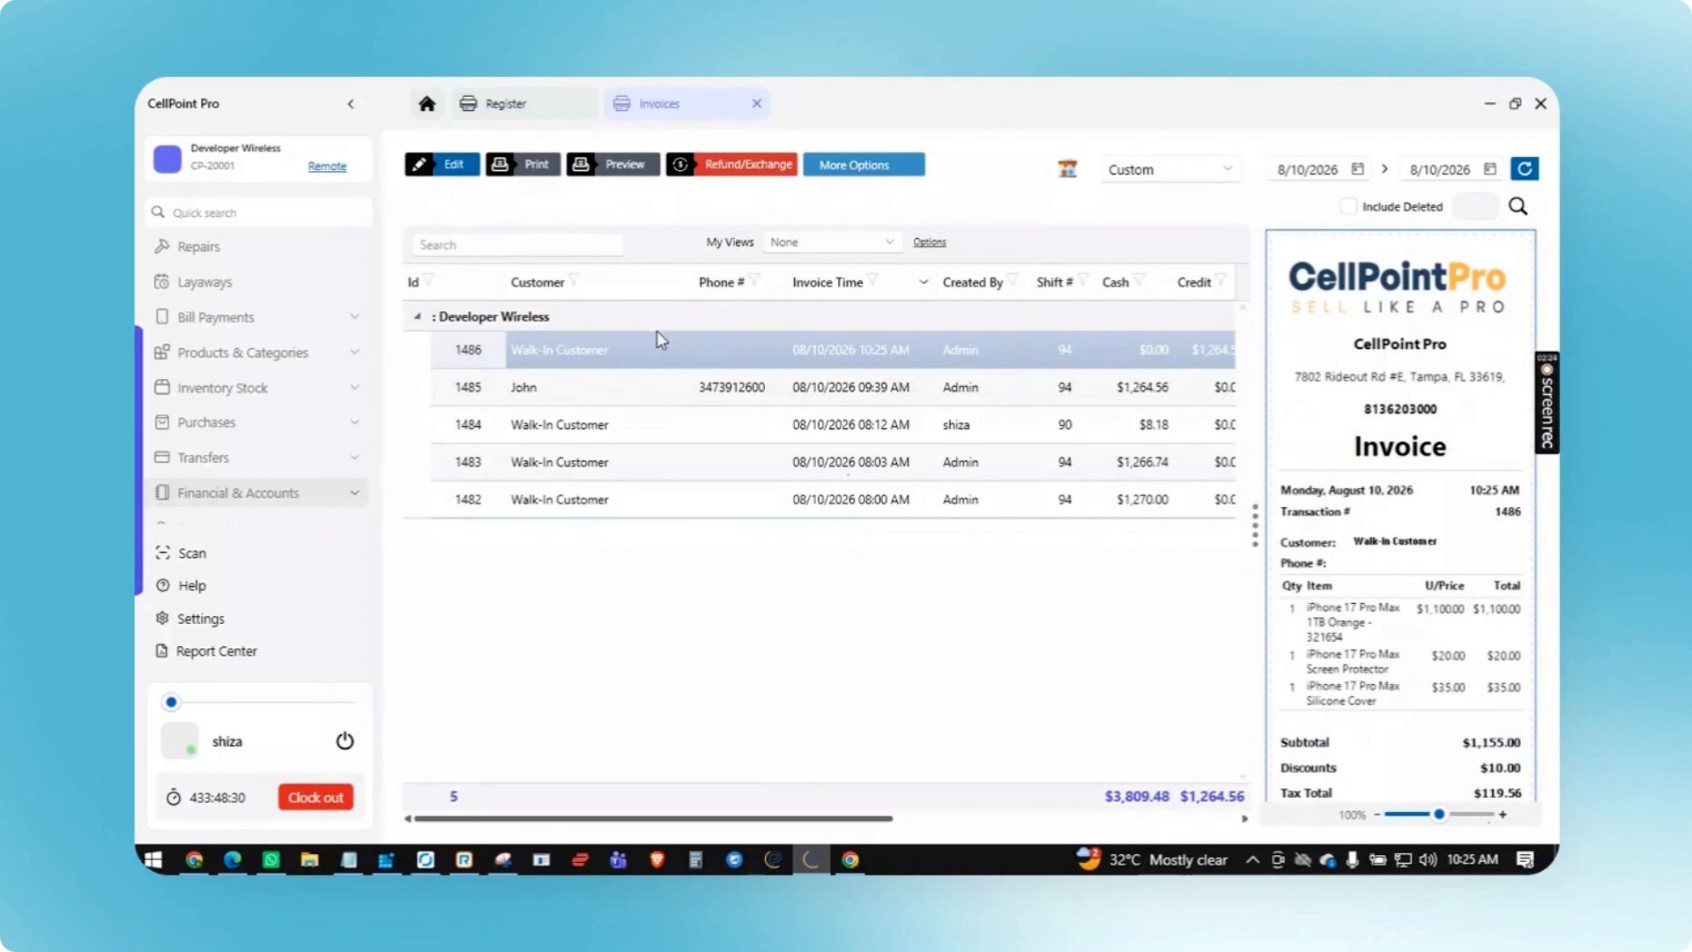
Open a quick preview of the invoice to review the professional-looking receipt. It includes details for all items, taxes, surcharges, and any custom sale policy configured for the store. Different policies can be applied to different modules as needed.
That's how you can complete a quick Sale in CellPoint Pro Pos.
Watch the Video Tutorial
On This Page
Overview
Steps & Instructions
Video Tutorial