
Getting Started
·
Guide
5 min read

Getting Started with CellPoint Pro
This document walks new store owners through the essential setup and daily workflows in CellPoint Pro: configuring store settings, managing users, taxes, products, inventory, sales, repairs, layaways, closing shifts, and accessing help resources.
Step 1: Open Store Settings
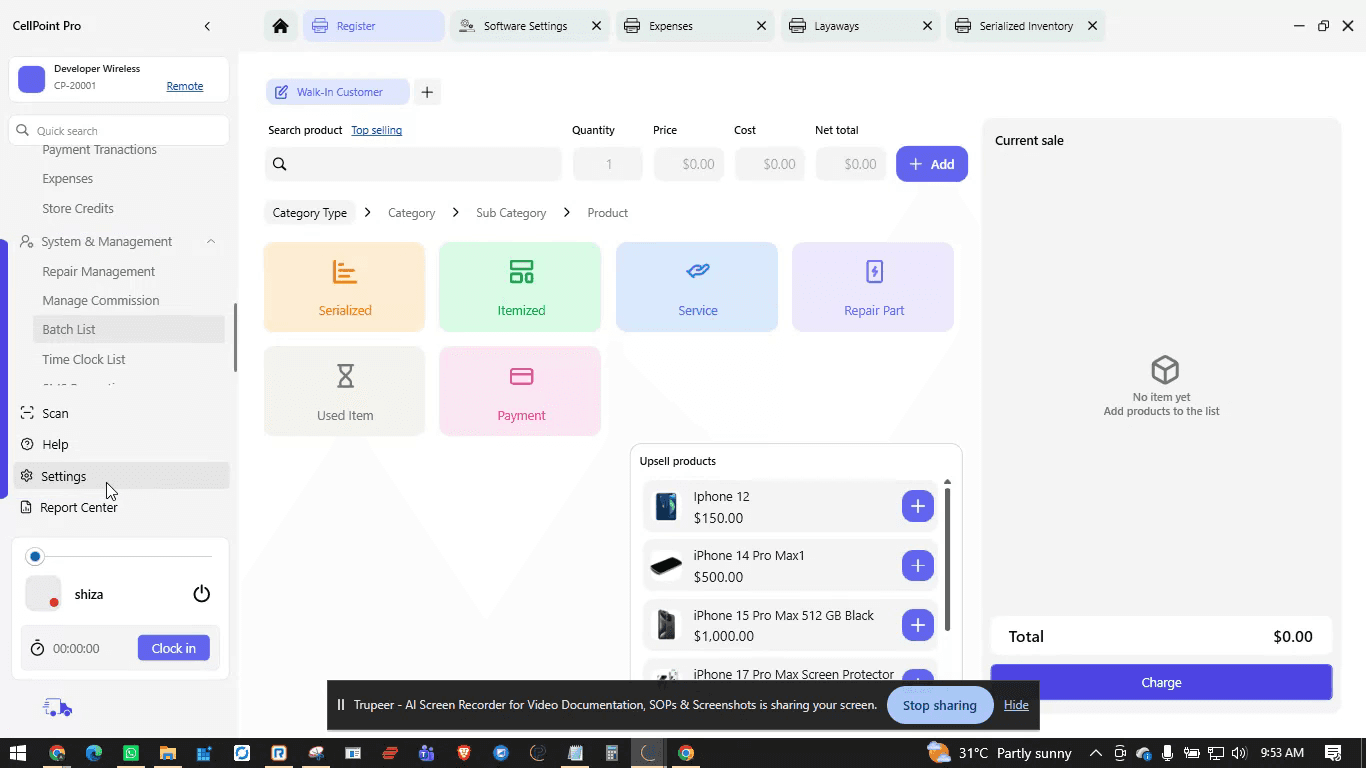
From the main dashboard, open your store settings to begin configuration.
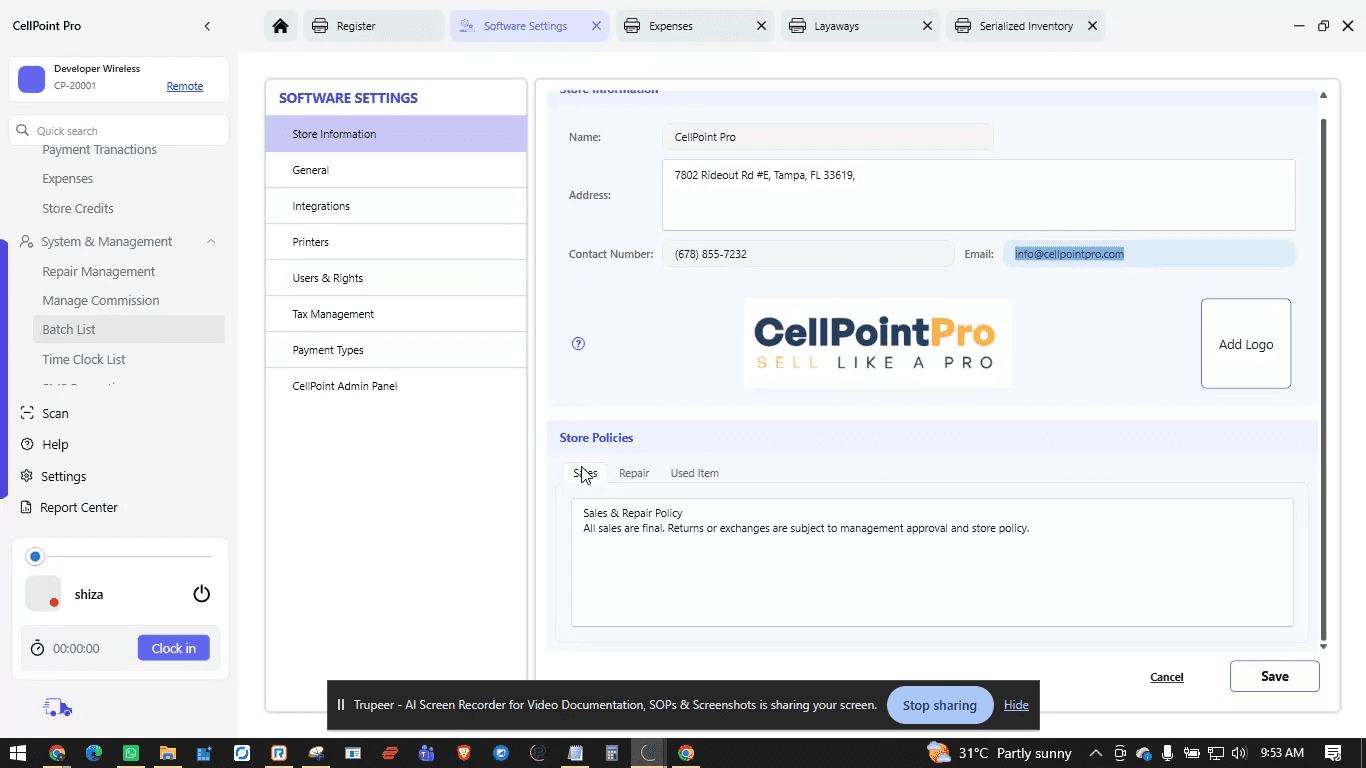
In the Store Information section, enter your basic store details such as store name, address, contact number, email, and upload your store logo.
Configure your store policies (e.g., refund, exchange, warranty) so they appear consistently on relevant documents and screens.
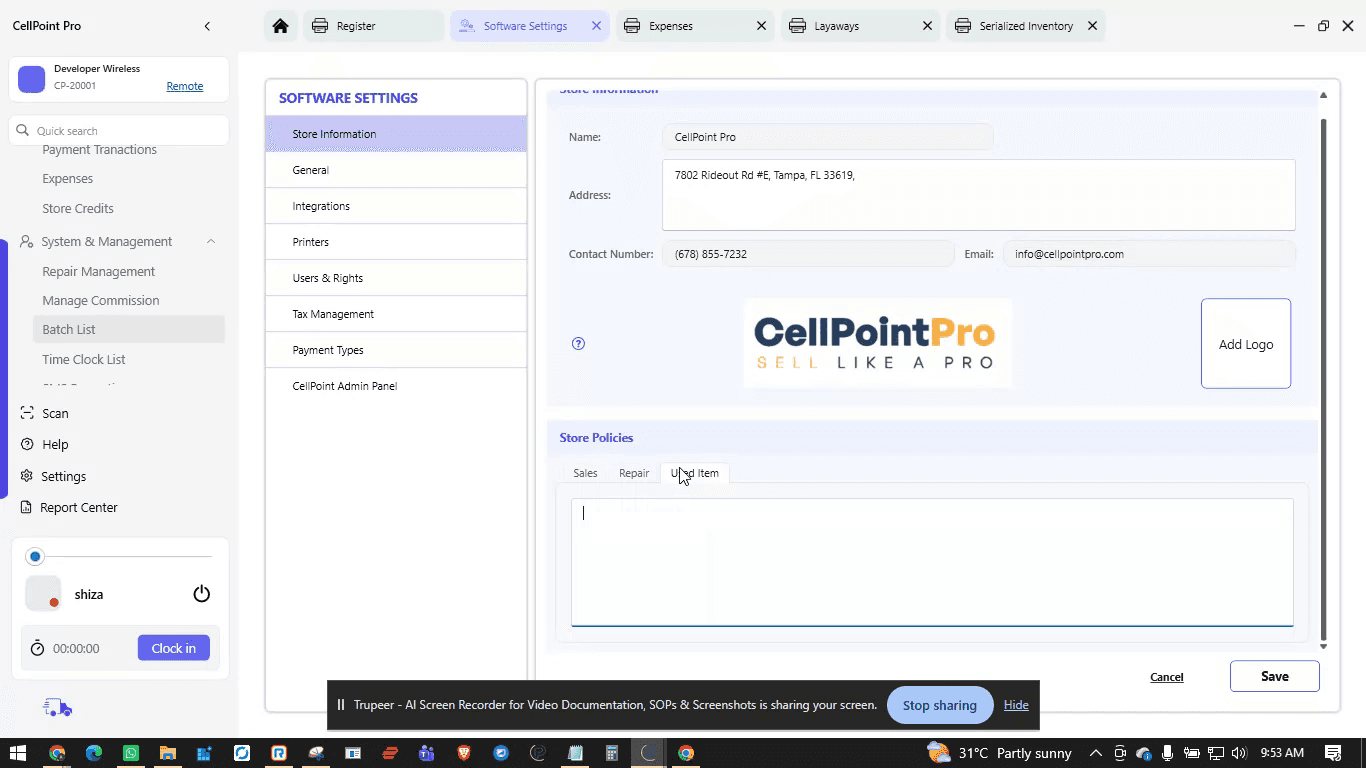
When all information is added, click Save to apply your changes.
Step 2: Configure Users and Rights
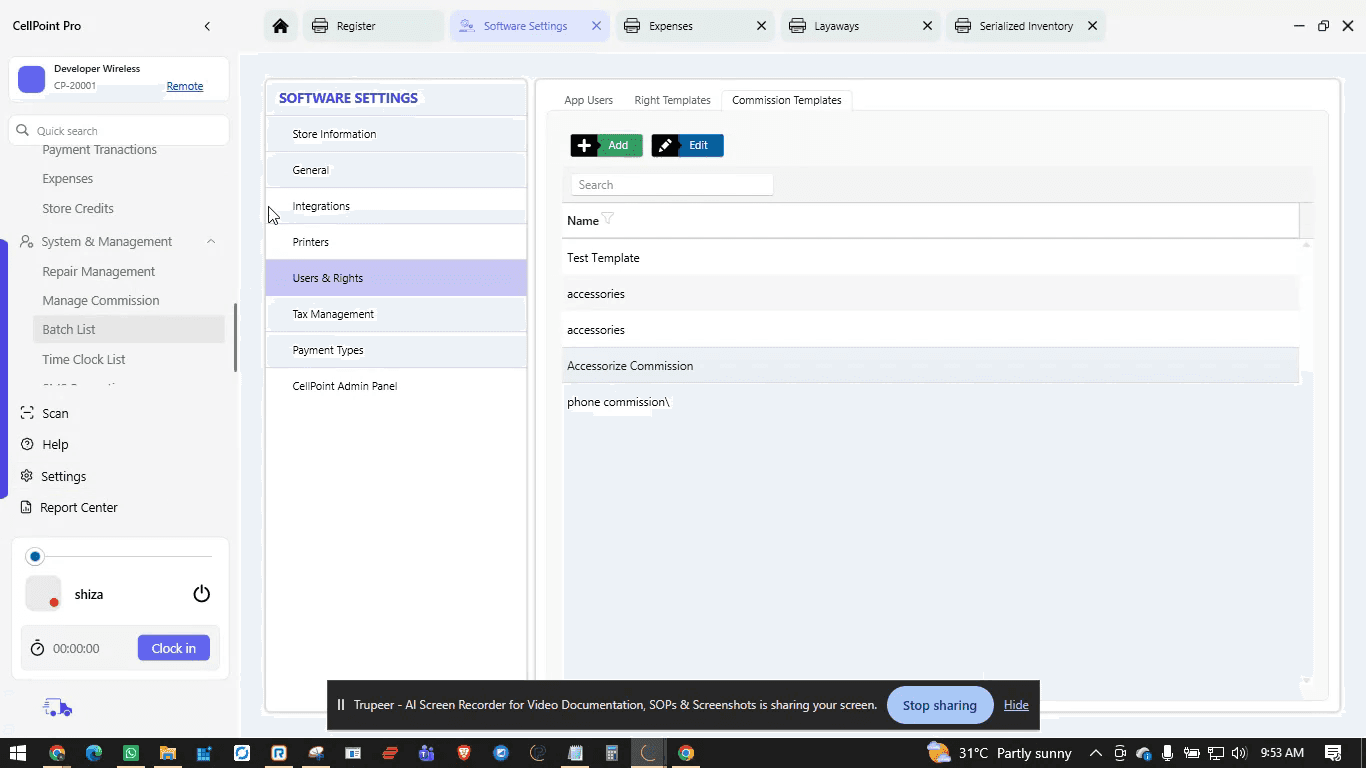
From Settings, navigate to Users and Rights to set up your employees in the system.

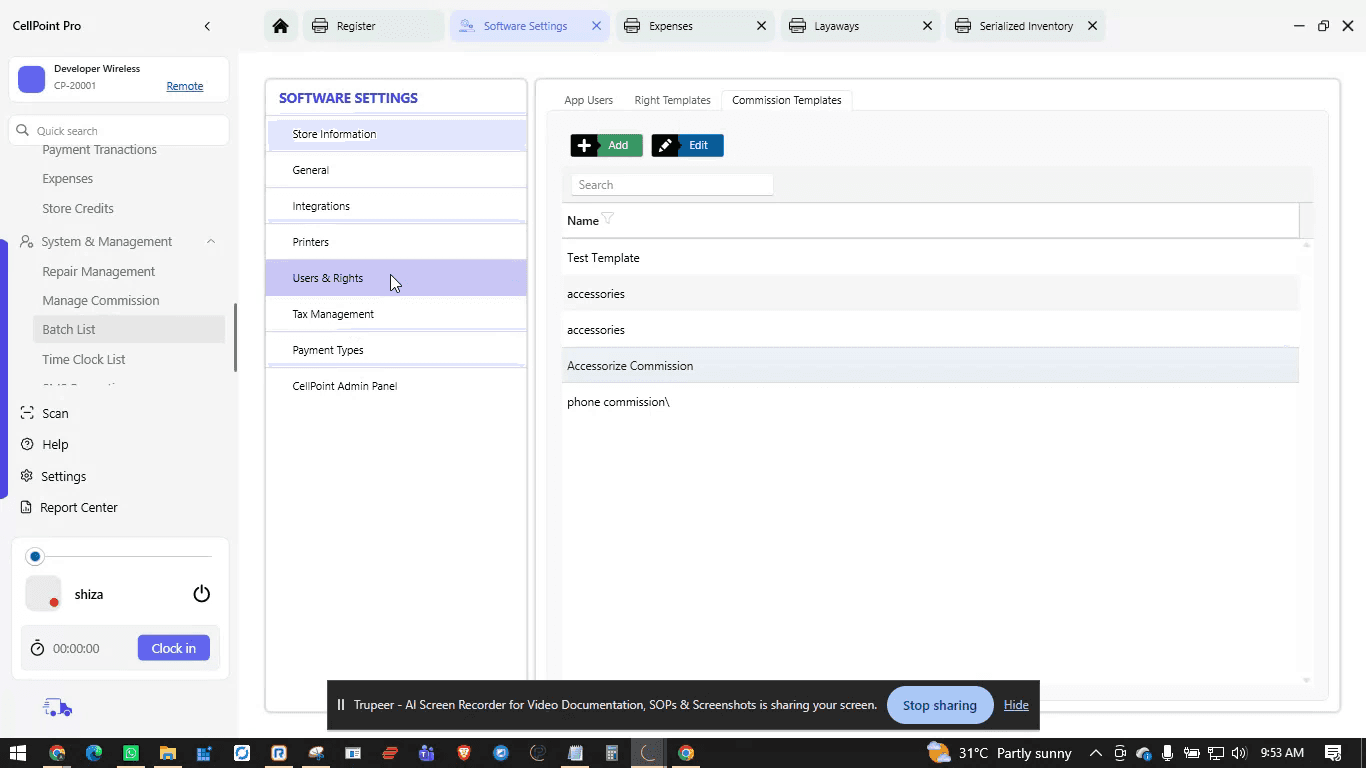
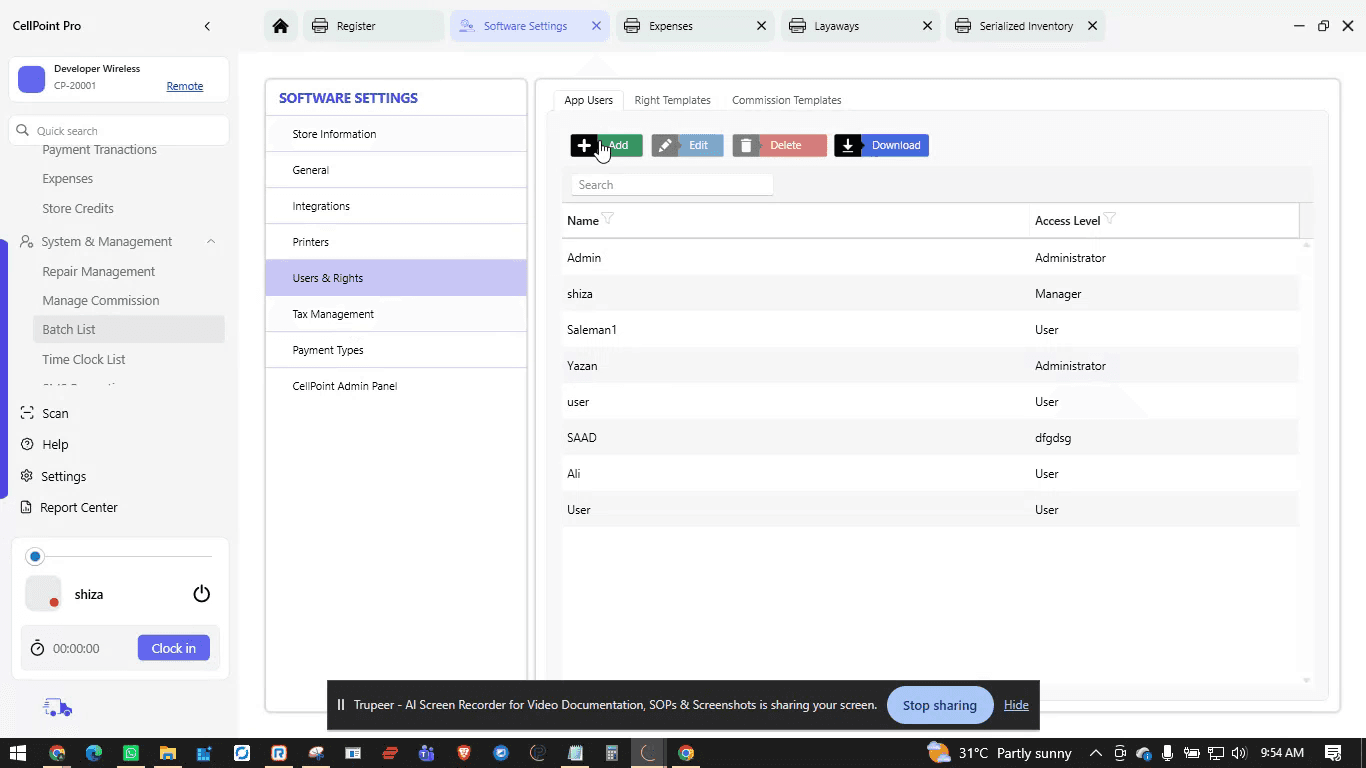
Under App Users, click Add to create a new user profile.
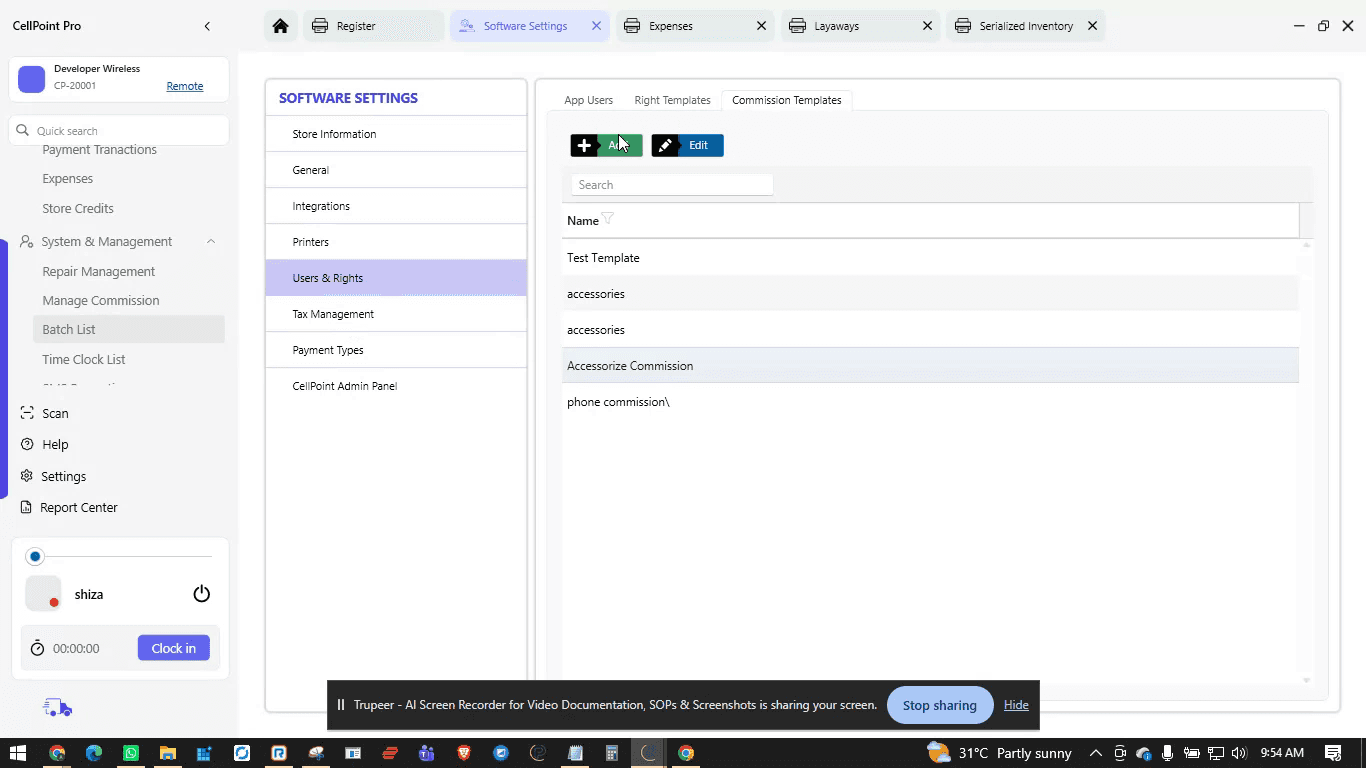
Enter the user’s name, set a password, and select the appropriate rights template based on their role (e.g., manager, standard user).
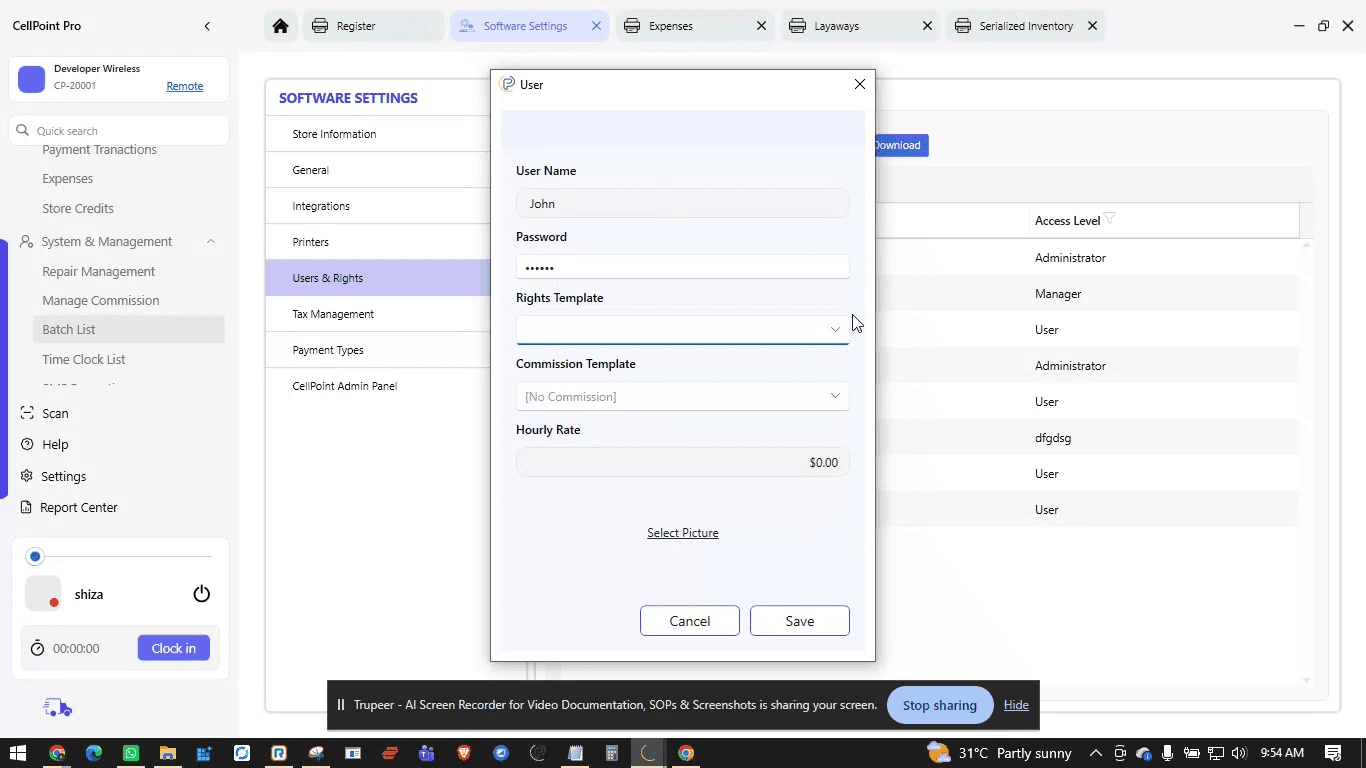
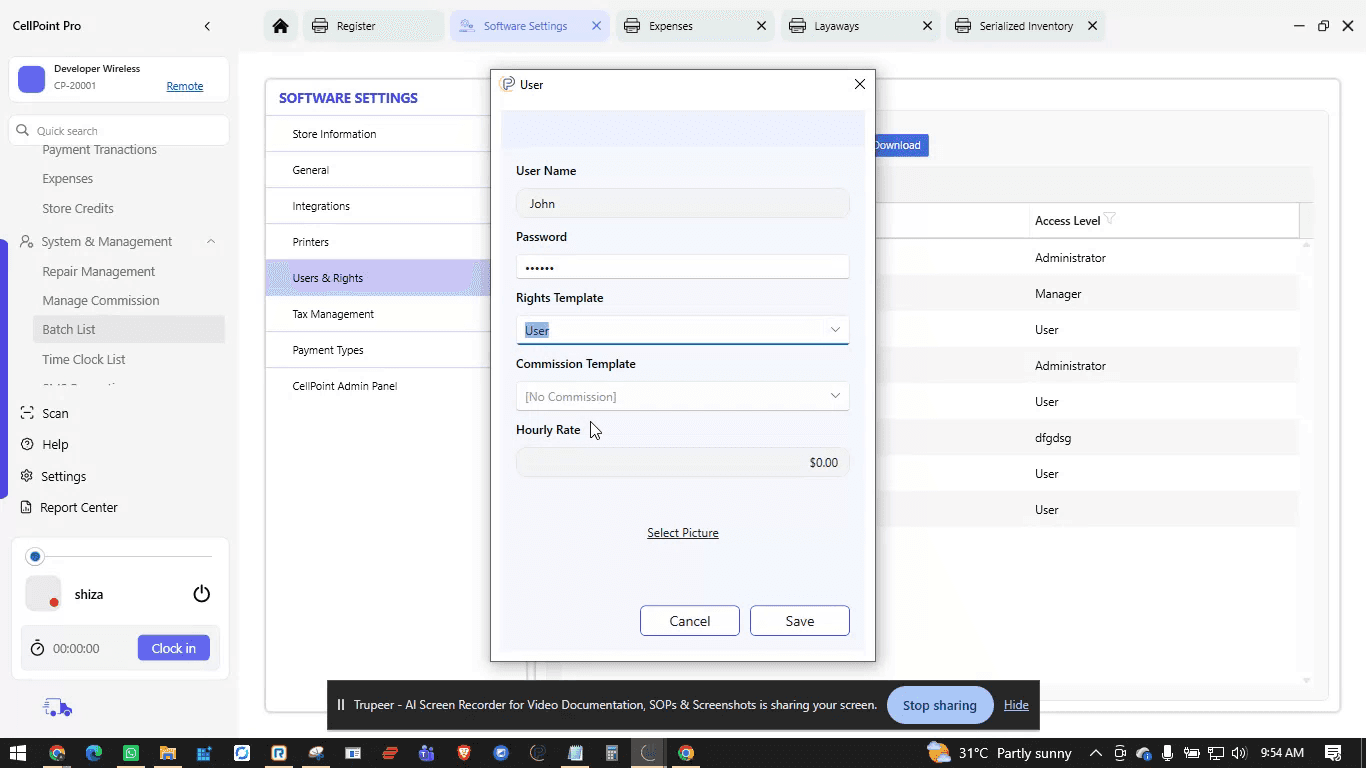
Optionally, assign a commission template, set an hourly rate for payroll calculations, and add the user’s image.
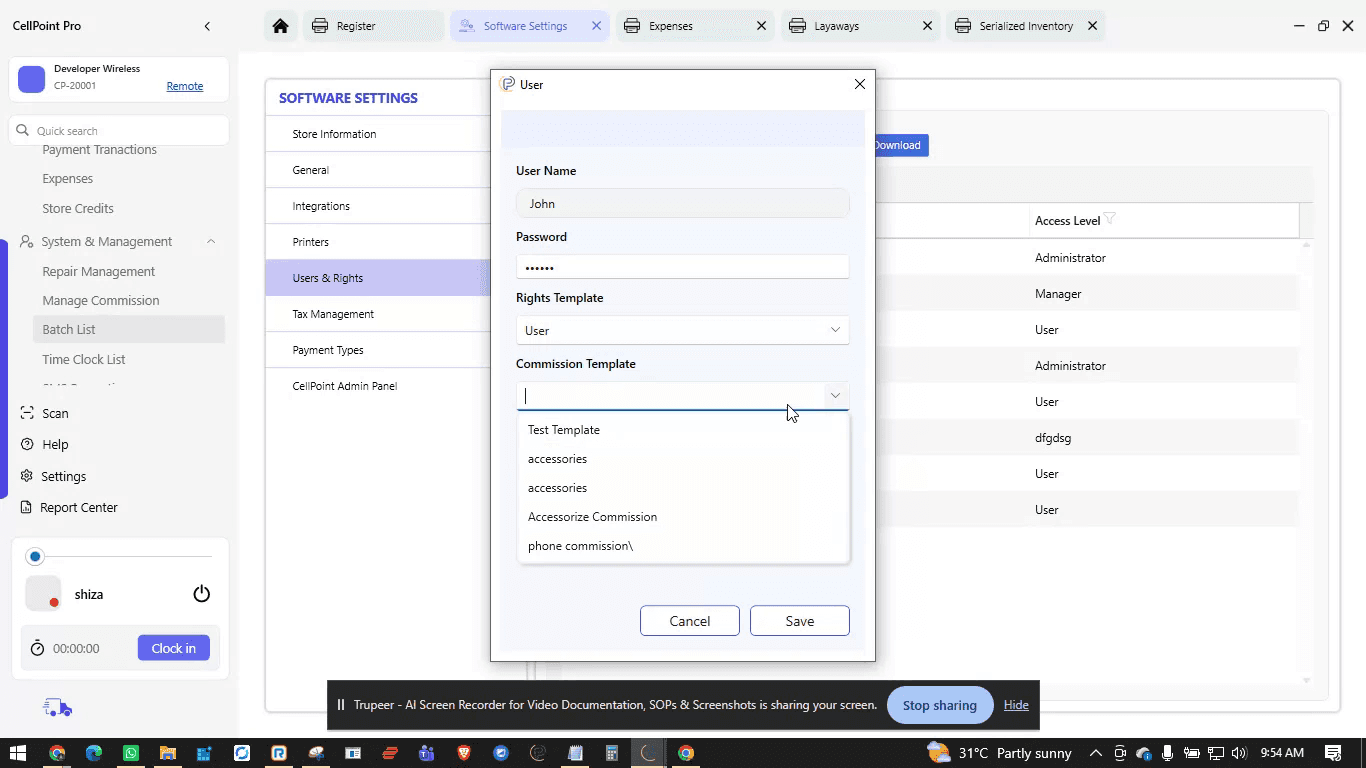
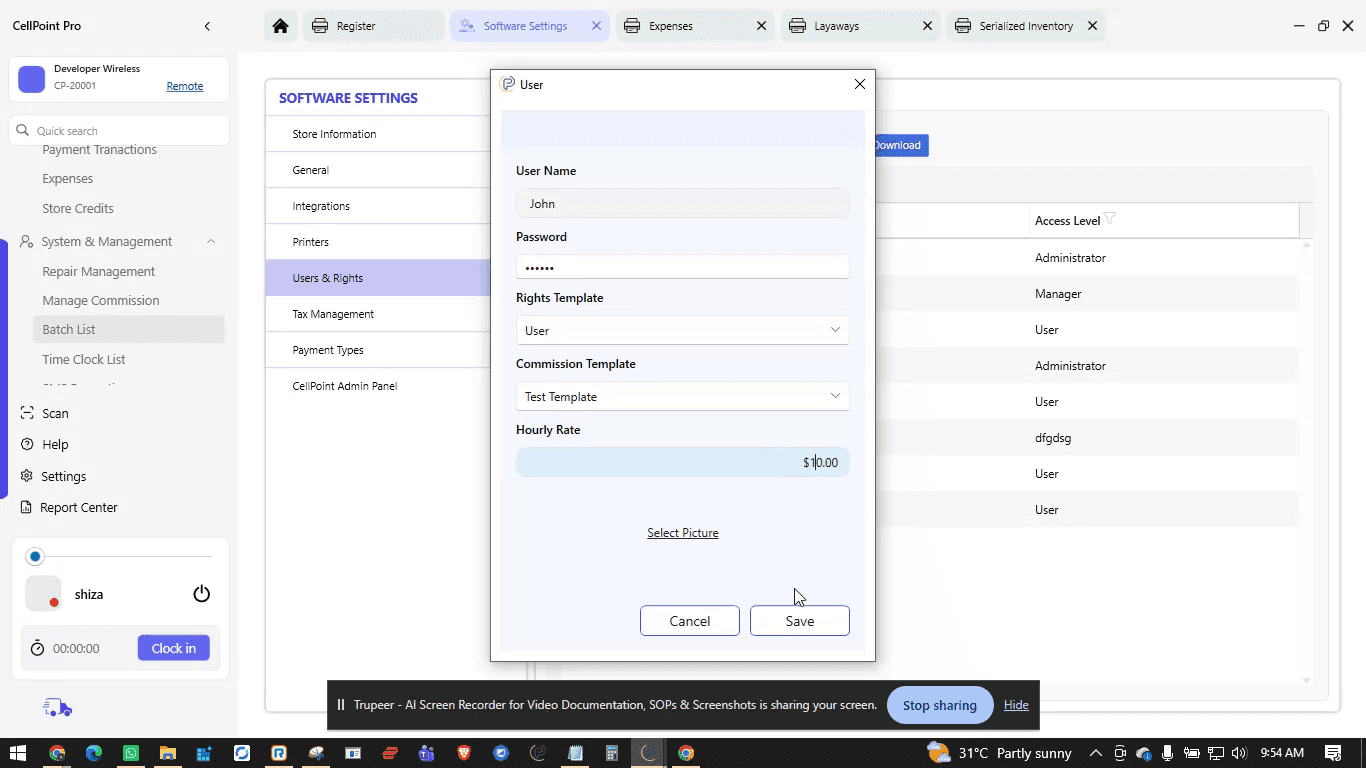
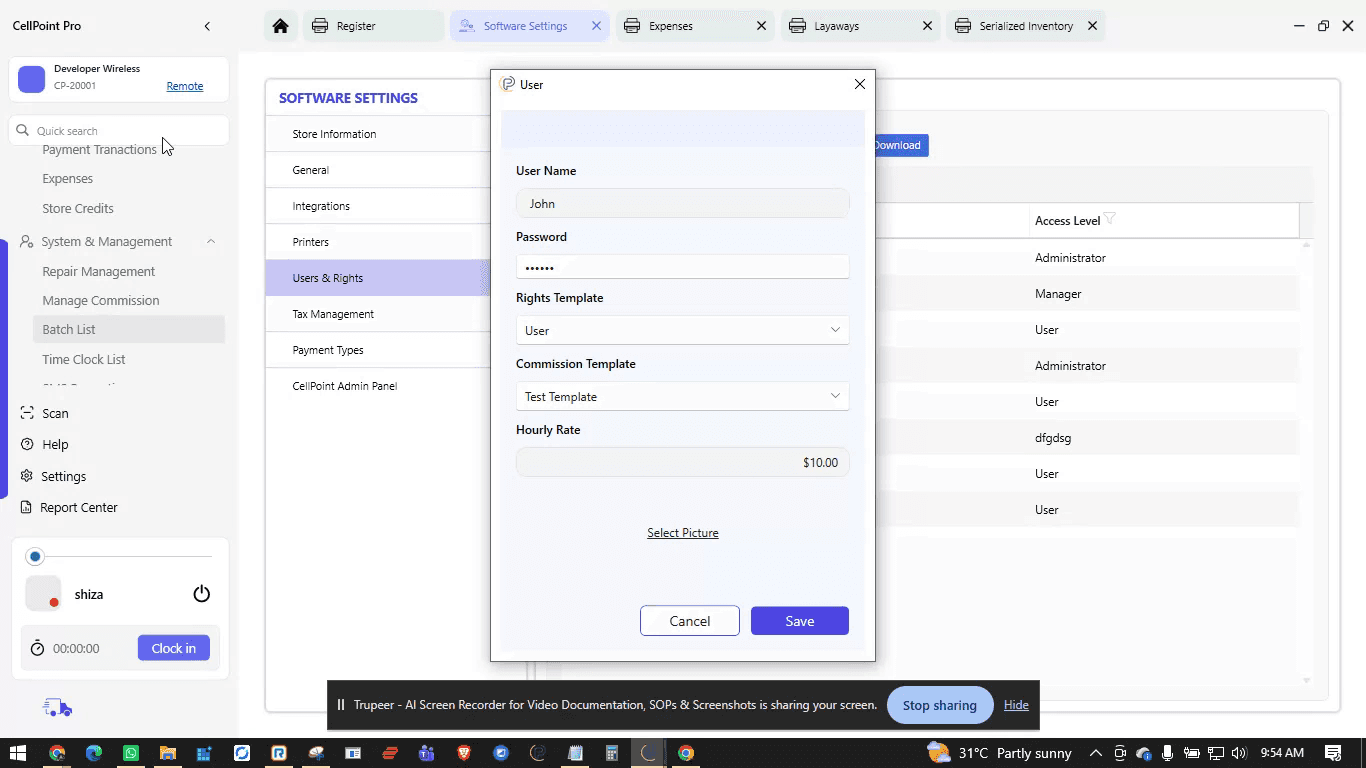
Save the user to complete their setup.
Step 3: Set Up Tax and Payment Types
Open the Tax Management section under Settings to configure your tax rules.
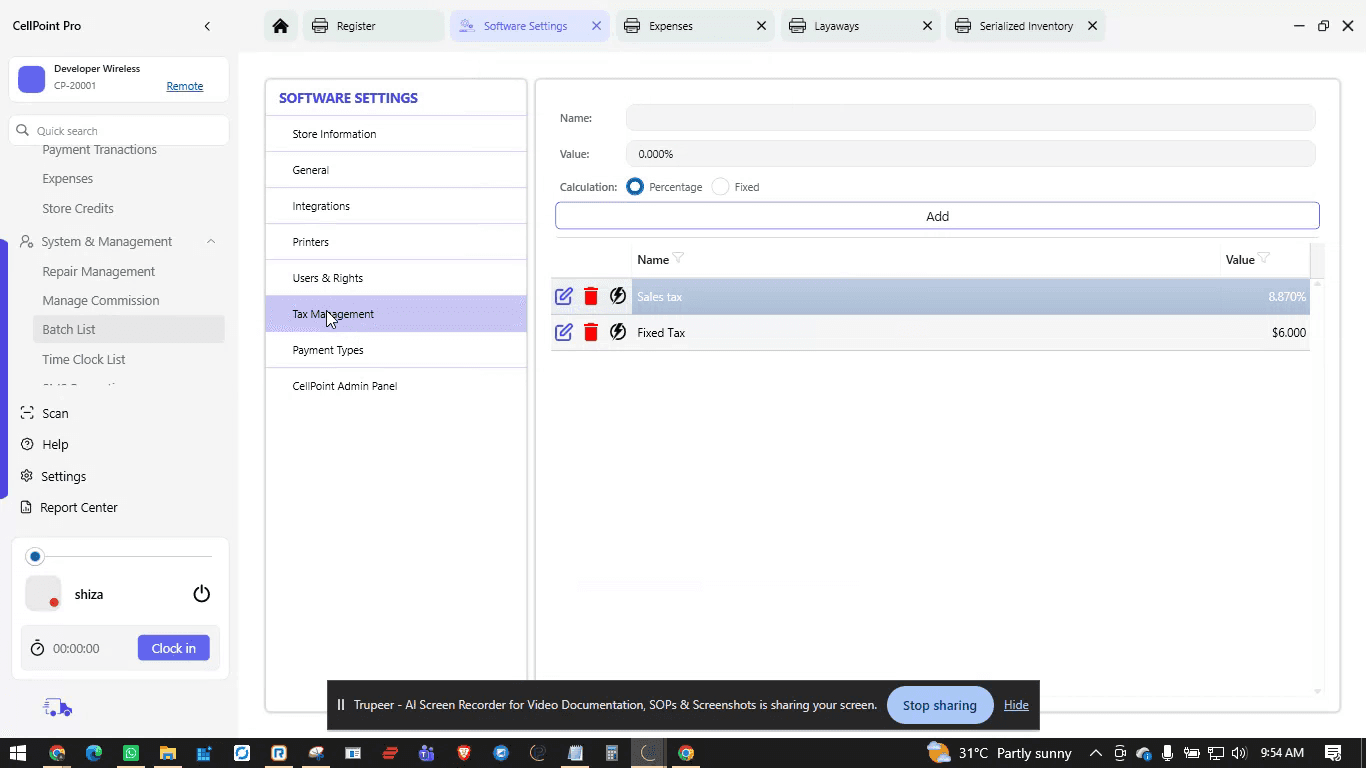
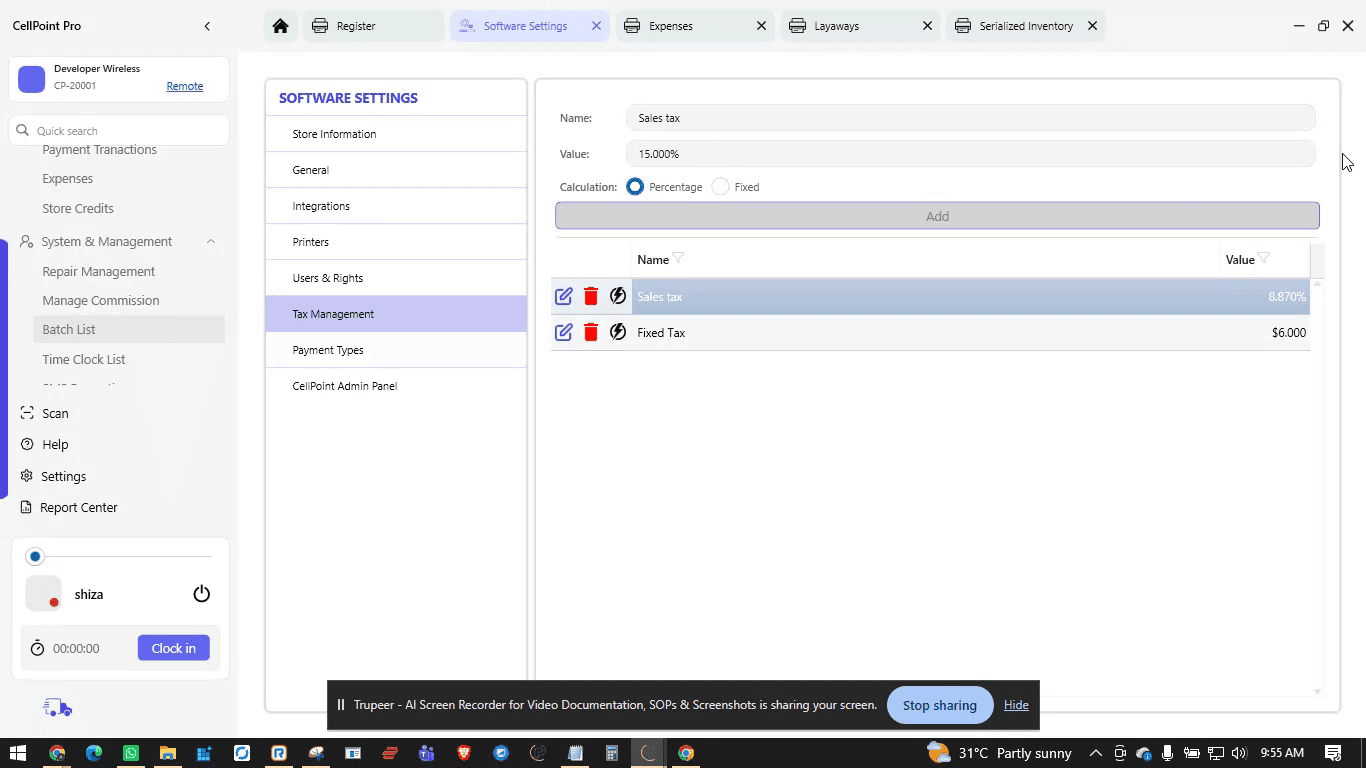
Create or edit a tax template by entering a name and specifying the rate as either fixed or percentage. Apply the tax to the relevant categories and modules. If you do not want tax applied to specific categories (for example, bill payments), deselect those categories so the tax is not used there.
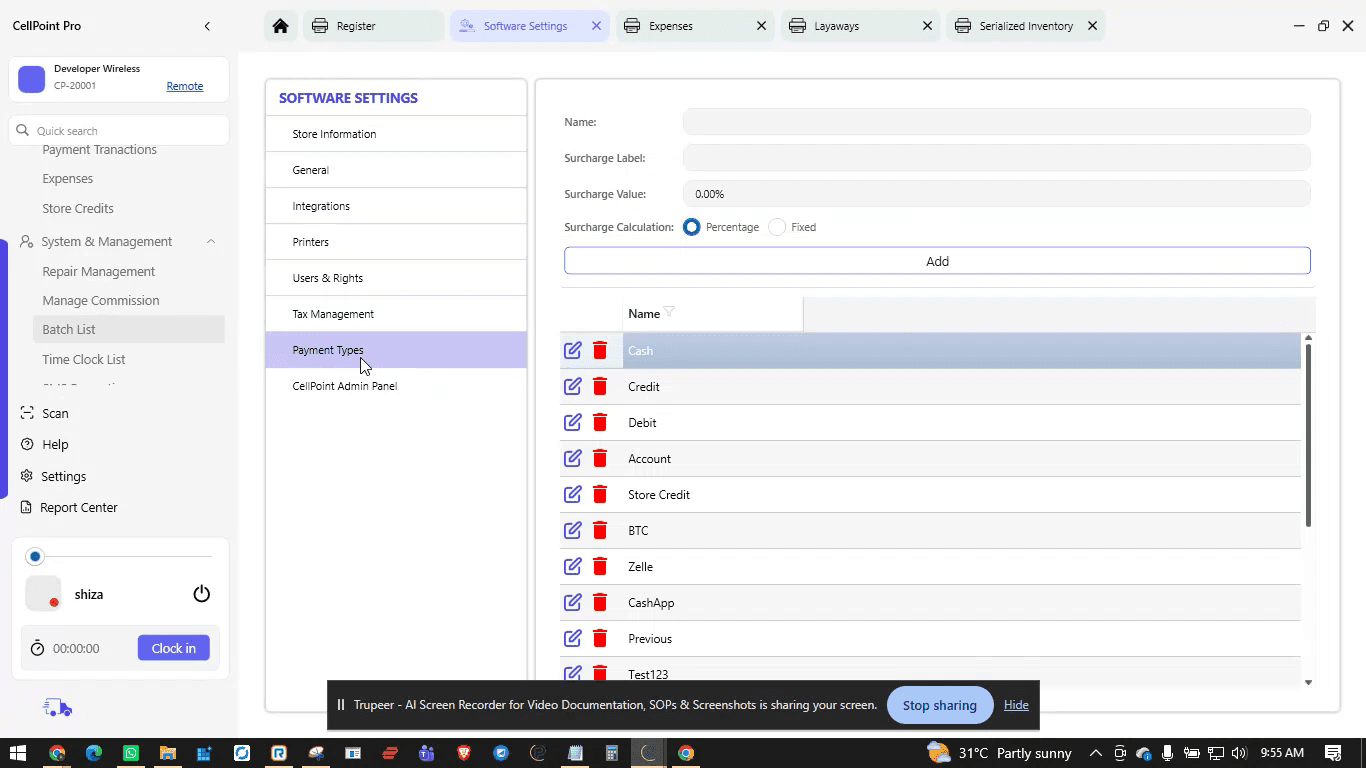
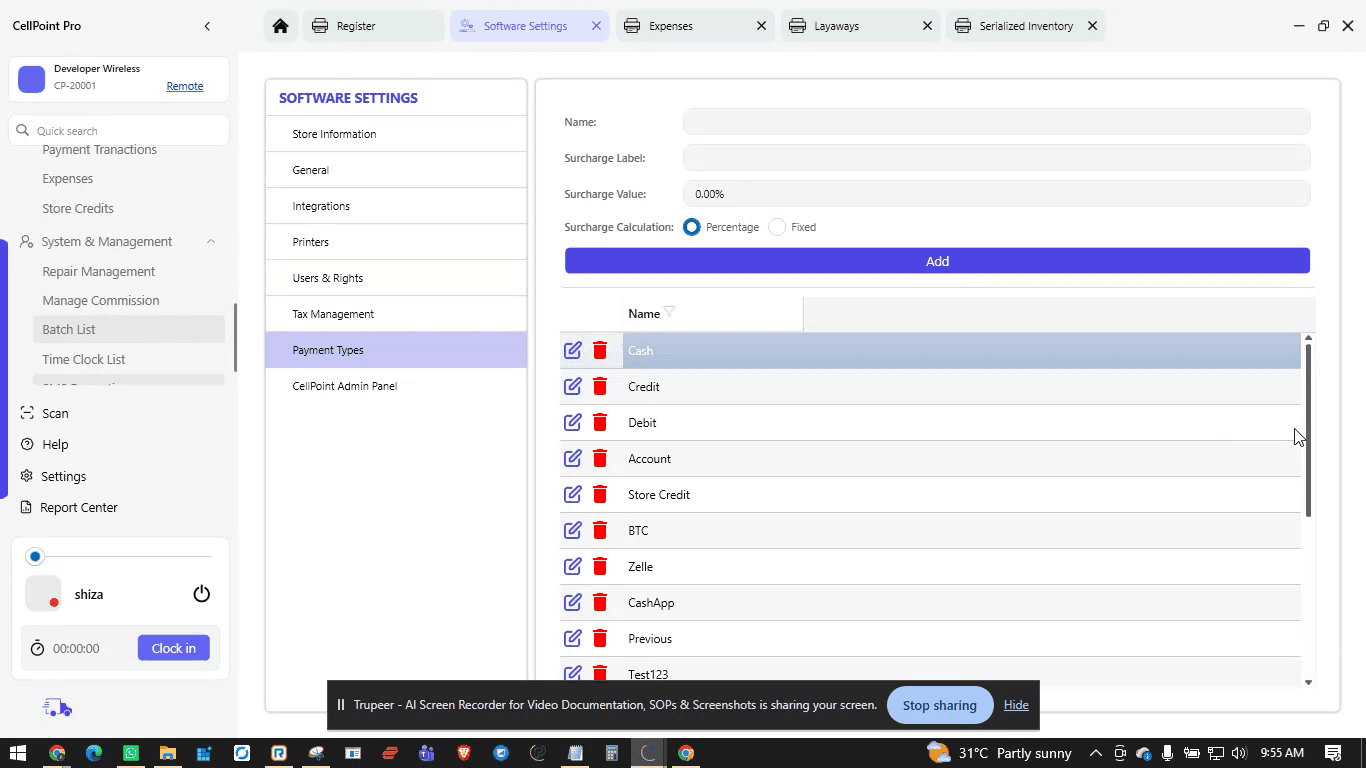
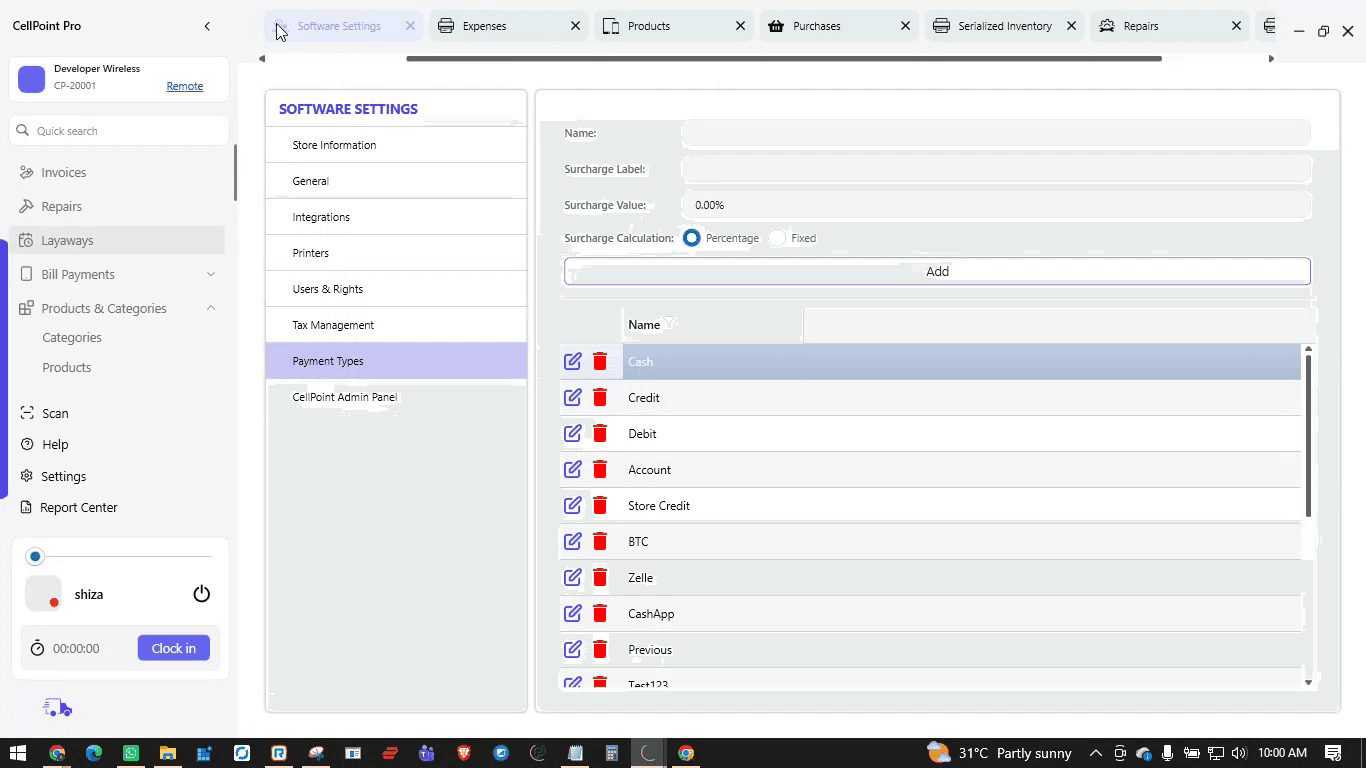
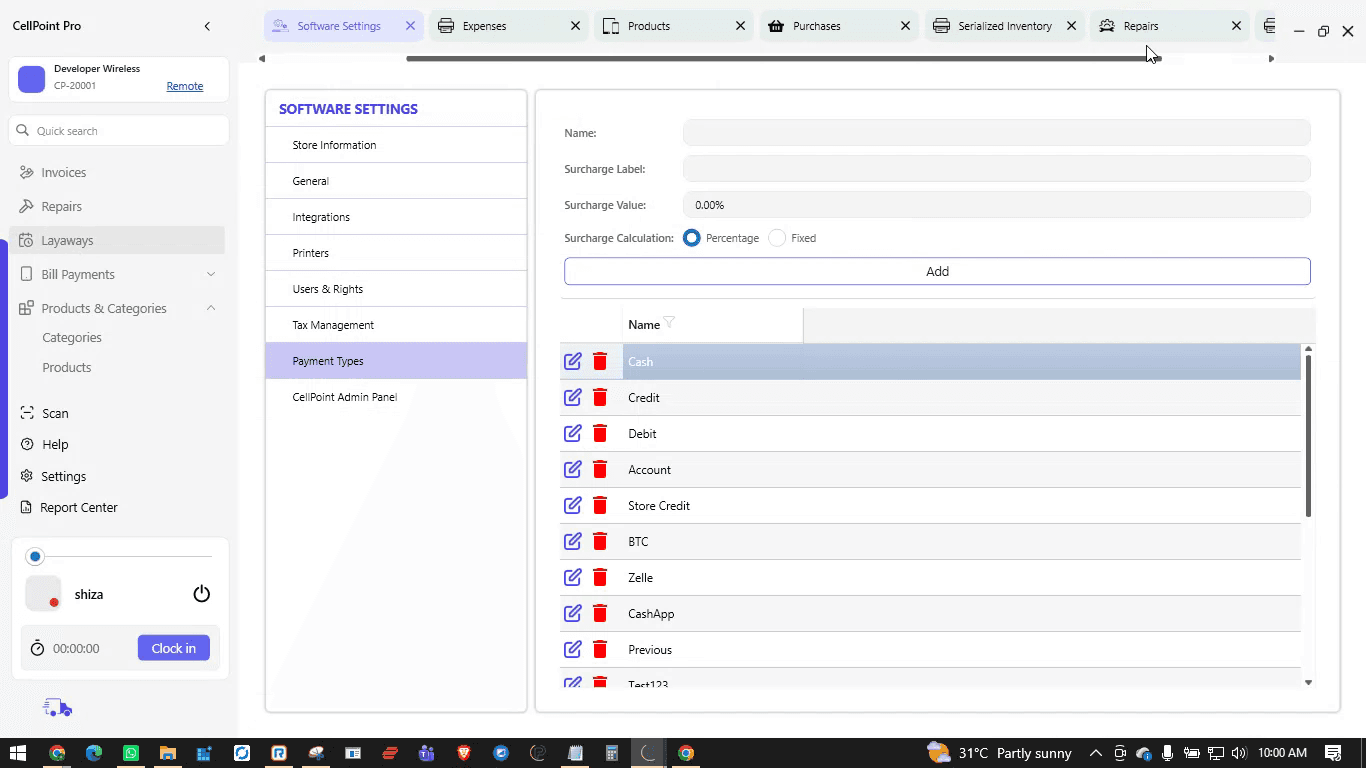
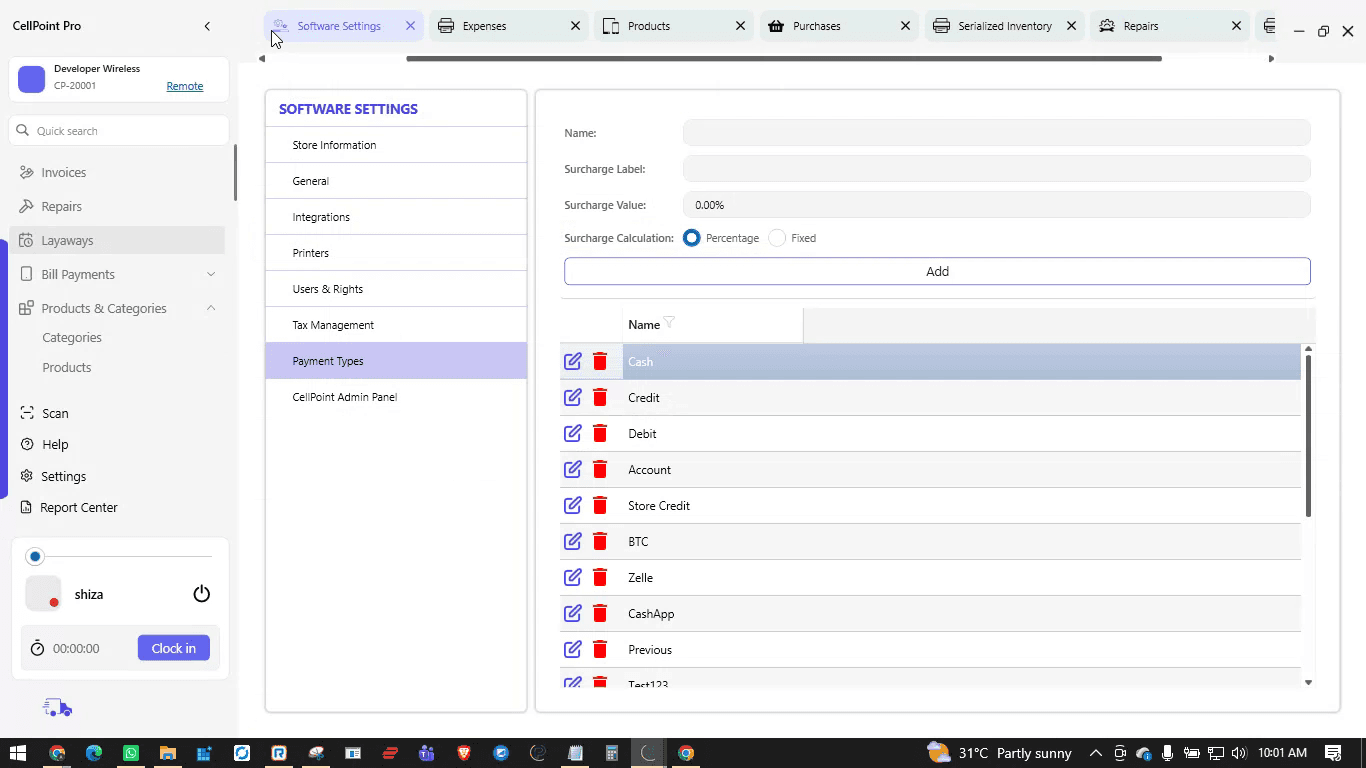
Next, under Payment Type, configure your accepted modes of payment (e.g., cash, card, online). For each payment type, you can add a name and specify any applicable surcharge in fixed amount or percentage.
Step 4: Create a New Product
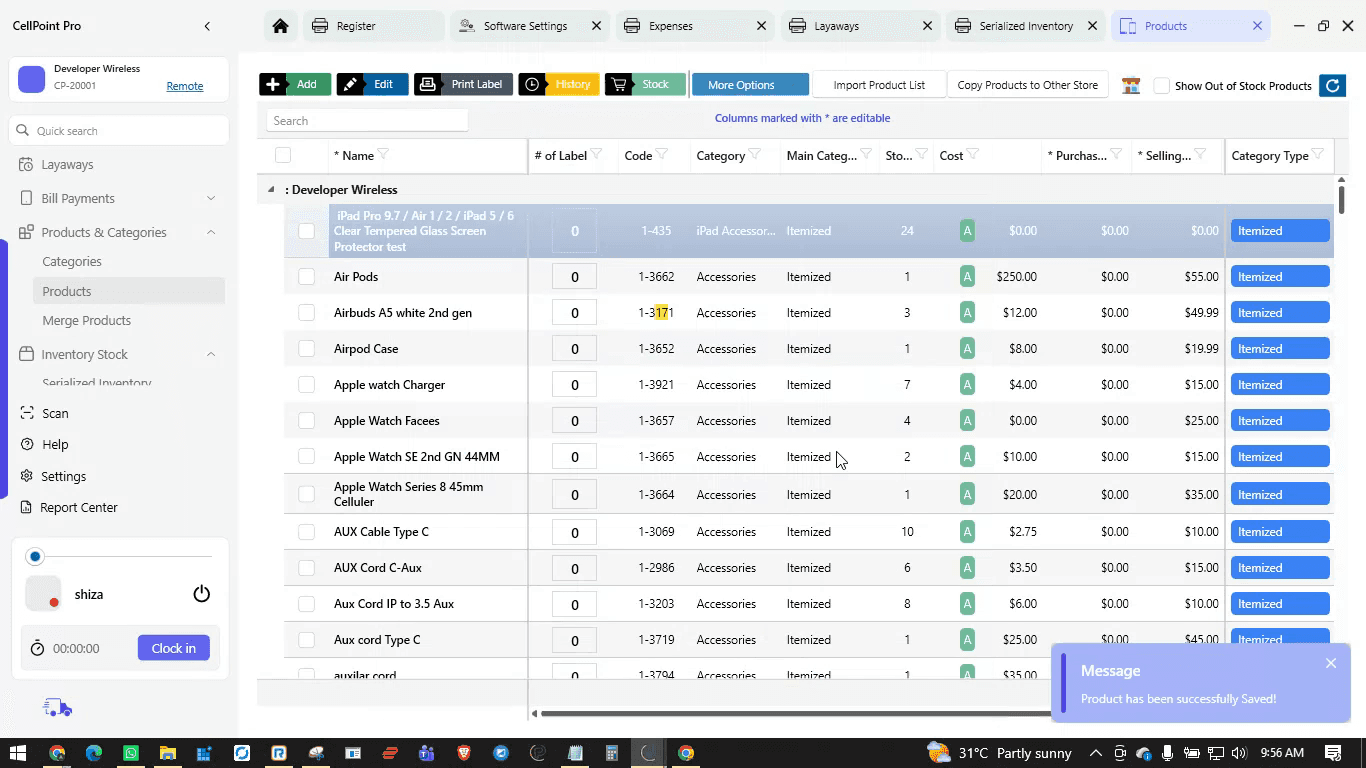
To add a product, either go to the Home screen or use the Products option from the left panel.
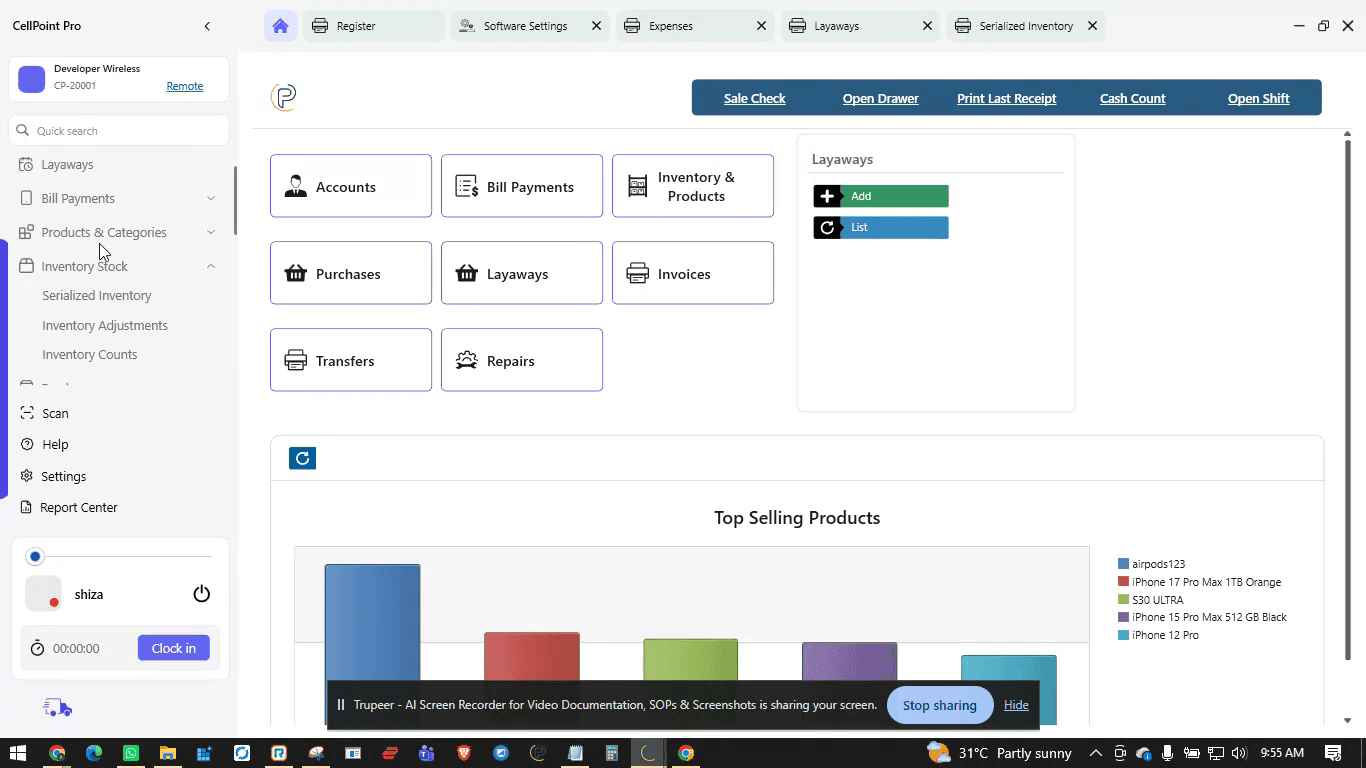
Click Add, then select the product type (for example, Serialized).
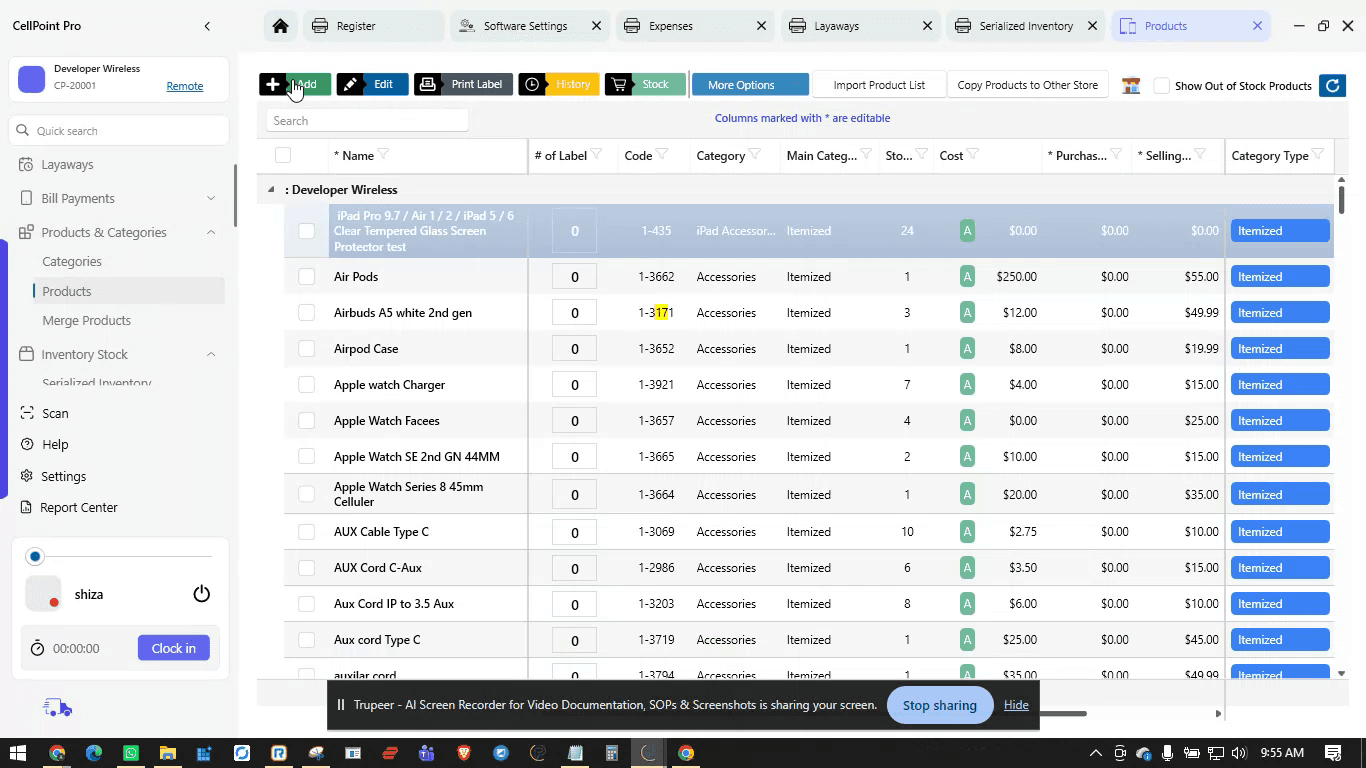
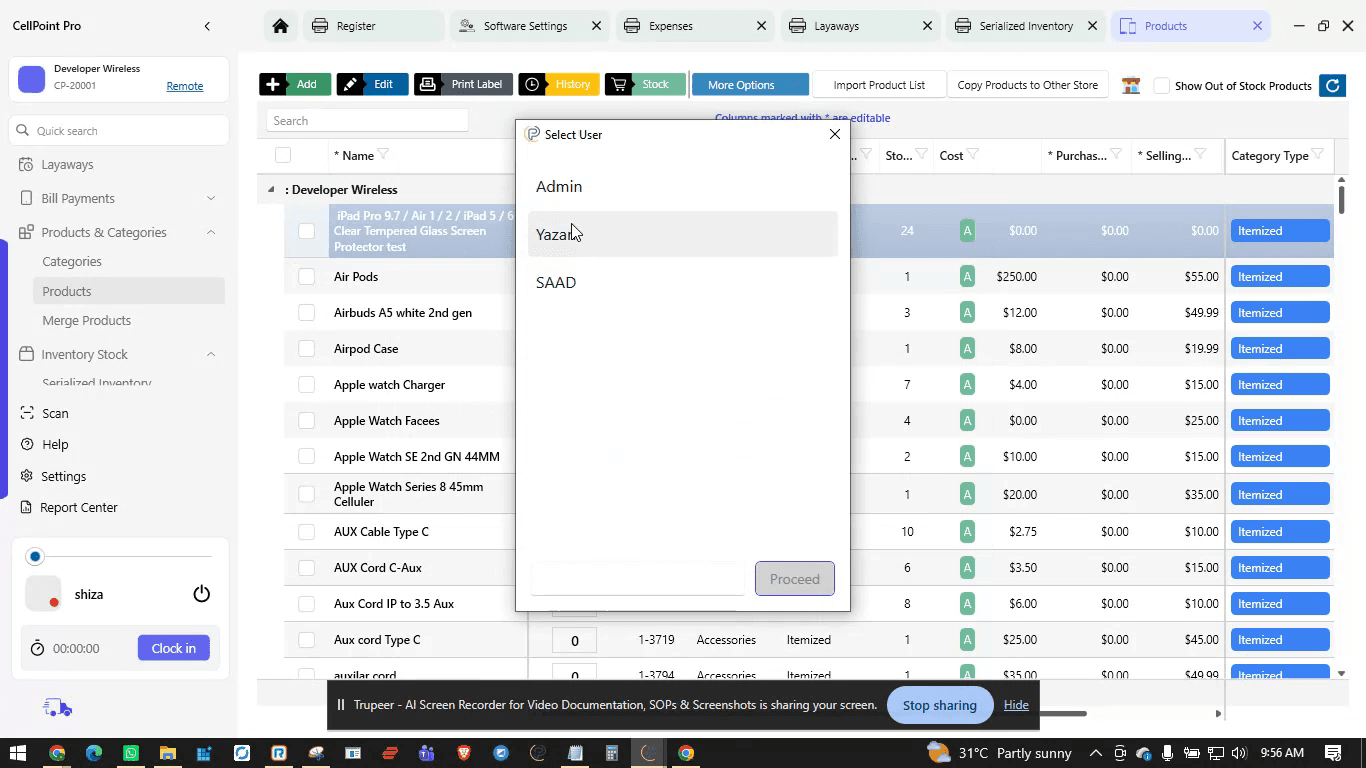
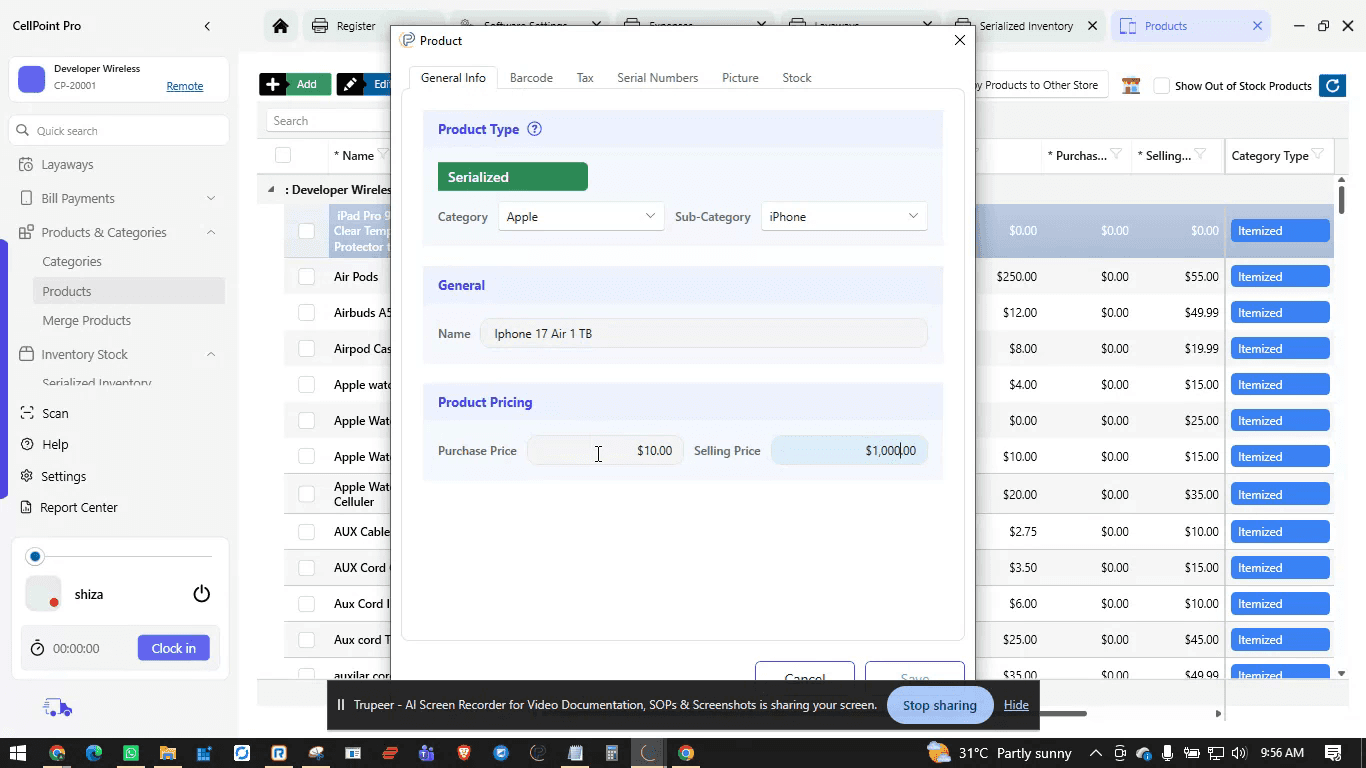
Fill in the required product information such as brand, model, category, and subcategory (e.g., “iPhone 17 Air 1TB”).
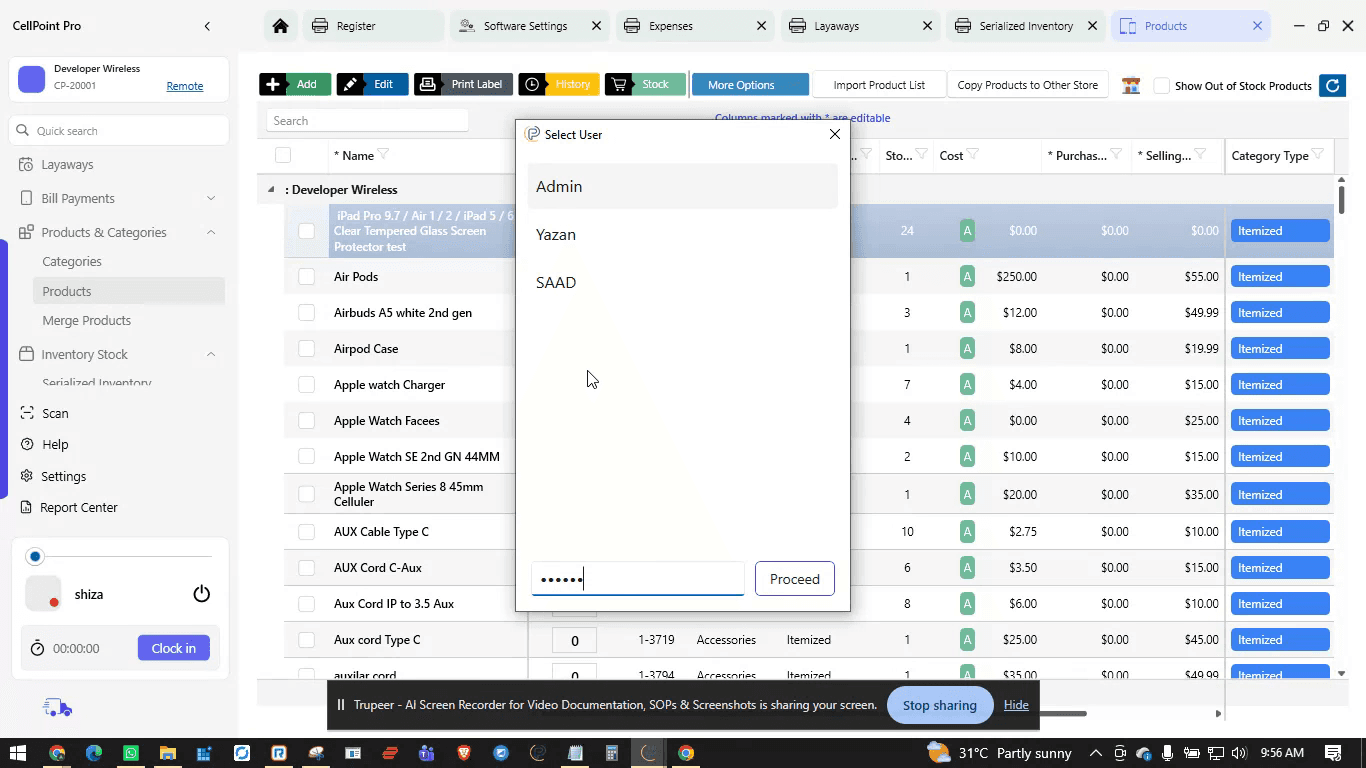
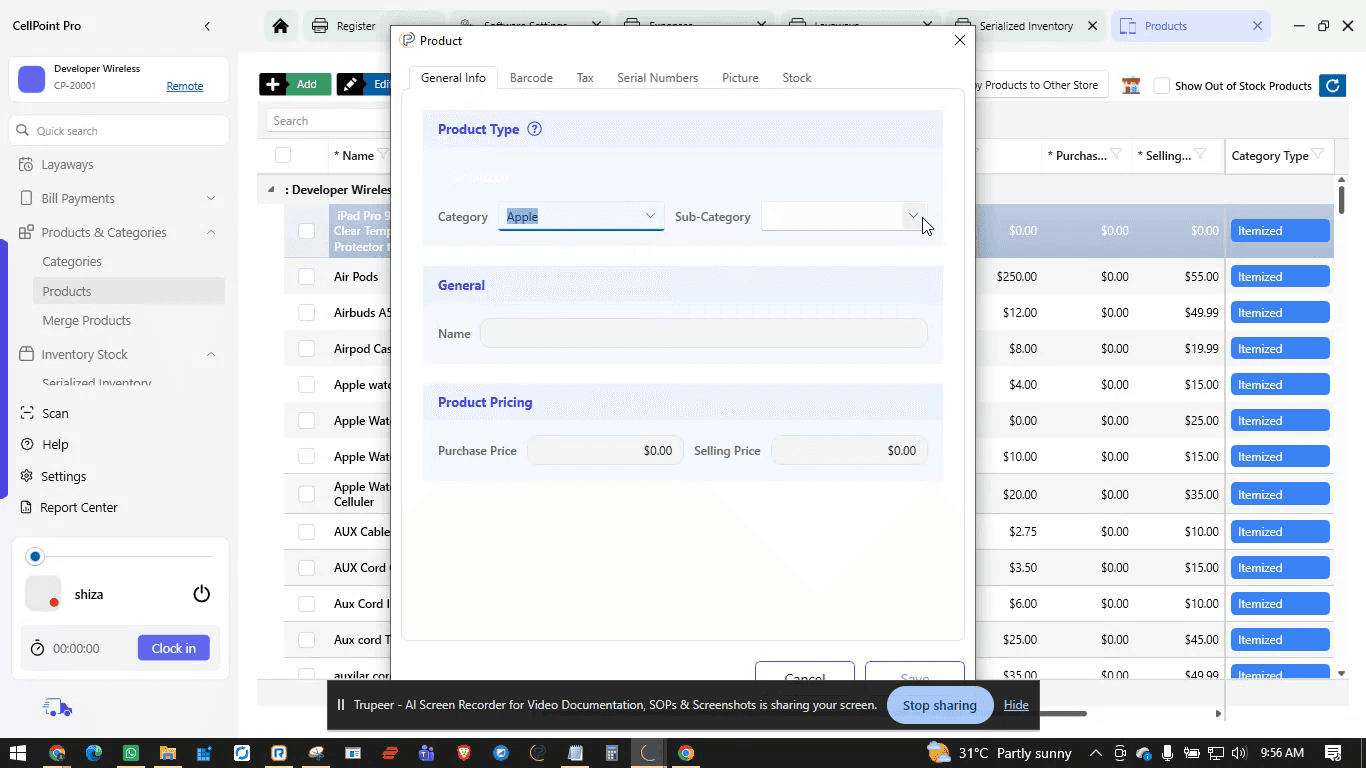
Enter the purchase price and selling price, then review additional options such as barcode, tax, serial numbers, pictures, and stock details.
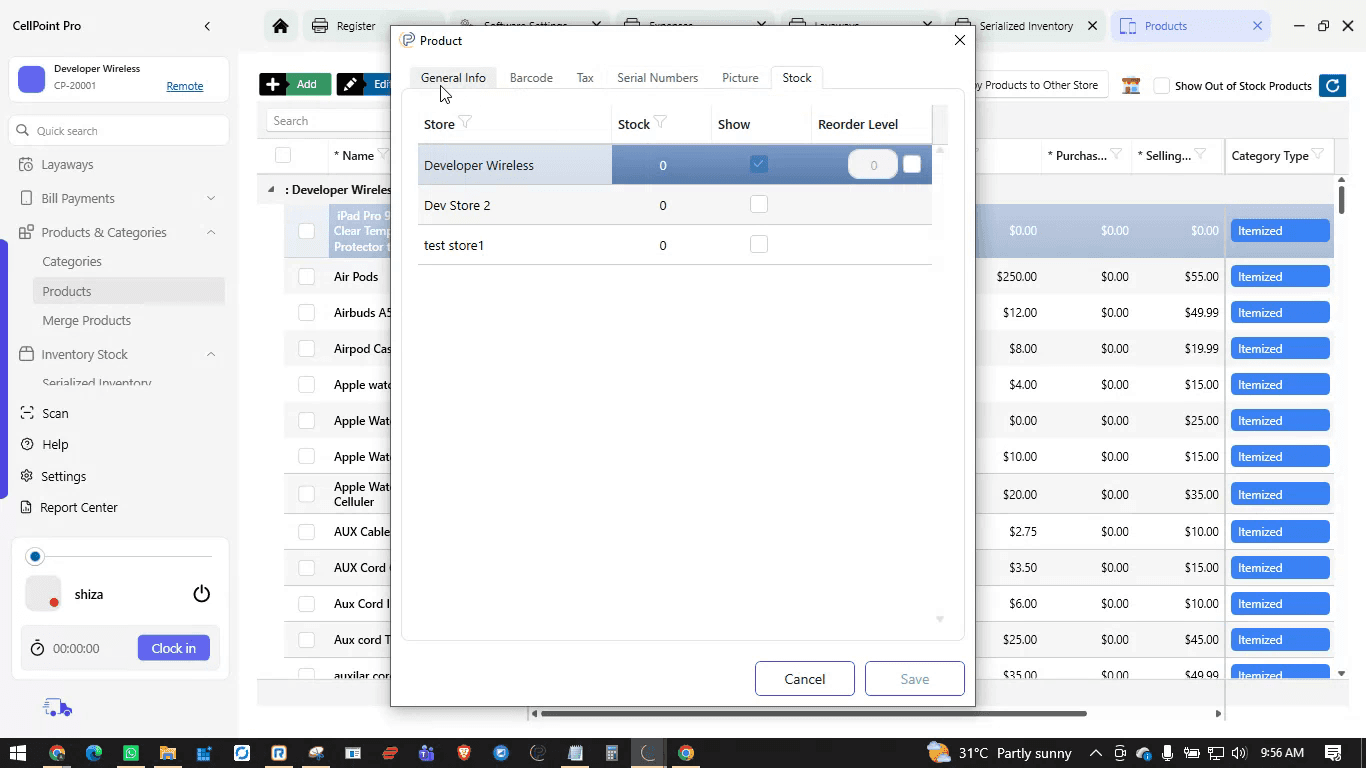
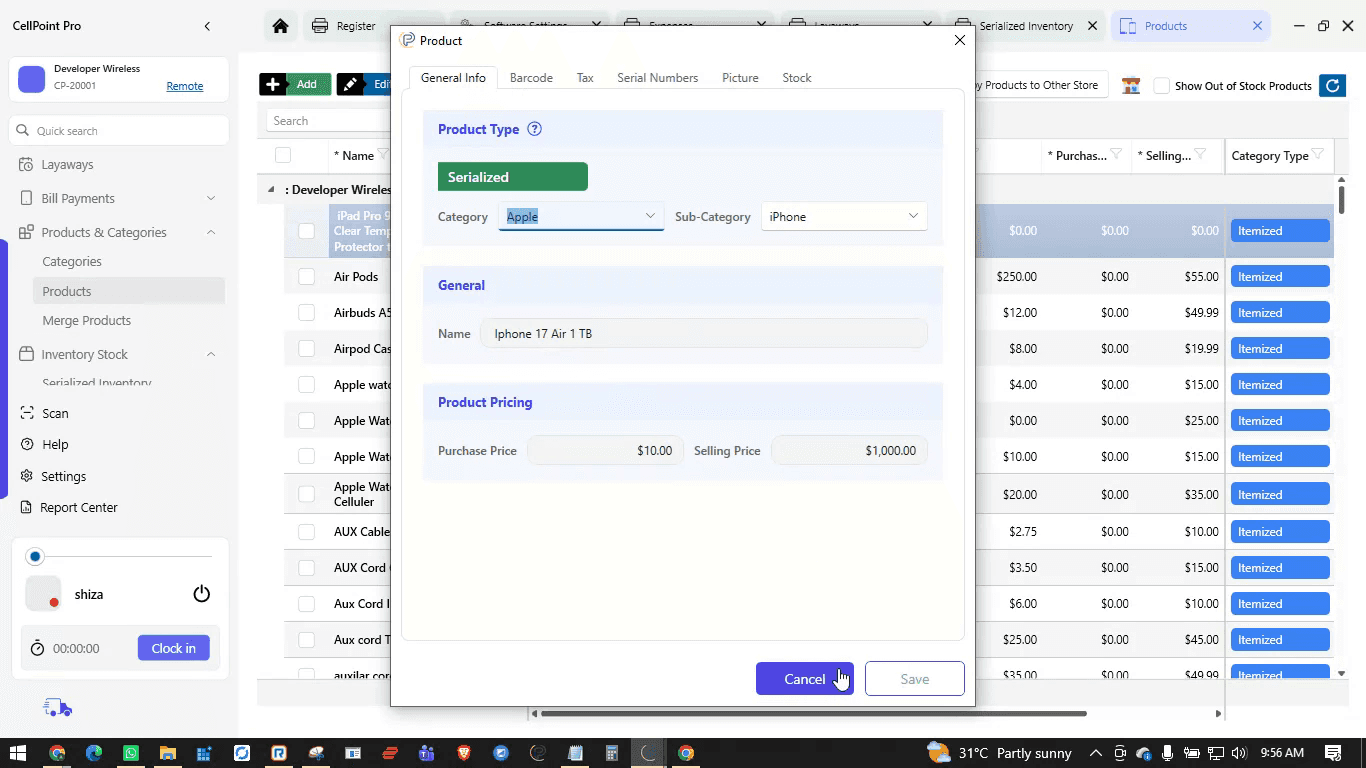
When you are done, click Save to create the product.
Step 5: Add Inventory via Purchase
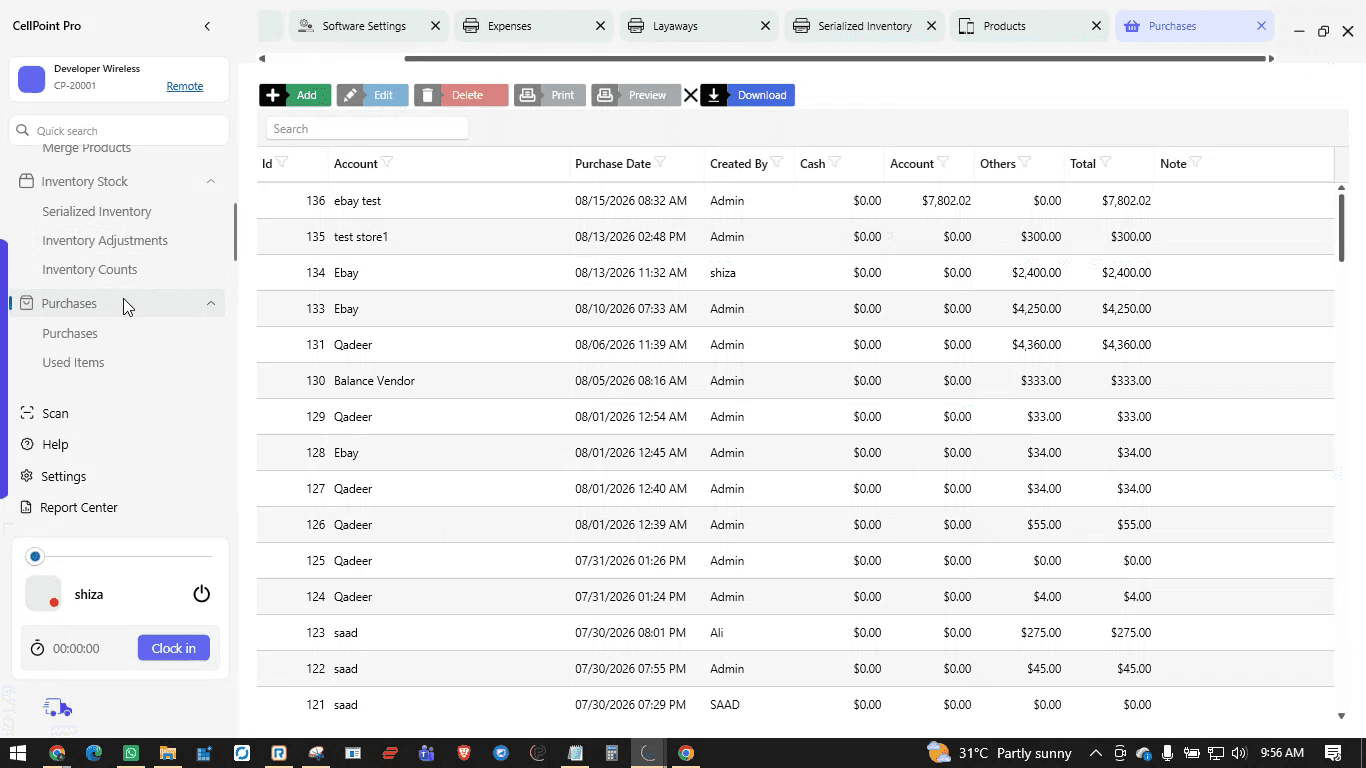
From the left panel, navigate to Purchases to record new inventory.
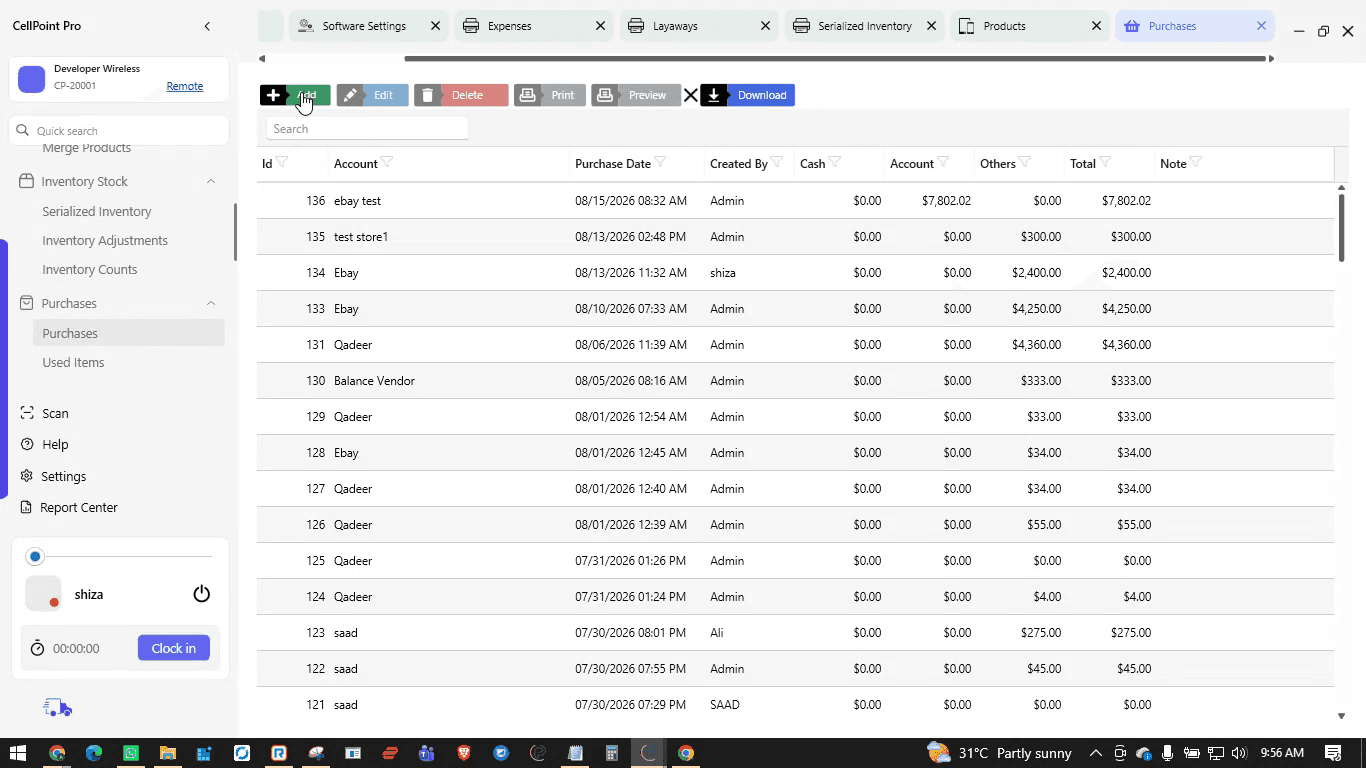
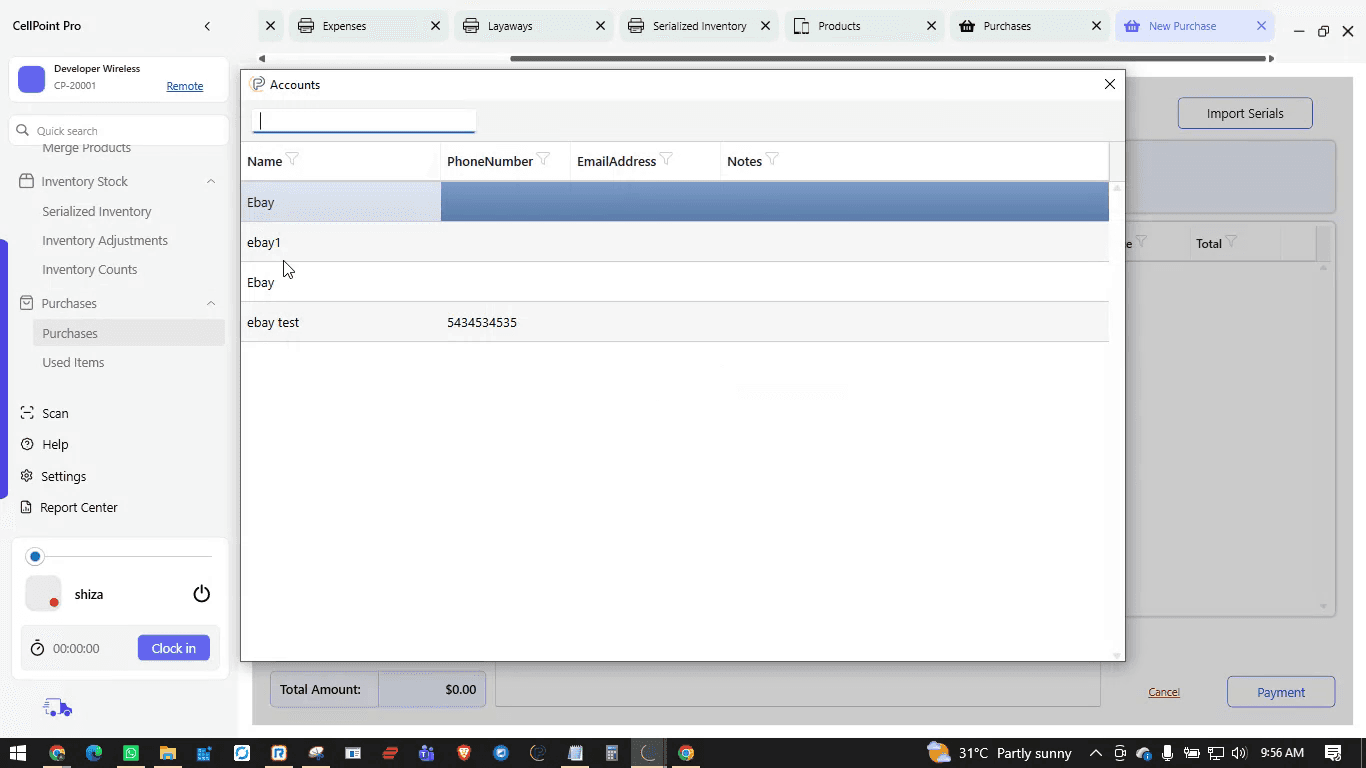
In the purchase list, click Add, then select your vendor (for example, eBay).
Add the products being purchased (e.g., iPhone 17 Air 1TB and iPhone 17 Air), specify the quantity (such as two devices), and enter the cost price for each (e.g., 500).
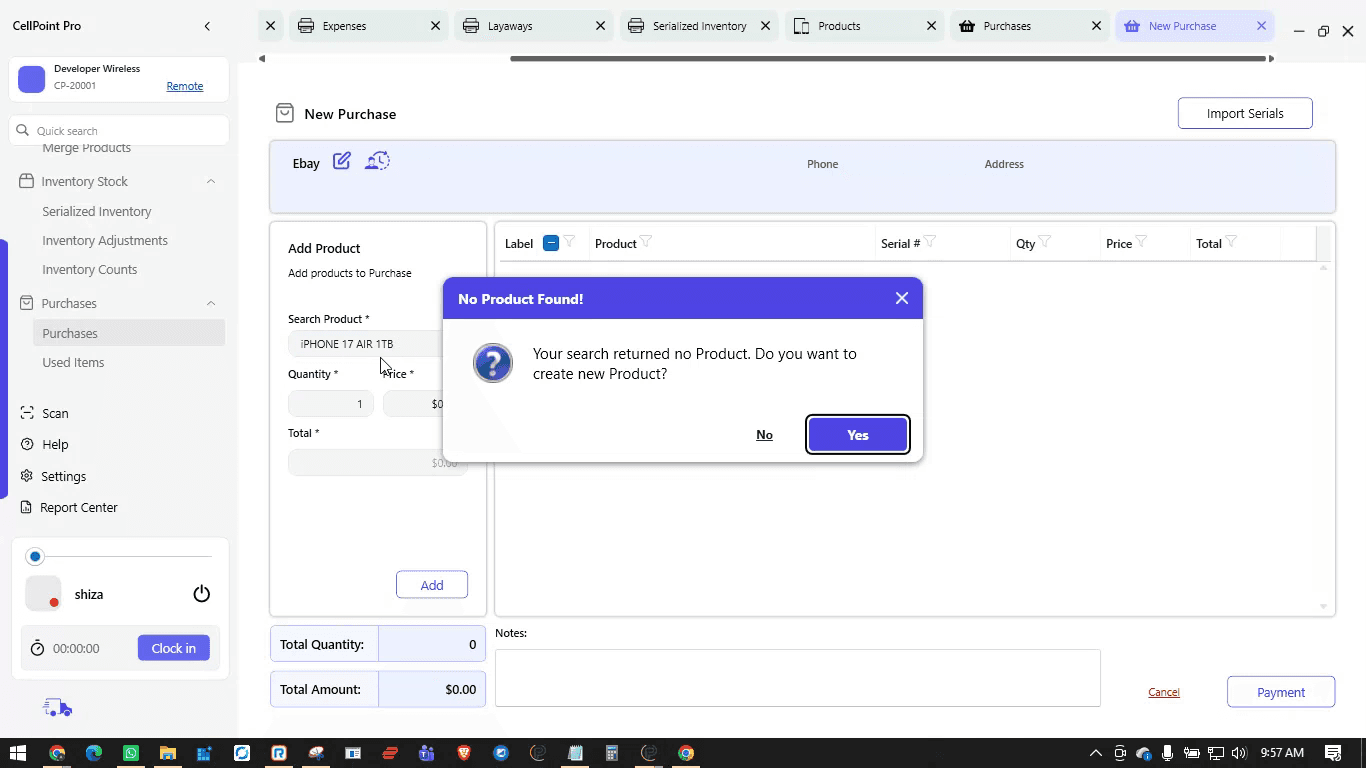
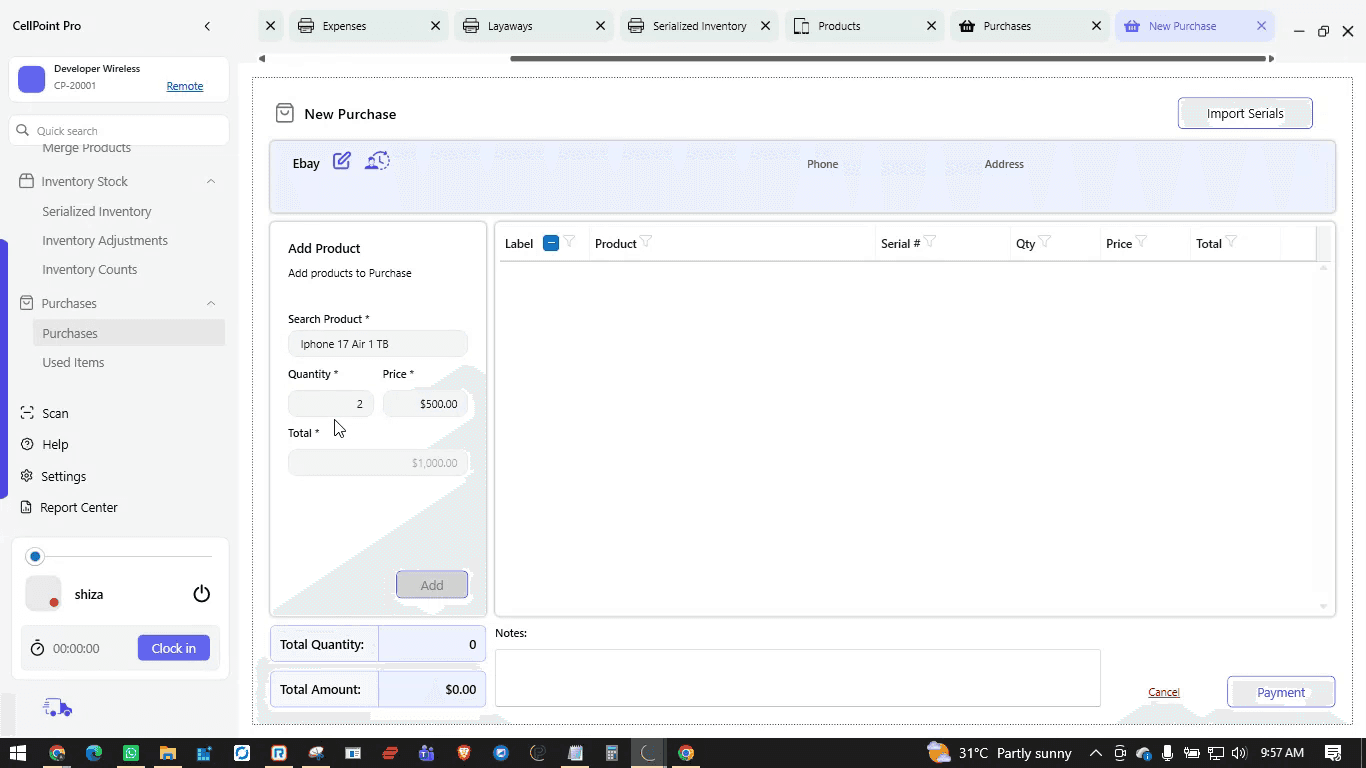
Scan the IMEI or serial numbers; each scan will automatically add the item to the purchase list.
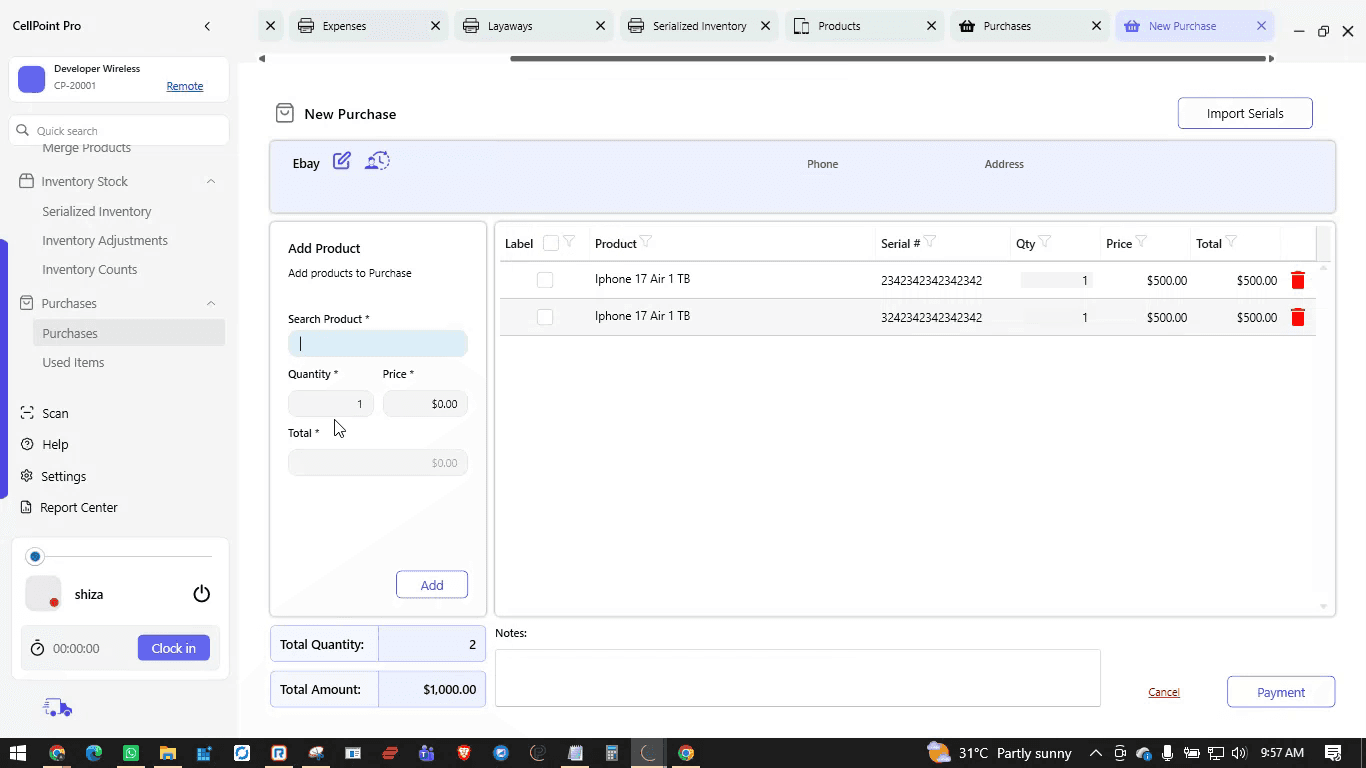
If needed, choose to print labels; otherwise, uncheck the label option before completing the purchase.
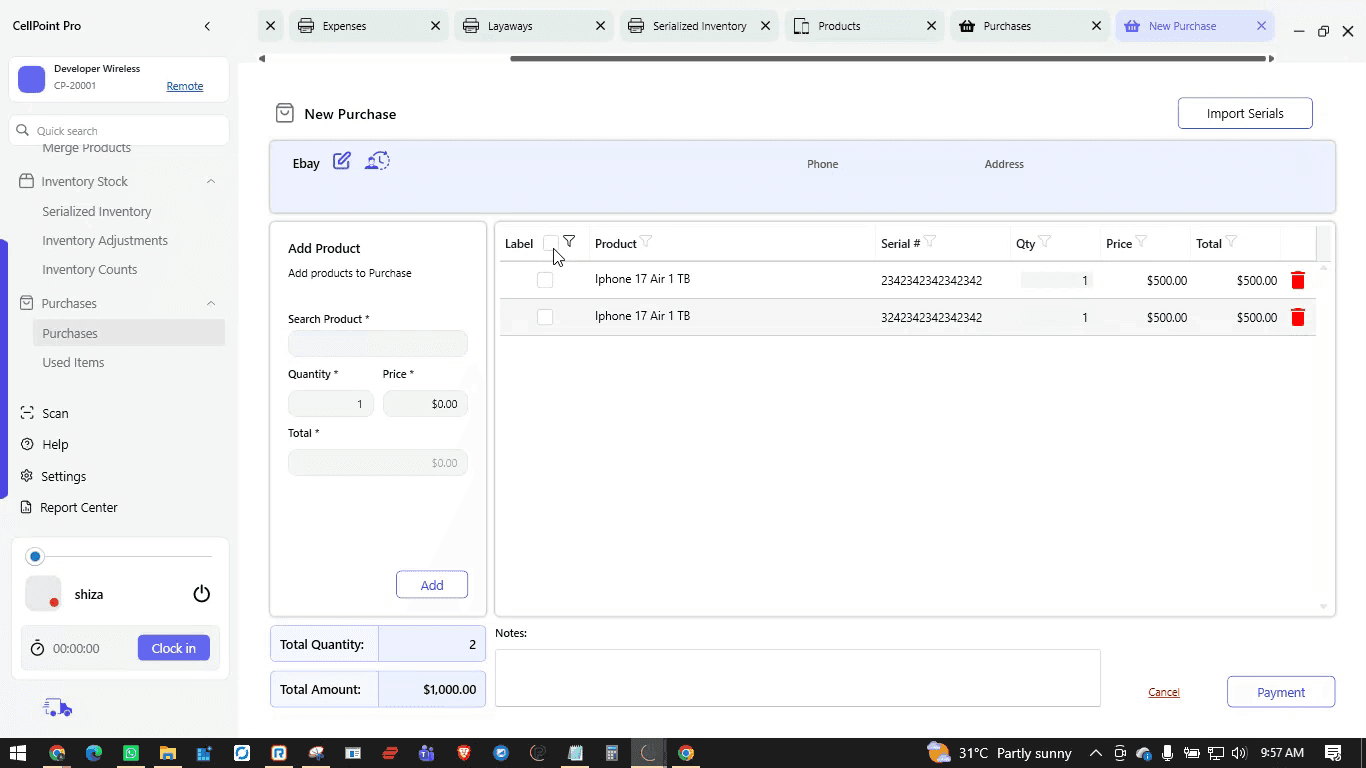
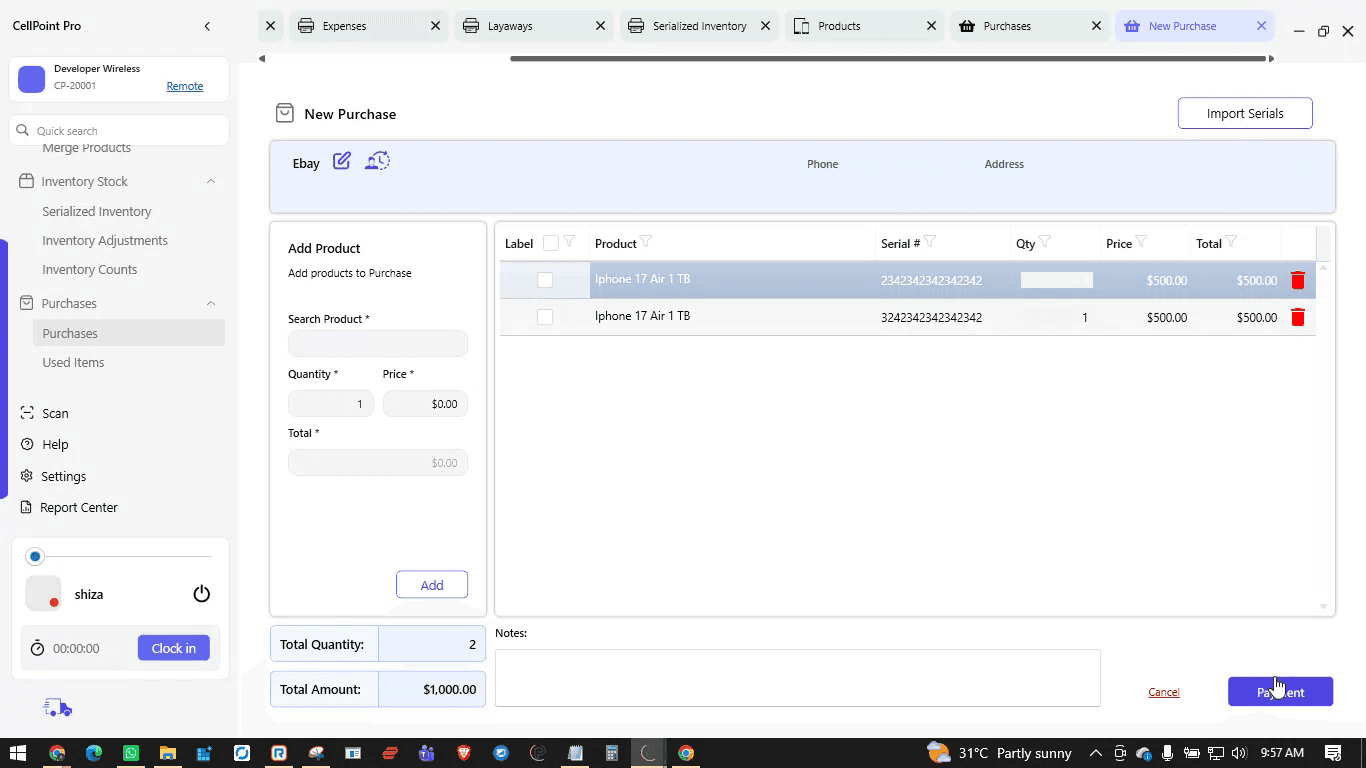
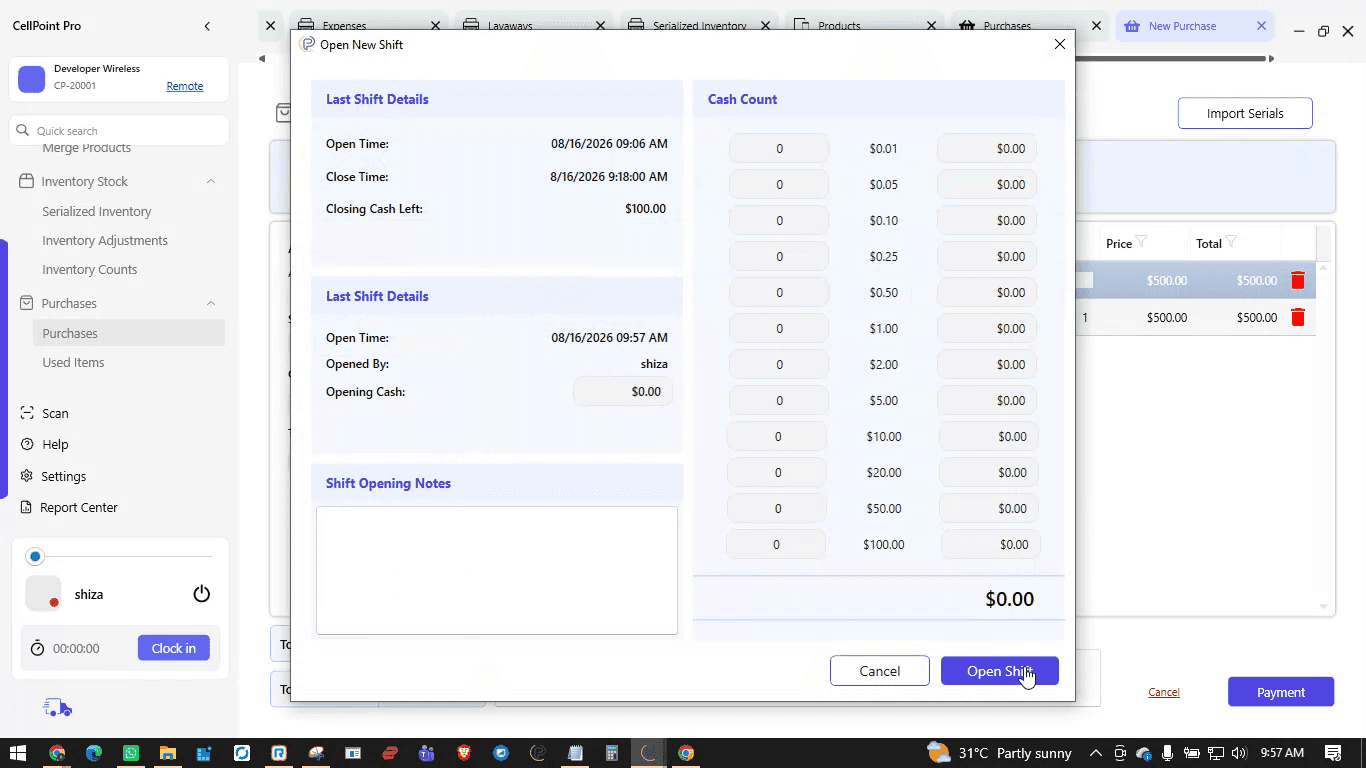
Ensure the shift is open, then select the user handling the purchase and choose the mode of payment used for this purchase.
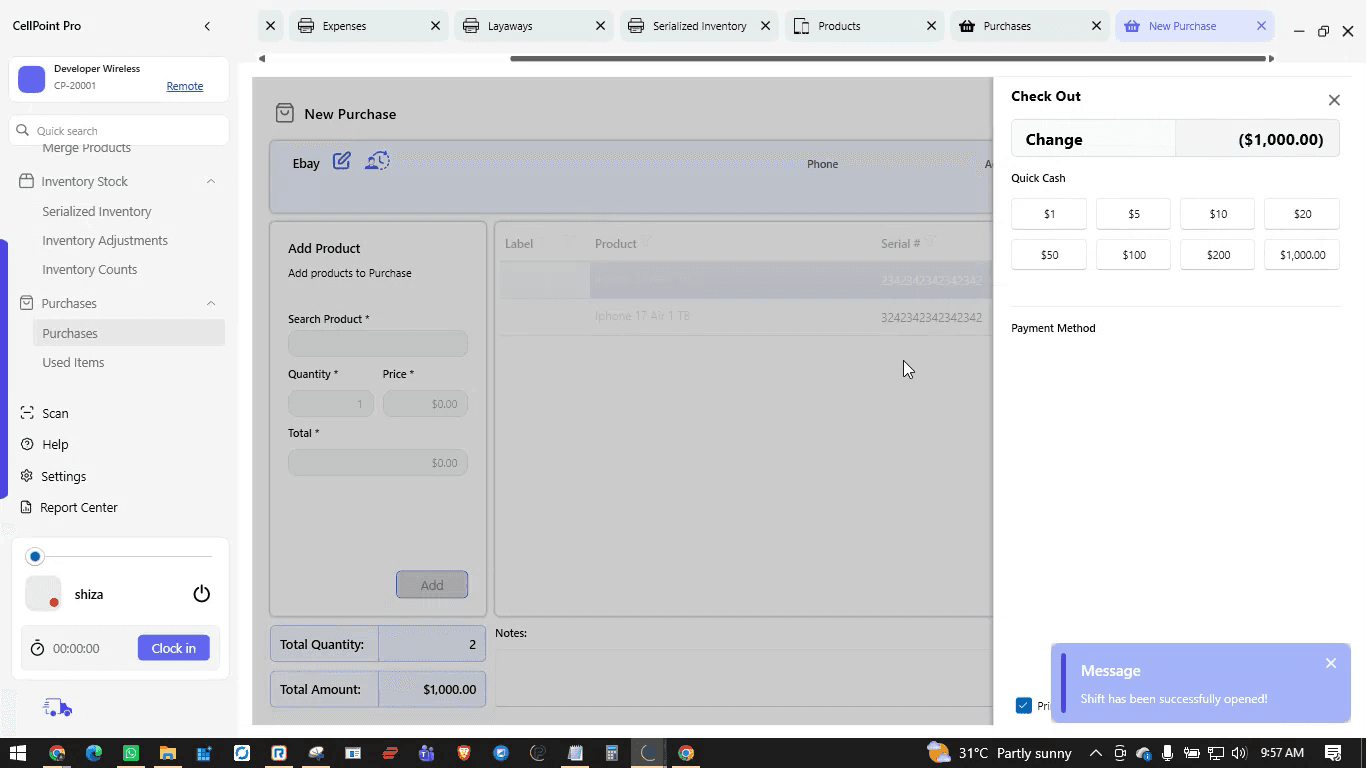
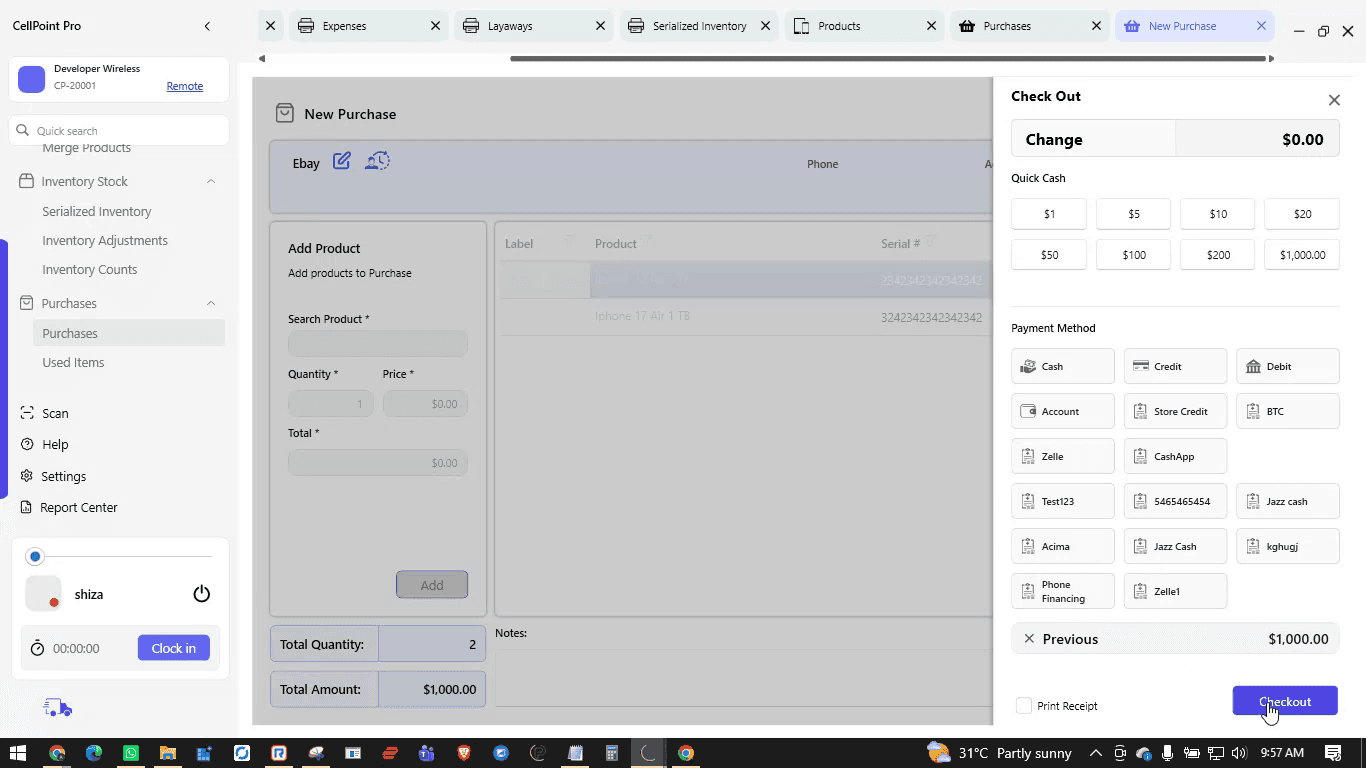
Complete the transaction by checking out the purchase.
Step 6: Verify Serialized Inventory and Manage Products
To confirm that inventory was added, go to Inventory & Stock on the left side and open Serialized Inventory.
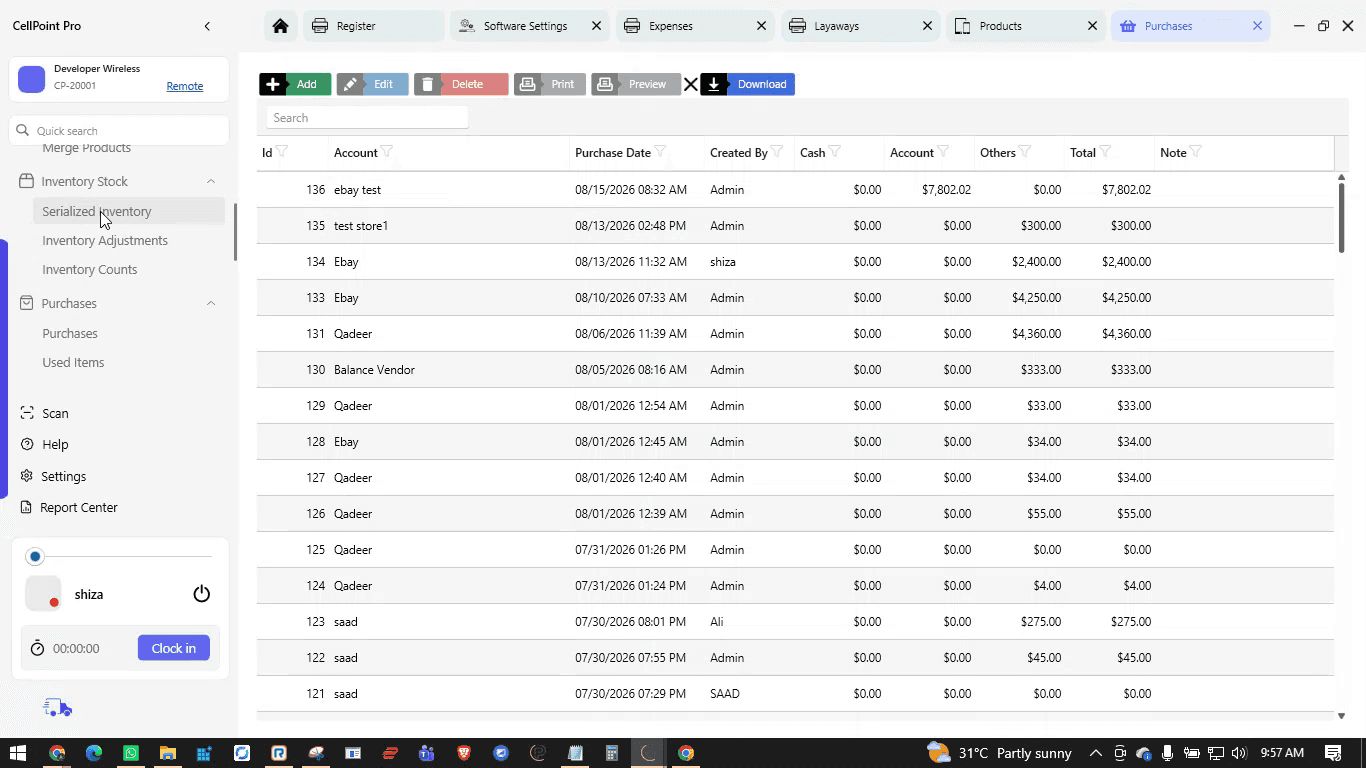
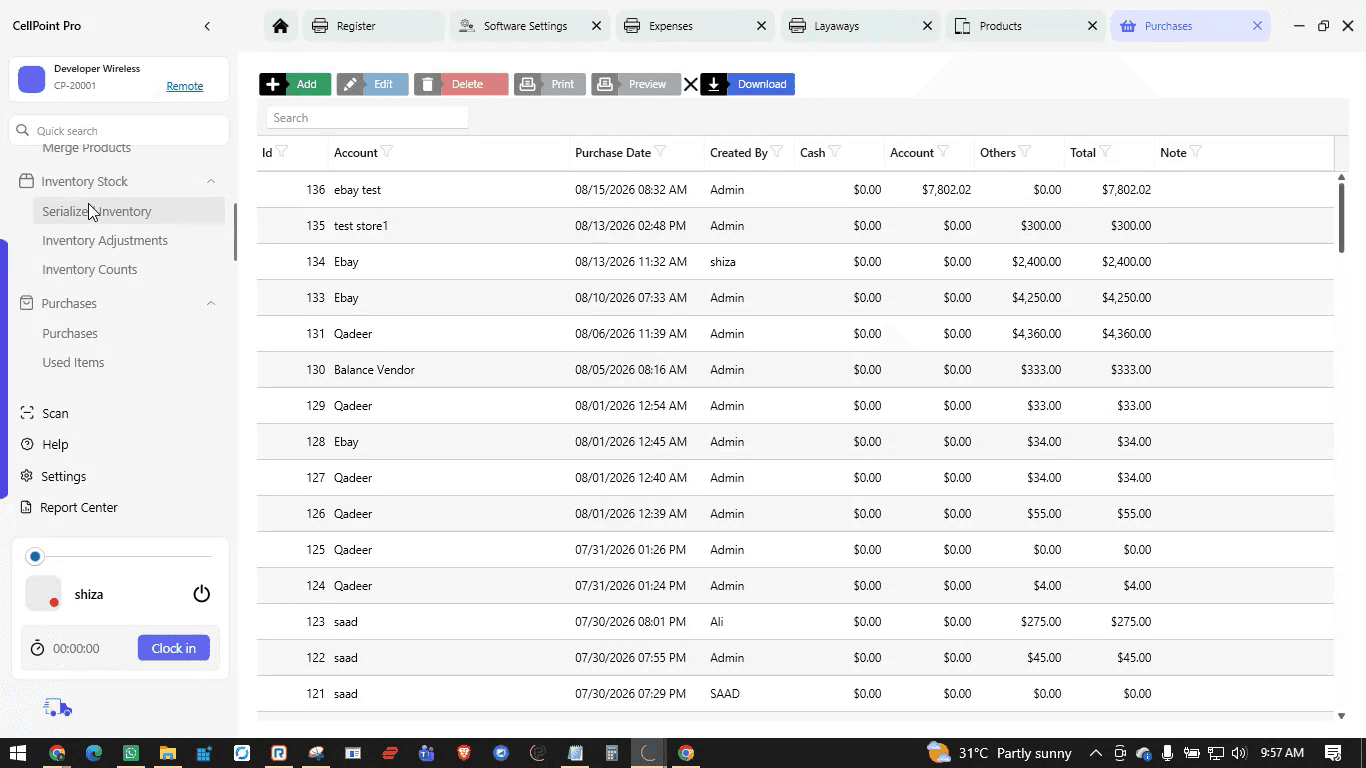
Search for the product you just added (e.g., “iPhone 17 Air”) to see the serialized devices in stock.
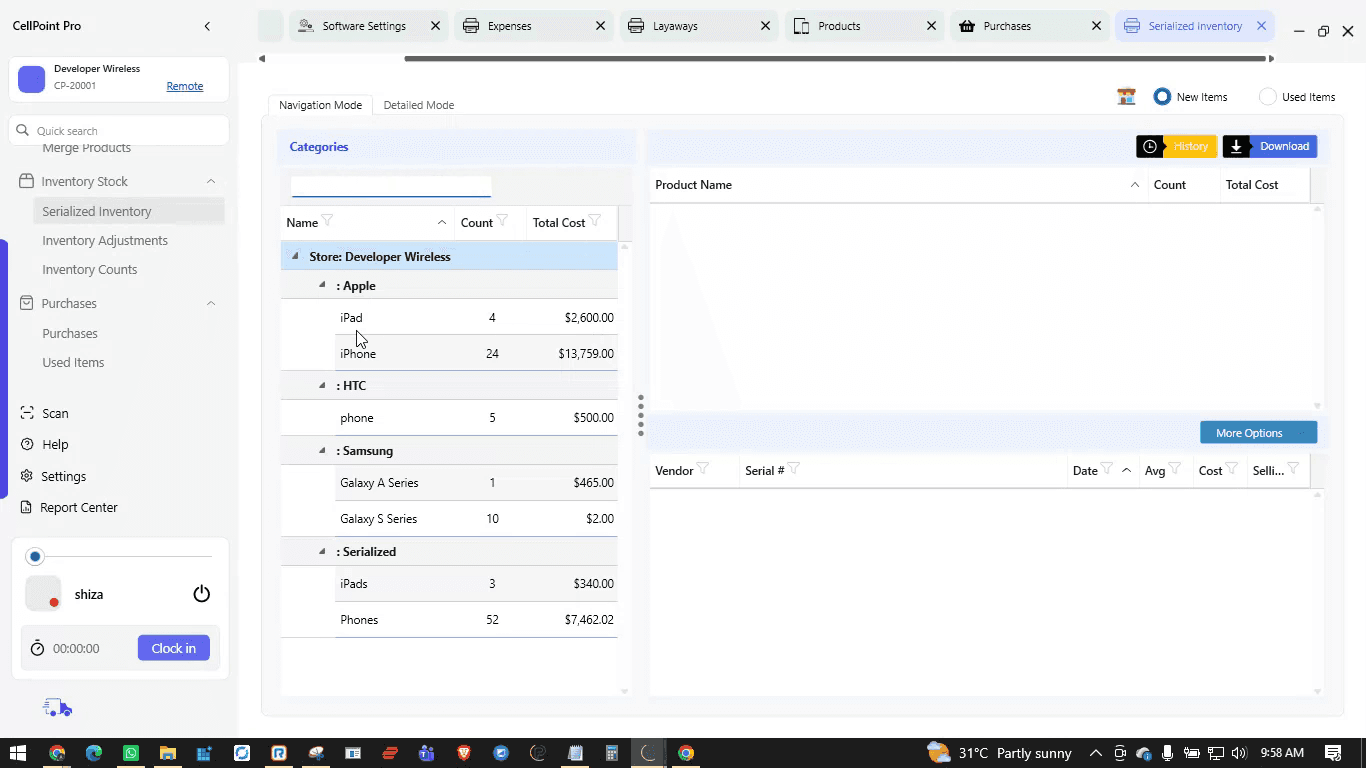
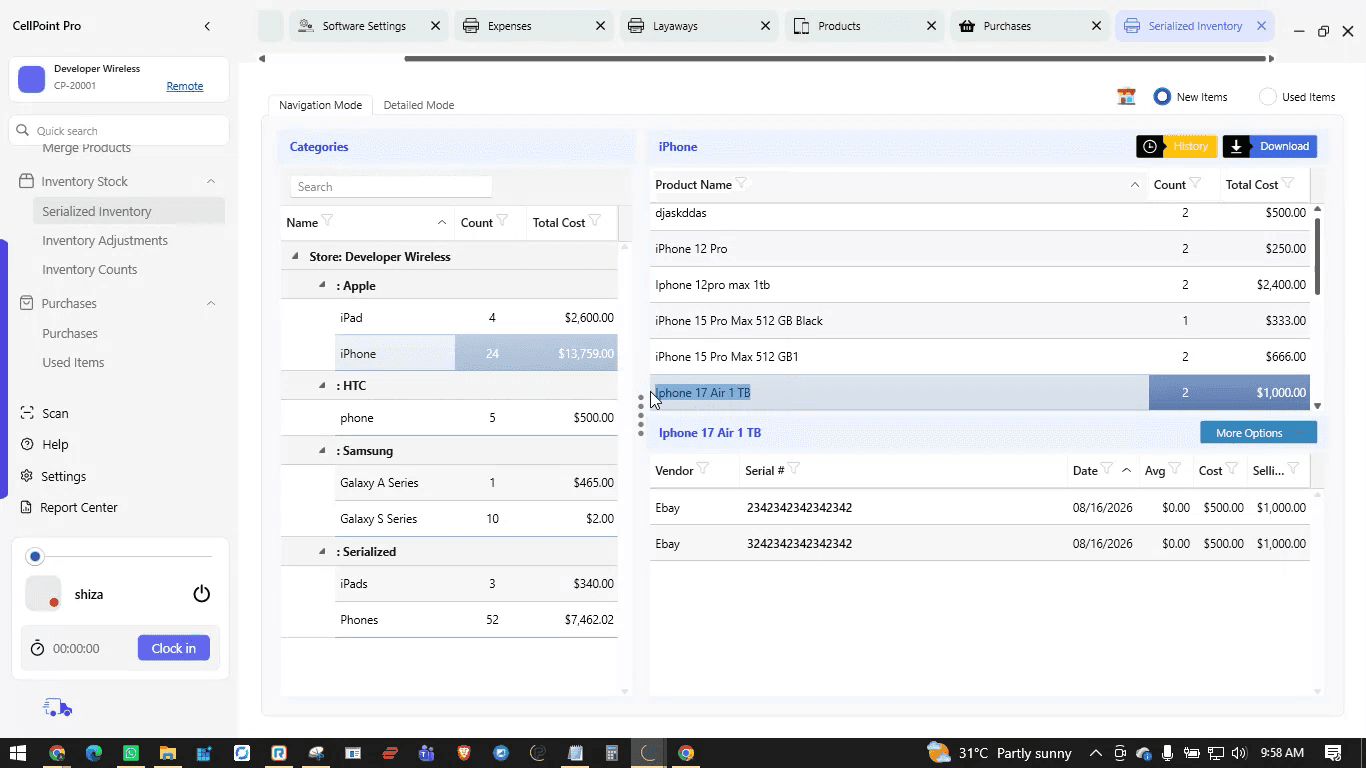
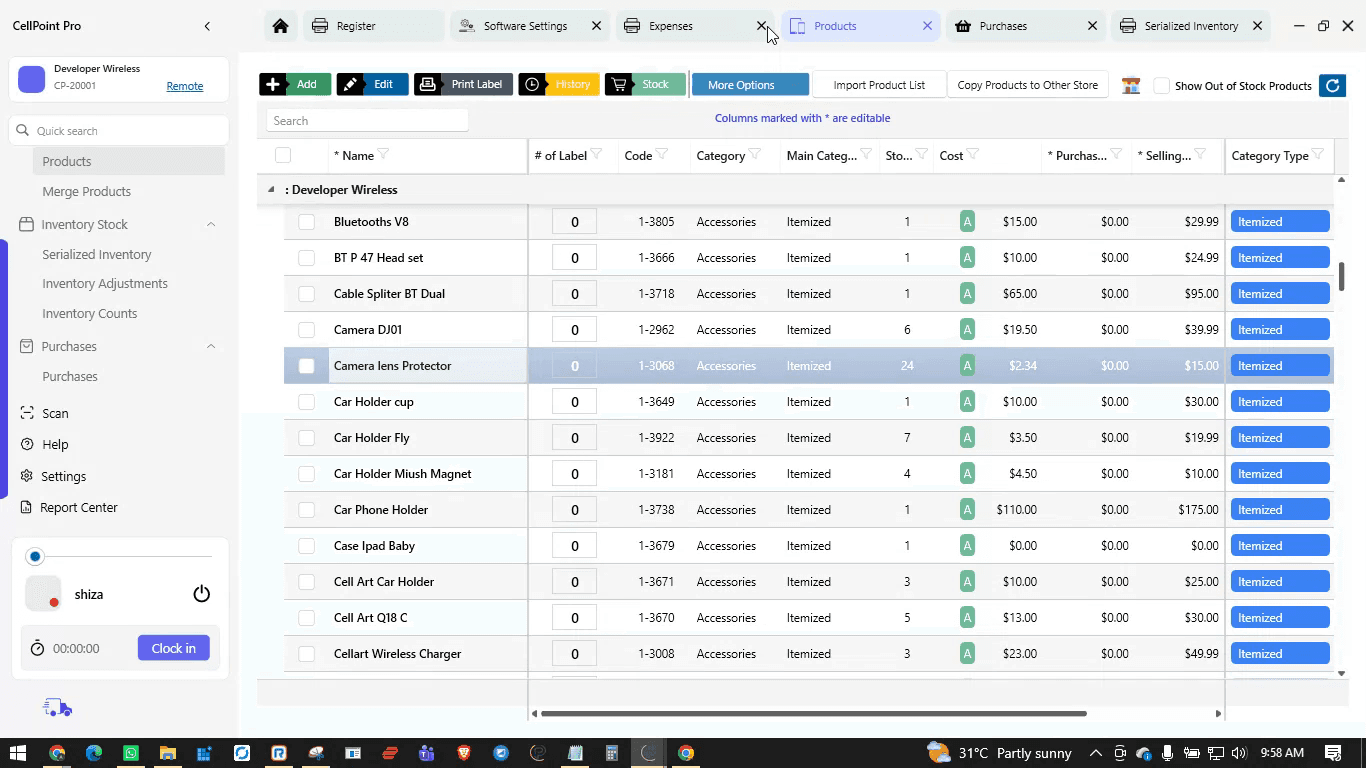
From this section, you can manage your serialized products and devices. To manage general products, navigate to Products from the left side to access your product list, where you can edit products, print labels, and review product history.

Step 7: Perform a Quick Sale
To create a new sale, open the sales screen.
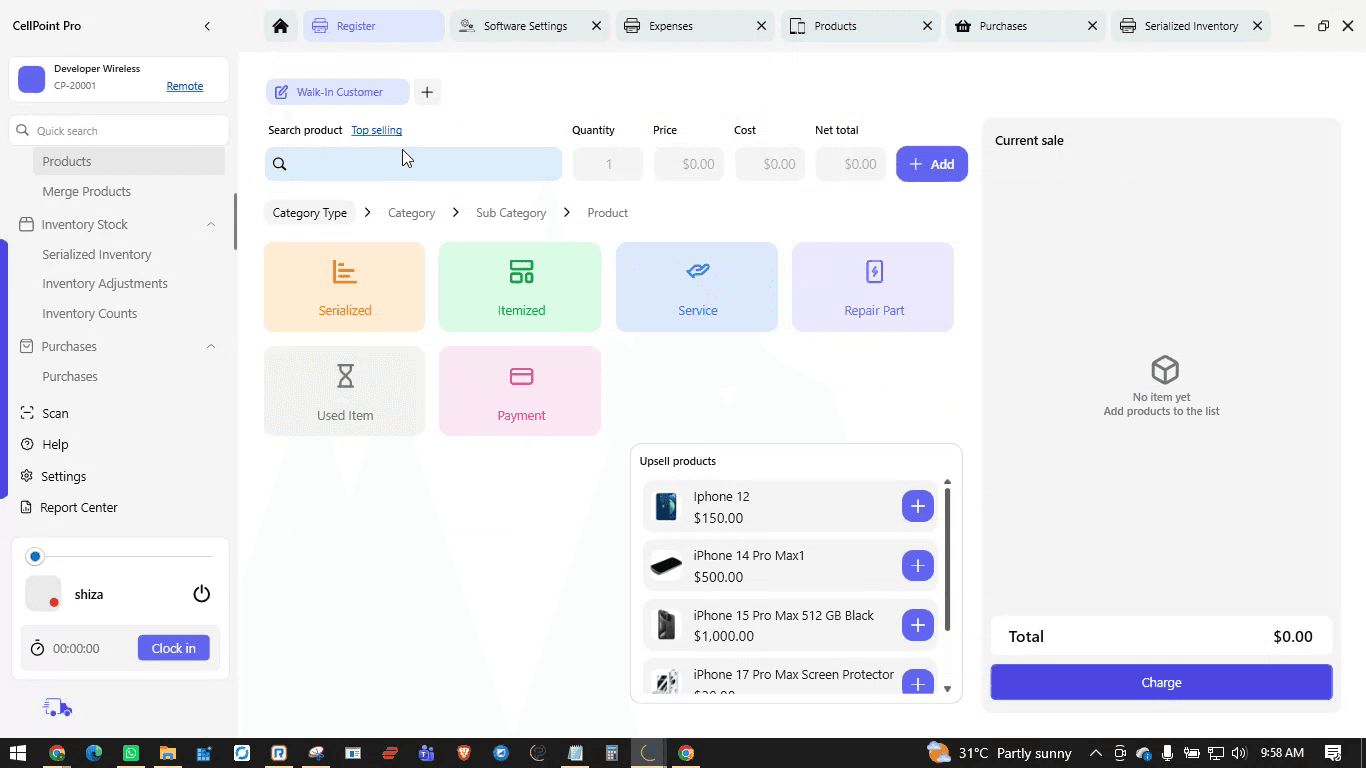
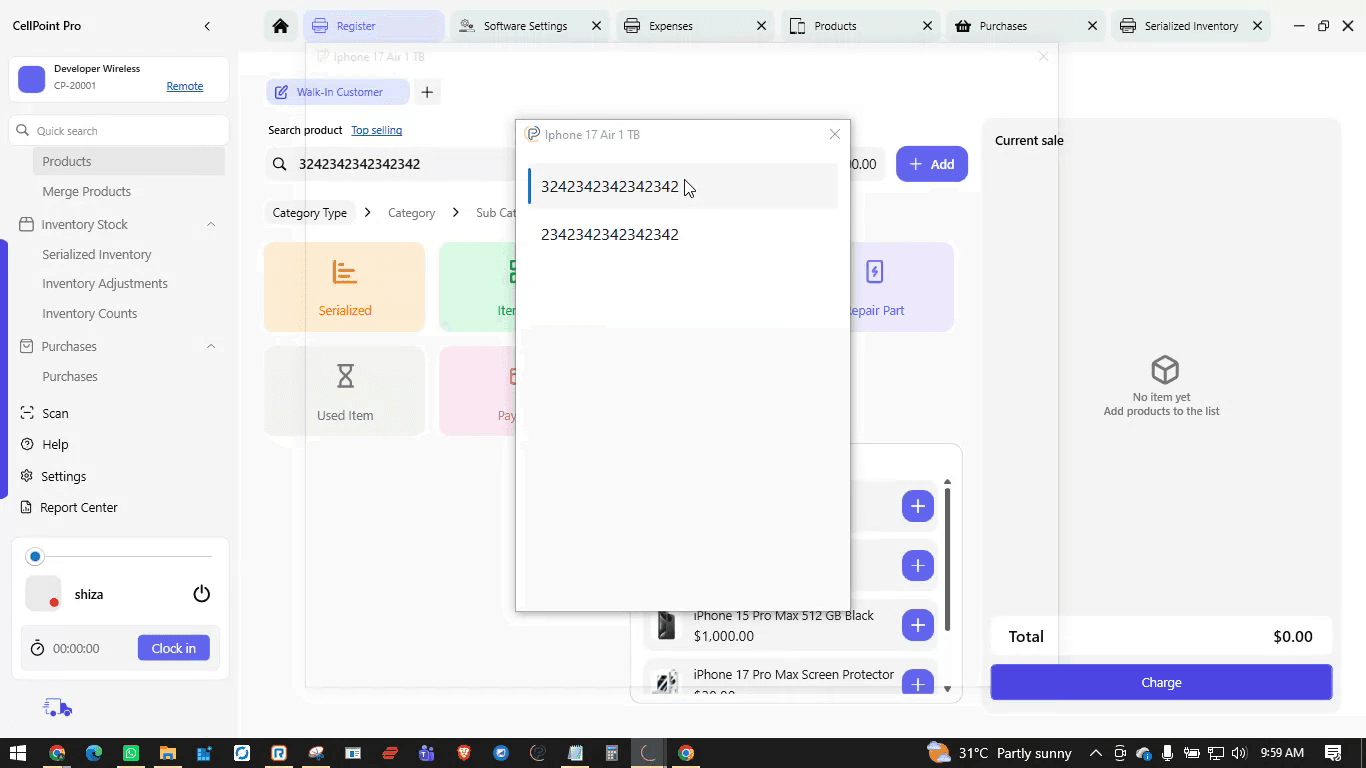
You can either browse through categories or quickly search by product name or scan the IMEI. Enter the product name (e.g., “iPhone 17 Air”) to fetch it automatically.
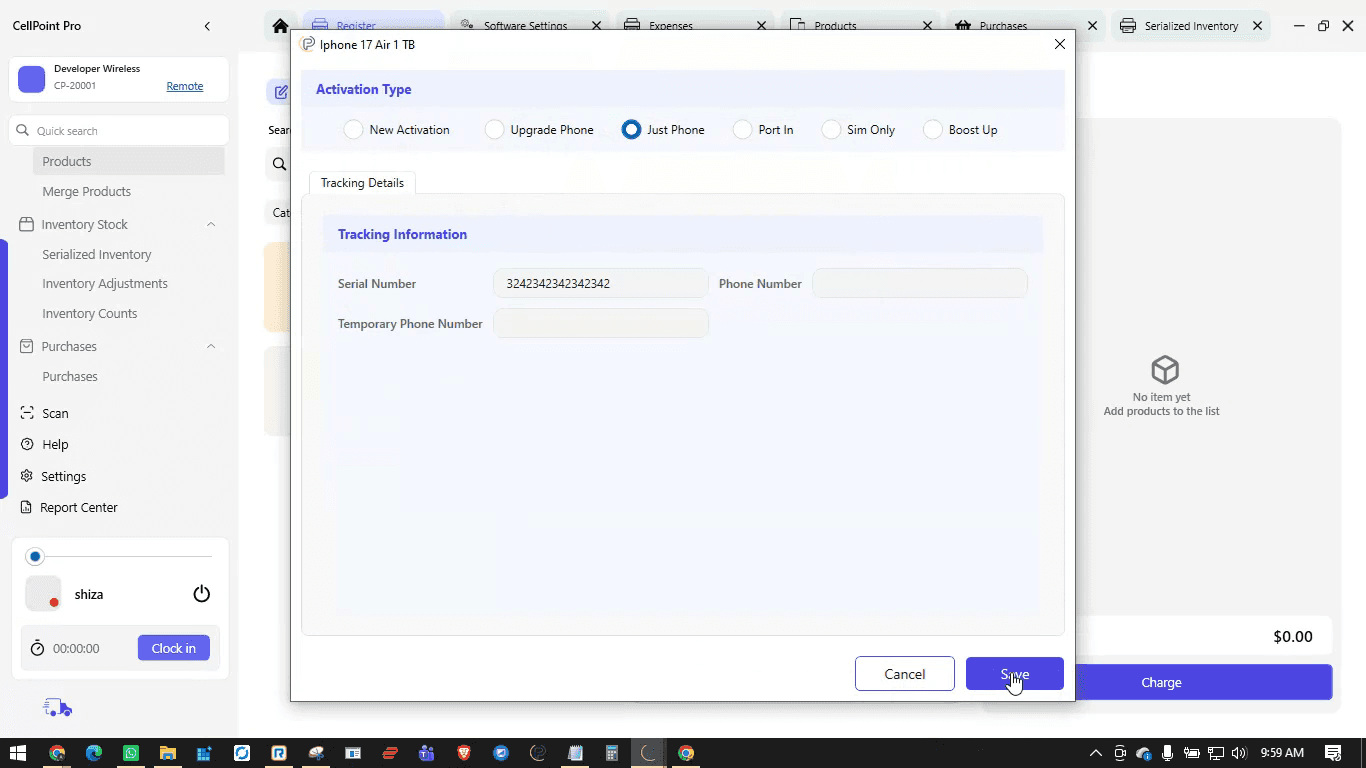
Select the type of activation if applicable, then review or adjust tax and discounts. You can add or remove tax and apply discounts as fixed amounts or percentages.
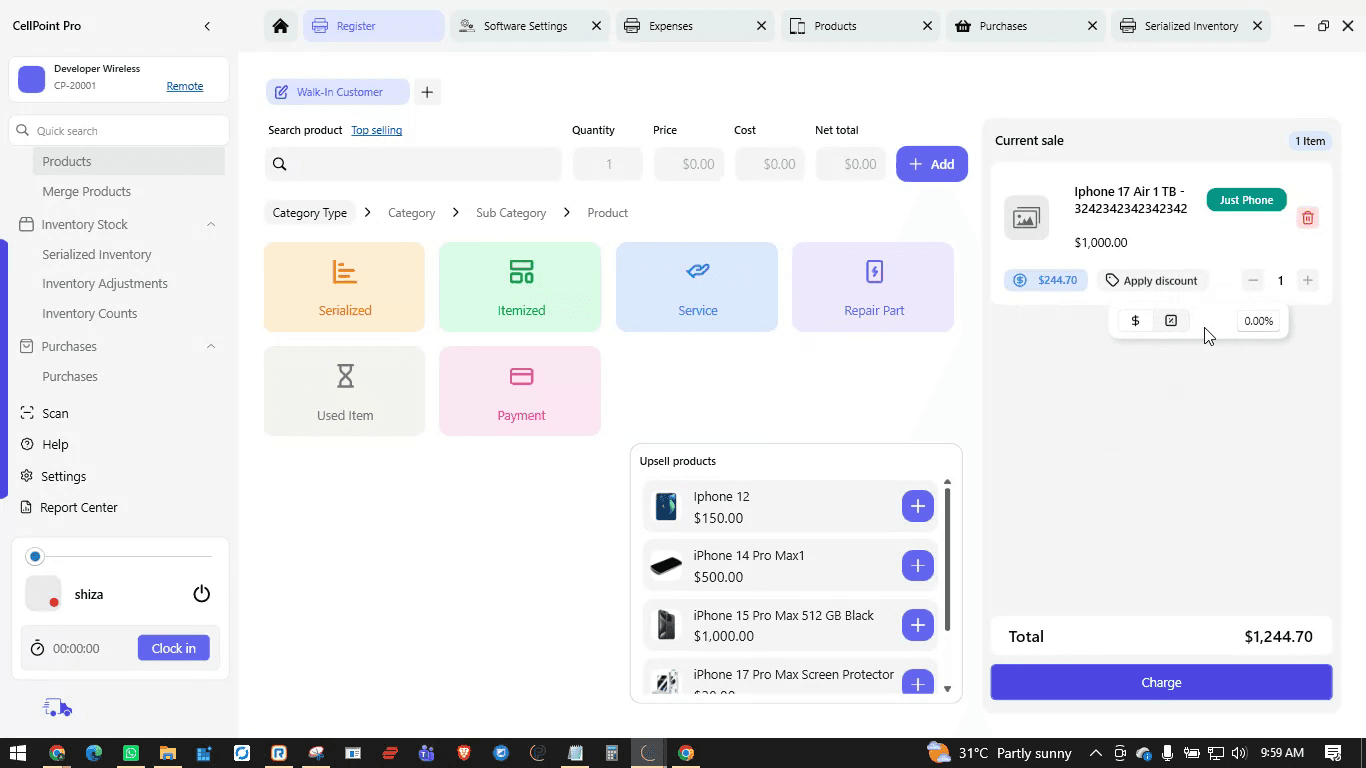
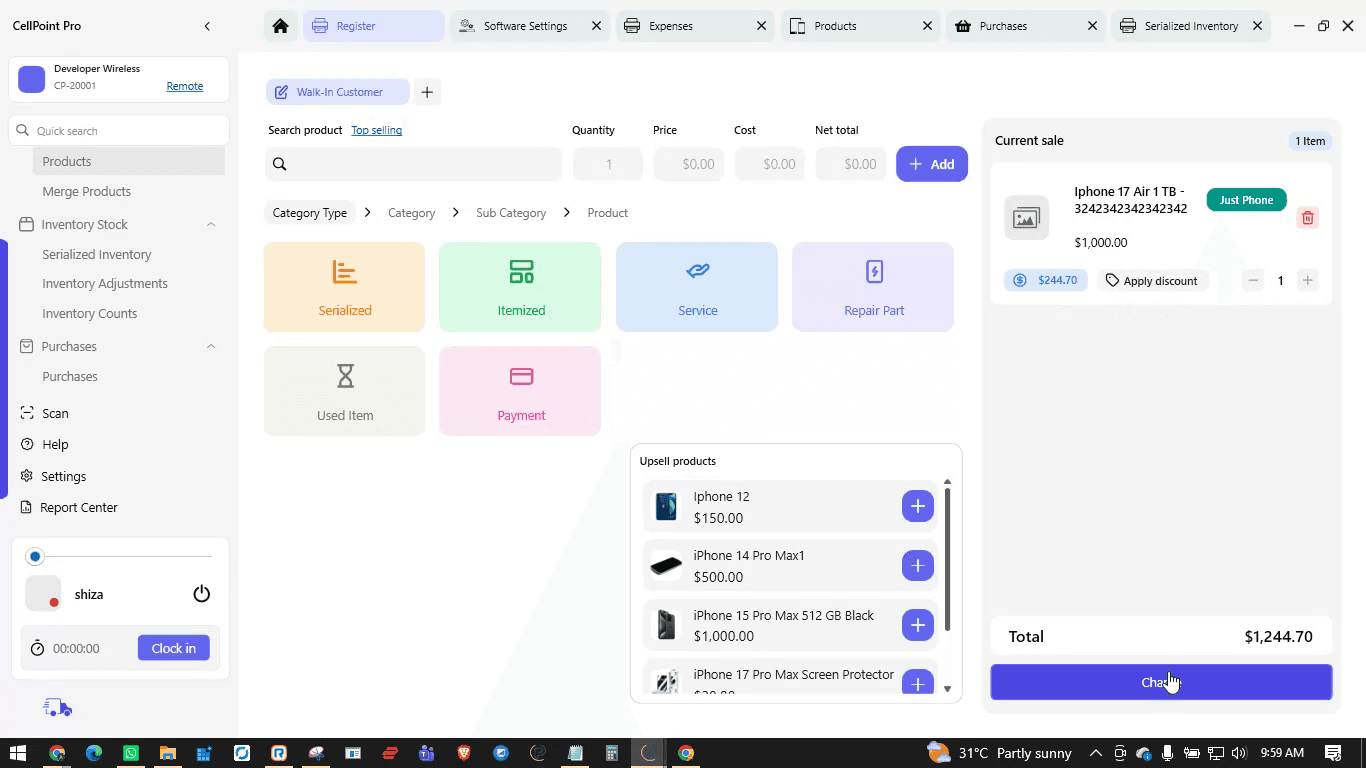
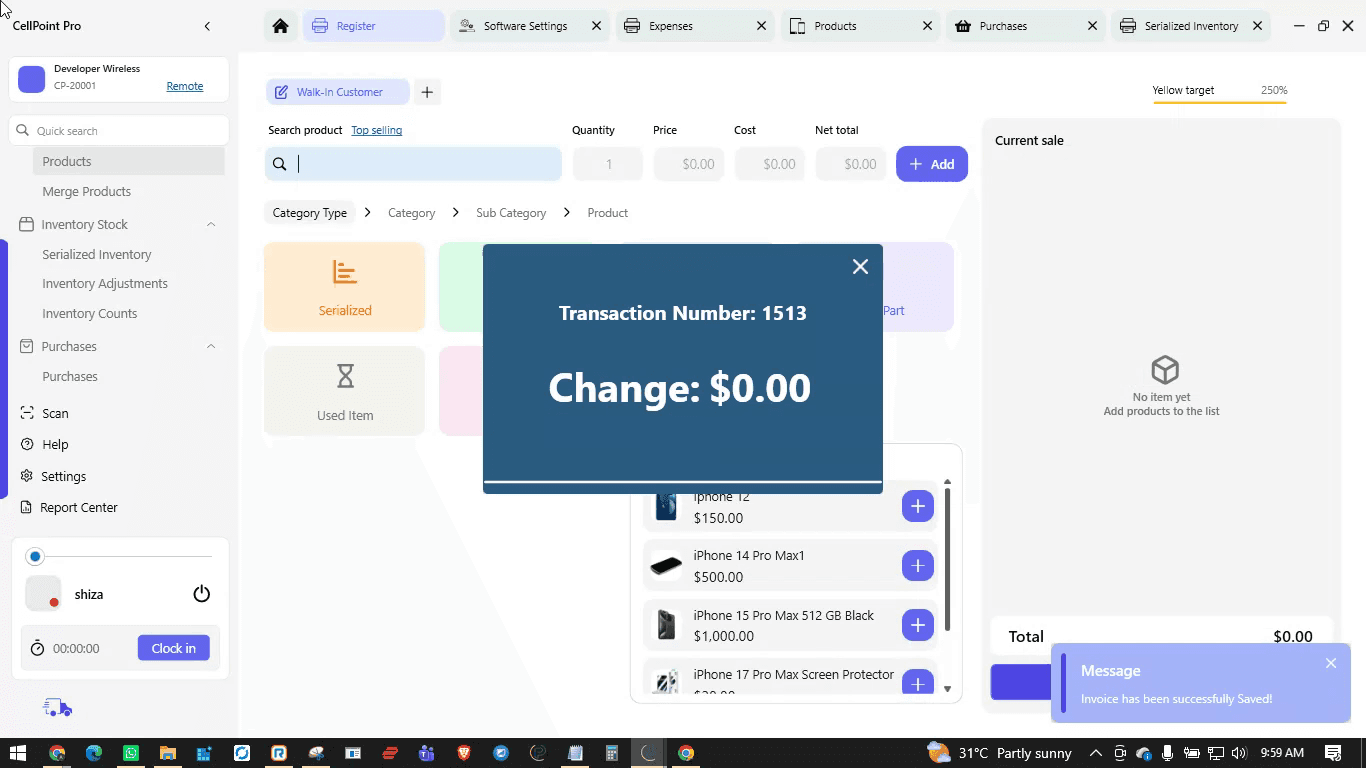
To complete the sale, click Charge, select the customer’s mode of payment, and finish checkout.
Step 8: Create a Repair Ticket
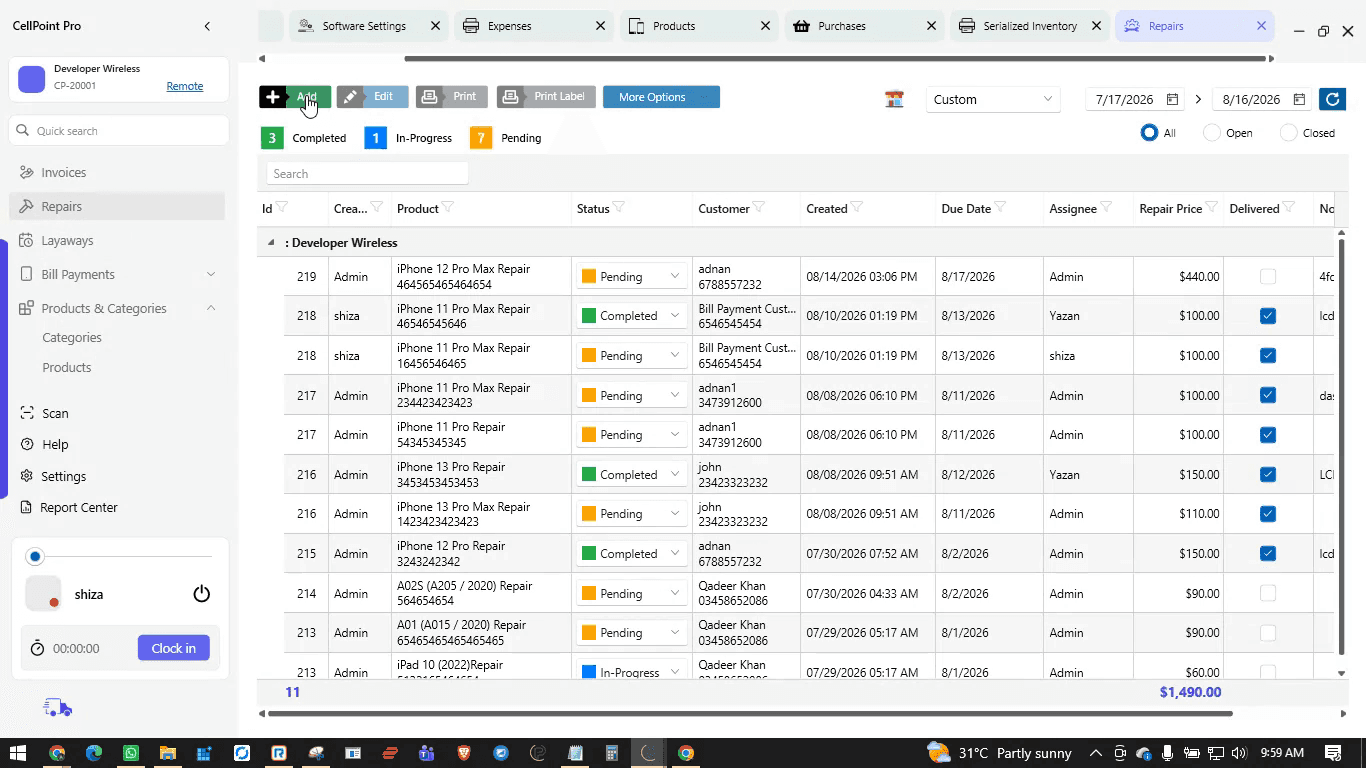
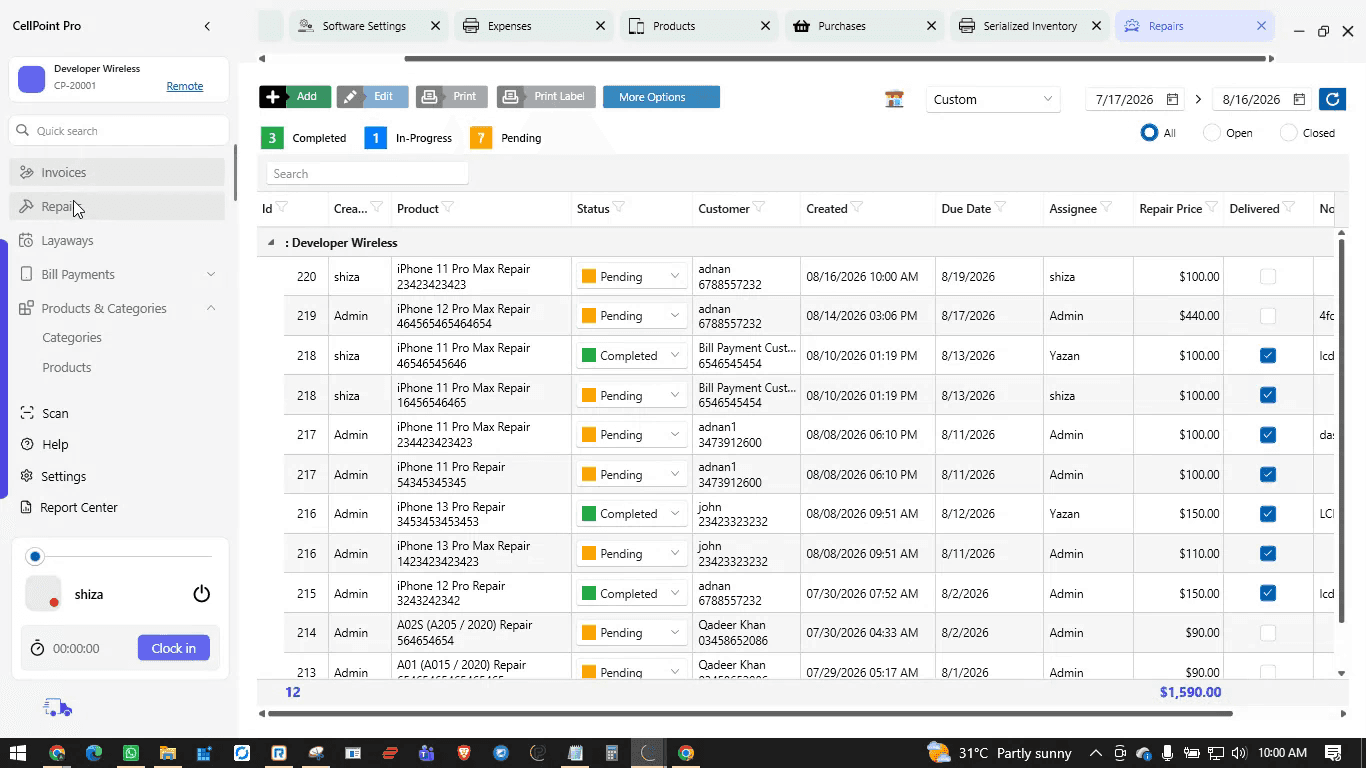
Go to the Repairs module to manage device repairs; this opens your repair list.
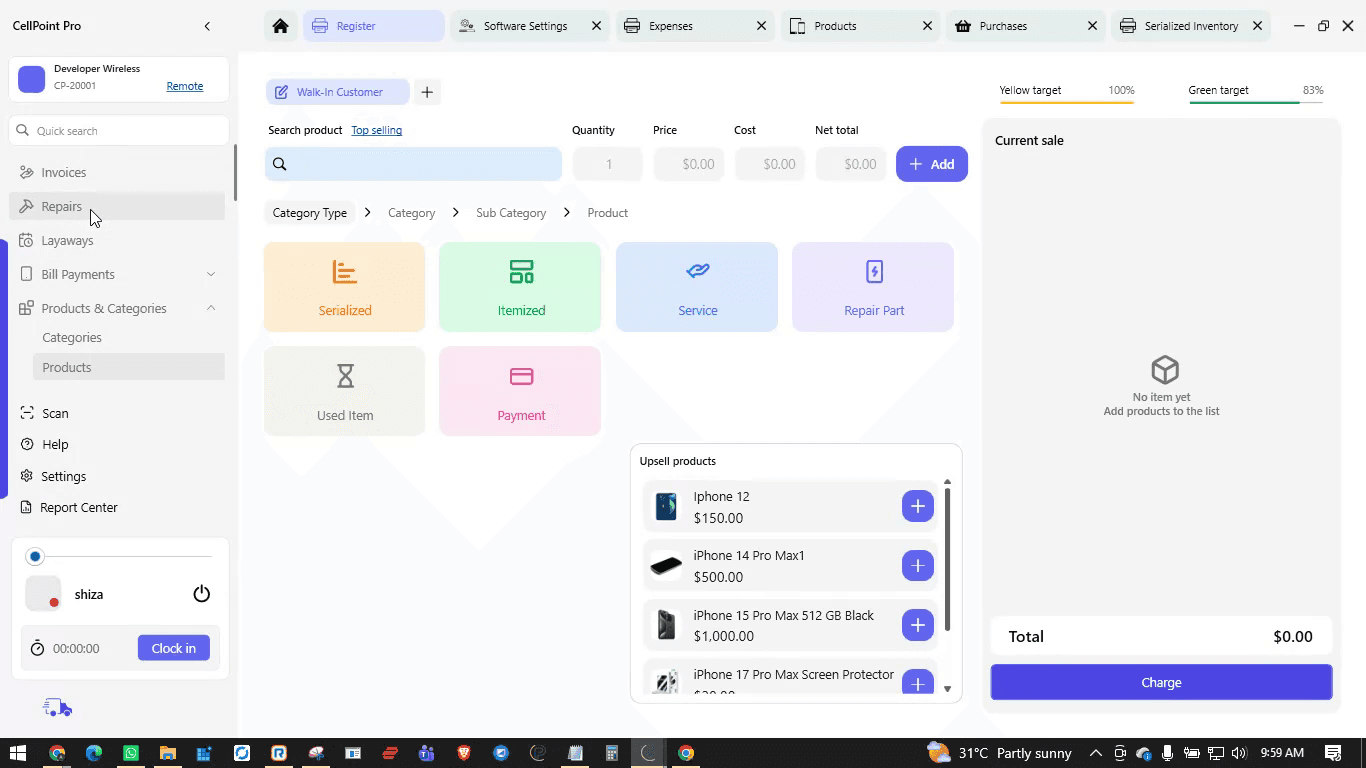
Click Add to create a new repair ticket.
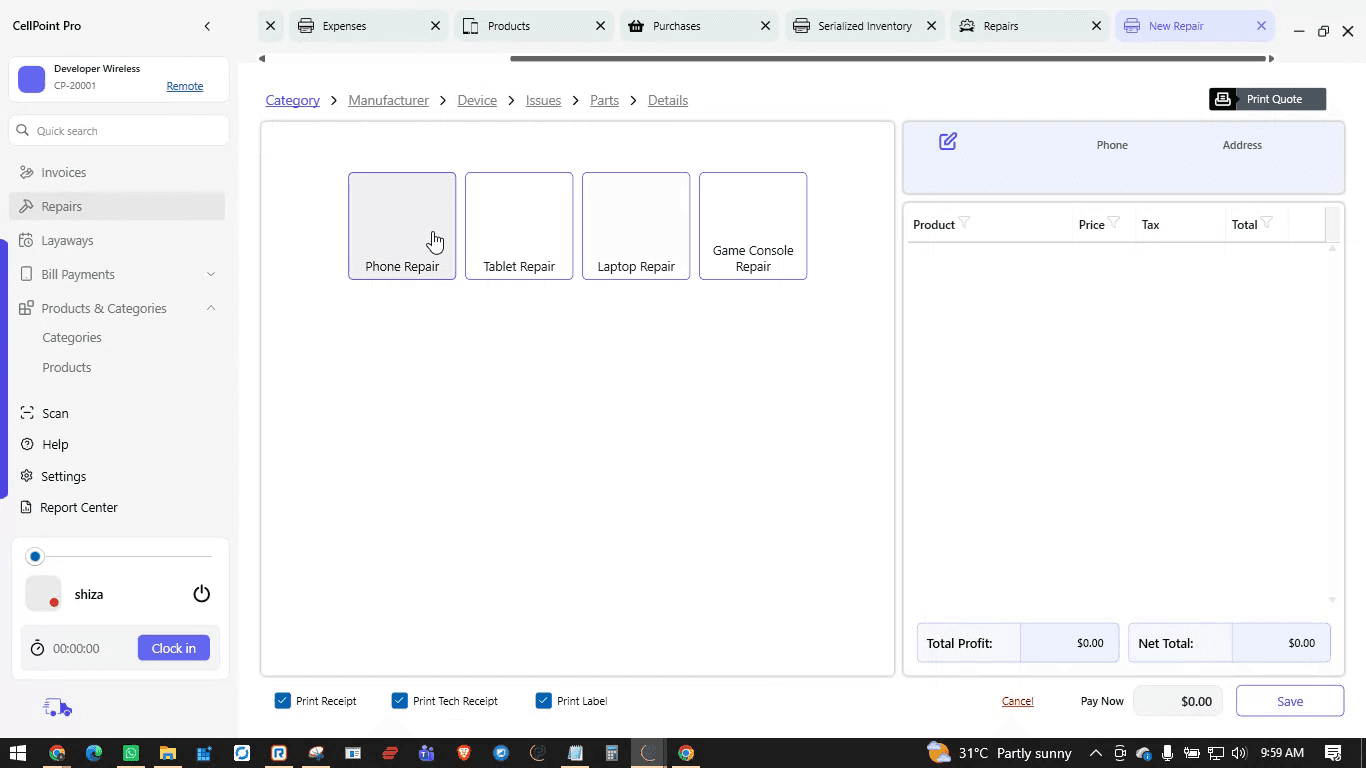
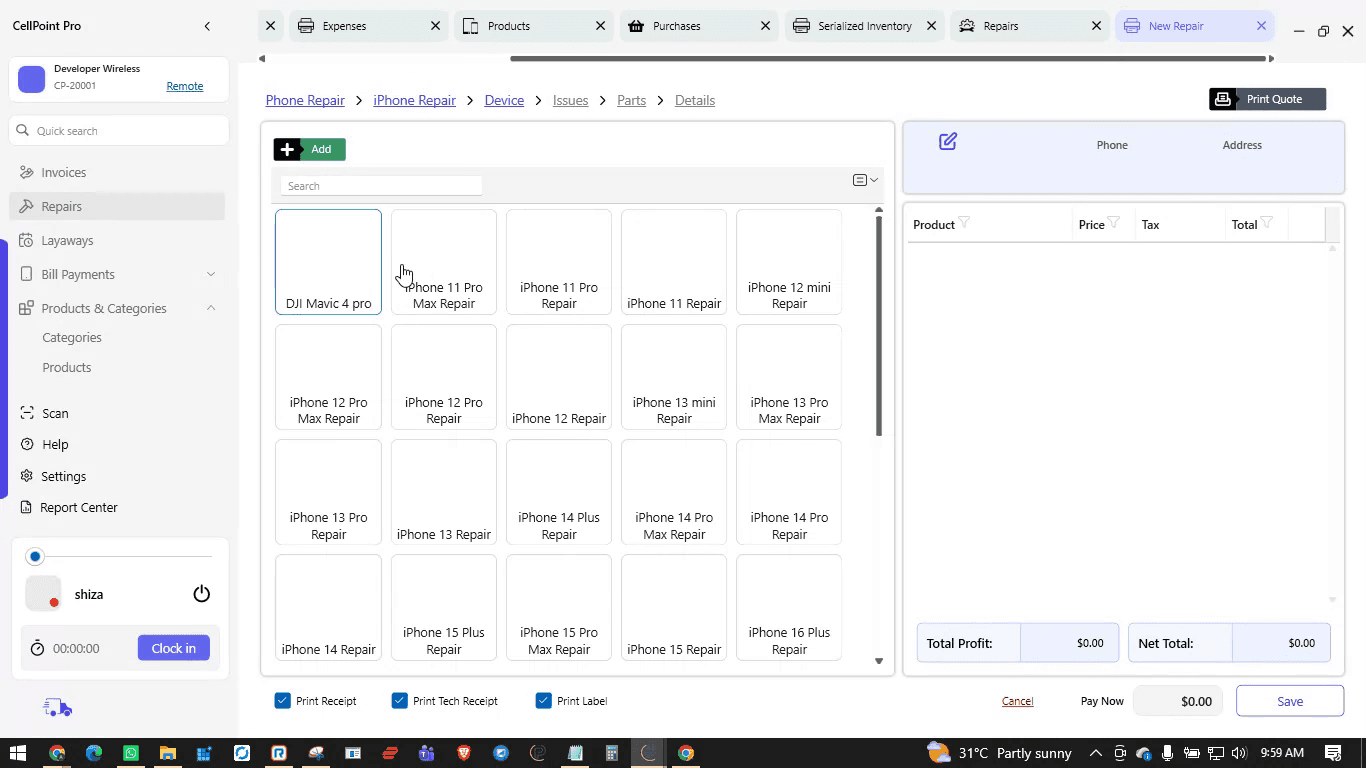
Select the type of repair, choose the brand, and then select the specific device being repaired.
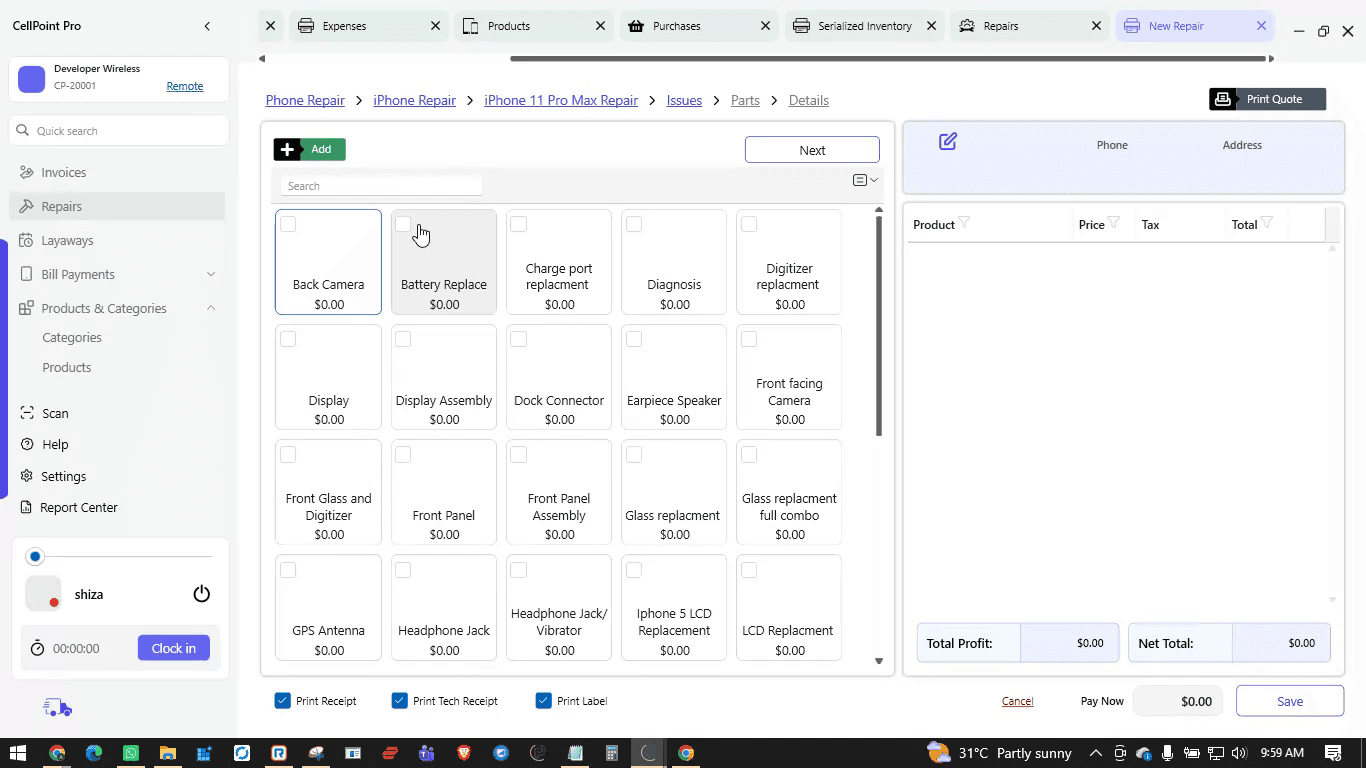
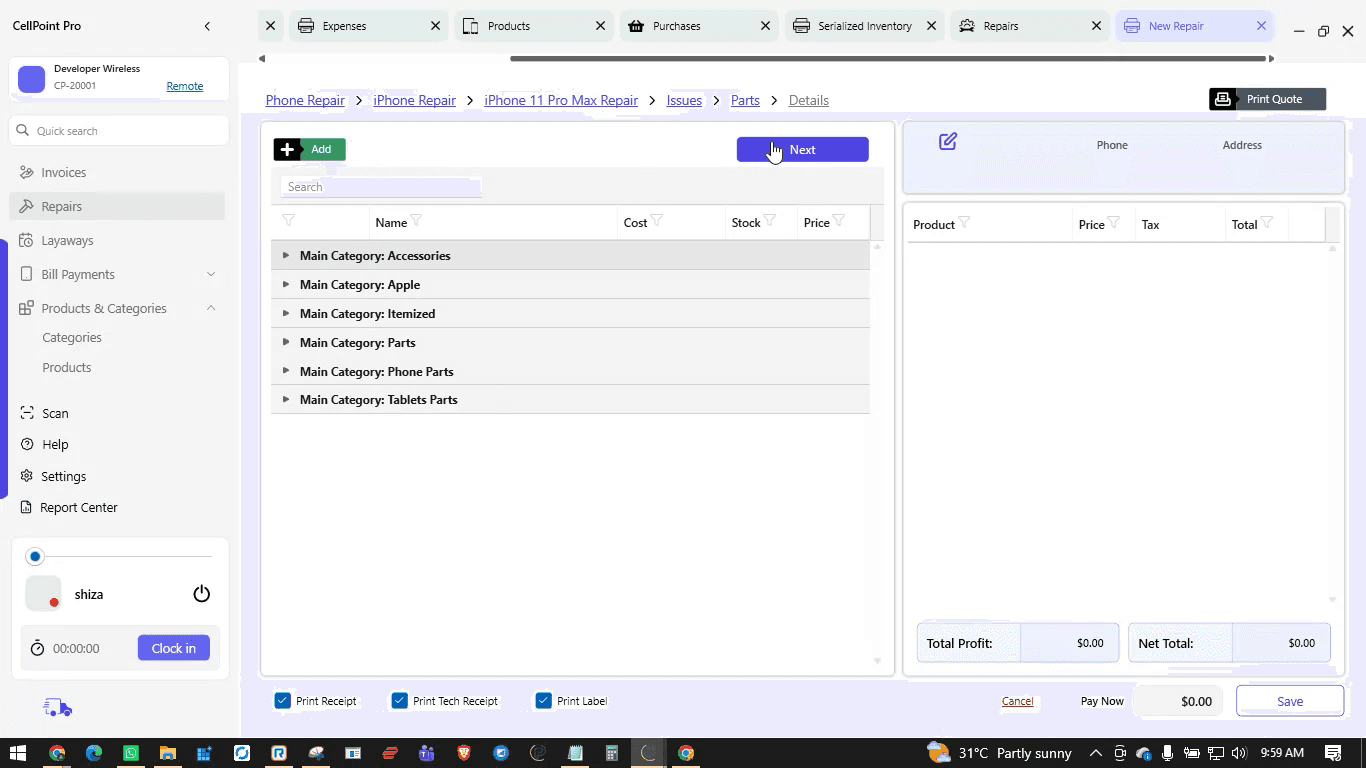
Add one or more issues to the ticket, then proceed to the next step.

You may add parts used in the repair now or later during management. Scan the serial number of the device, note any device password if necessary, and enter the repair price.
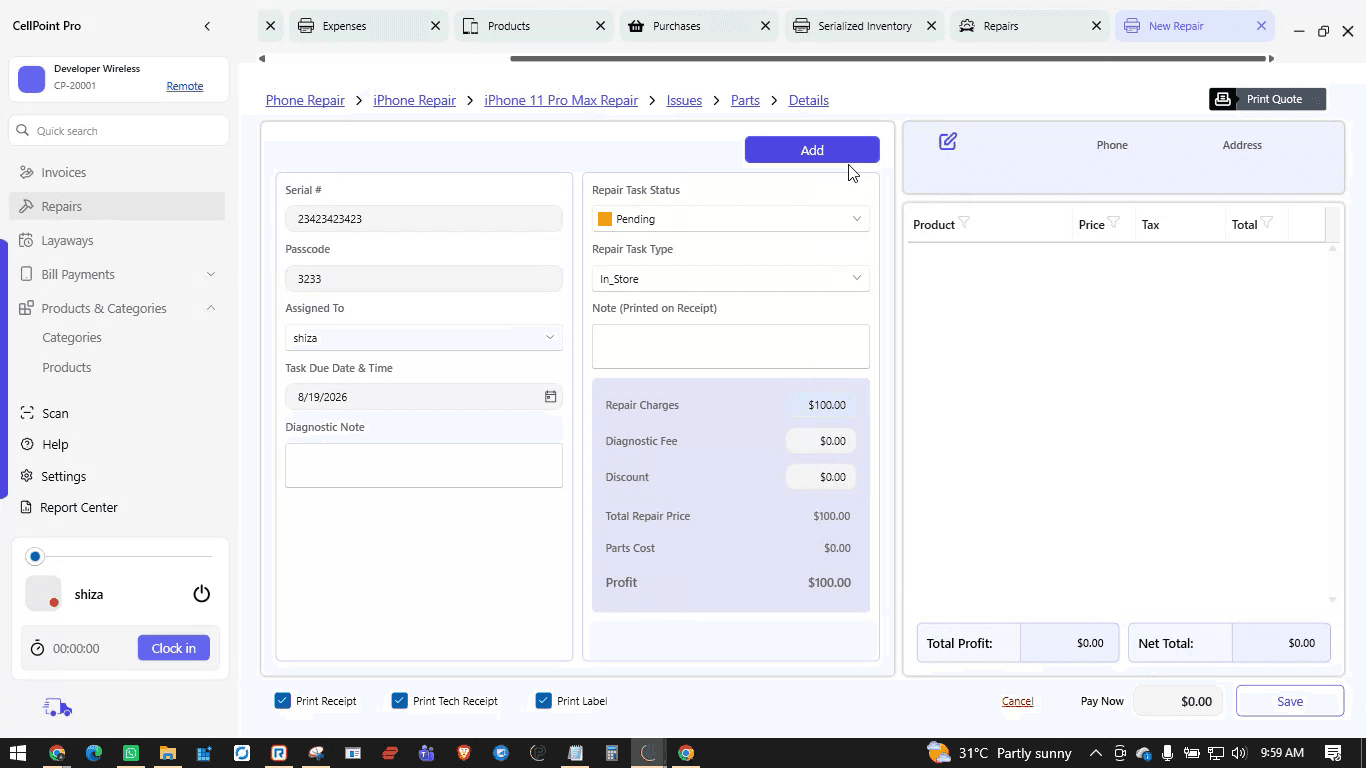
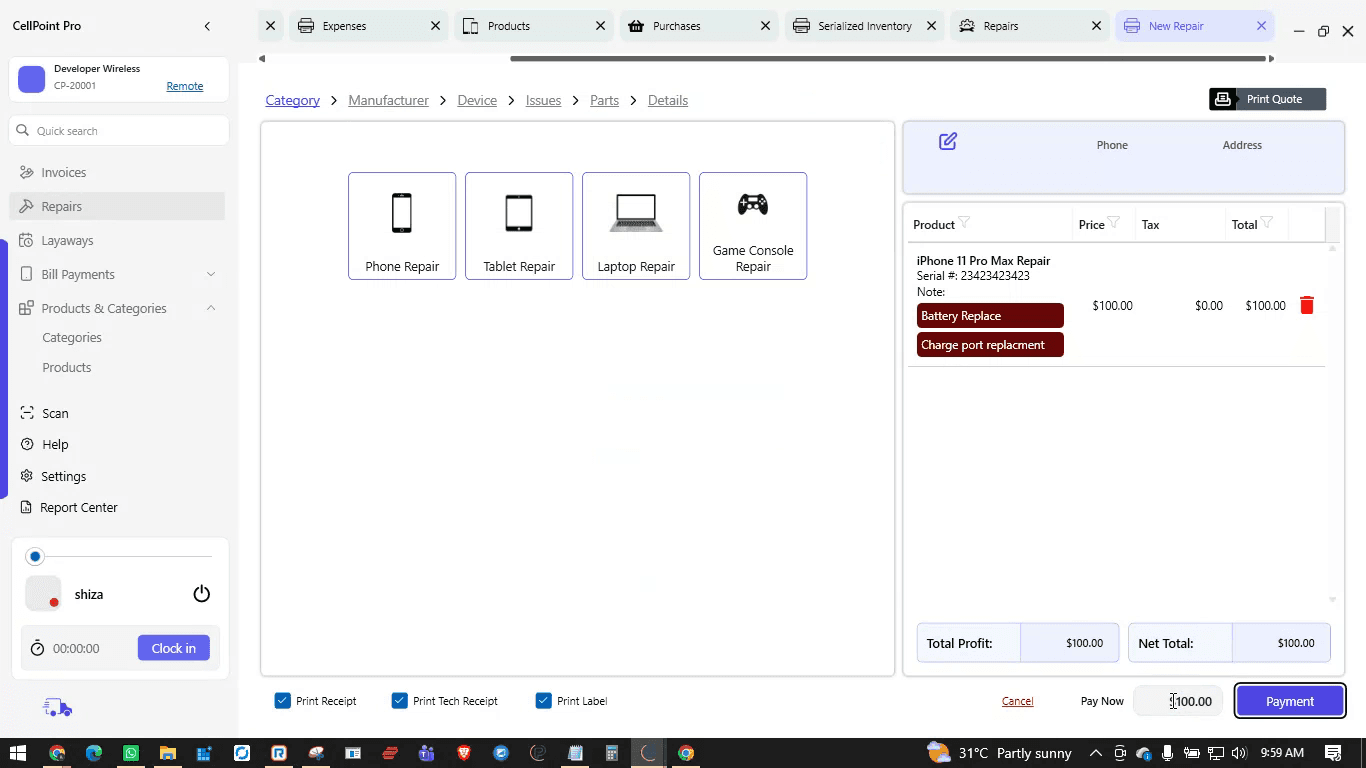
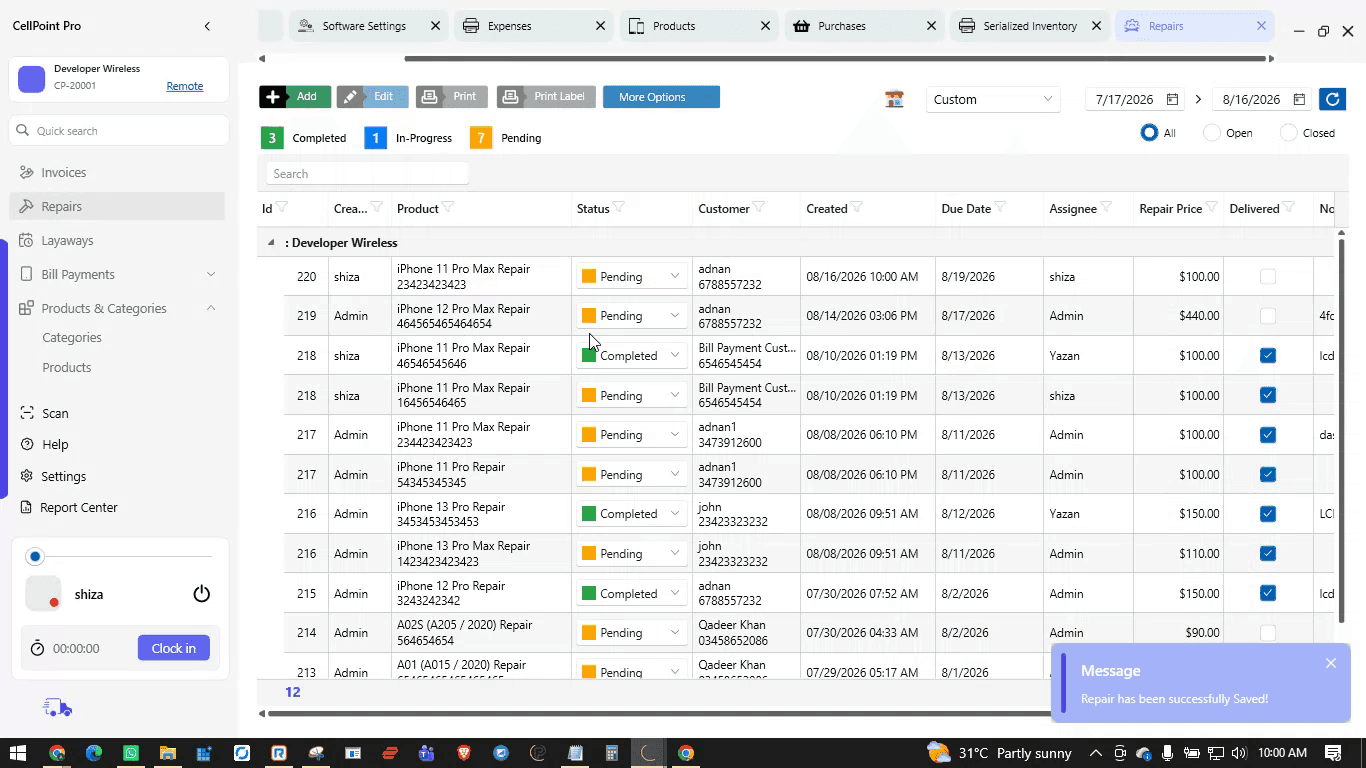
If there is an upfront payment, collect it by entering the payment details, assigning the username handling the ticket, and selecting the mode of payment, then complete checkout.
Step 9: Create and Manage Layaways
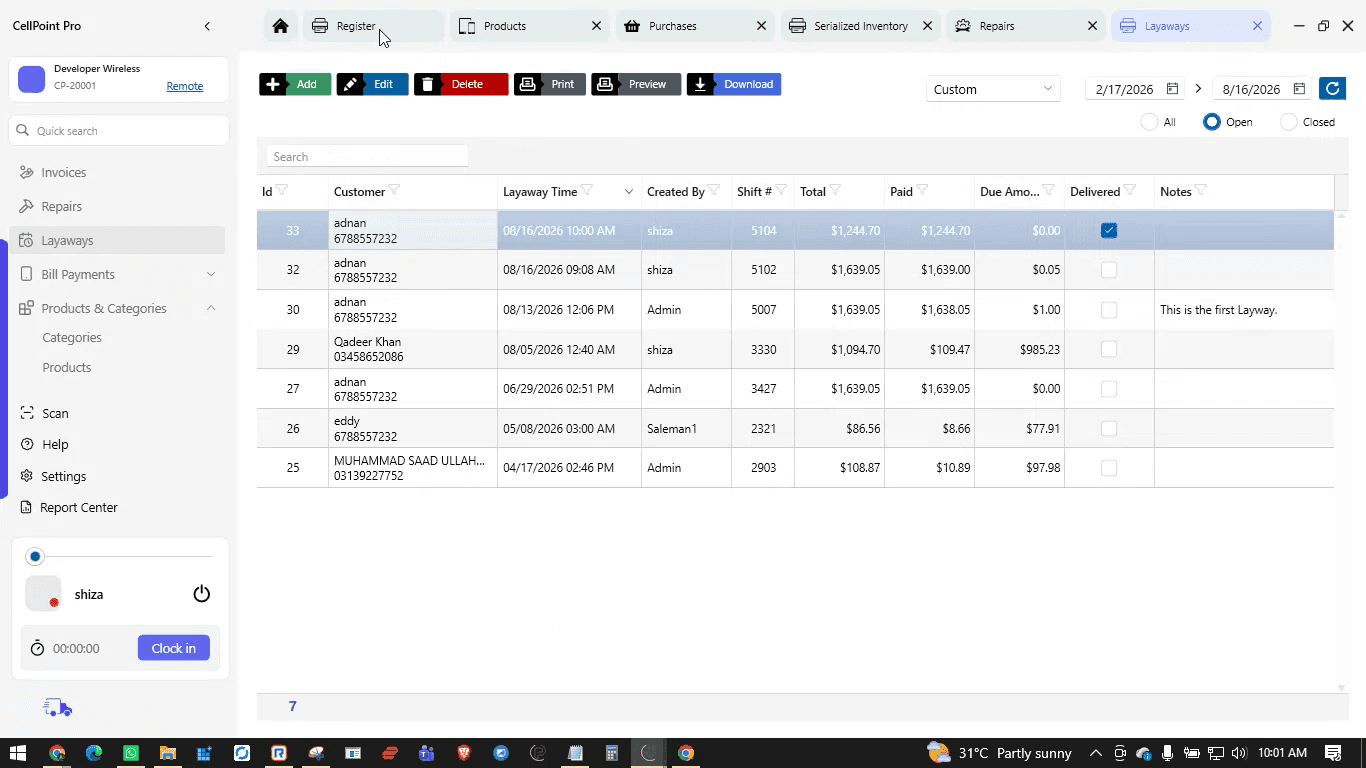
To create a layaway, open the Layaway List from the left side and navigate to the Layaway module.
Click Add, bring up or select the customer, and choose the product to put on layaway (e.g., iPhone 17 Air).
Getting Started with CellPoint Pro
This document walks new store owners through the essential setup and daily workflows in CellPoint Pro: configuring store settings, managing users, taxes, products, inventory, sales, repairs, layaways, closing shifts, and accessing help resources.
Step 1: Open Store Settings
From the main dashboard, open your store settings to begin configuration.

In the Store Information section, enter your basic store details such as store name, address, contact number, email, and upload your store logo.
Configure your store policies (e.g., refund, exchange, warranty) so they appear consistently on relevant documents and screens.


When all information is added, click Save to apply your changes.
Step 2: Configure Users and Rights
From Settings, navigate to Users and Rights to set up your employees in the system.


Under App Users, click Add to create a new user profile.


Enter the user’s name, set a password, and select the appropriate rights template based on their role (e.g., manager, standard user).


Optionally, assign a commission template, set an hourly rate for payroll calculations, and add the user’s image.

Save the user to complete their setup.
Step 3: Set Up Tax and Payment Types
Open the Tax Management section under Settings to configure your tax rules.

Create or edit a tax template by entering a name and specifying the rate as either fixed or percentage. Apply the tax to the relevant categories and modules. If you do not want tax applied to specific categories (for example, bill payments), deselect those categories so the tax is not used there.


Next, under Payment Type, configure your accepted modes of payment (e.g., cash, card, online). For each payment type, you can add a name and specify any applicable surcharge in fixed amount or percentage.
Step 4: Create a New Product
To add a product, either go to the Home screen or use the Products option from the left panel.


Click Add, then select the product type (for example, Serialized).


Fill in the required product information such as brand, model, category, and subcategory (e.g., “iPhone 17 Air 1TB”).


Enter the purchase price and selling price, then review additional options such as barcode, tax, serial numbers, pictures, and stock details.

When you are done, click Save to create the product.


Step 5: Add Inventory via Purchase
From the left panel, navigate to Purchases to record new inventory.

In the purchase list, click Add, then select your vendor (for example, eBay).


Add the products being purchased (e.g., iPhone 17 Air 1TB and iPhone 17 Air), specify the quantity (such as two devices), and enter the cost price for each (e.g., 500).


Scan the IMEI or serial numbers; each scan will automatically add the item to the purchase list.

If needed, choose to print labels; otherwise, uncheck the label option before completing the purchase.

Ensure the shift is open, then select the user handling the purchase and choose the mode of payment used for this purchase.


Complete the transaction by checking out the purchase.
Step 6: Verify Serialized Inventory and Manage Products
To confirm that inventory was added, go to Inventory & Stock on the left side and open Serialized Inventory.

Search for the product you just added (e.g., “iPhone 17 Air”) to see the serialized devices in stock.

From this section, you can manage your serialized products and devices. To manage general products, navigate to Products from the left side to access your product list, where you can edit products, print labels, and review product history.

Step 7: Perform a Quick Sale
To create a new sale, open the sales screen.

You can either browse through categories or quickly search by product name or scan the IMEI. Enter the product name (e.g., “iPhone 17 Air”) to fetch it automatically.


Select the type of activation if applicable, then review or adjust tax and discounts. You can add or remove tax and apply discounts as fixed amounts or percentages.

To complete the sale, click Charge, select the customer’s mode of payment, and finish checkout.


Step 8: Create a Repair Ticket
Go to the Repairs module to manage device repairs; this opens your repair list.

Click Add to create a new repair ticket.
Select the type of repair, choose the brand, and then select the specific device being repaired.


Add one or more issues to the ticket, then proceed to the next step.


You may add parts used in the repair now or later during management. Scan the serial number of the device, note any device password if necessary, and enter the repair price.


If there is an upfront payment, collect it by entering the payment details, assigning the username handling the ticket, and selecting the mode of payment, then complete checkout.


Step 9: Create and Manage Layaways
To create a layaway, open the Layaway List from the left side and navigate to the Layaway module.


Click Add, bring up or select the customer, and choose the product to put on layaway (e.g., iPhone 17 Air).


Click Add to add the item to the layaway. You can scan the serial number once payment collection is done. By default, the system collects 10% as the initial payment. Process the payment and check out to create the layaway.

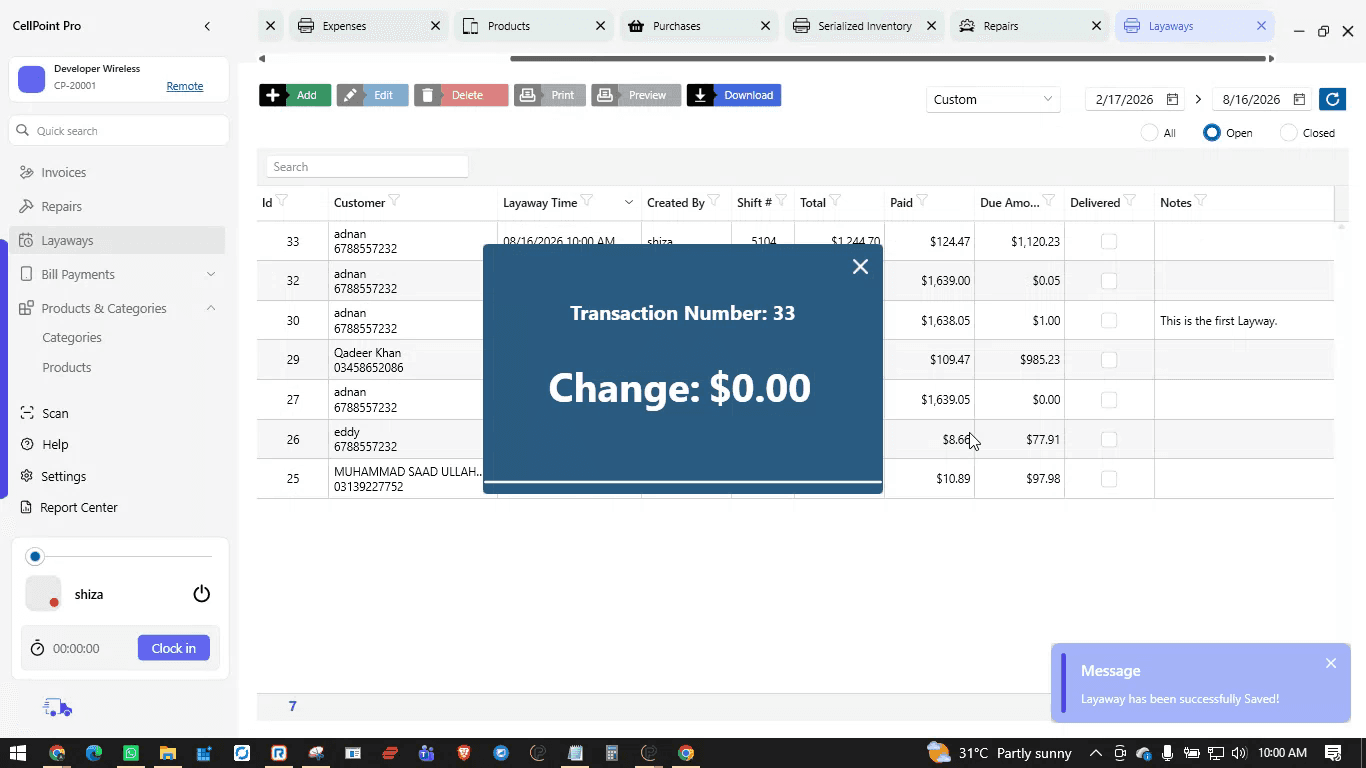
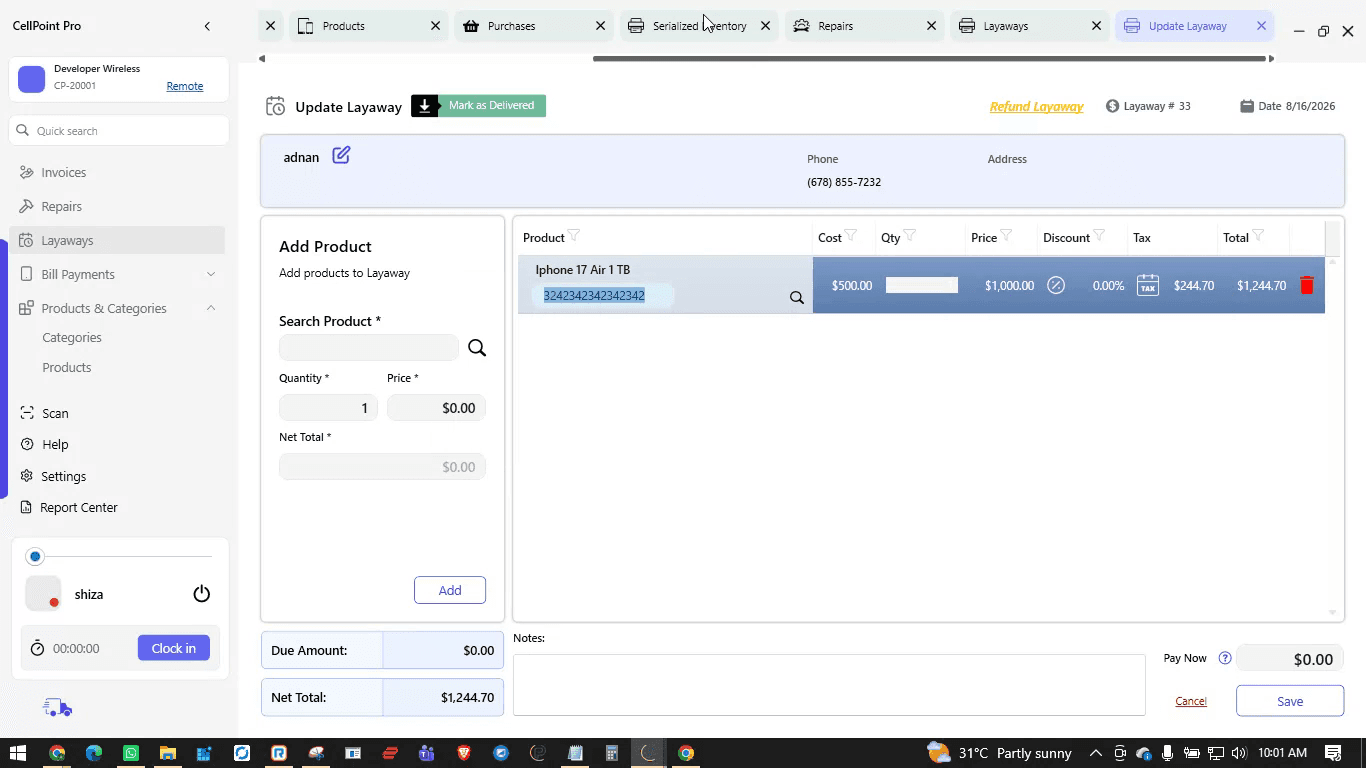
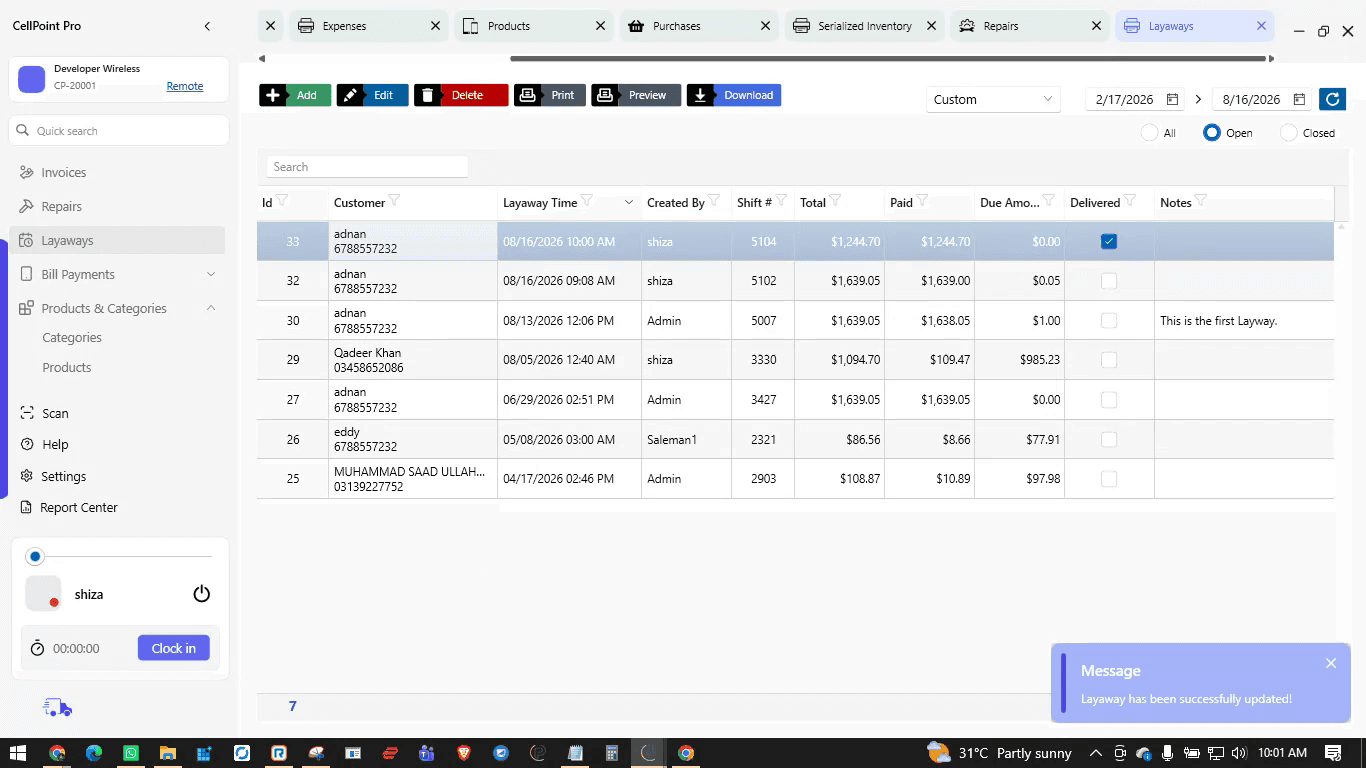
To complete an existing layaway, return to the Layaway List, select the layaway, and click Edit.


Mark the layaway as Delivered, then scan the serial number of the device to confirm delivery and collect the remaining due payment.
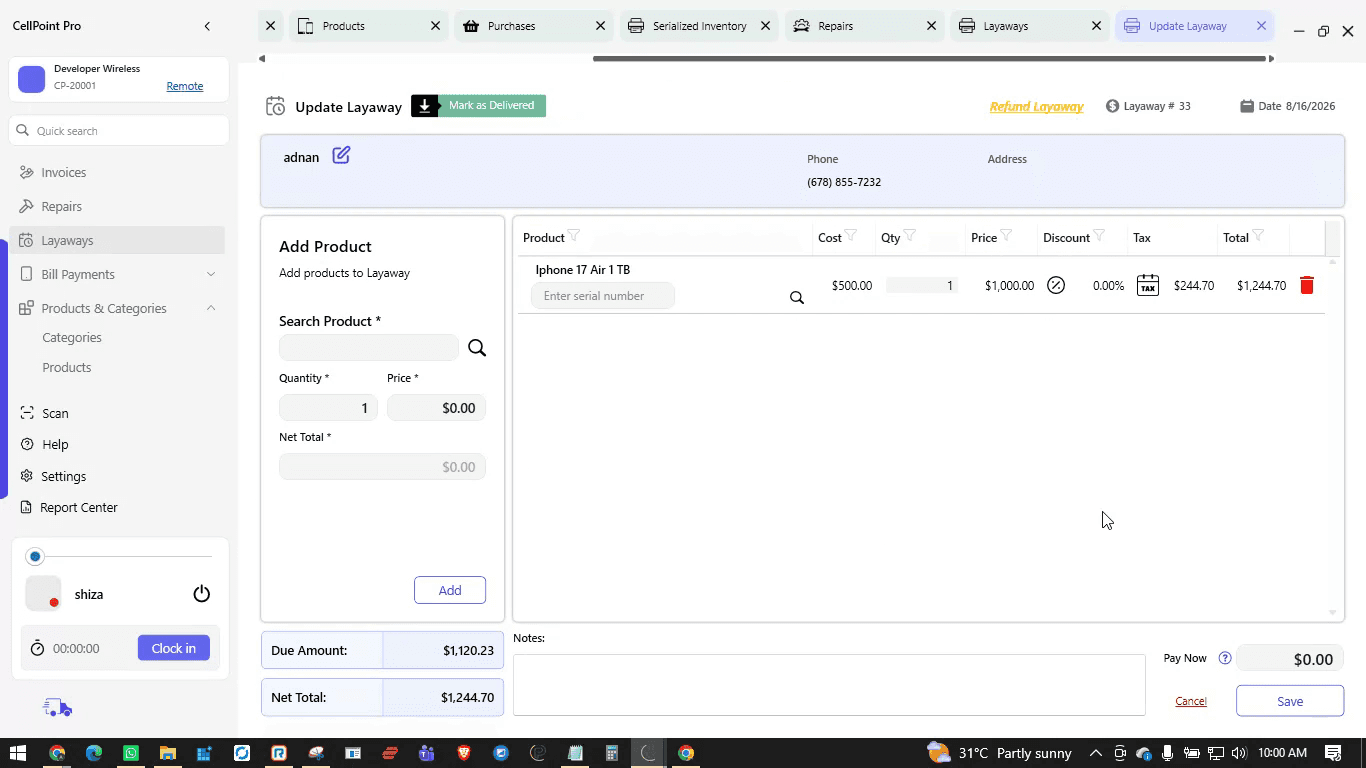

Click Payment, collect the final payment, and then mark the layaway as delivered.


If the scanned serial number is already sold or invalid, select another valid serial number and then mark as delivered again.


Step 10: Close the Shift and Batch at Day End
At the end of the day, each user must close the shift.


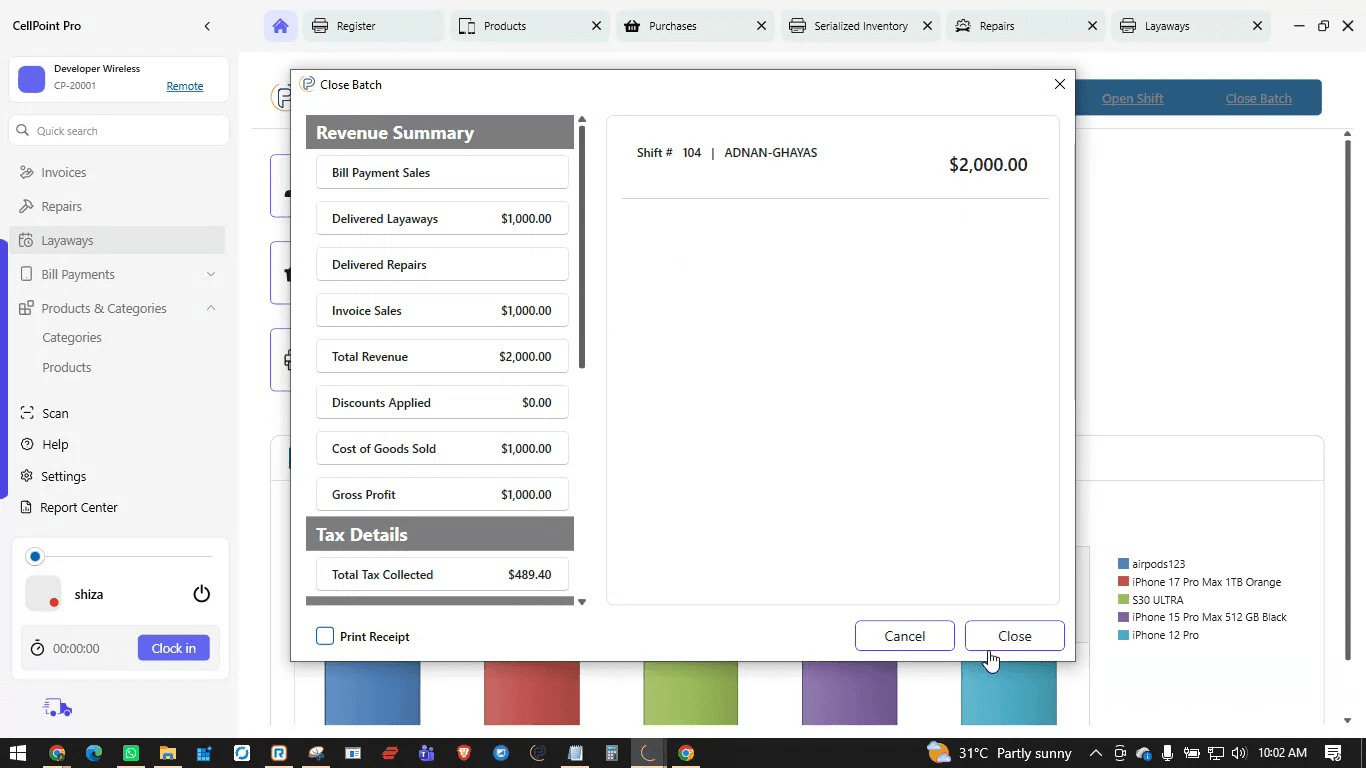
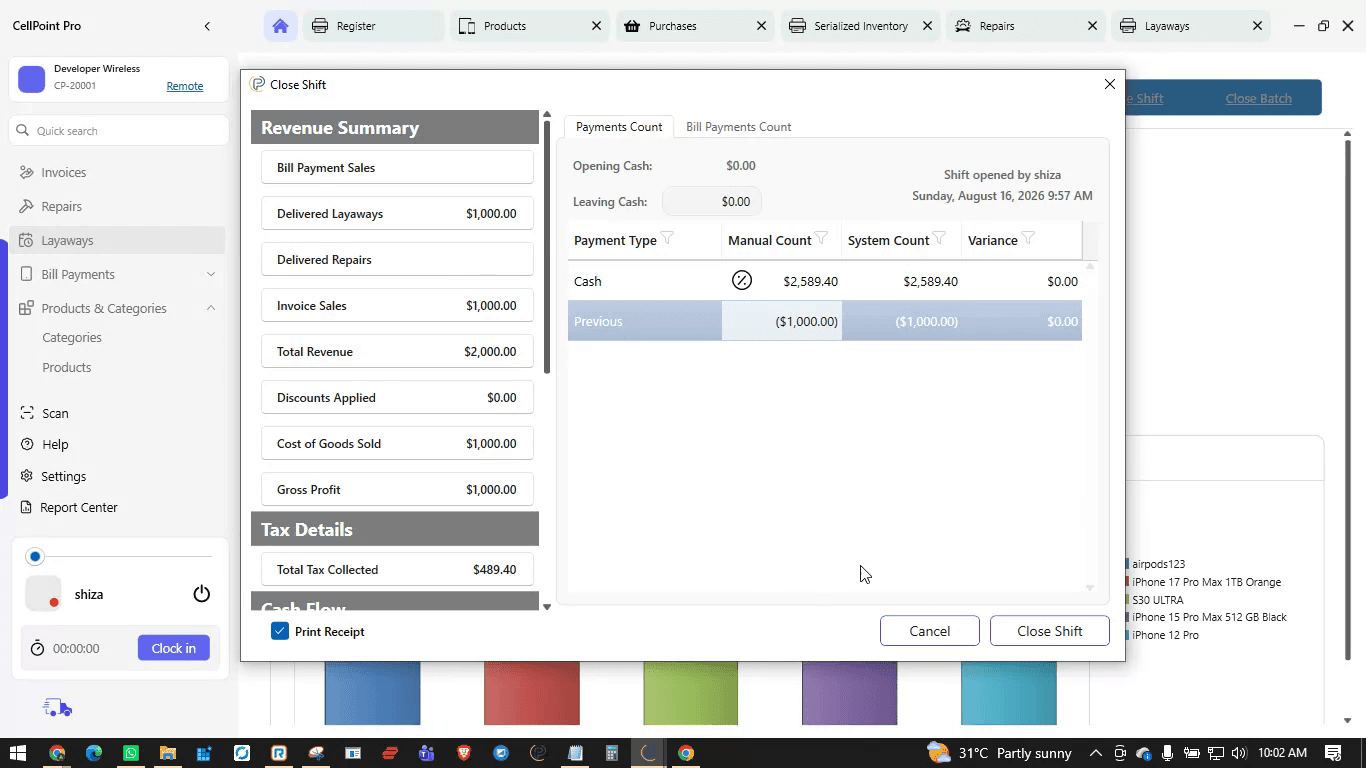
From the home screen, select Close Shift. Review all payment methods used during the shift. For cash, for example, compare the system total (e.g., $2,589.40) with your physical cash count.


Enter the counted amounts either by denomination or as a total. Repeat this for any other payment methods used. On the left side, review the revenue summary and per-module details to reconcile transactions. When everything matches, click Close Shift.


After closing the shift, close the batch as required by your payment processor to finalize the day’s transactions.

Step 11: Access Help and Support
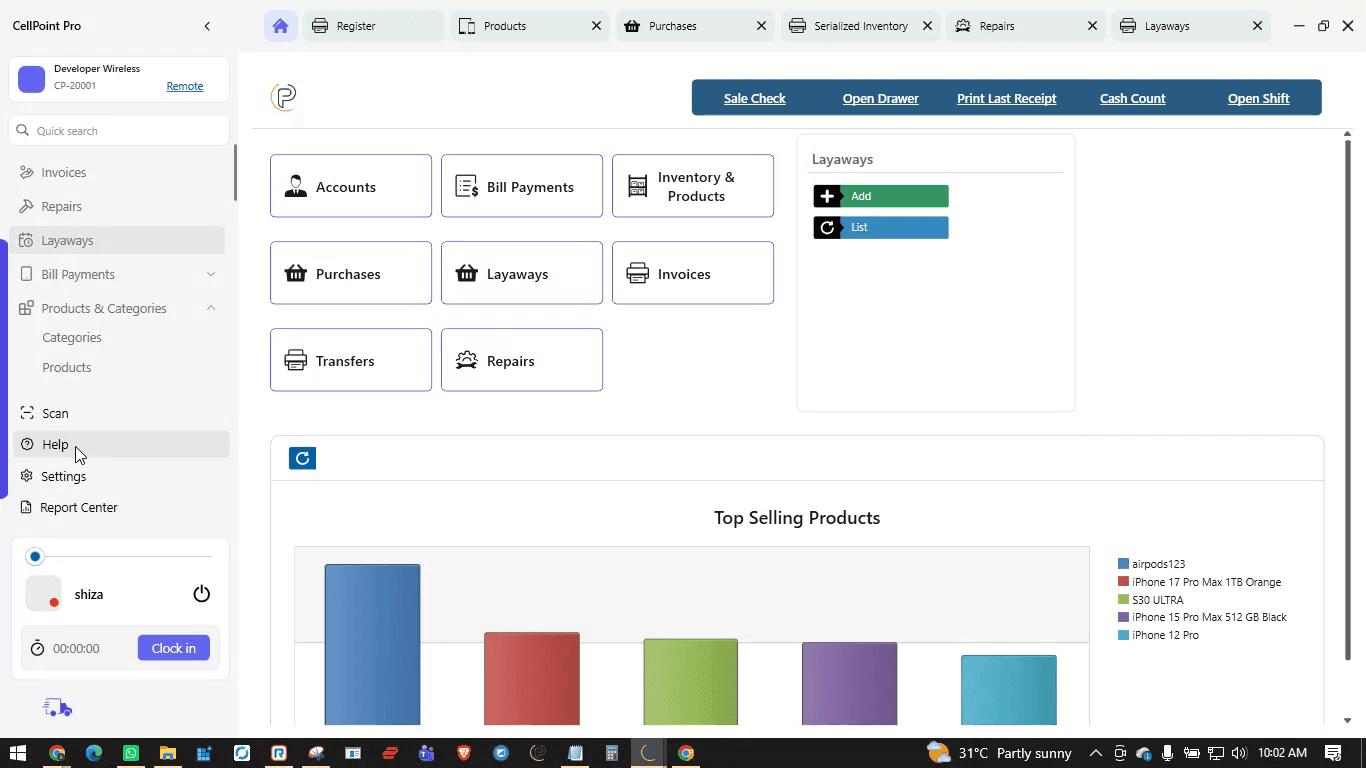
From the left side menu, open the Help section to access documentation and support.

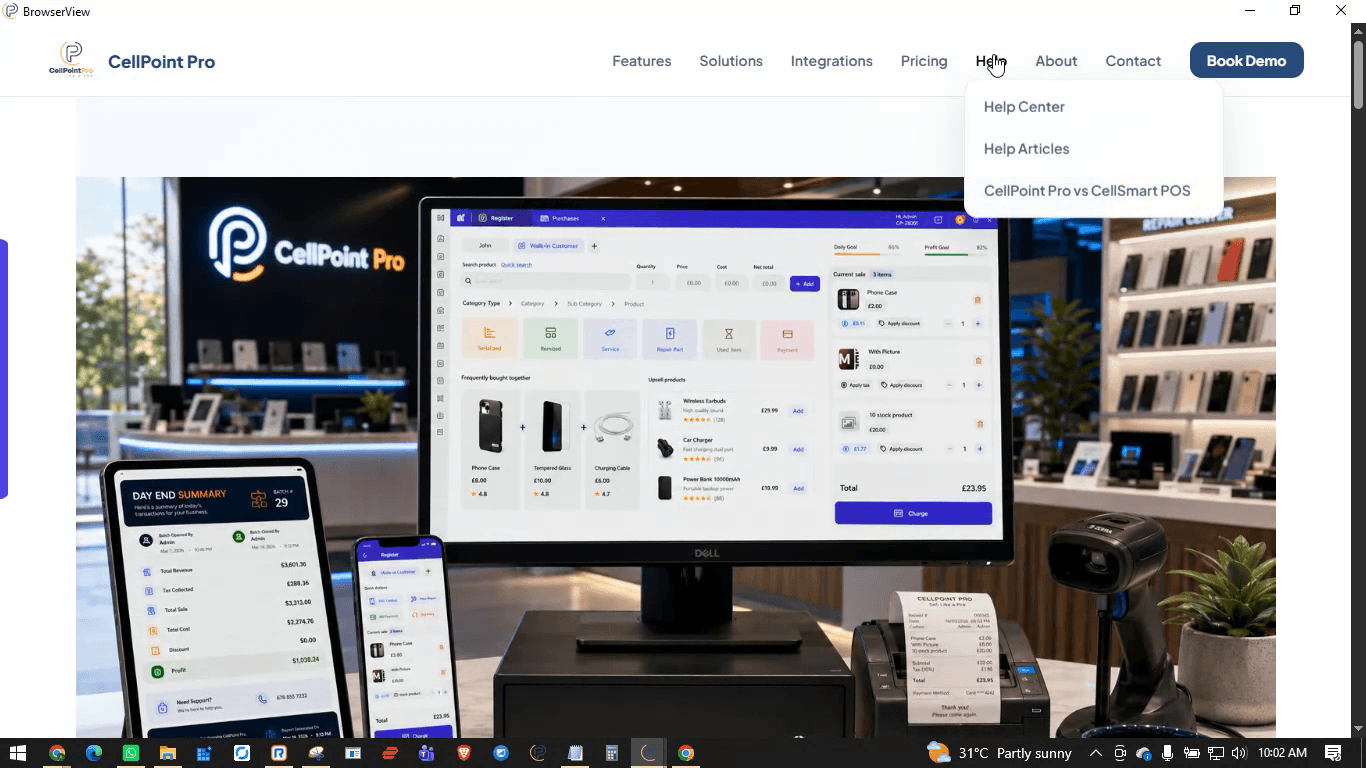
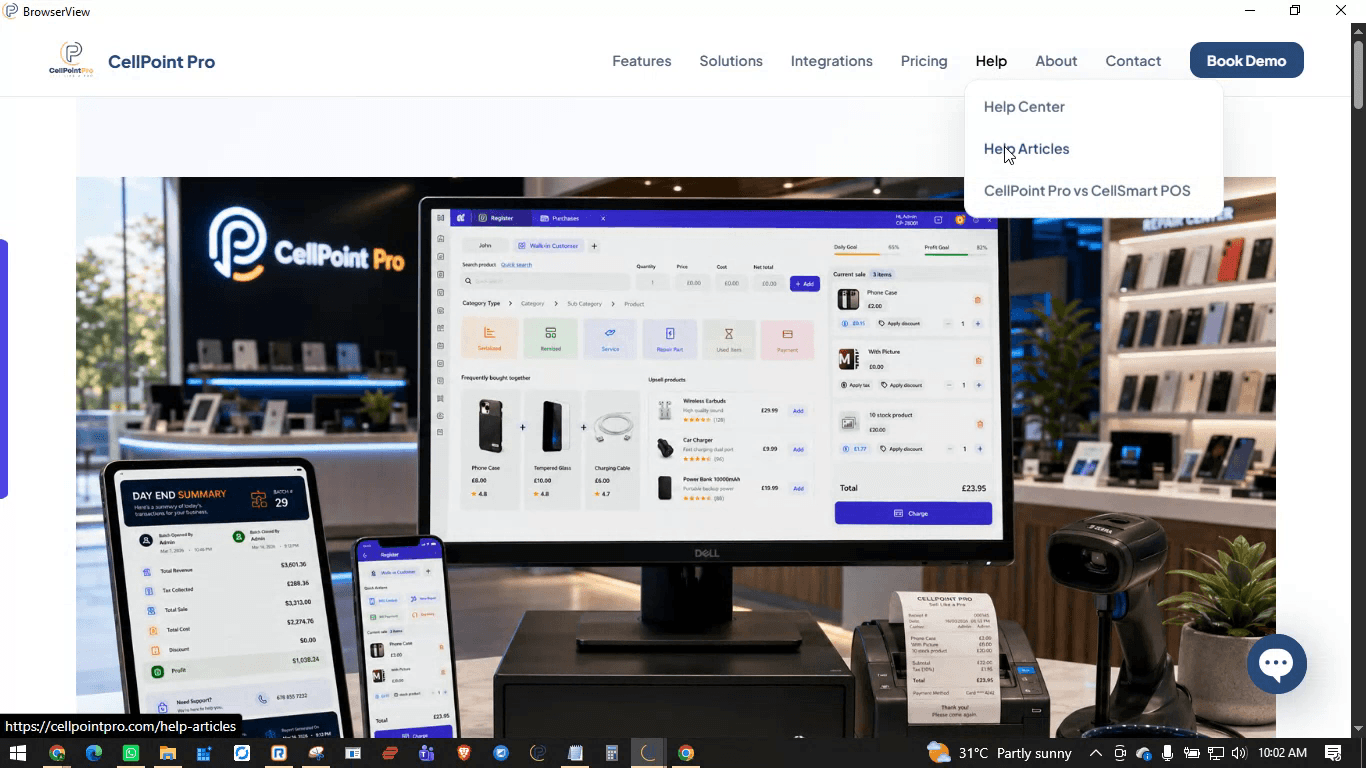
Browse detailed help articles, complete documentation, video tutorials, and step‑by‑step instructions for each module of the system.


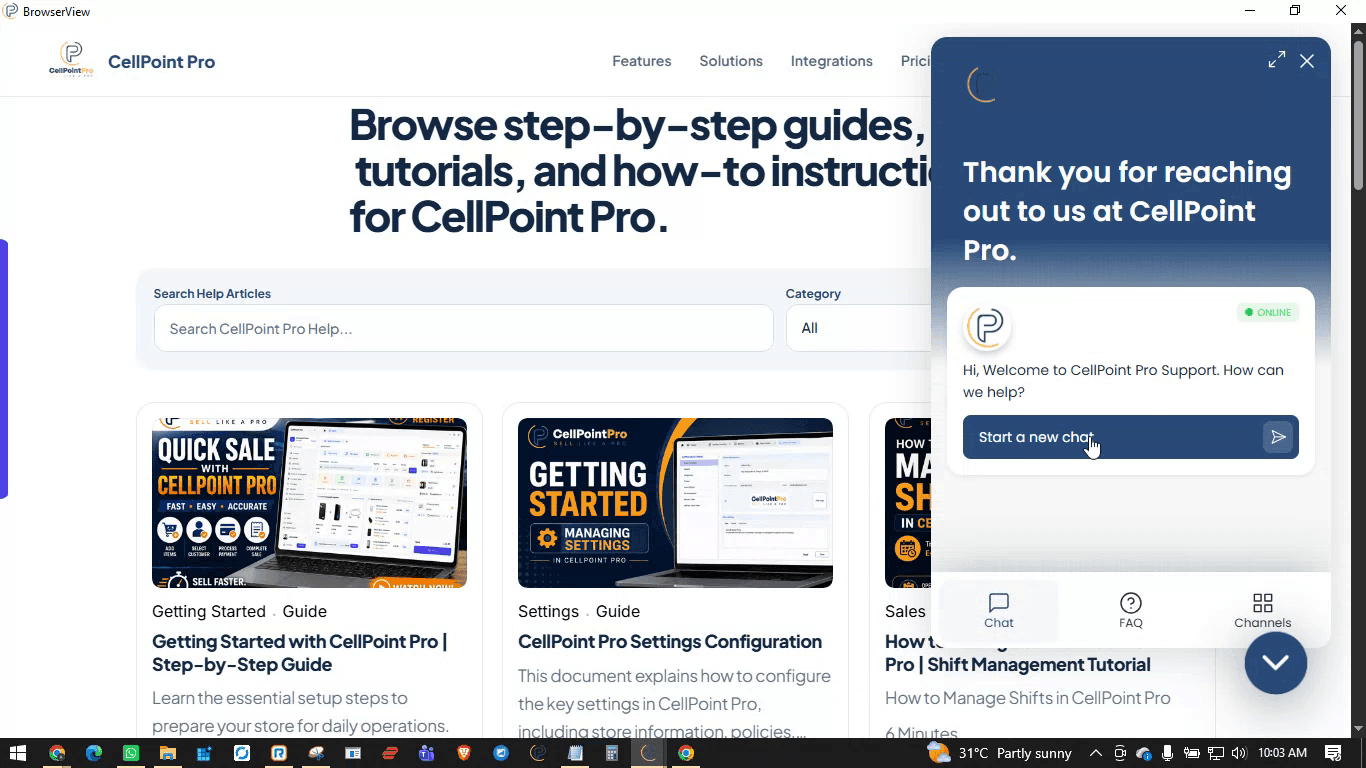
If you need live assistance, start a chat with support directly from this section; round‑the‑clock representatives are available to help with any queries.

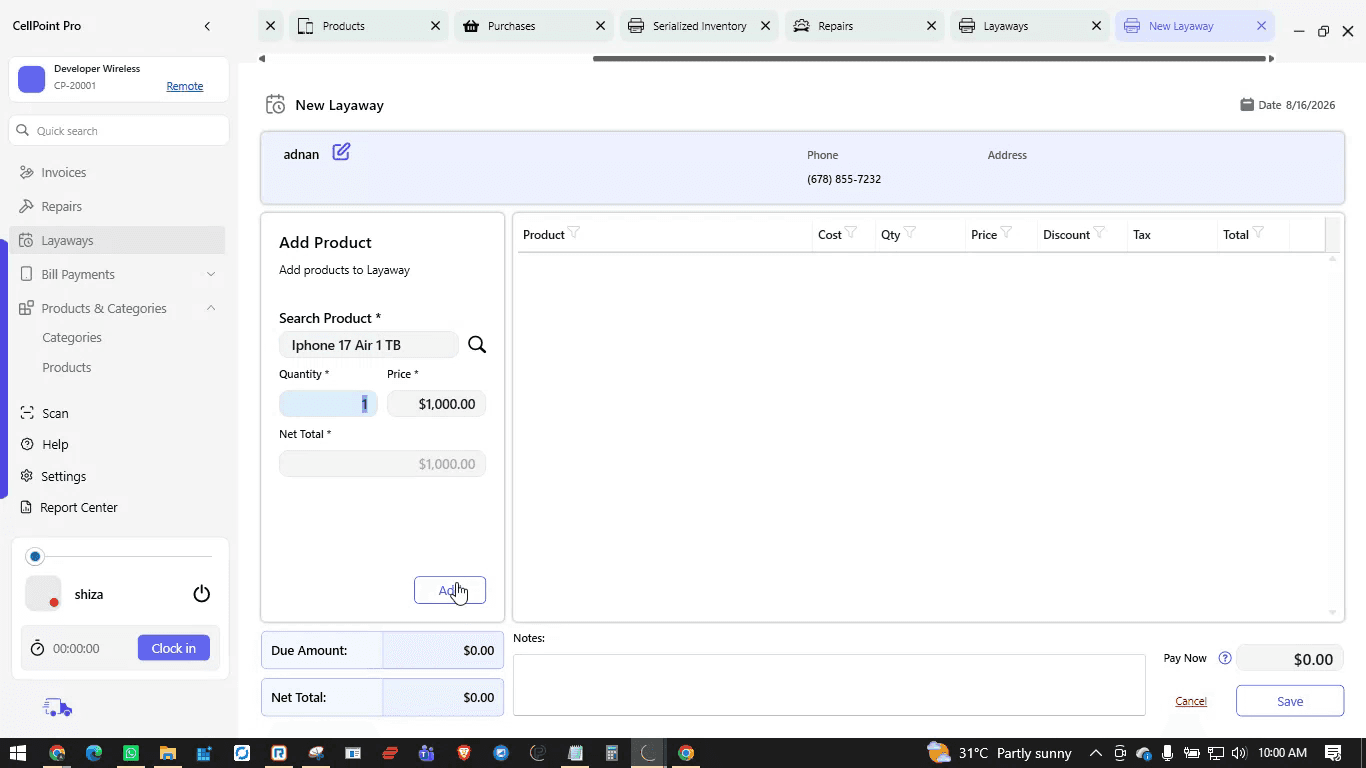
Click Add to add the item to the layaway. You can scan the serial number once payment collection is done. By default, the system collects 10% as the initial payment. Process the payment and check out to create the layaway.
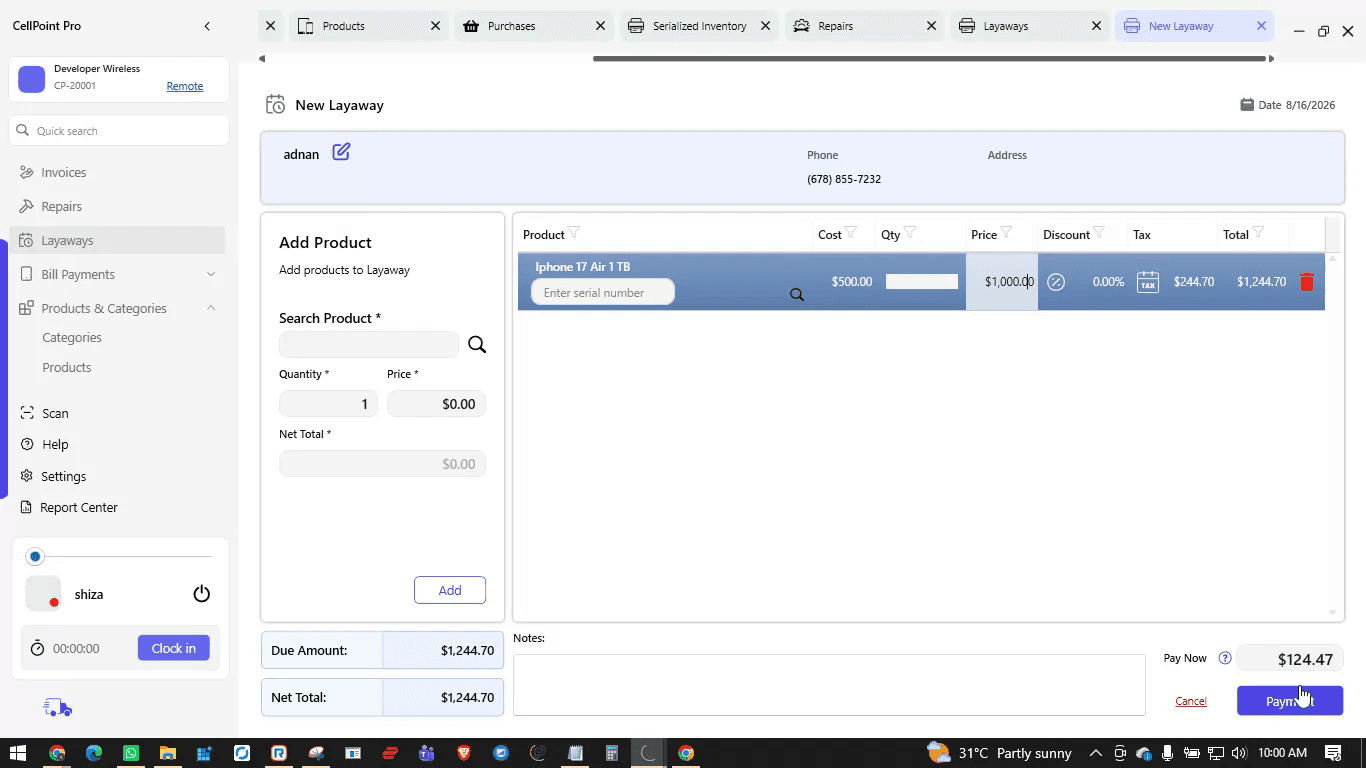
To complete an existing layaway, return to the Layaway List, select the layaway, and click Edit.
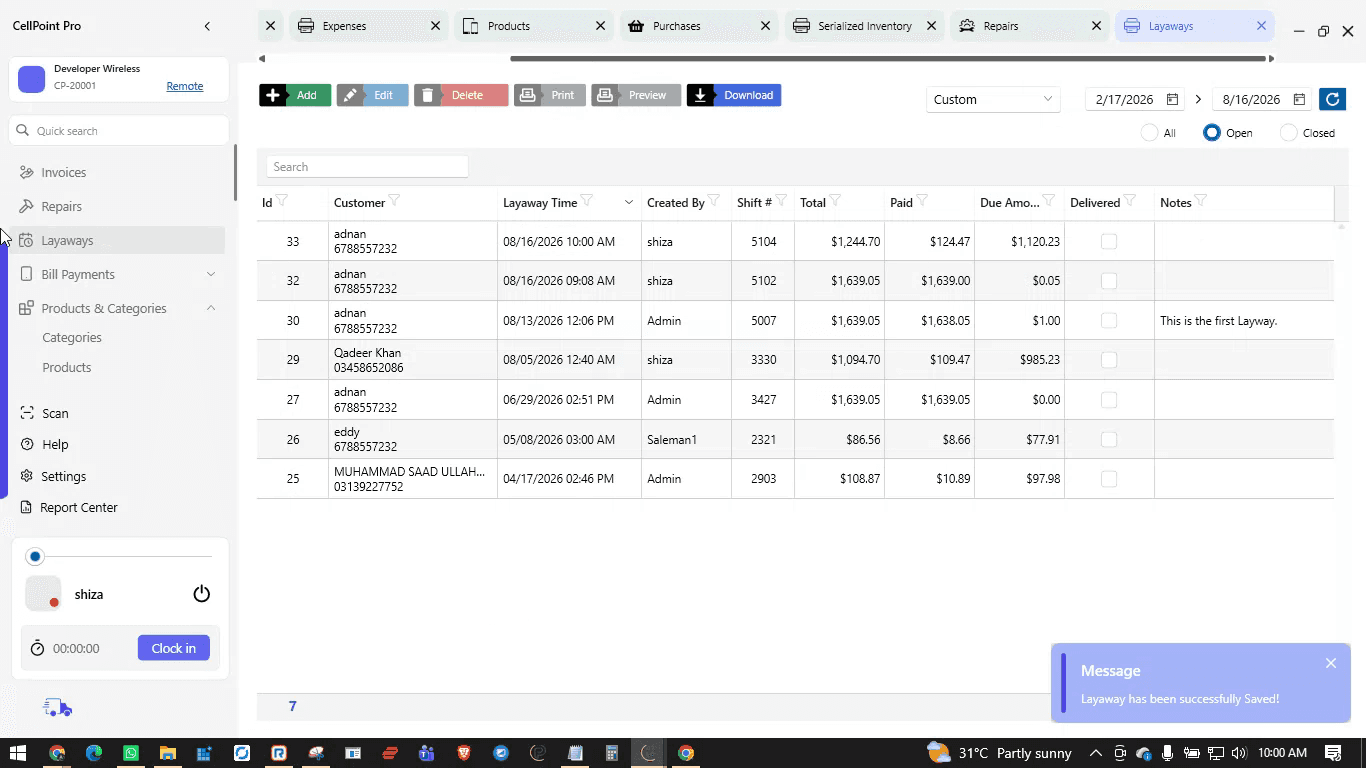
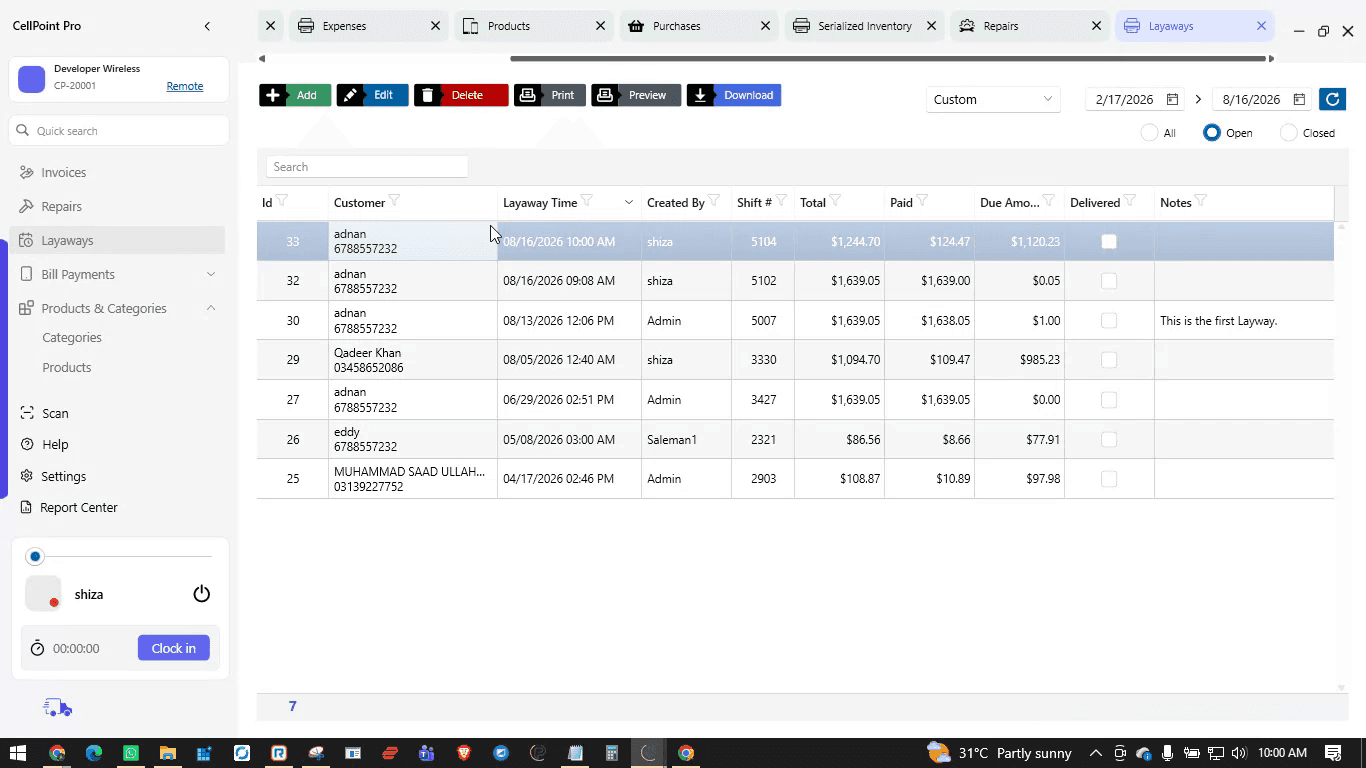
Mark the layaway as Delivered, then scan the serial number of the device to confirm delivery and collect the remaining due payment.

Click Payment, collect the final payment, and then mark the layaway as delivered.
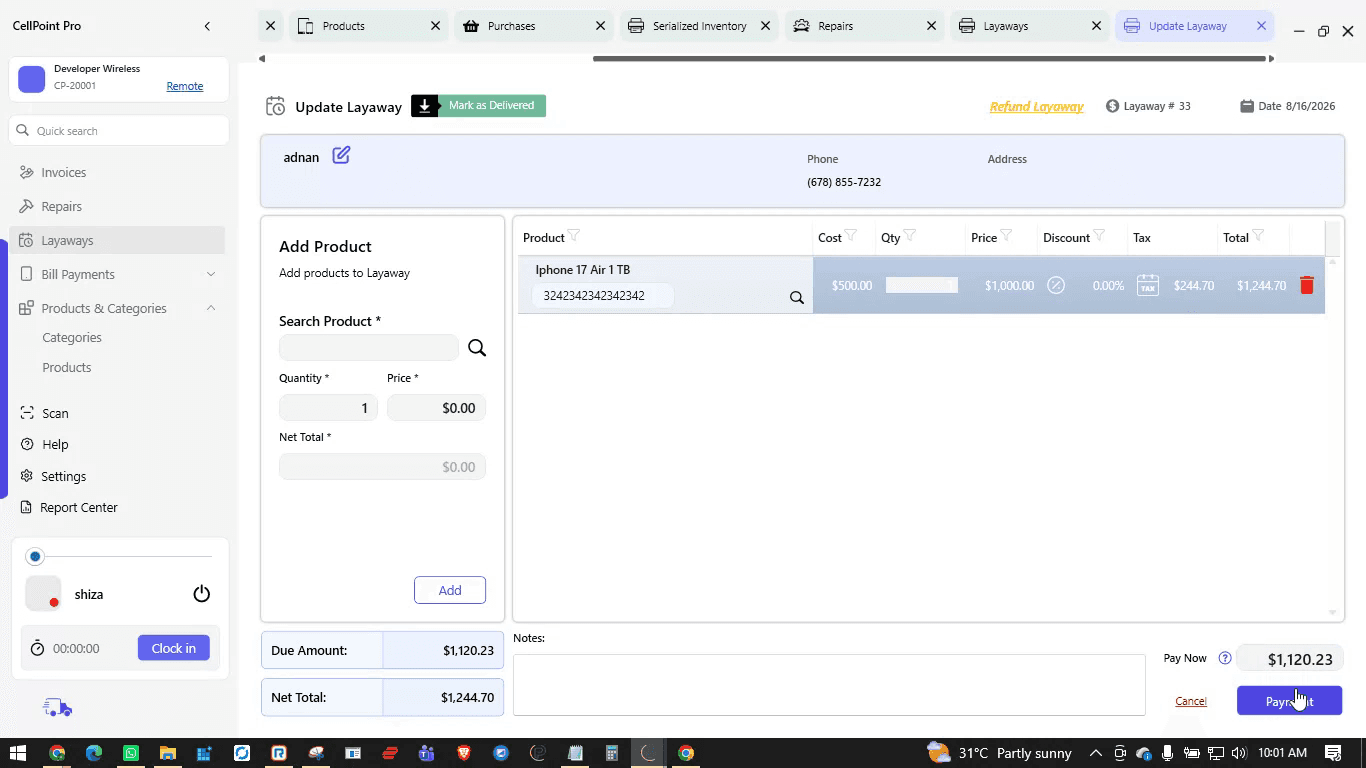
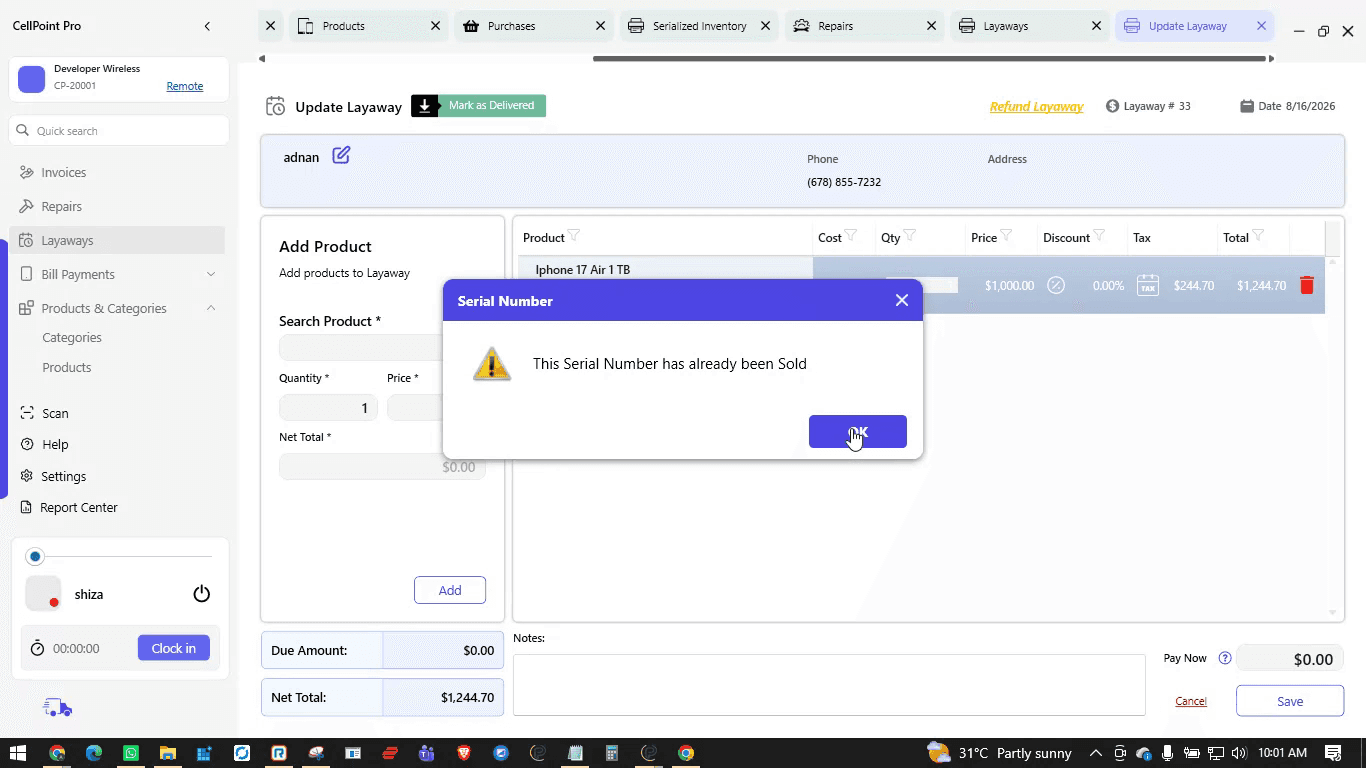
If the scanned serial number is already sold or invalid, select another valid serial number and then mark as delivered again.
Step 10: Close the Shift and Batch at Day End
At the end of the day, each user must close the shift.
From the home screen, select Close Shift. Review all payment methods used during the shift. For cash, for example, compare the system total (e.g., $2,589.40) with your physical cash count.

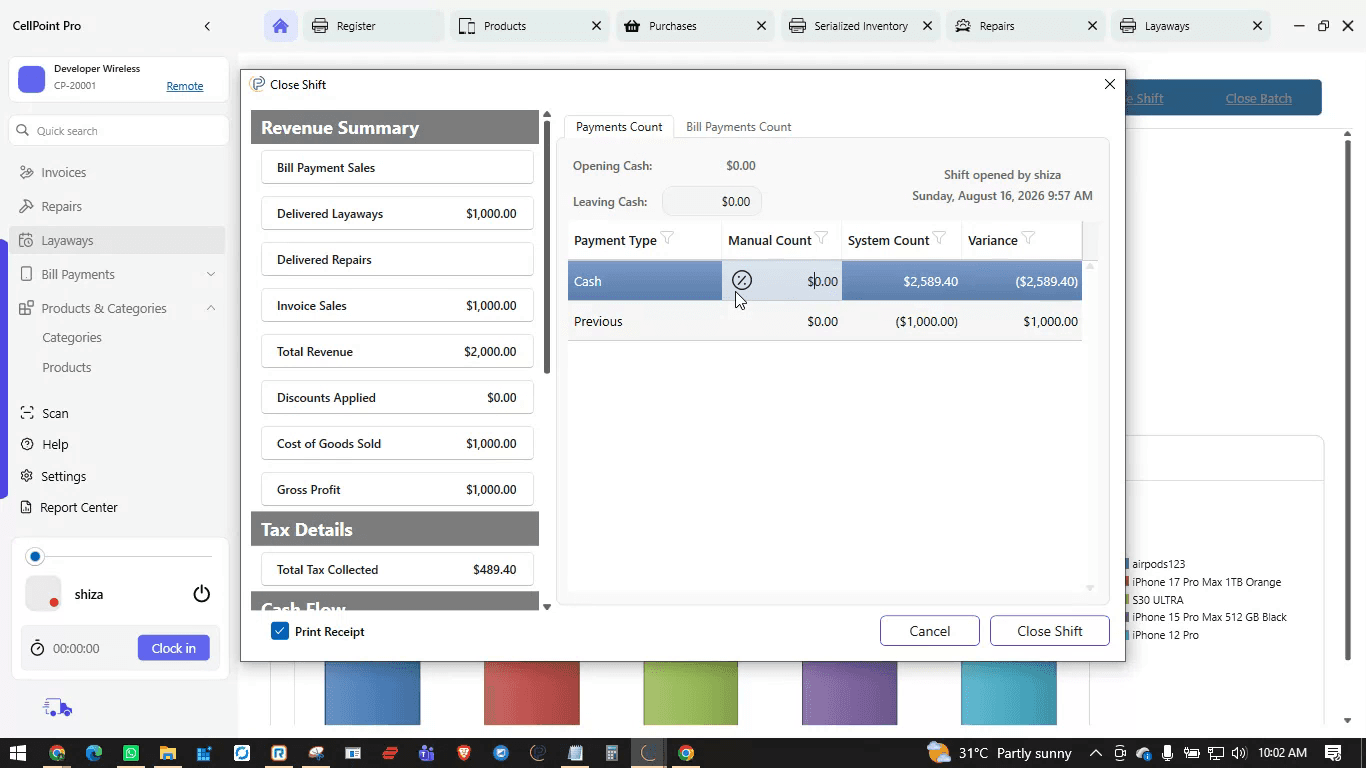
Enter the counted amounts either by denomination or as a total. Repeat this for any other payment methods used. On the left side, review the revenue summary and per-module details to reconcile transactions. When everything matches, click Close Shift.
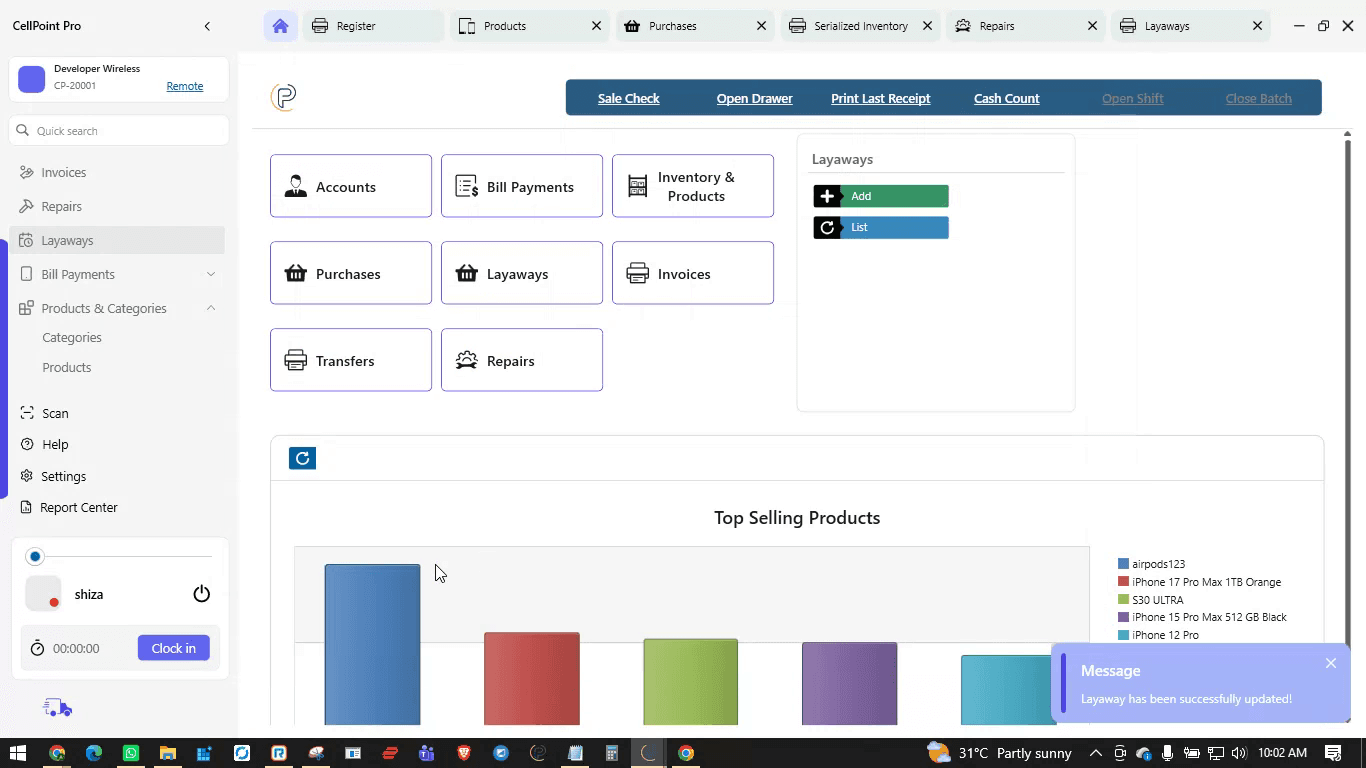
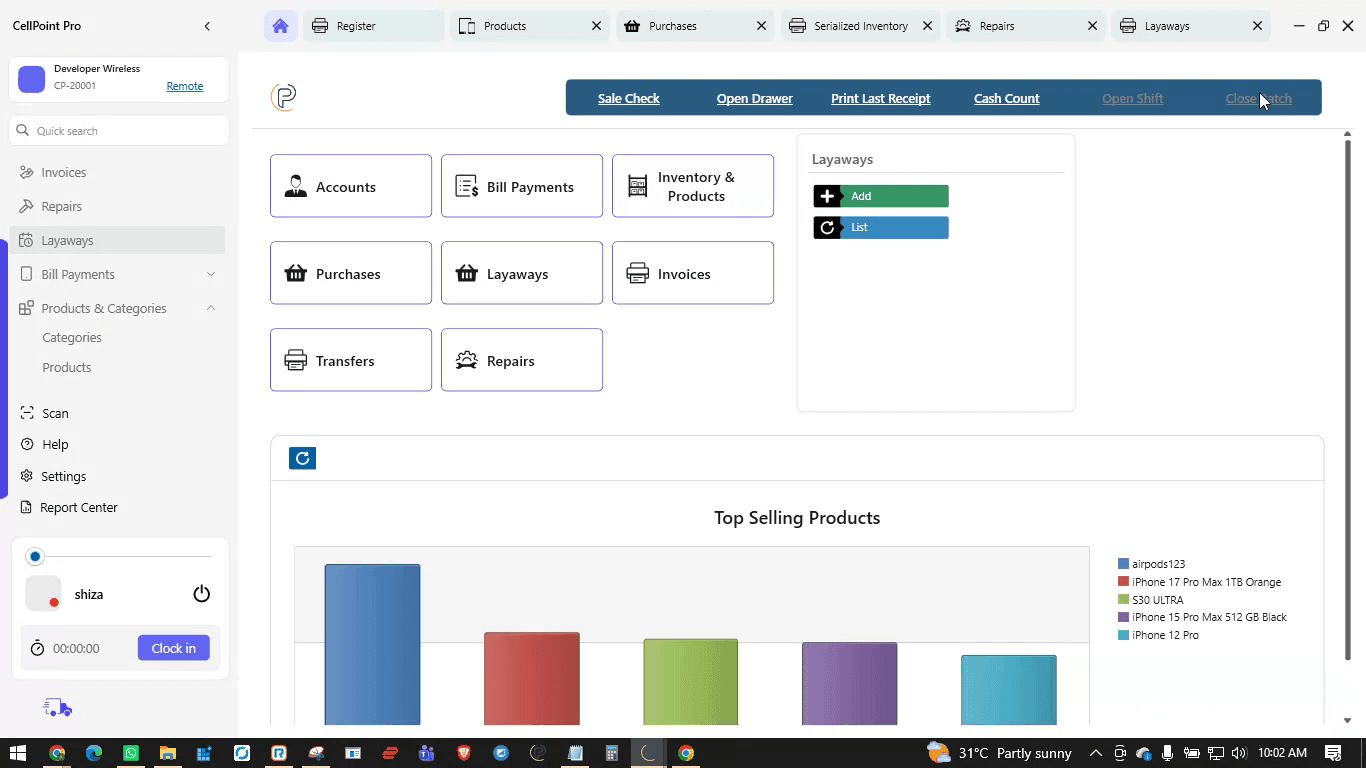
After closing the shift, close the batch as required by your payment processor to finalize the day’s transactions.
Step 11: Access Help and Support
From the left side menu, open the Help section to access documentation and support.
Browse detailed help articles, complete documentation, video tutorials, and step‑by‑step instructions for each module of the system.
If you need live assistance, start a chat with support directly from this section; round‑the‑clock representatives are available to help with any queries.
On This Page
Overview
Steps & Instructions
Video Tutorial