
Getting Started
·
Tutorial
6 min read

Tracking Serialized Device History in CellPoint Pro
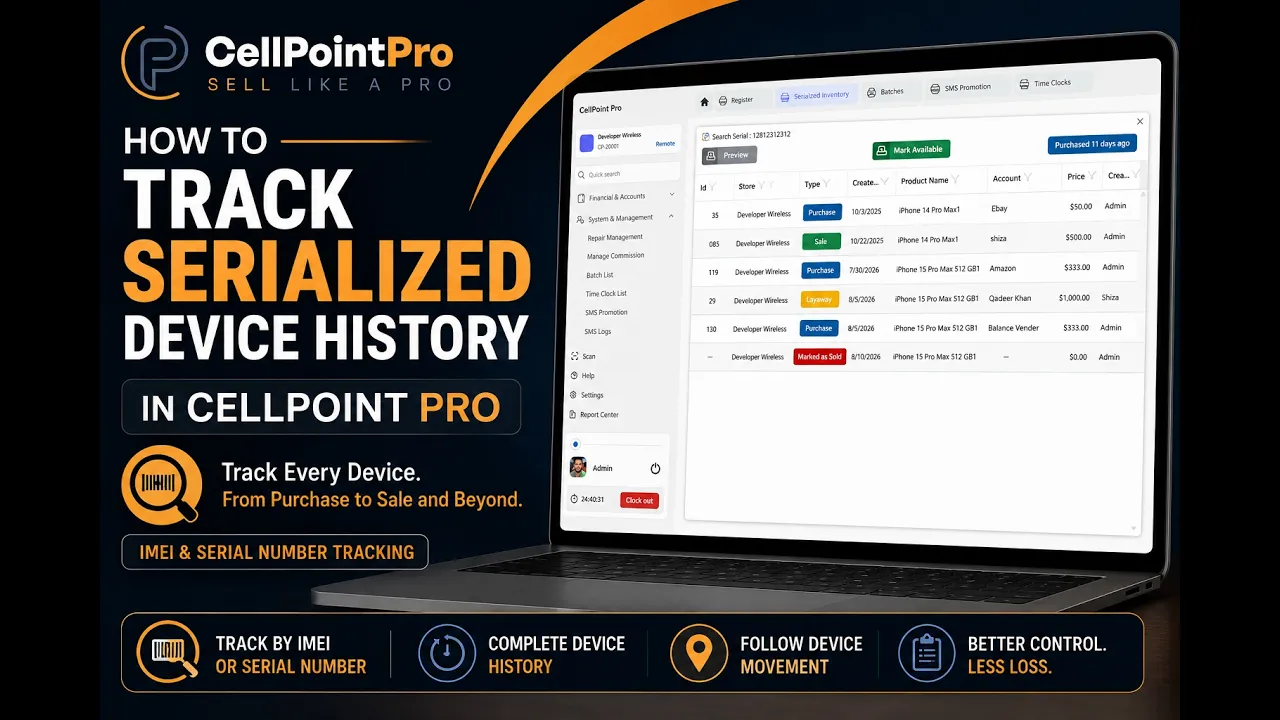
This document explains how to view and manage the complete history of any serialized device (such as an IMEI or ESN) in CellPoint Pro, including purchase, sale, and availability status, using the Scan and Search Serialized Inventory feature.
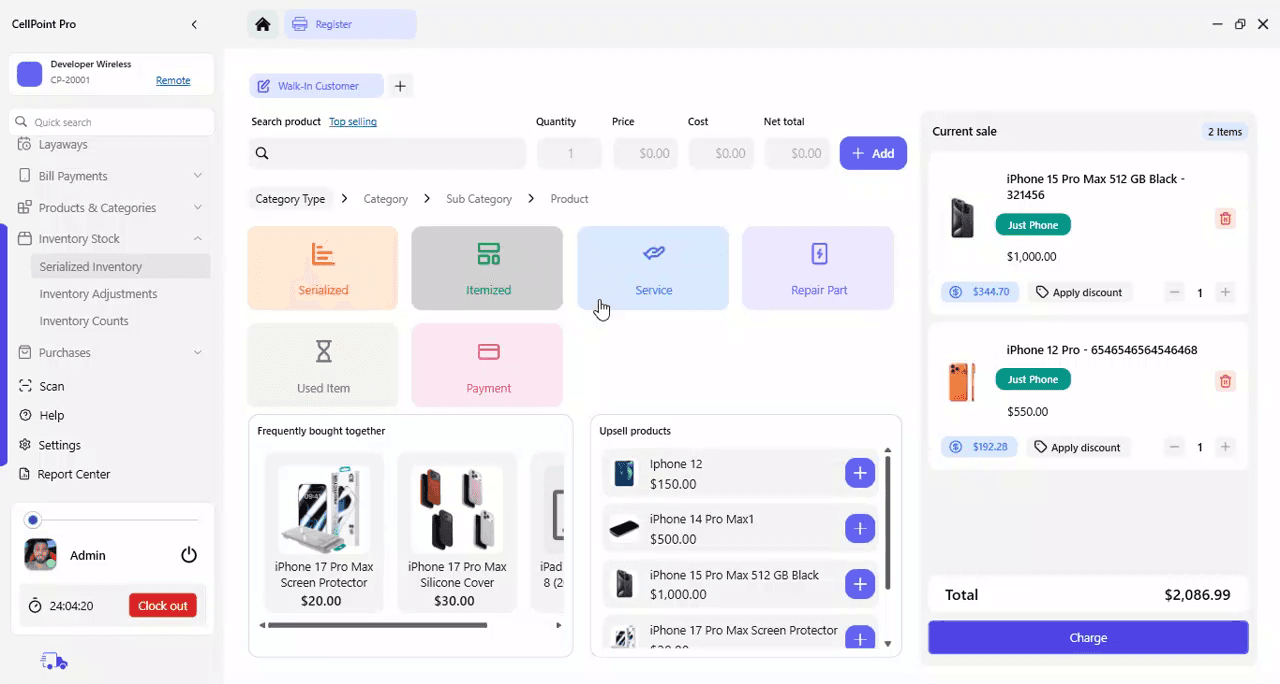
Step 1: Open the Scan Feature
From the left-hand menu, click Scan to open the serial search and scan screen.
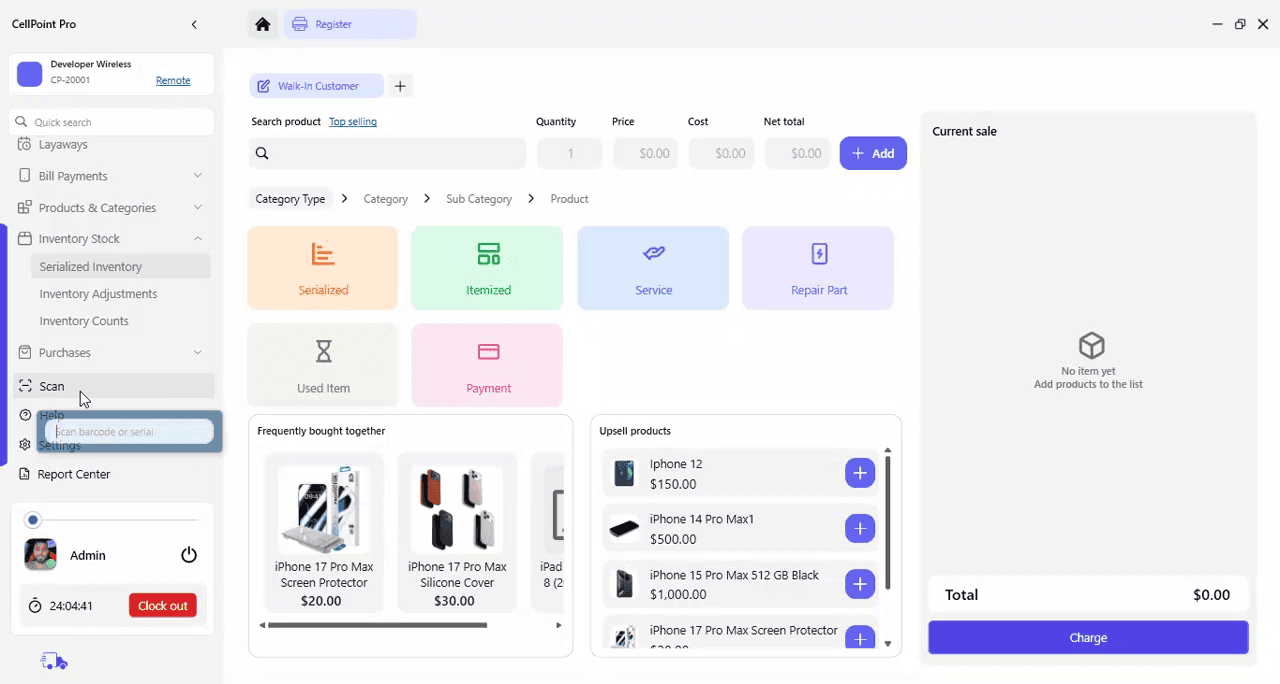
Step 2: Enter the Serialized Number
Copy the device’s serialized number (for example, the IMEI or ESN) and paste it into the scan/search field, then press Enter to run the search.

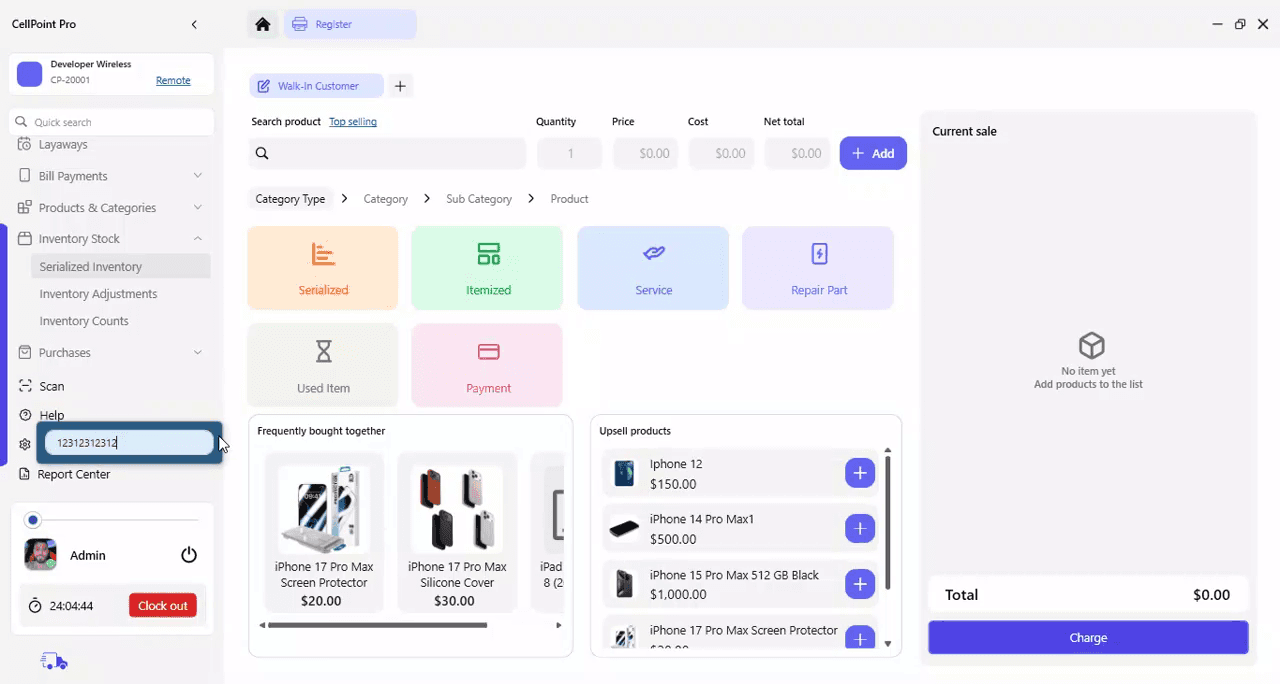
Step 3: Review the Complete Device History
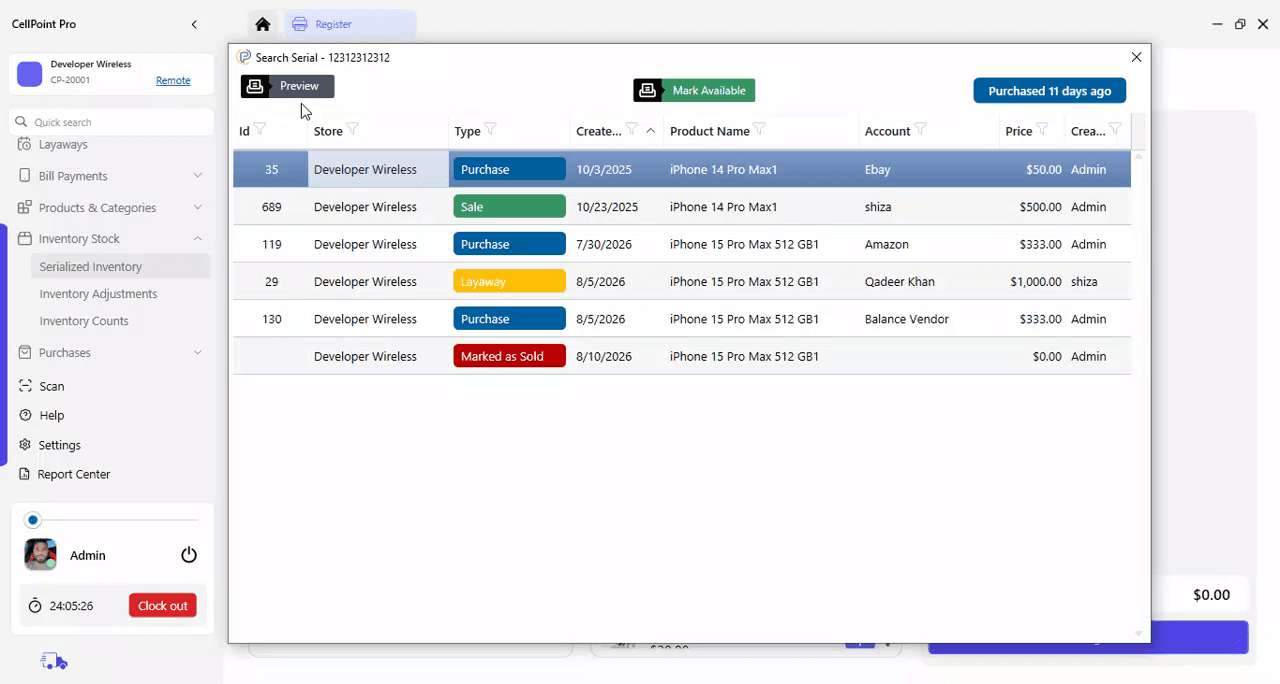
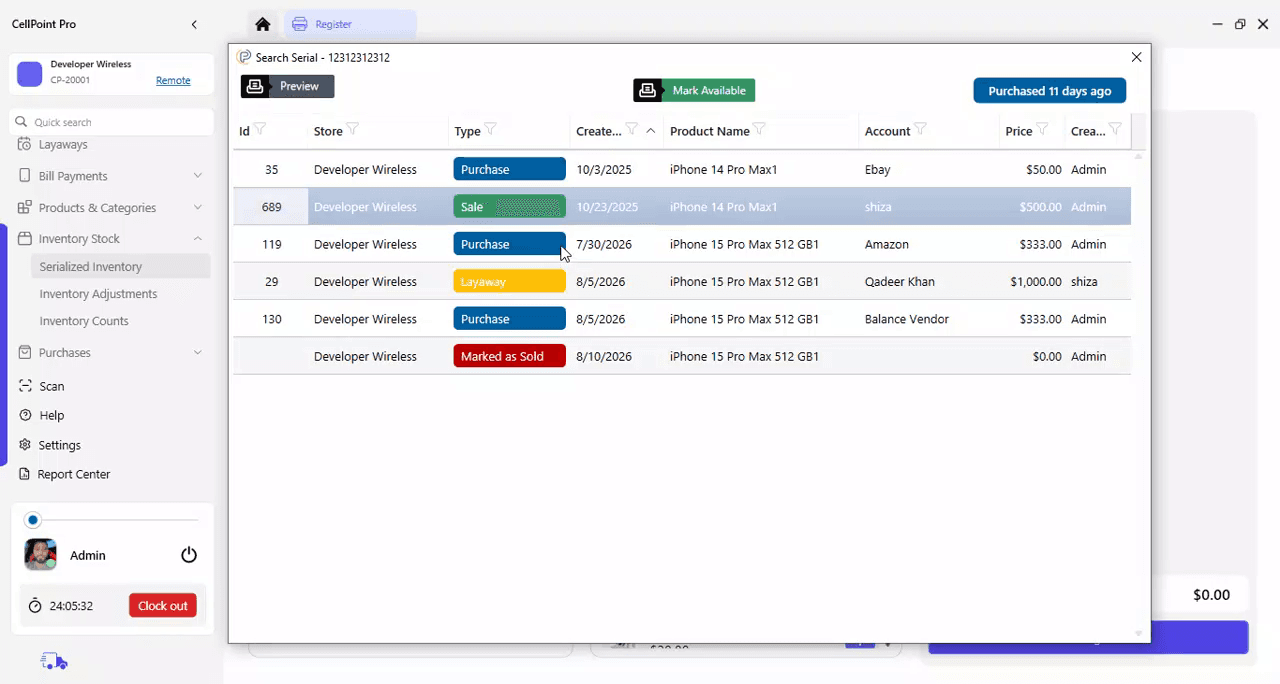
Review the history details displayed for the device. The system shows a complete log of all actions associated with that serial number, including:
When the device was added to inventory
When it was sold
When it was purchased again (if applicable)
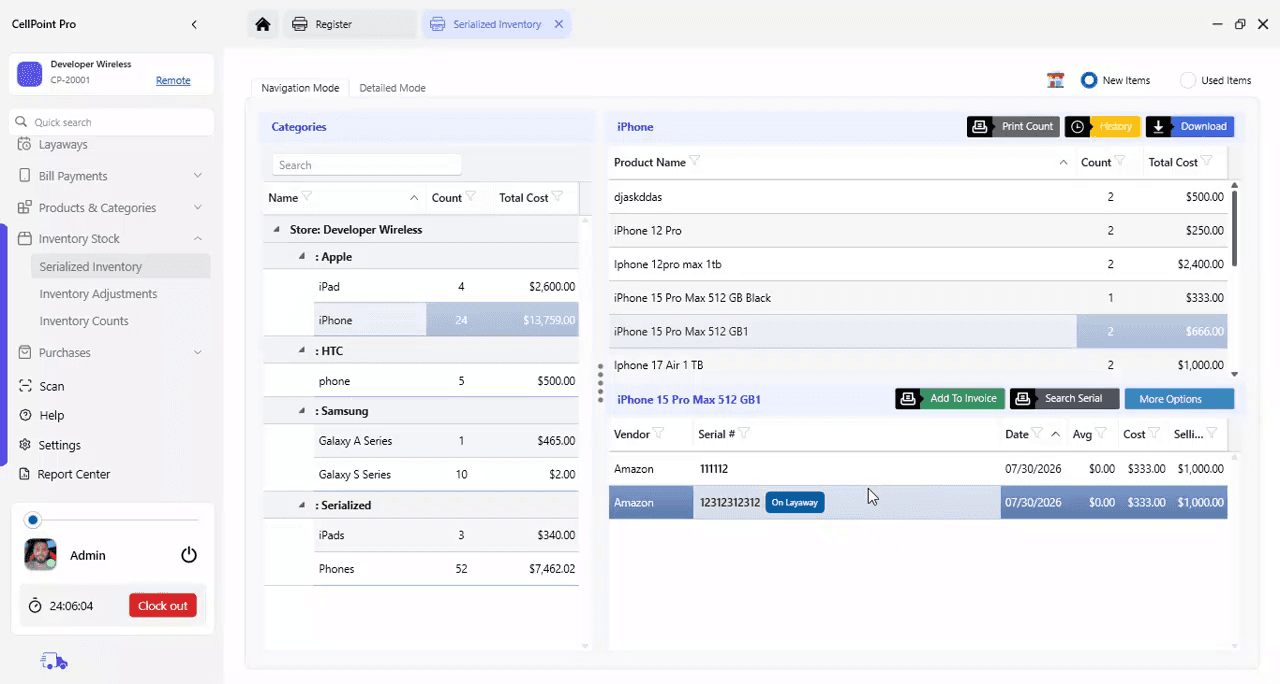
Any layaway activity (e.g., placed on layaway, removed, sold after layaway)
This example uses a test database where devices may be repeatedly added and sold to validate system behavior. The key point is that every action taken on the device is recorded in its history under the Search Serial feature.
Step 4: View Related Invoices and Status
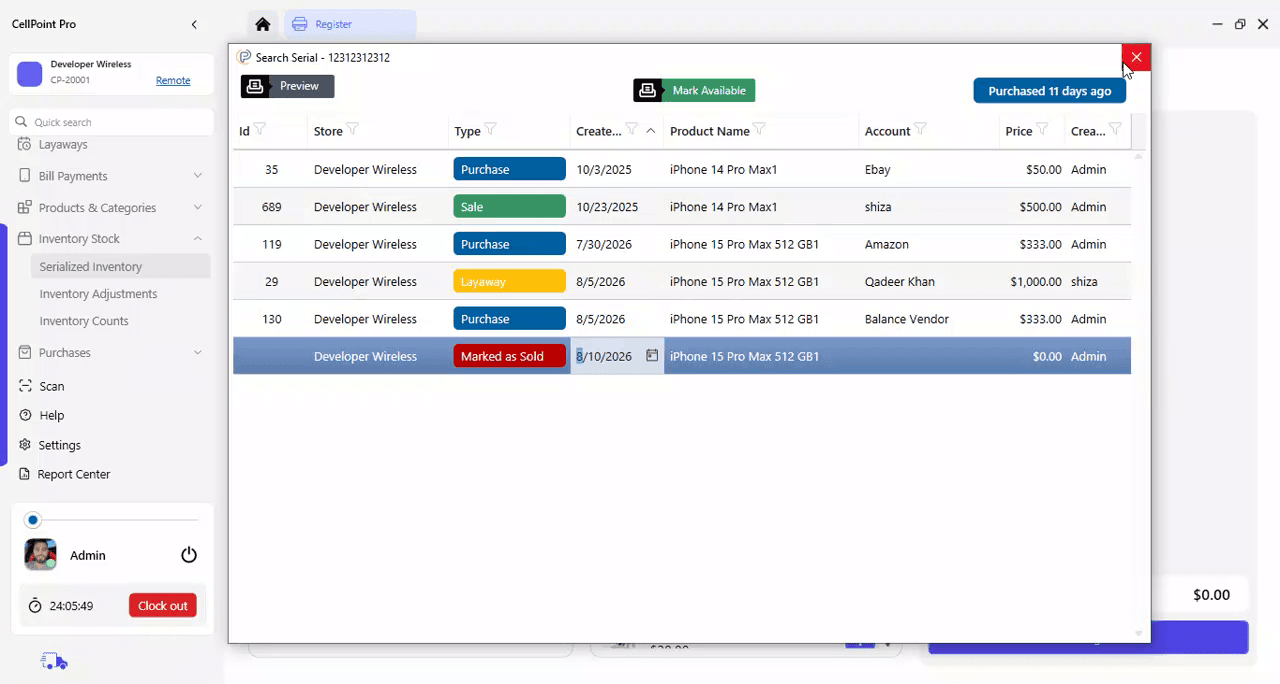
From the same history screen, you can:
Open the related purchase invoice
Open the related sales invoice
Open any layaway records linked to the device
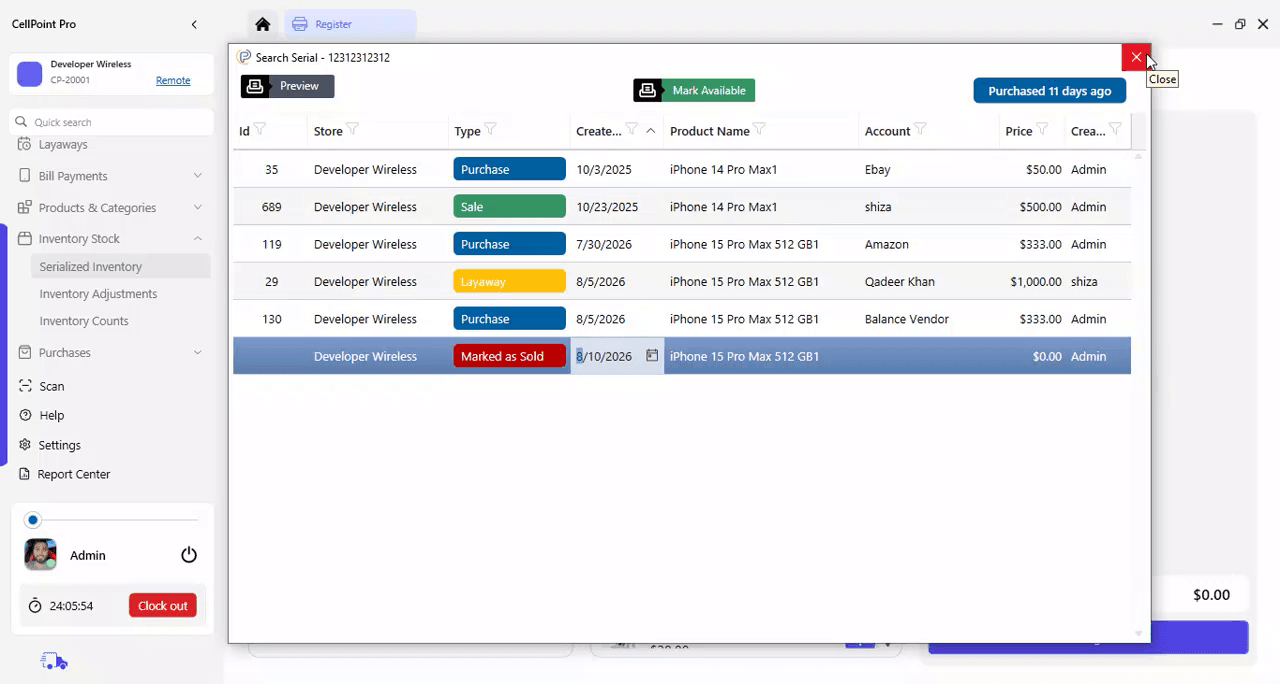
Update the device’s status by marking it as Available or Sold, depending on the current situation
Use these options to fully understand and, when needed, adjust the current state of the device in the system.
Step 5: Access Device History via Serialized Inventory
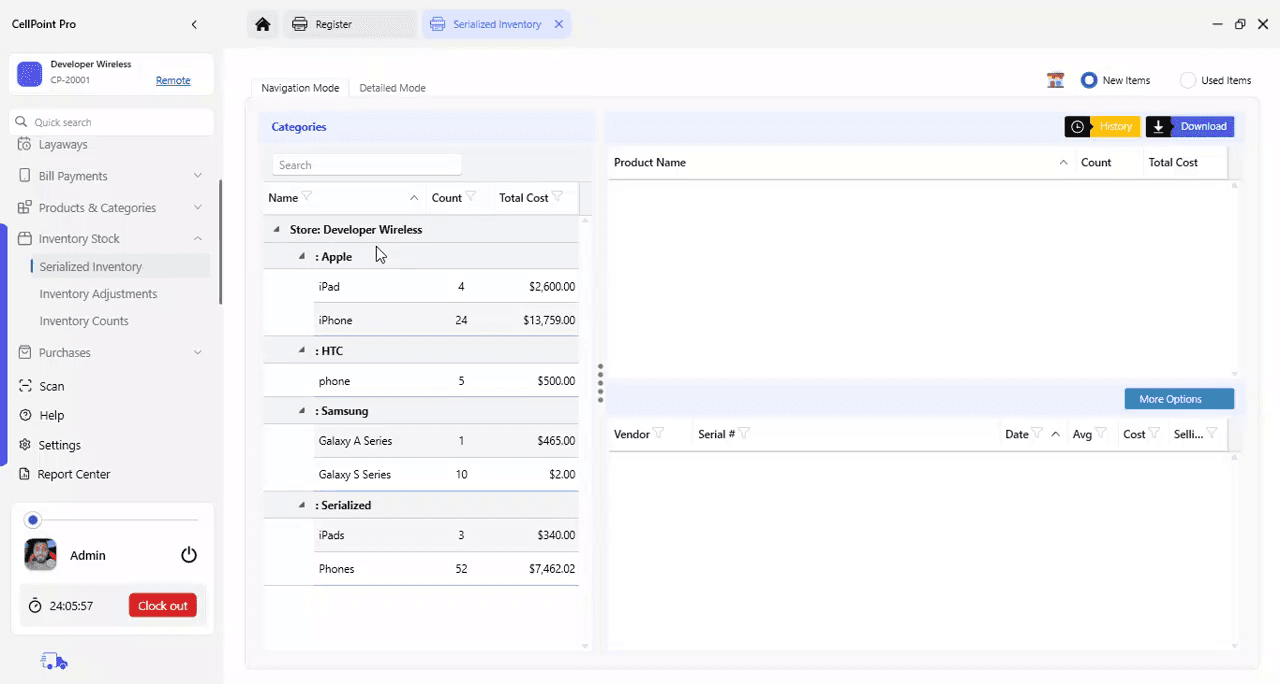
Alternatively, go to Serialized Inventory to manage and review device histories. From there, you can search for the same serial number to access all related history information.
Watch the Video Tutorial
On This Page
Overview
Steps & Instructions
Video Tutorial