
Settings
·
Tutorial
3 Minutes

Managing Employee Access and Permissions in CellPoint Pro
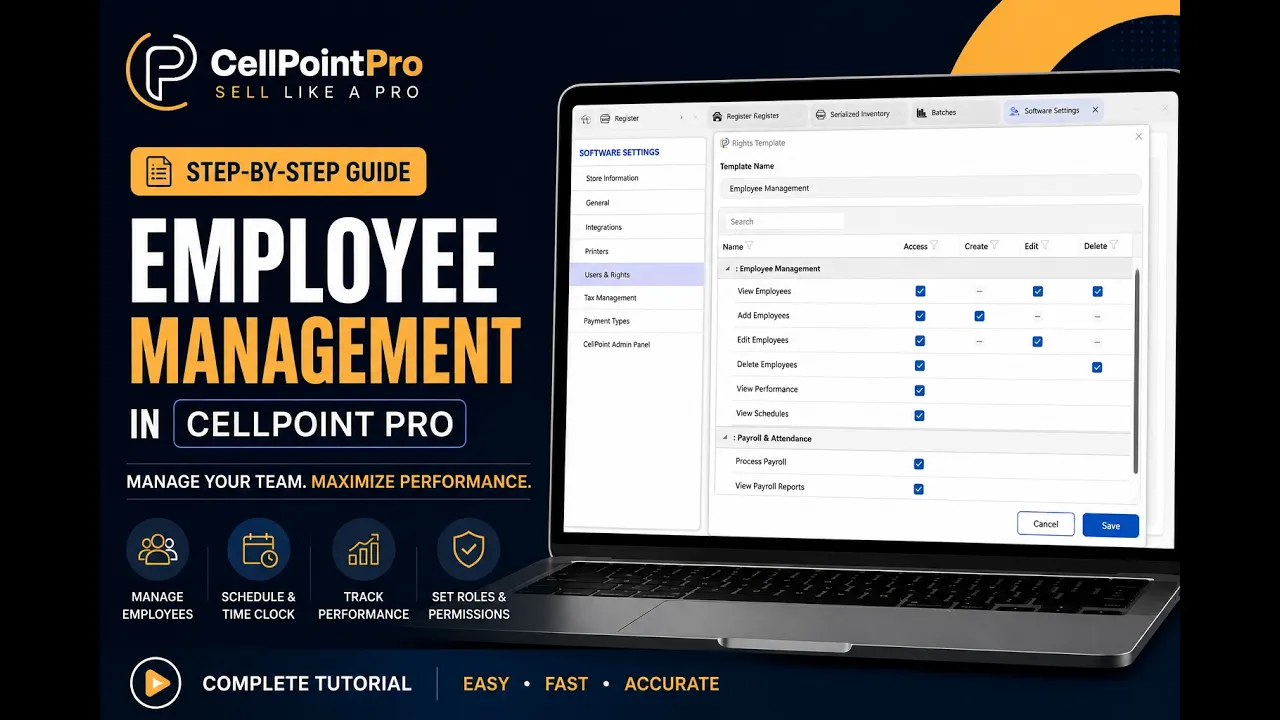
This document explains how to manage employee user accounts, assign permissions and commission templates, and handle daily clock-in/clock-out in CellPoint Pro.
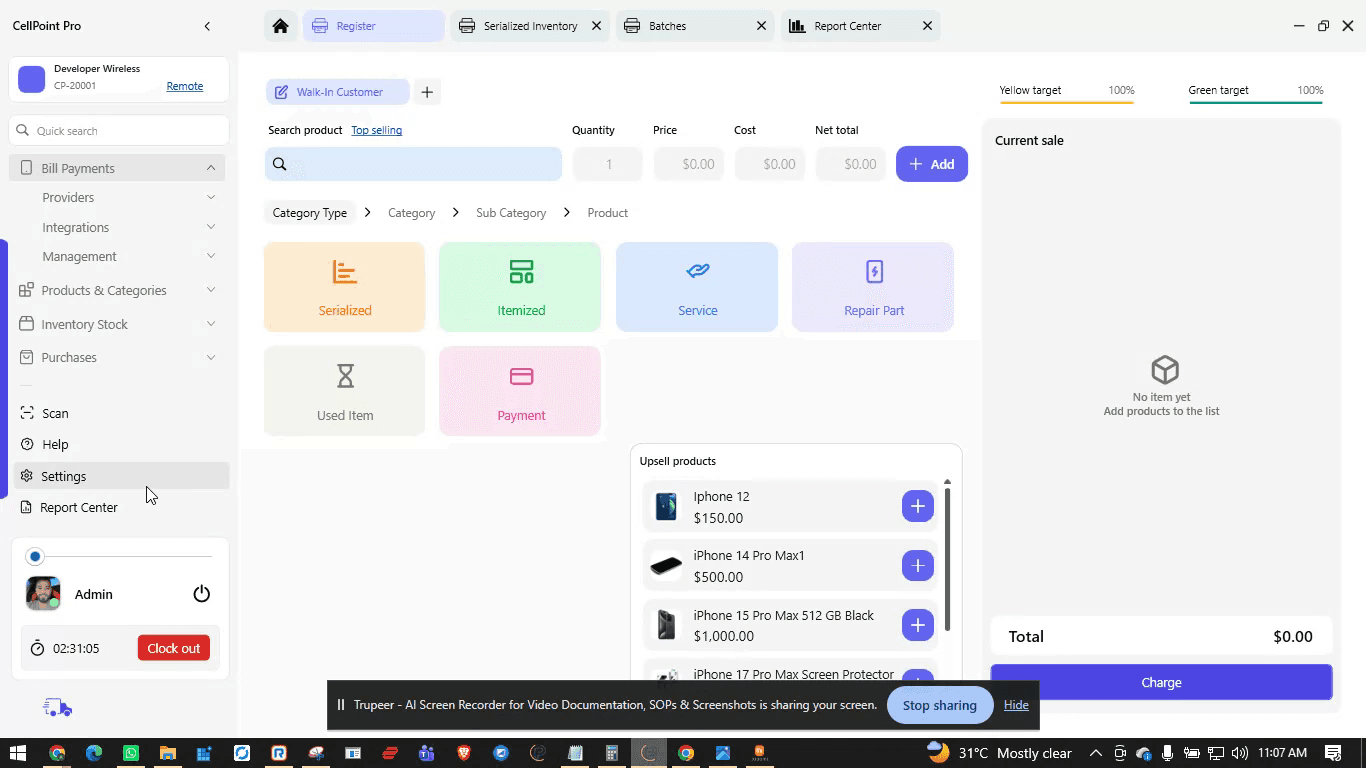
Step 1: Open the Settings Menu
From the left-hand navigation panel, open the Settings section to begin configuring user access and permissions.
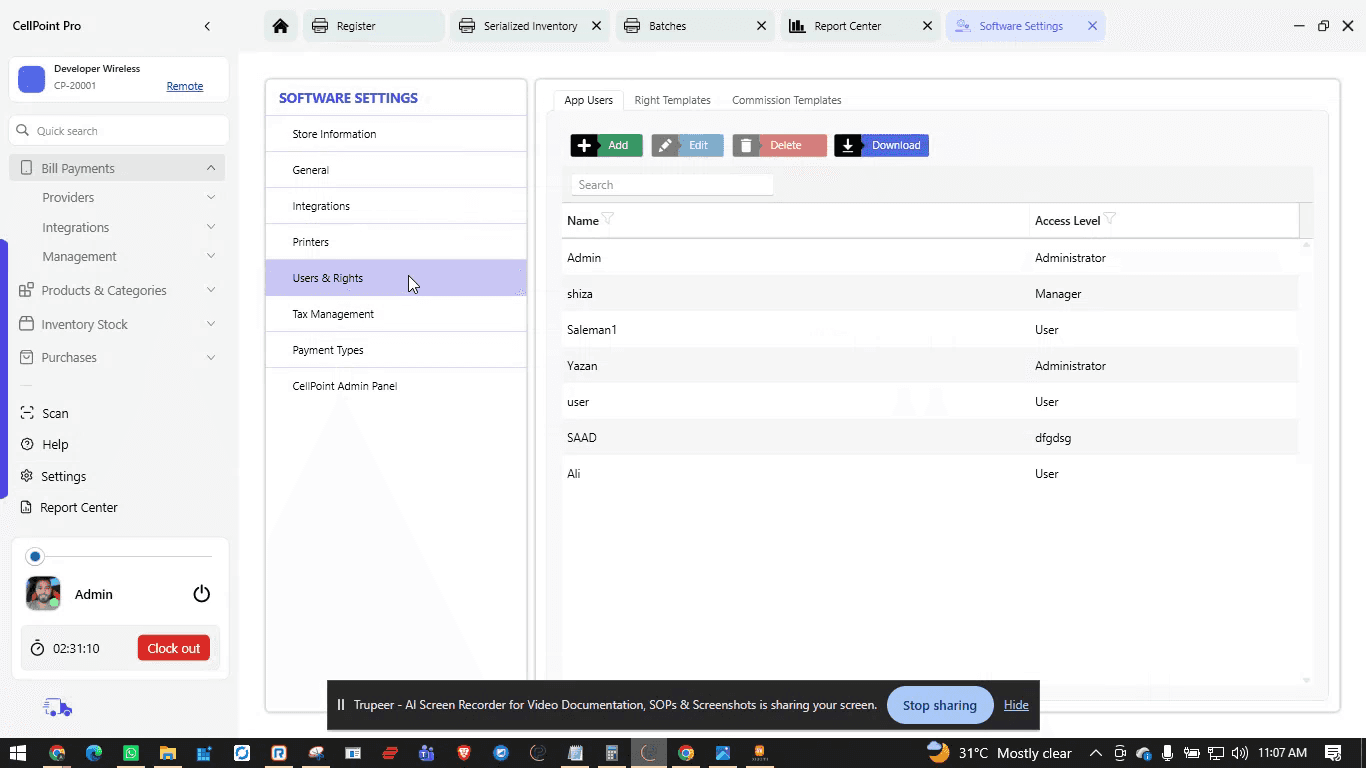
Step 2: Navigate to Users & Rights
Within Settings, go to User & Rights. This is where you can add or remove users and manage their access controls.
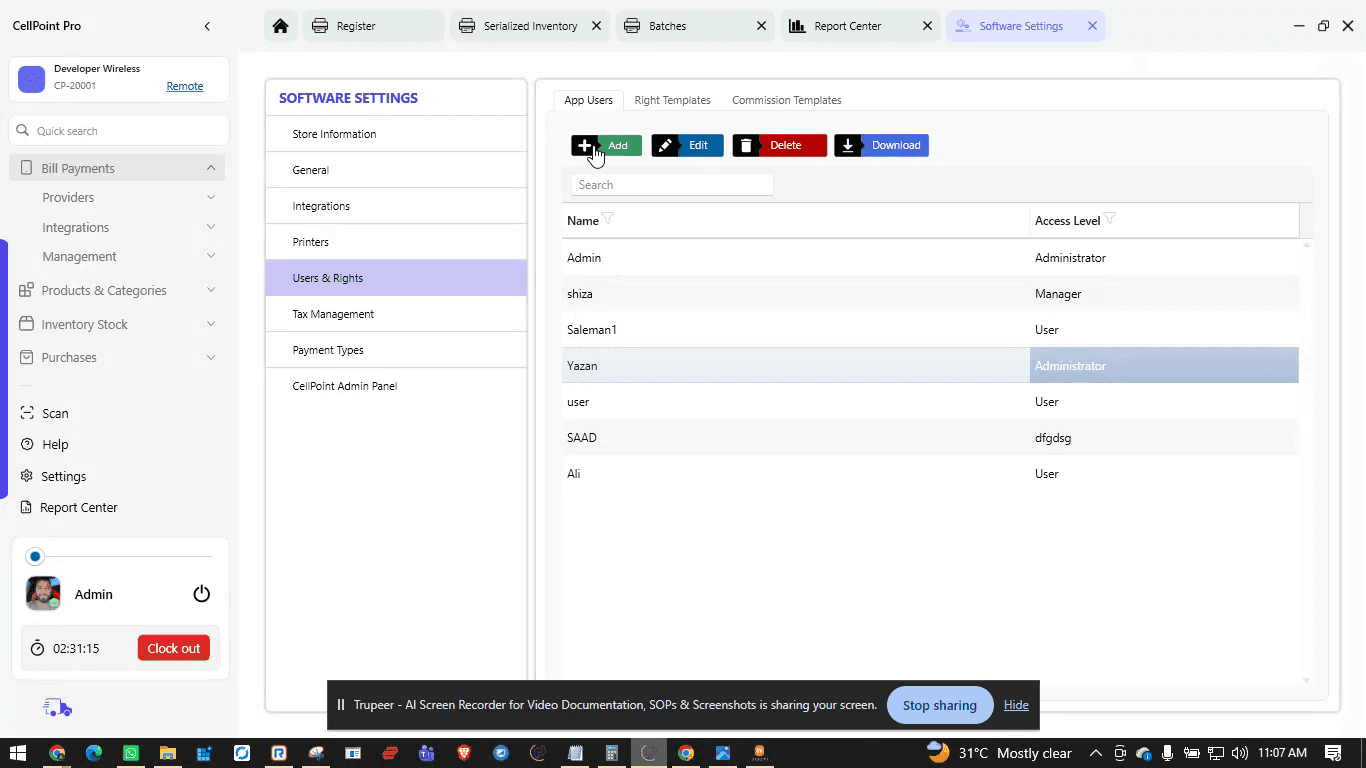
Step 3: Add a New User Account
To create a new user:
Click the option to add a new user.
Enter the user’s name.
Set a password for the user (and confirm it if required).
Assign a rights template to define what this user can do in the system.
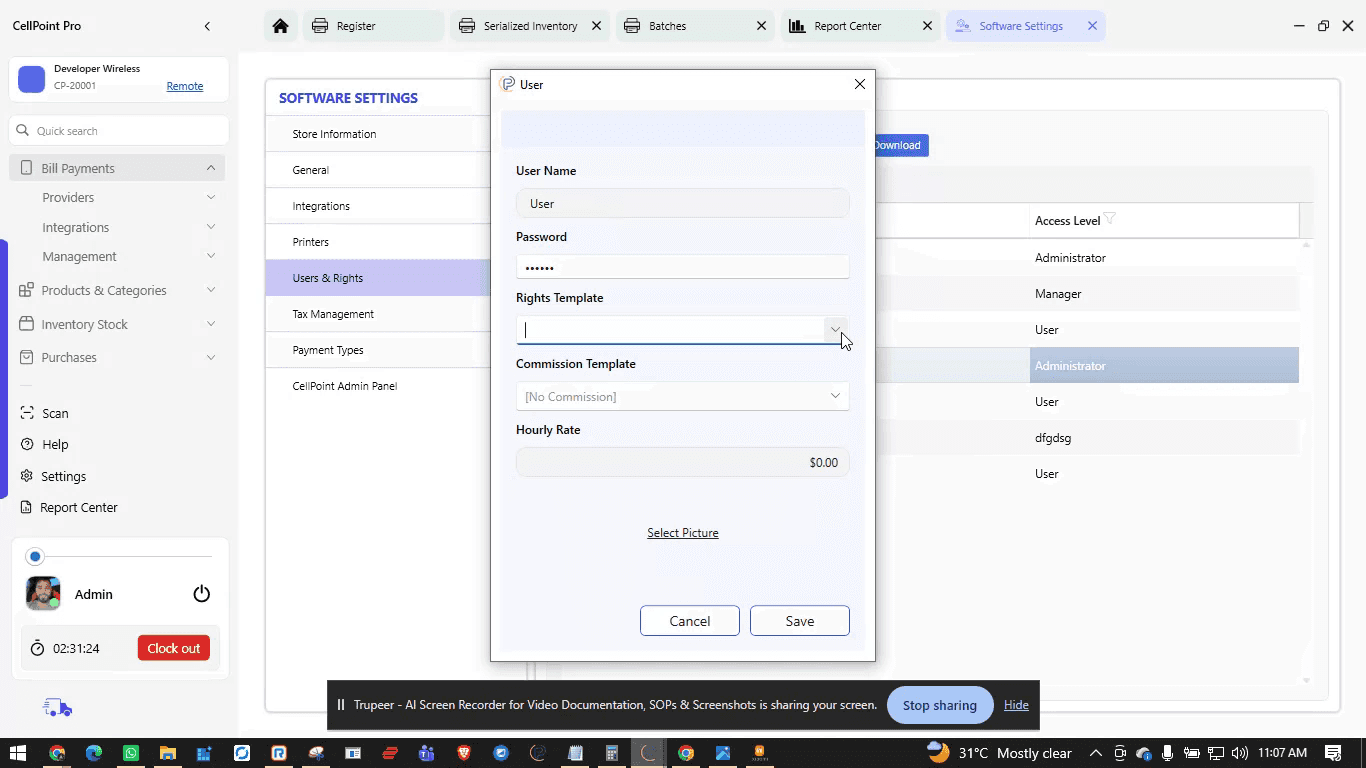
Optionally, assign a commission template to define how commissions are calculated for this employee.
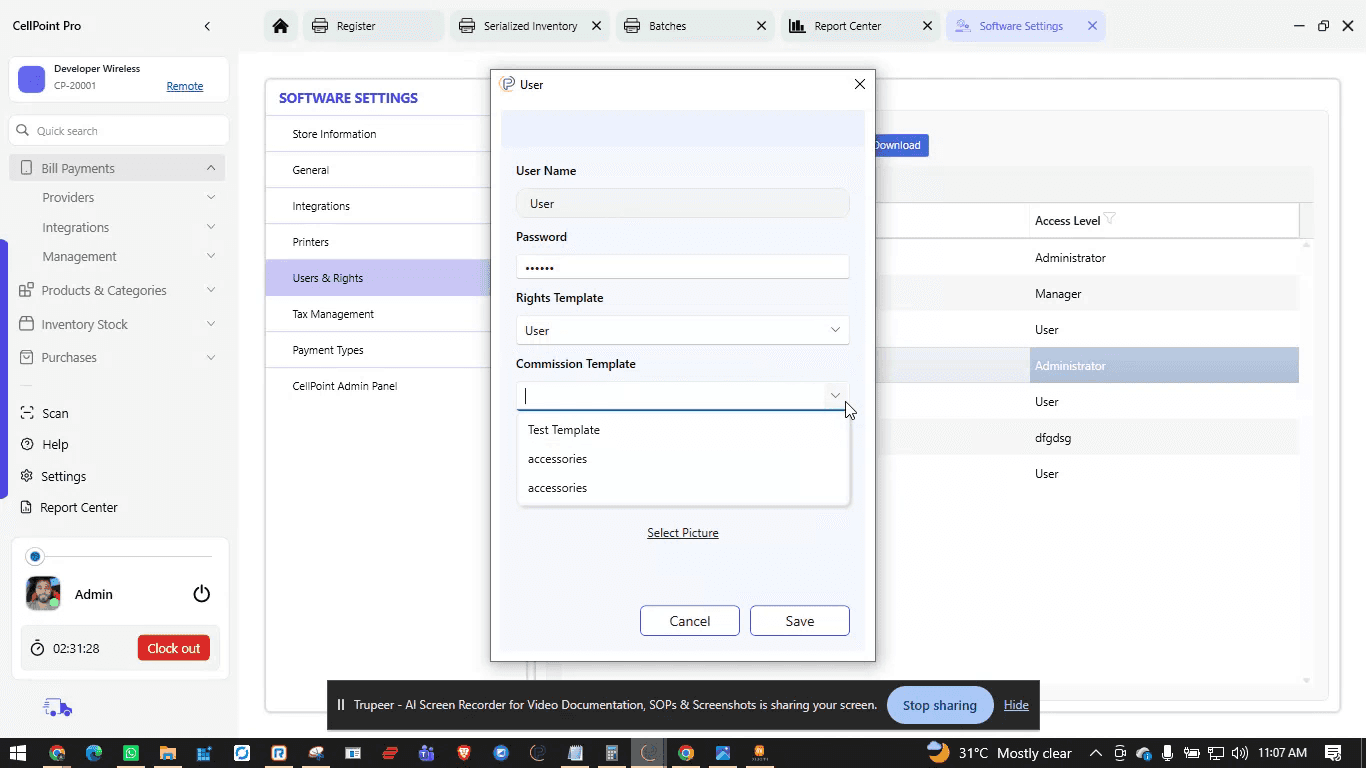
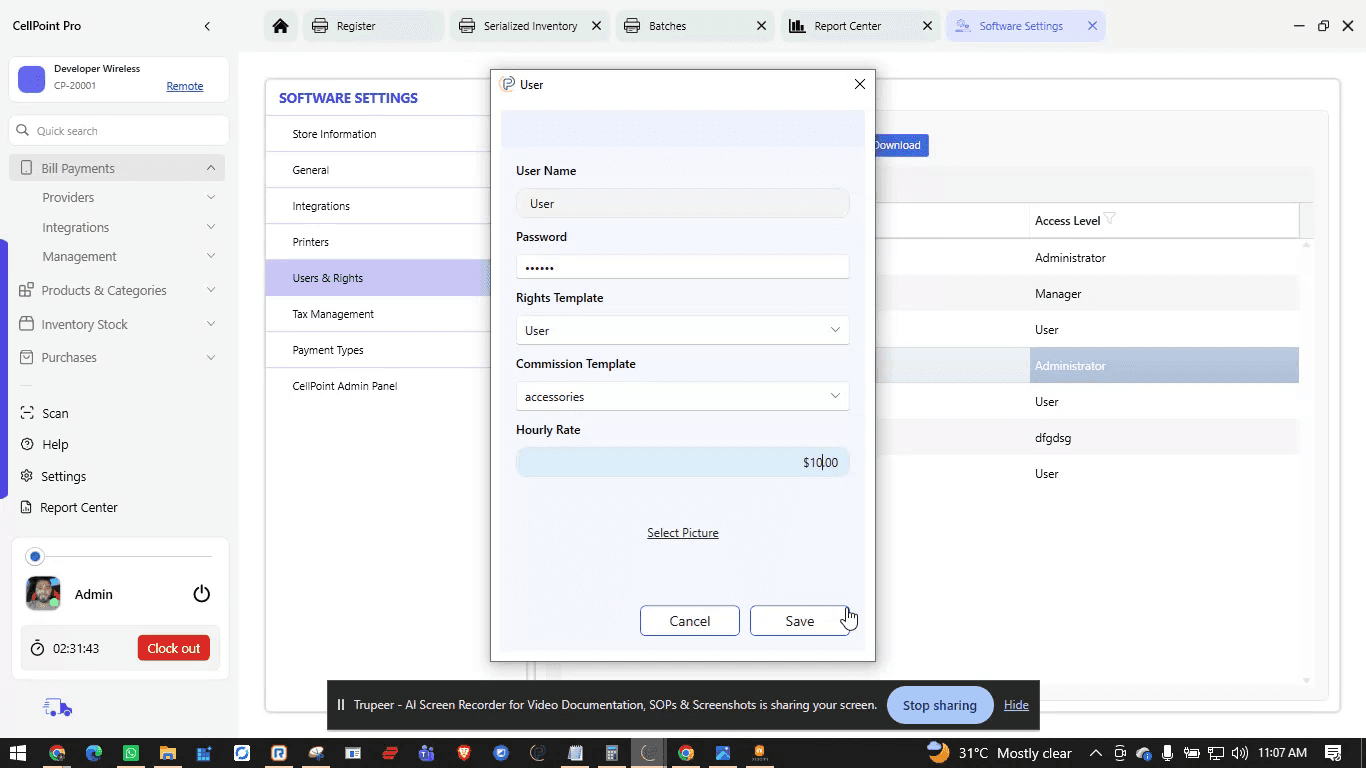
Enter the user’s hourly rate so their payroll can be calculated correctly.
Optionally, upload a profile image for the user.
Click Save to create the user.
Step 4: Configure Rights Templates (Roles & Permissions)
Next, configure the rights templates that control what users can and cannot do:
Go to the Rights Template section.
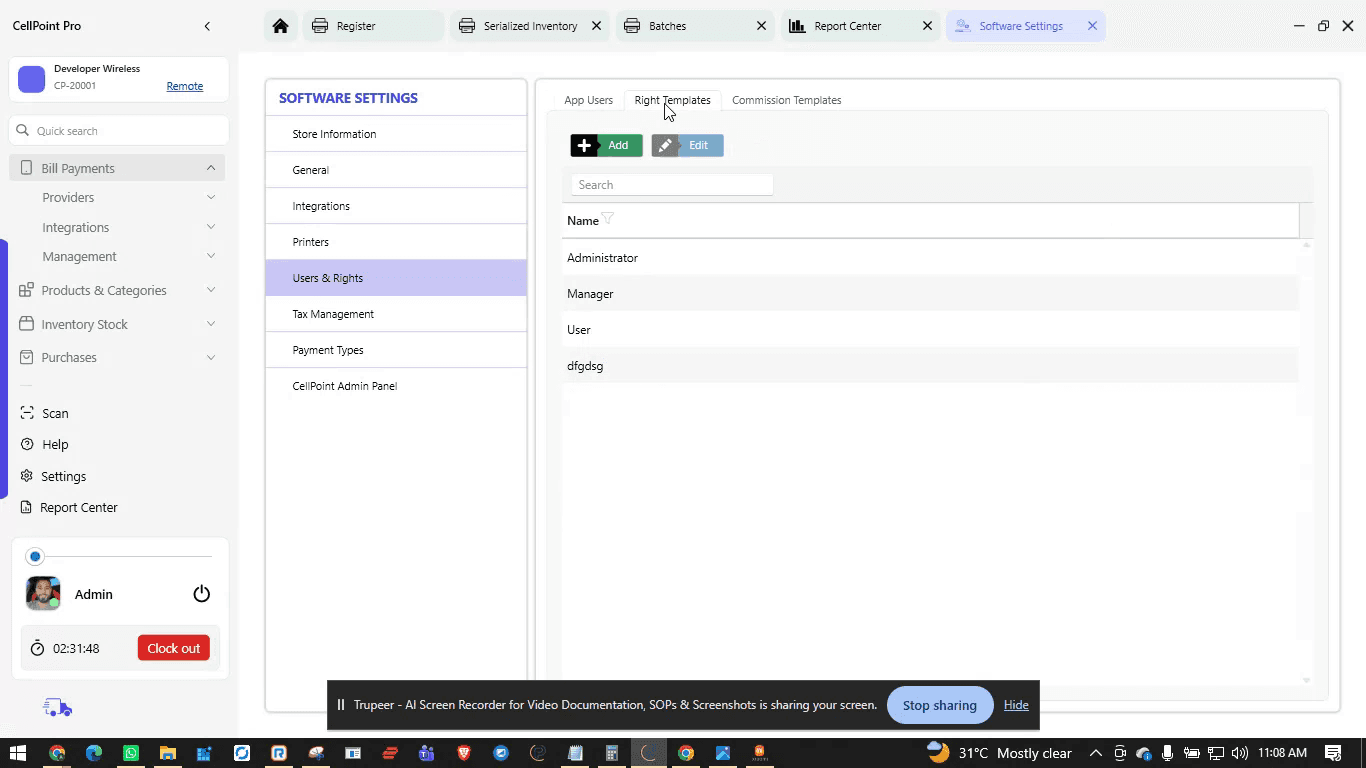
Here you can define roles based on your operational needs and your employees’ hierarchy or responsibility level.
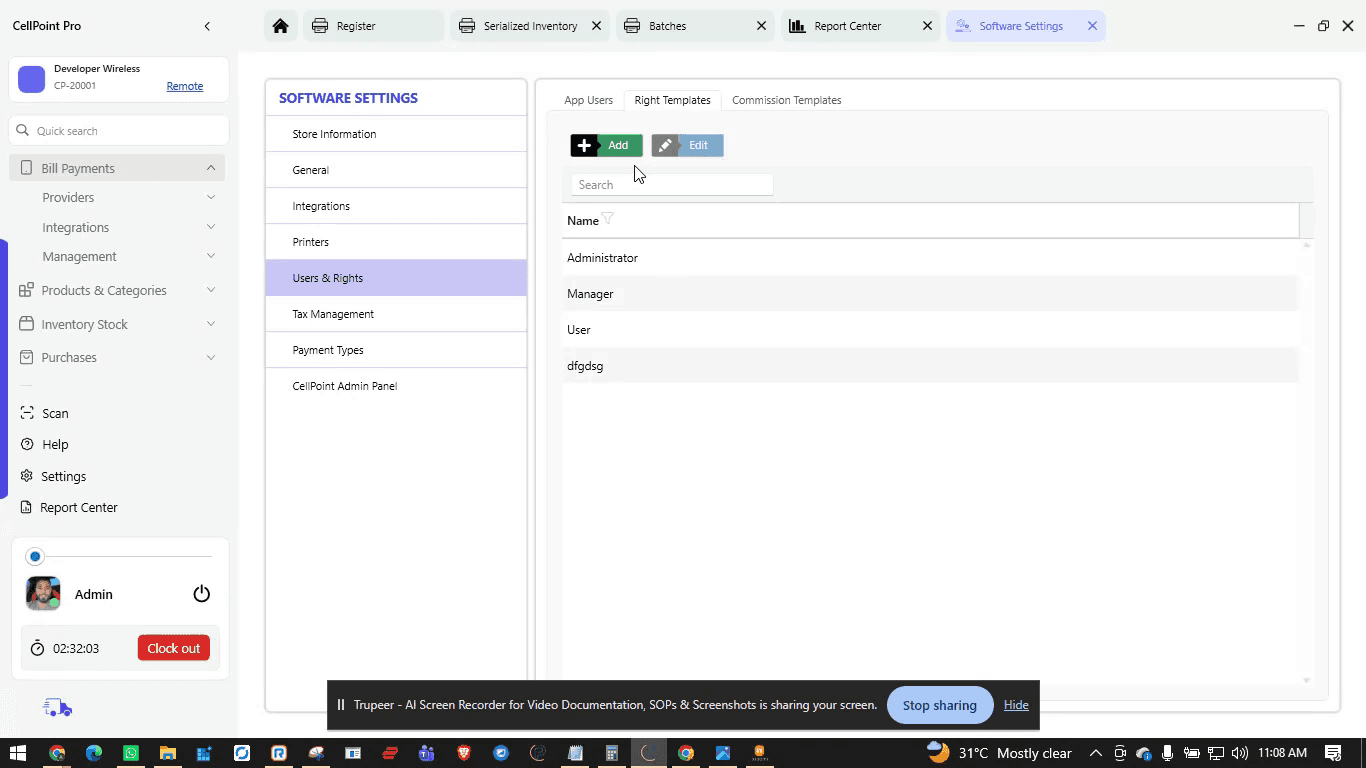
To create a new template, click the Add option.
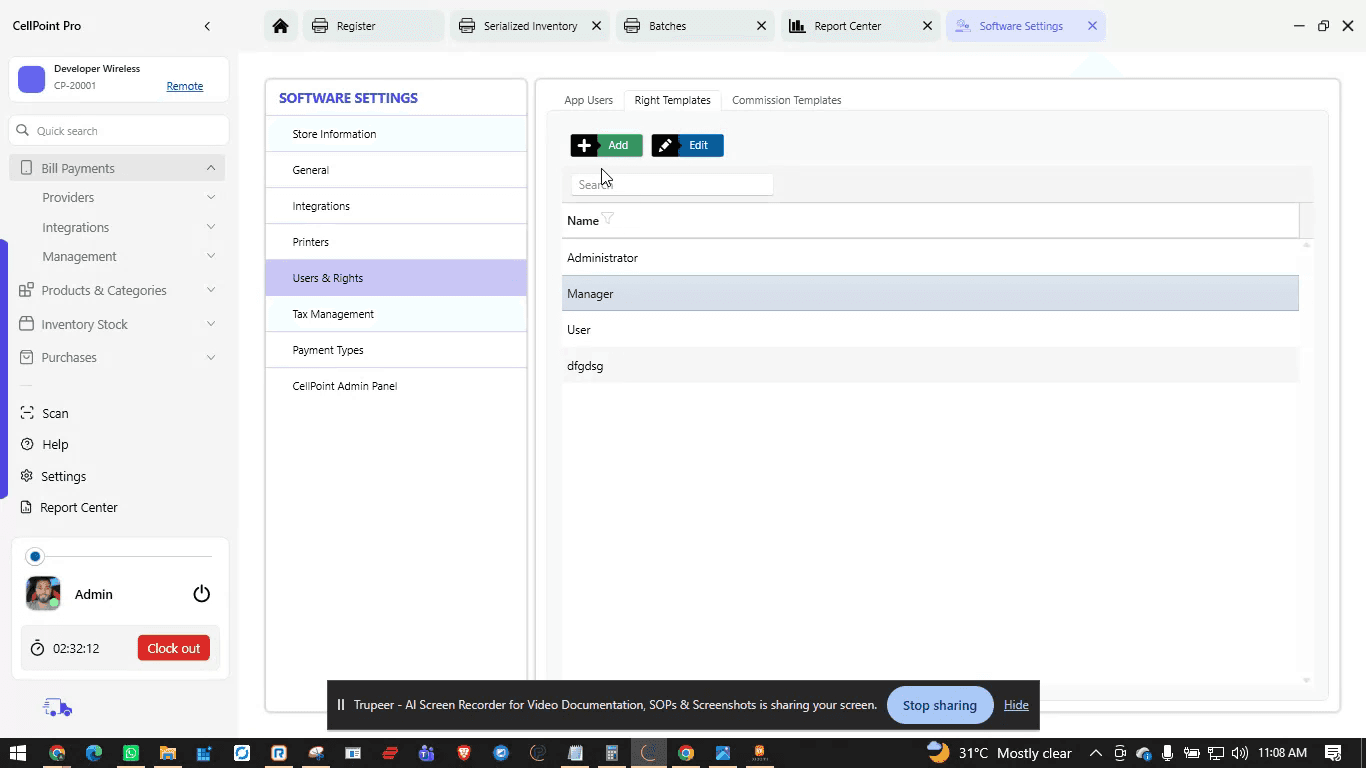
To modify an existing template, use the Edit option.

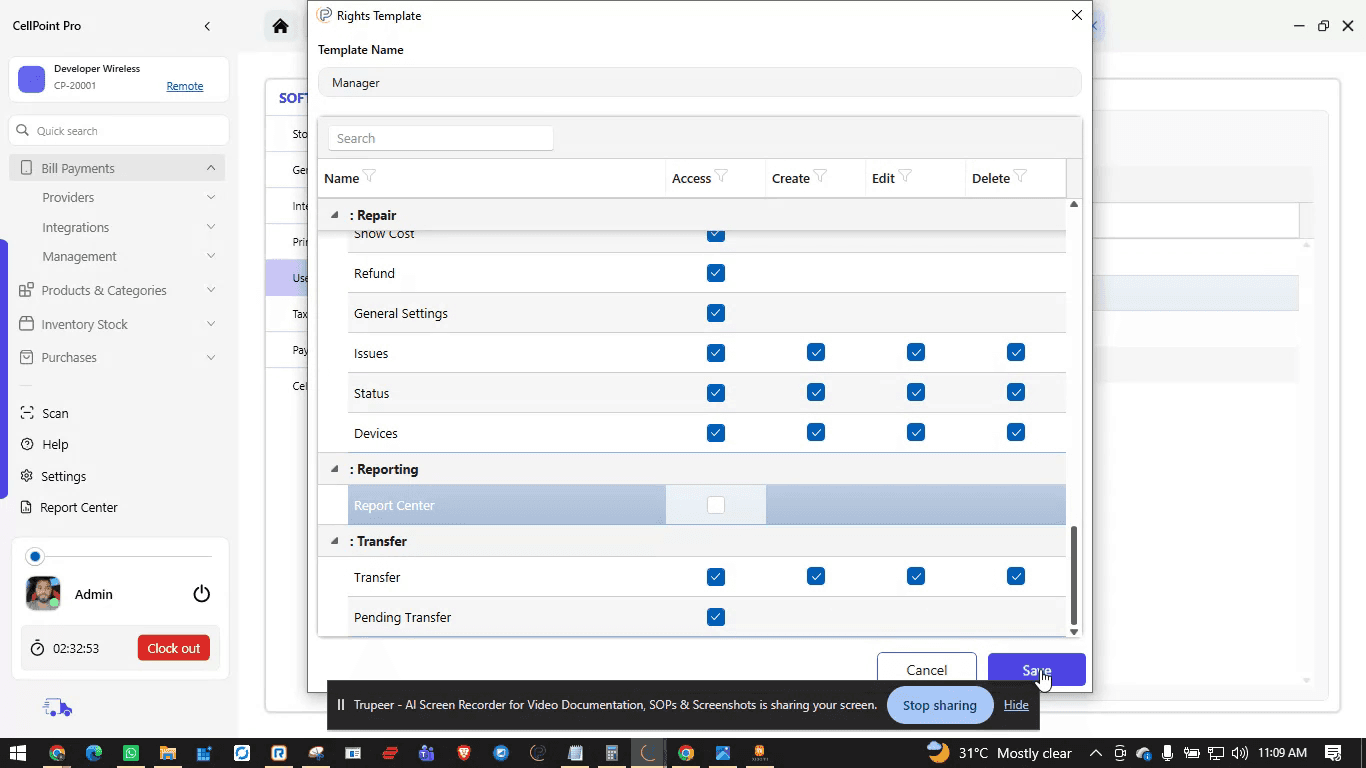
Within each template, review the available settings, restrictions, and permissions.
For example, if you do not want a user to be able to delete items, simply uncheck the corresponding permission. Once unchecked, that access is removed.
Go through all relevant permissions and enable or disable them according to your business operations.
When finished, click Save to apply your changes.
Step 5: Use Clock In / Clock Out
After users and rights are configured, employees can use the time-tracking features:
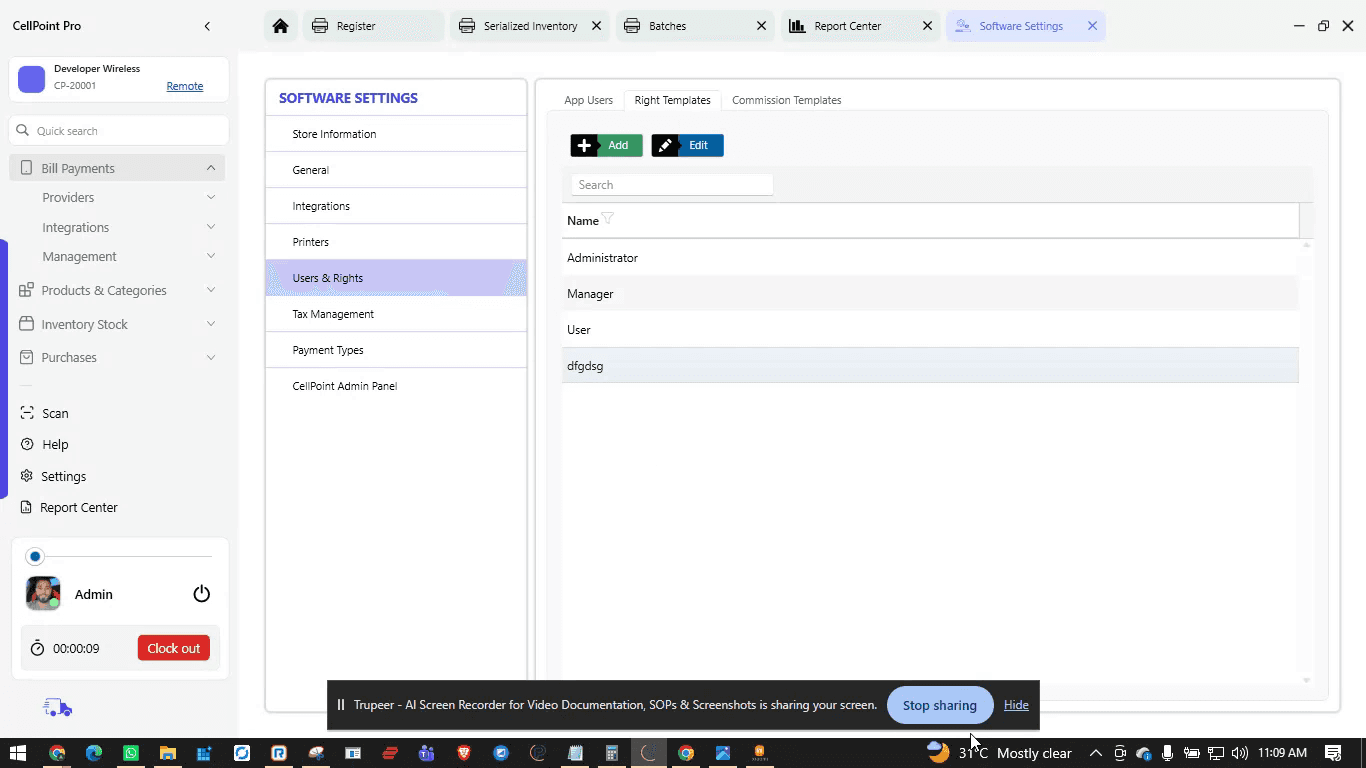
At the bottom-left corner of the interface, employees will see options to clock in at the start of their shift and clock out at the end of the day.
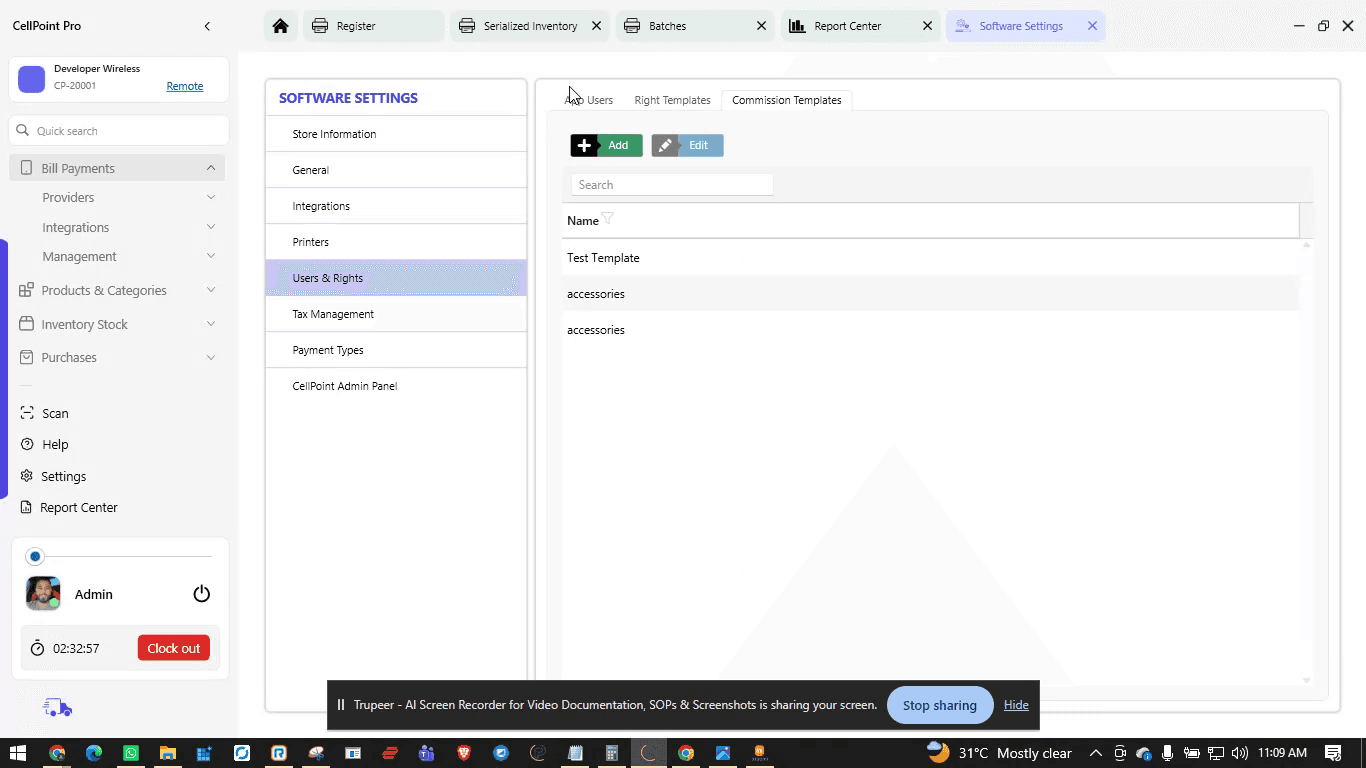
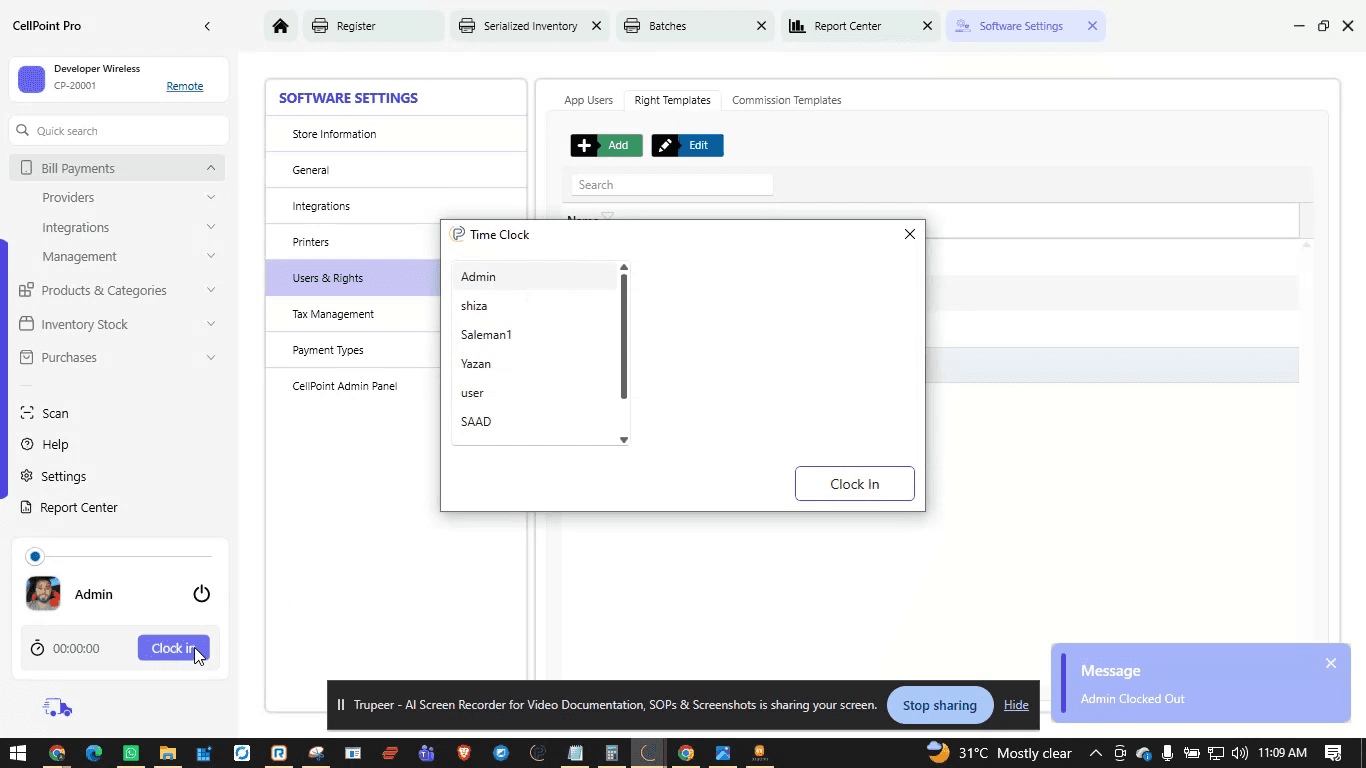
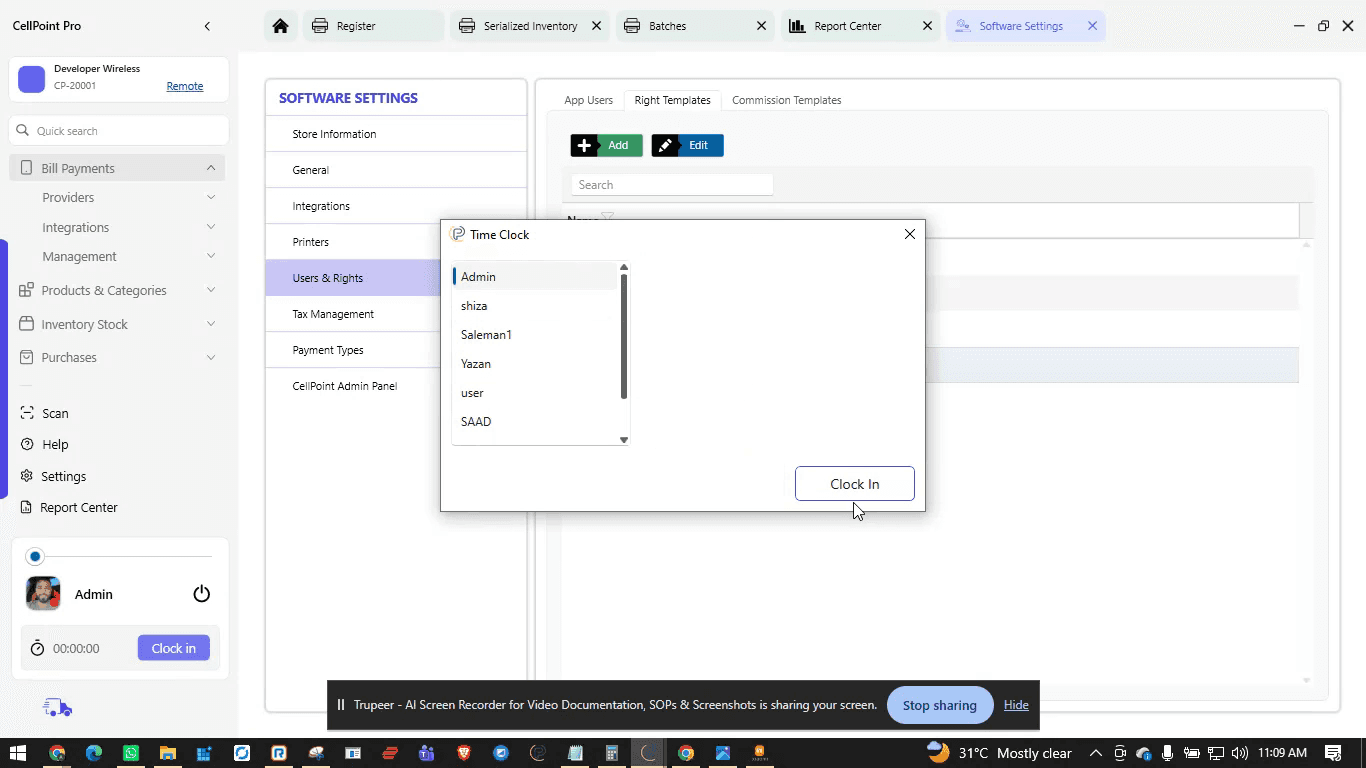
To clock in or out:
Select the correct user account.
Enter the user’s password to confirm the action.

Step 6: Complete Employee Access Management
You have now set up users, configured rights templates, and enabled employees to clock in and out. This completes the basic process of managing user rights and employee settings in the system.
Watch the Video Tutorial
On This Page
Overview
Steps & Instructions
Video Tutorial