
Settings
·
Guide
5 Minutes
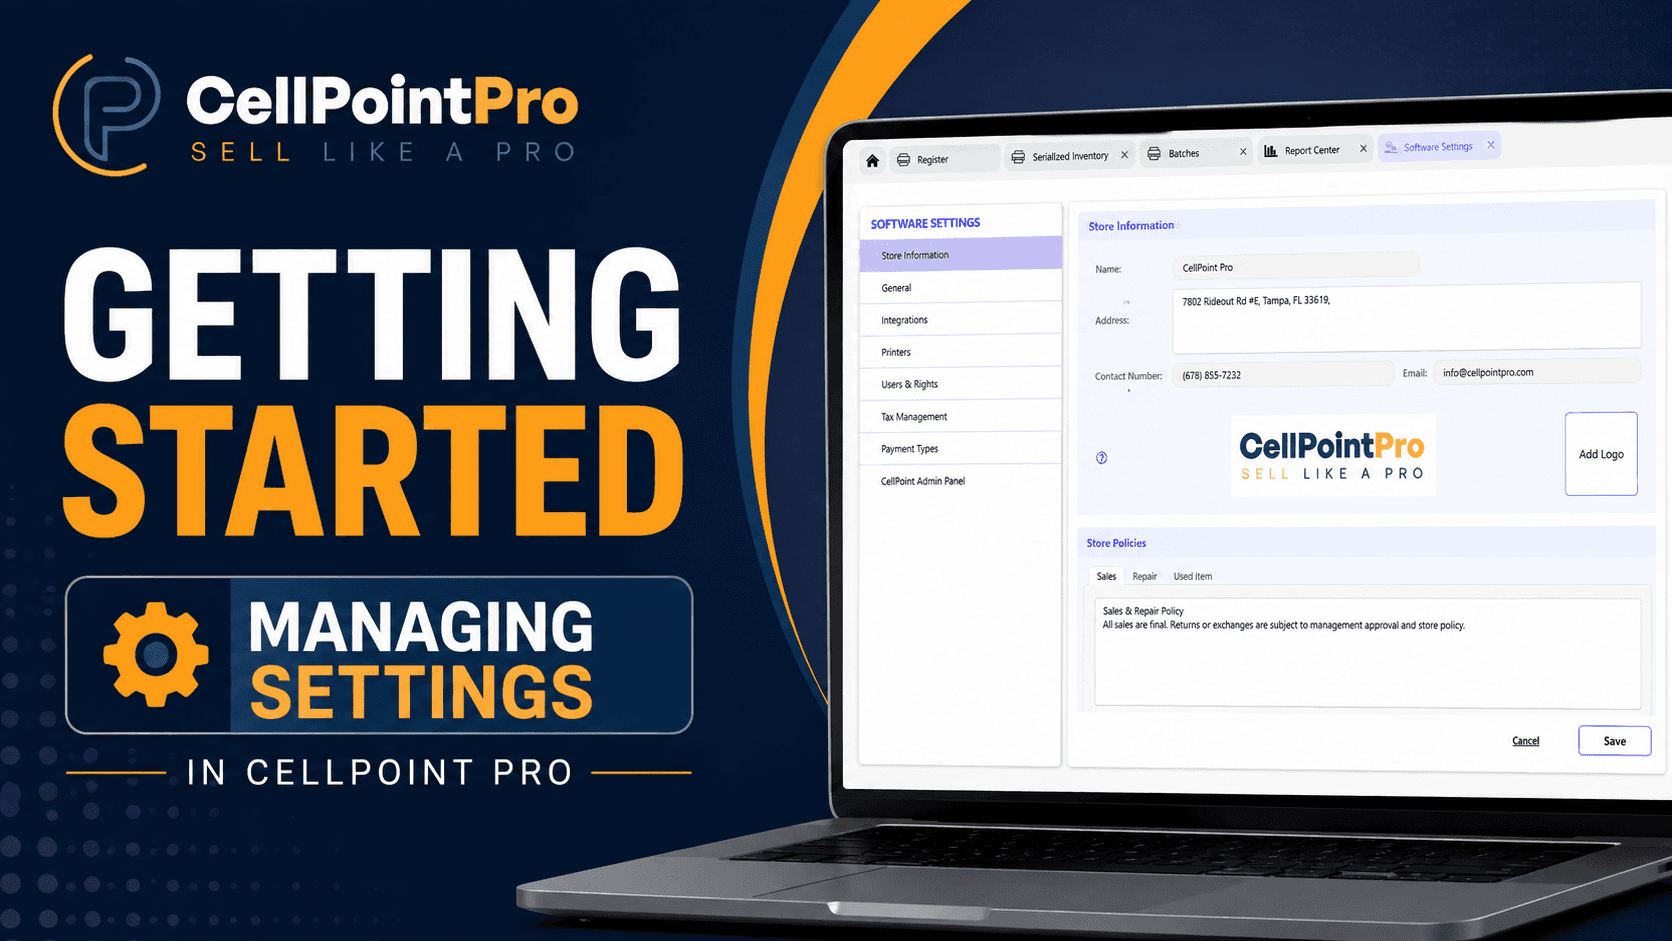
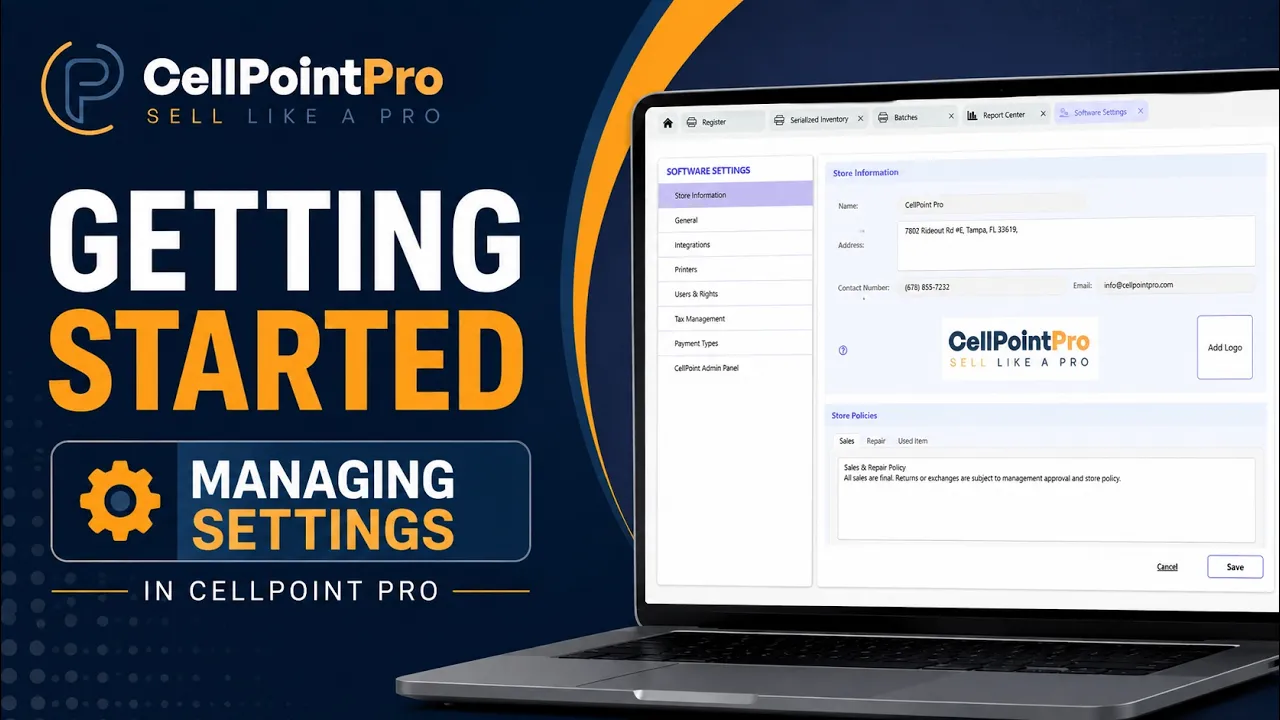
This document explains how to configure the key settings in CellPoint Pro, including store information, policies, general behavior, alerts, email, integrations, printers, taxes, and payment types. Follow these steps to tailor the POS to your store’s operational needs.
Step 1: Open the Settings Area
To begin configuring CellPoint Pro, navigate to the Settings section from the left-hand side menu.
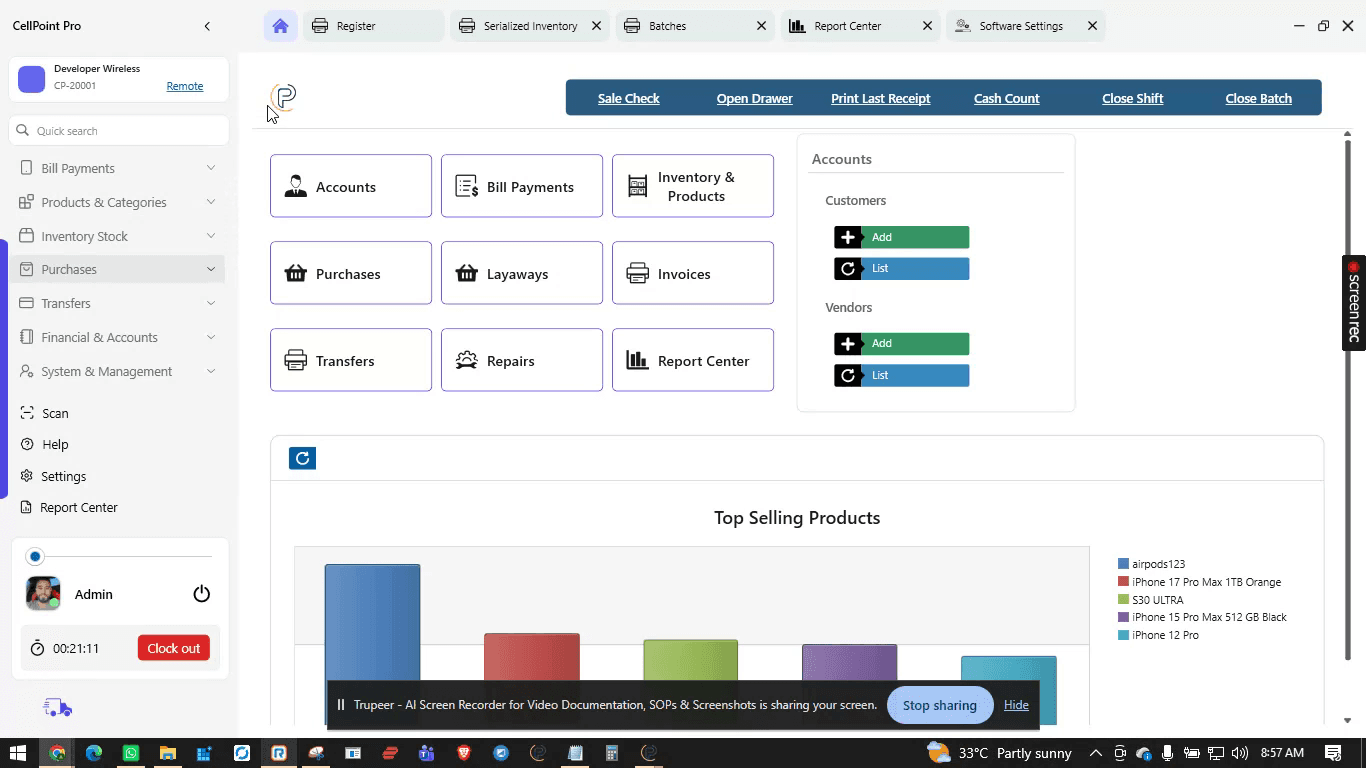
Select Settings from the left side menu to open all configuration options.
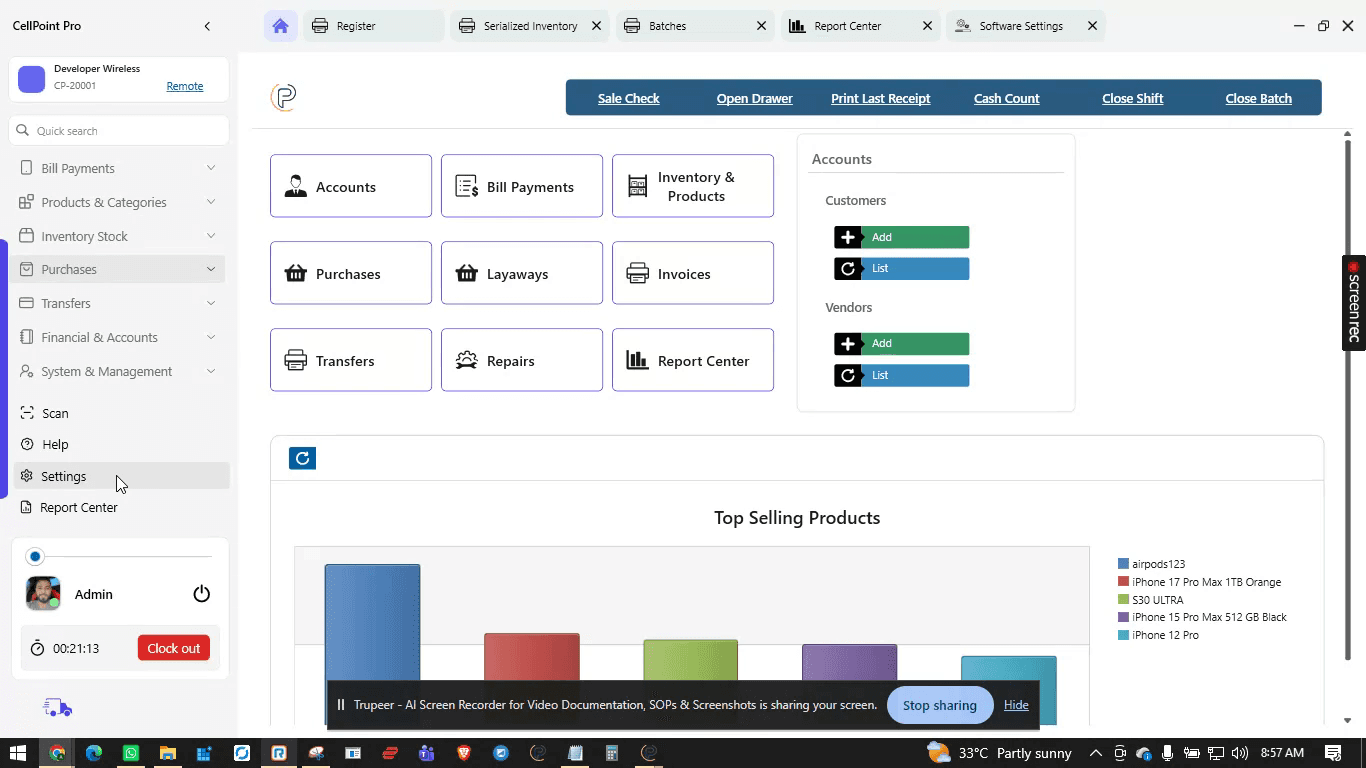
Step 2: Configure Store Information
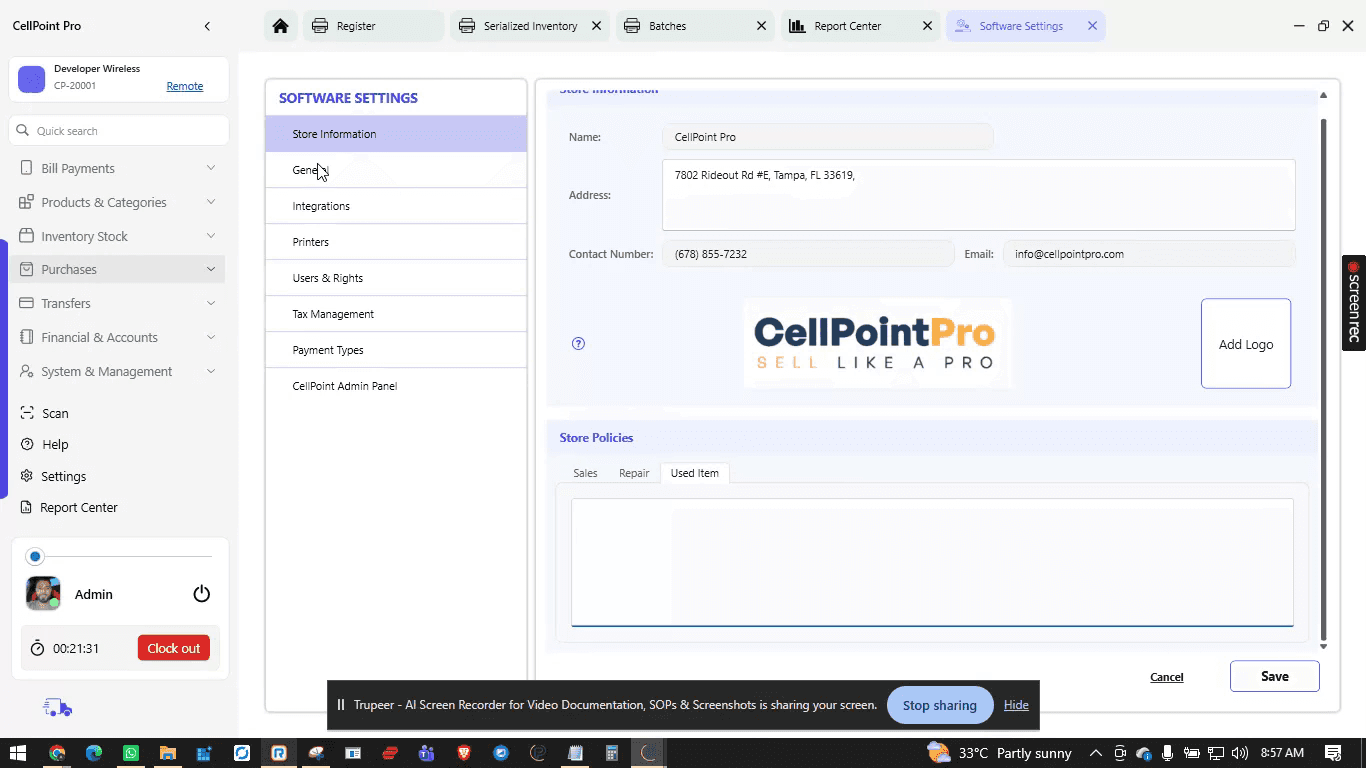
Under Store Information, enter and review your store’s basic details such as store name, address, contact information, and any other required fields.
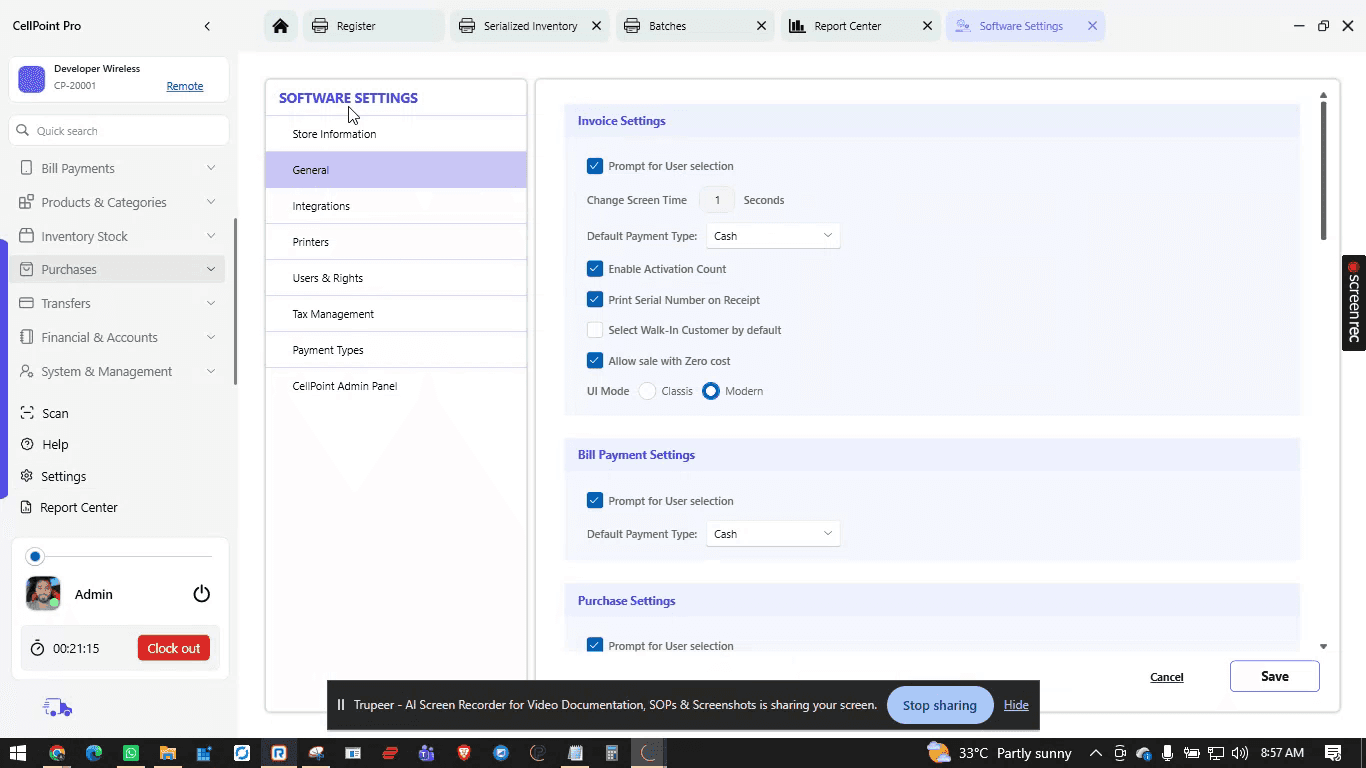
Use this area to ensure that all core store data is accurate and complete.
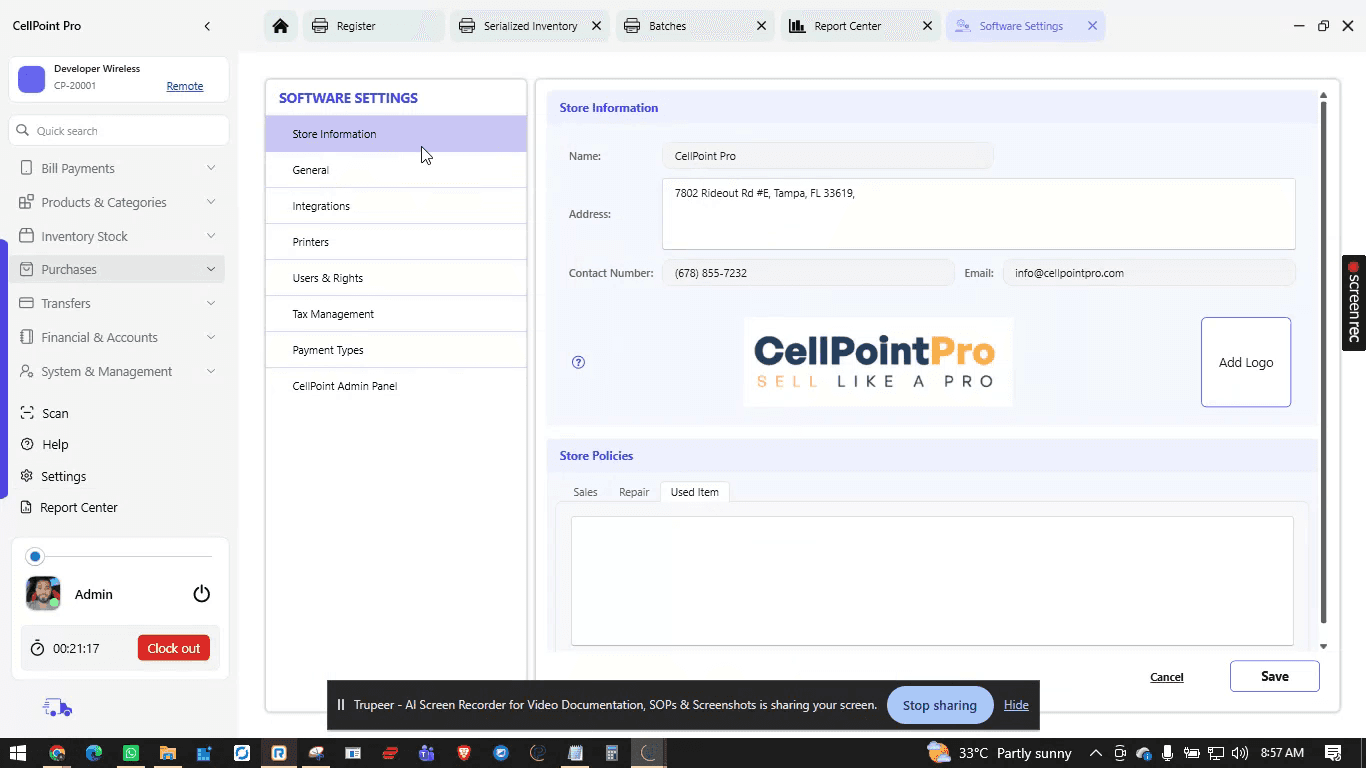
Step 3: Set Store Policies
Open the Store Policies section.
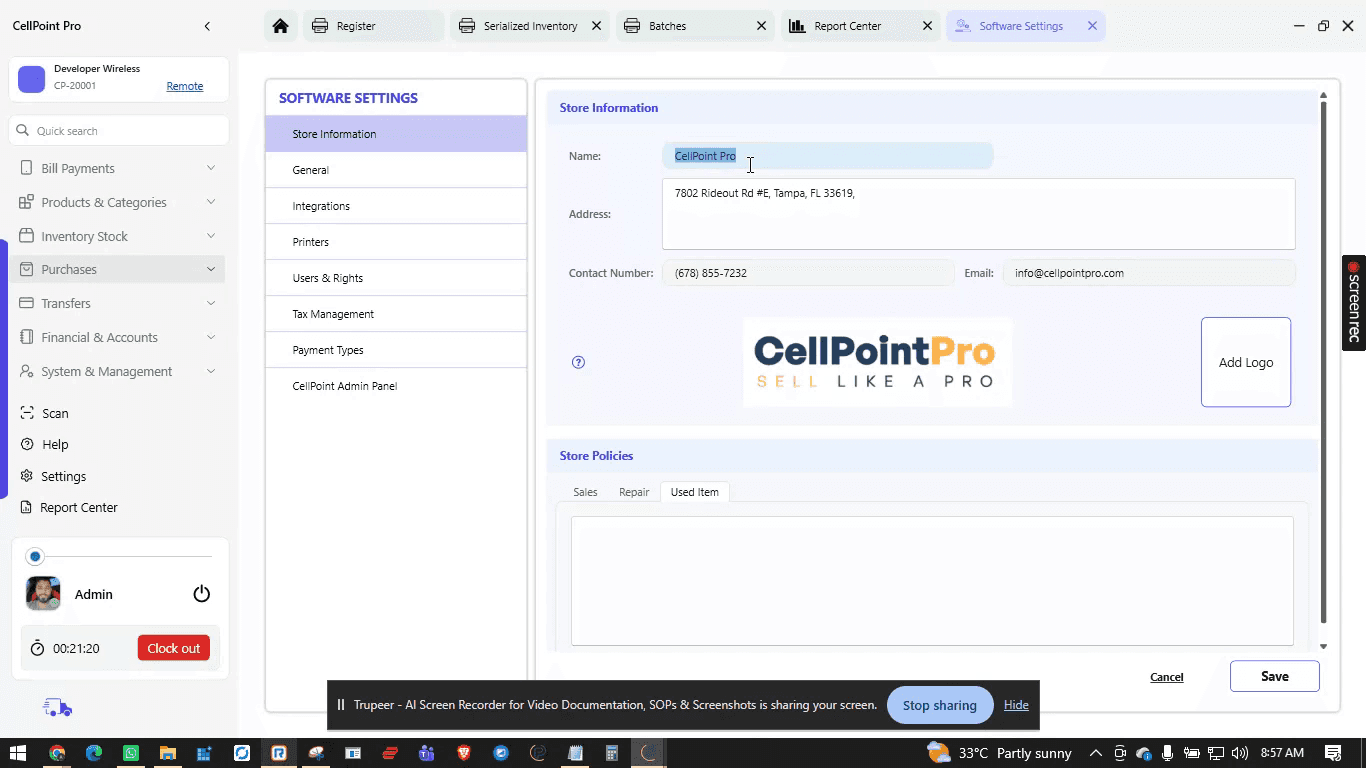
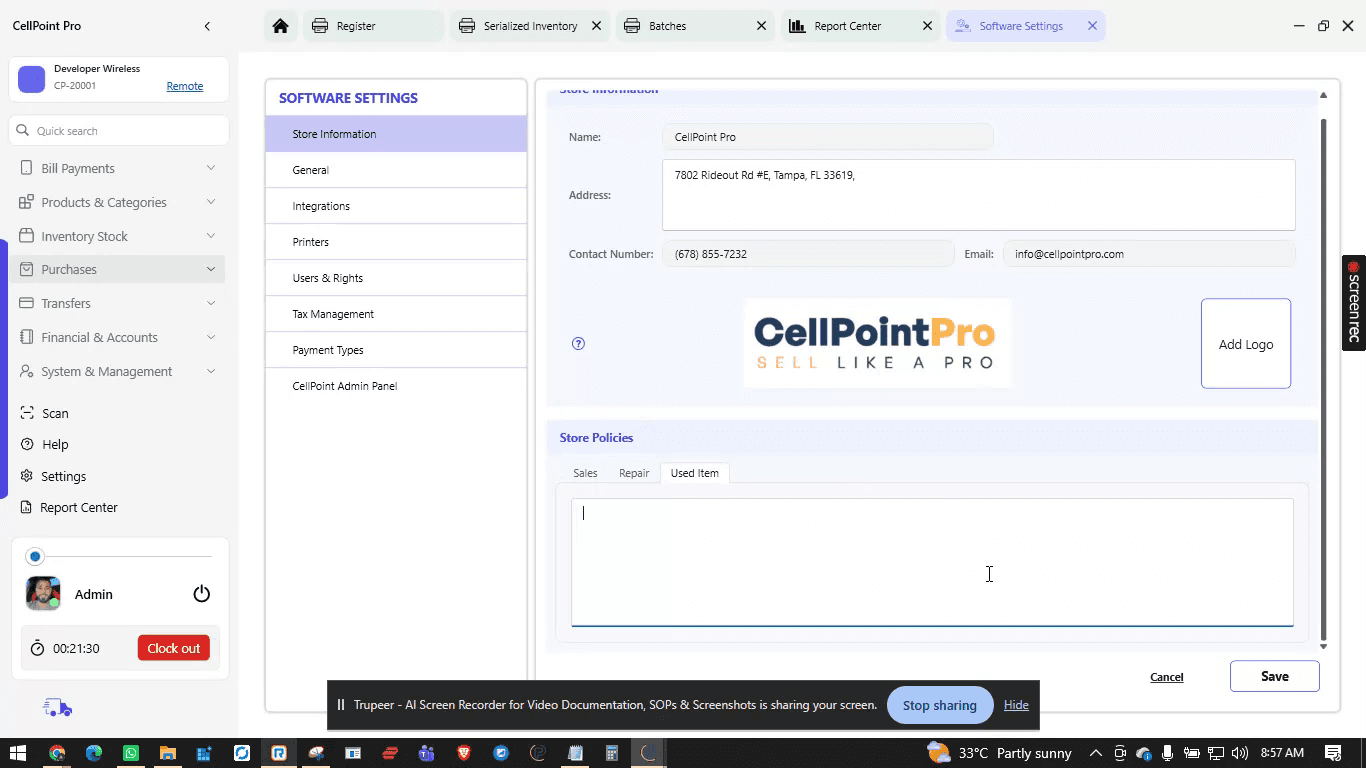
Review all available policy fields and add or update your policies (e.g., returns, exchanges, warranties, and other in-store rules).
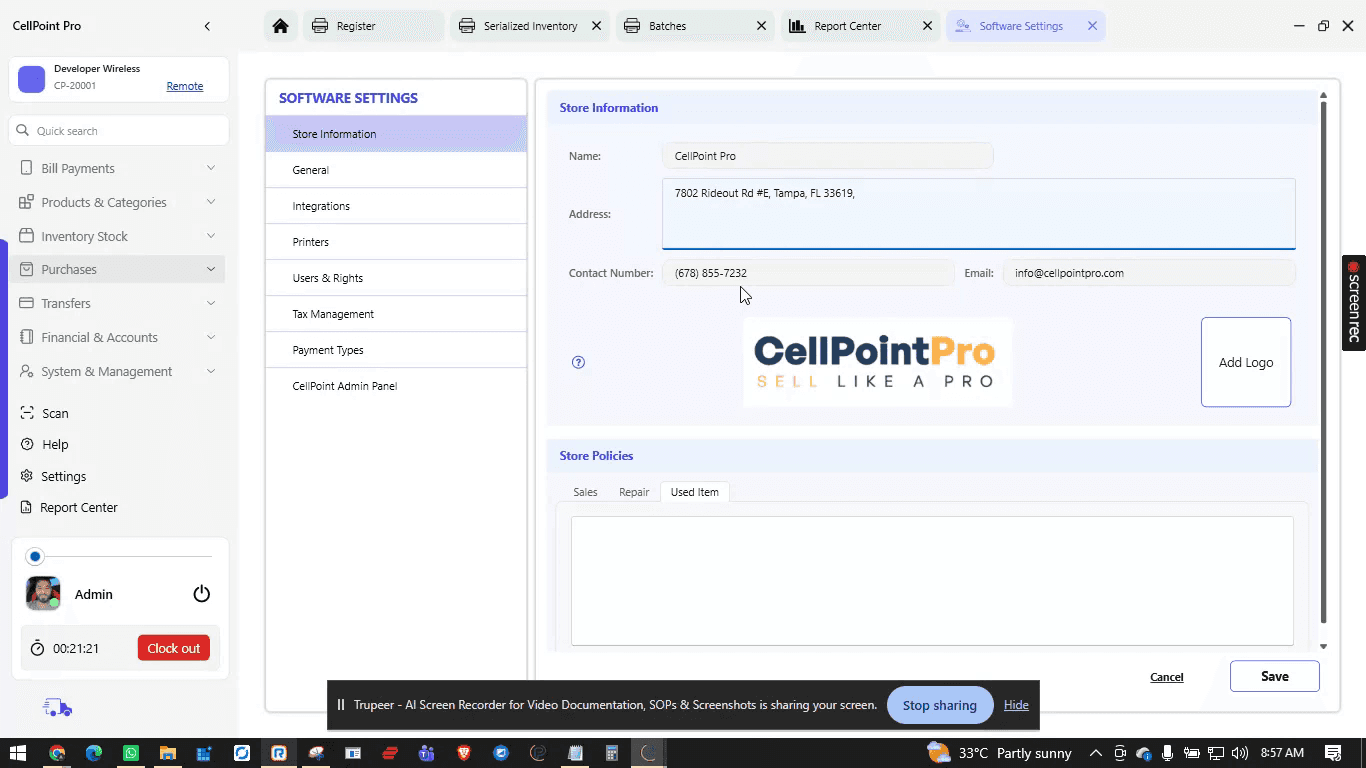
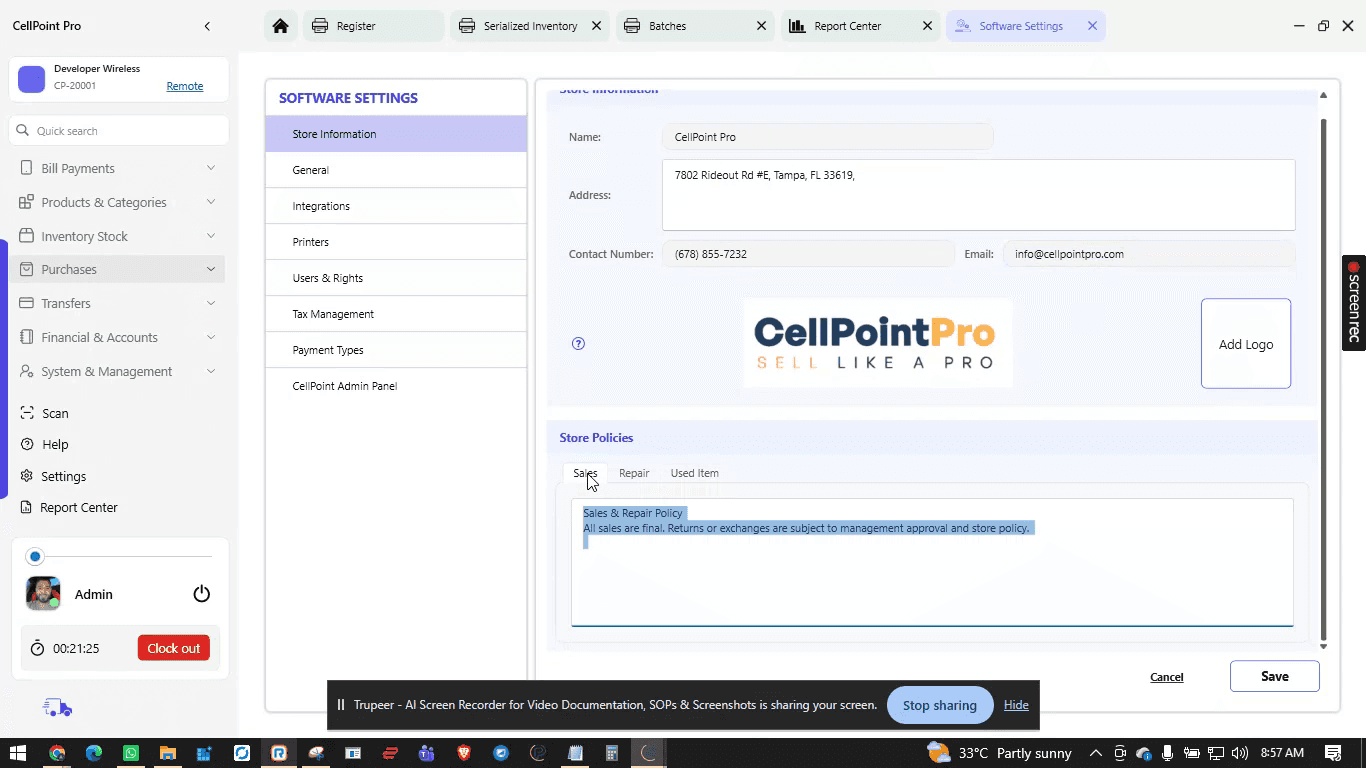
Make sure every relevant policy is clearly defined and saved so it appears consistently on customer-facing documents where applicable.
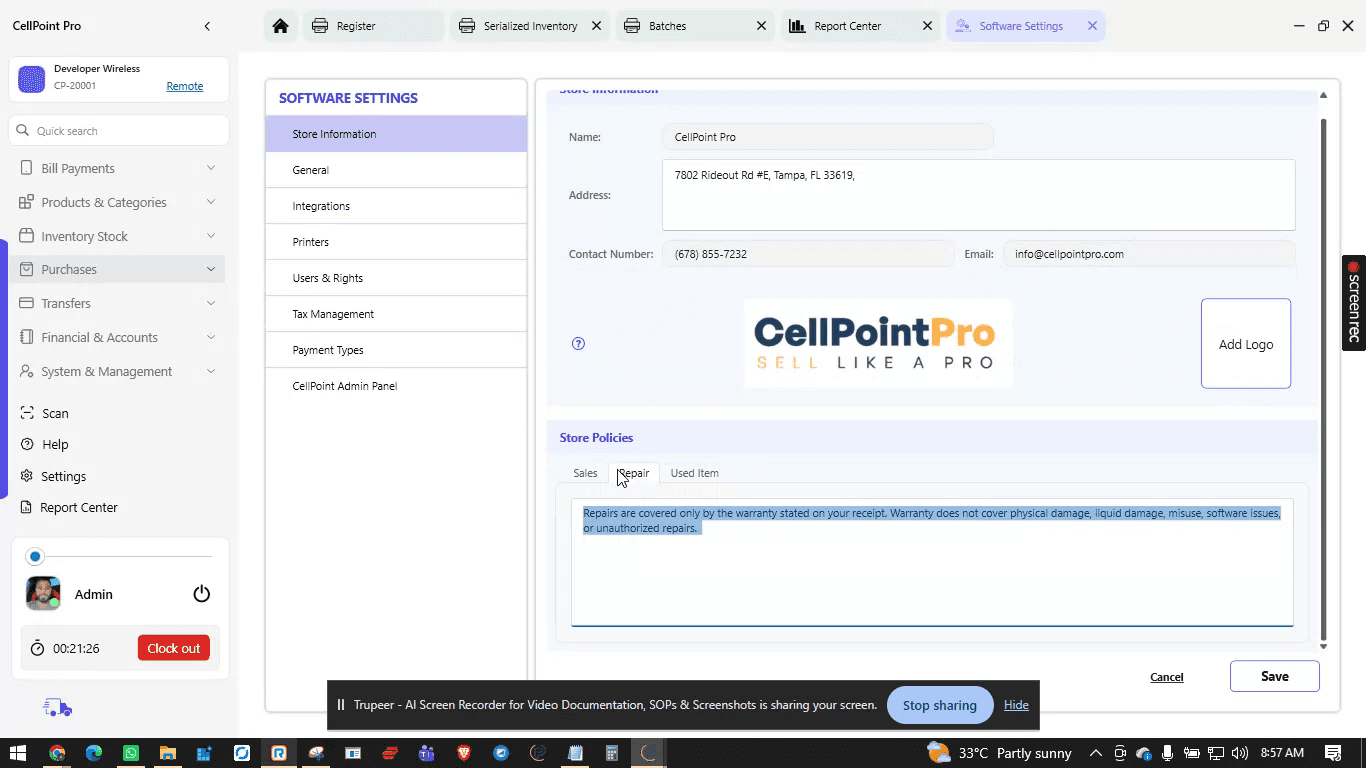
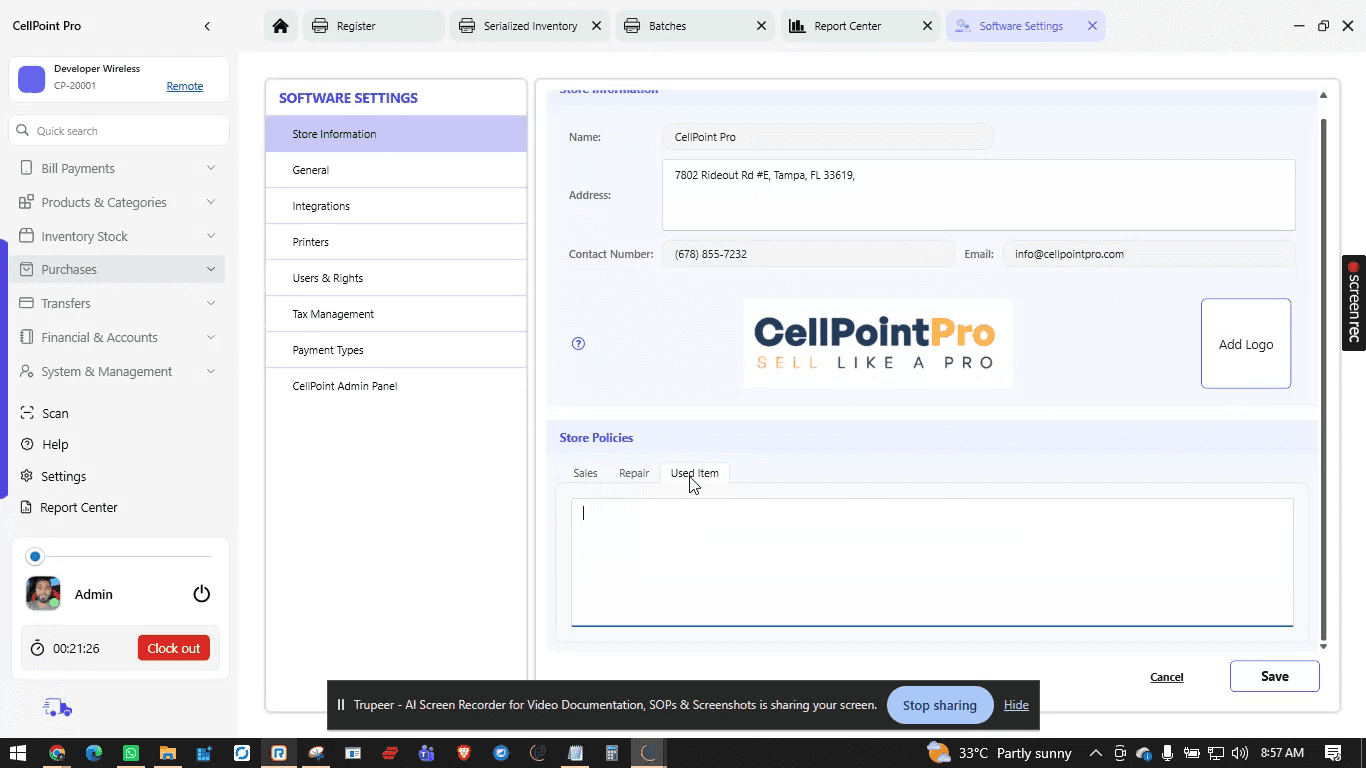
Enter all necessary policy settings and confirm they are correctly configured.
Step 4: Adjust General Module Settings
Go to the General settings section.
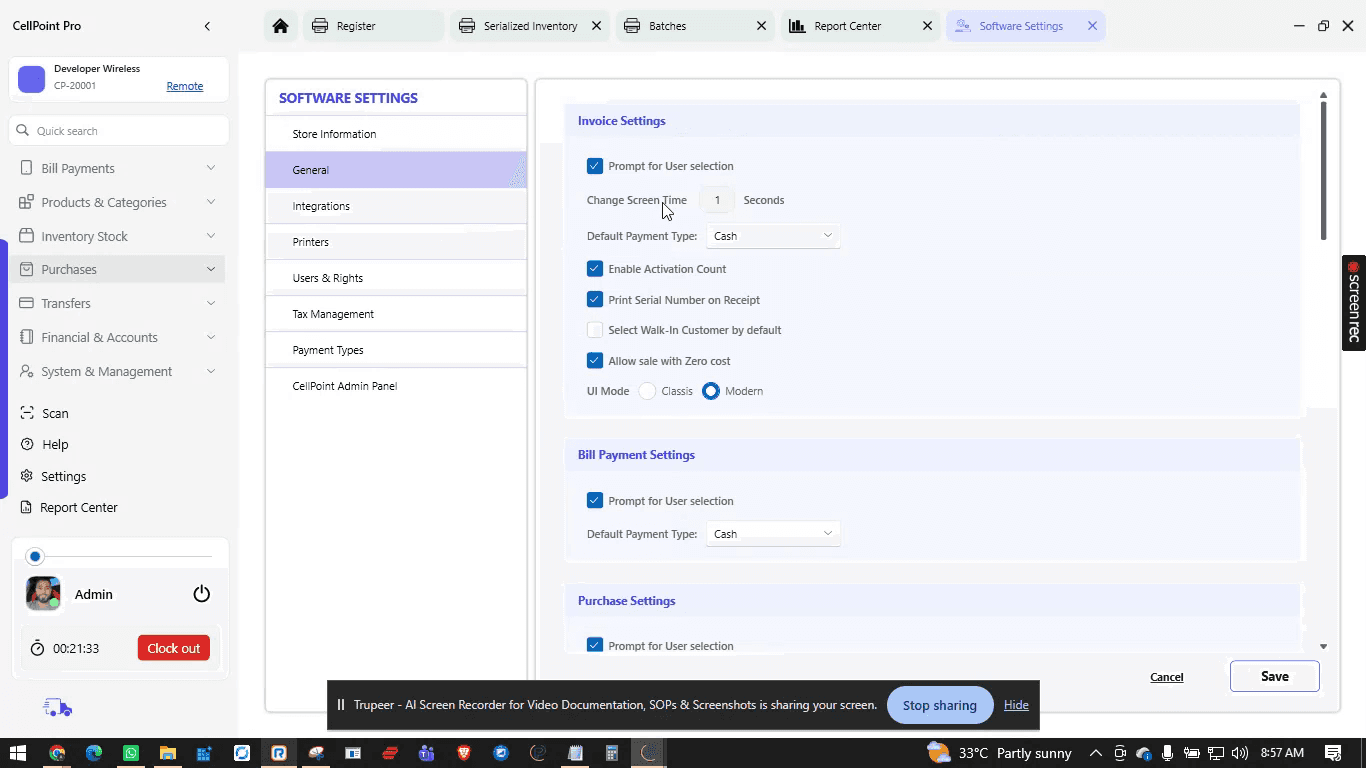
Here you can control various operational options for each module individually.
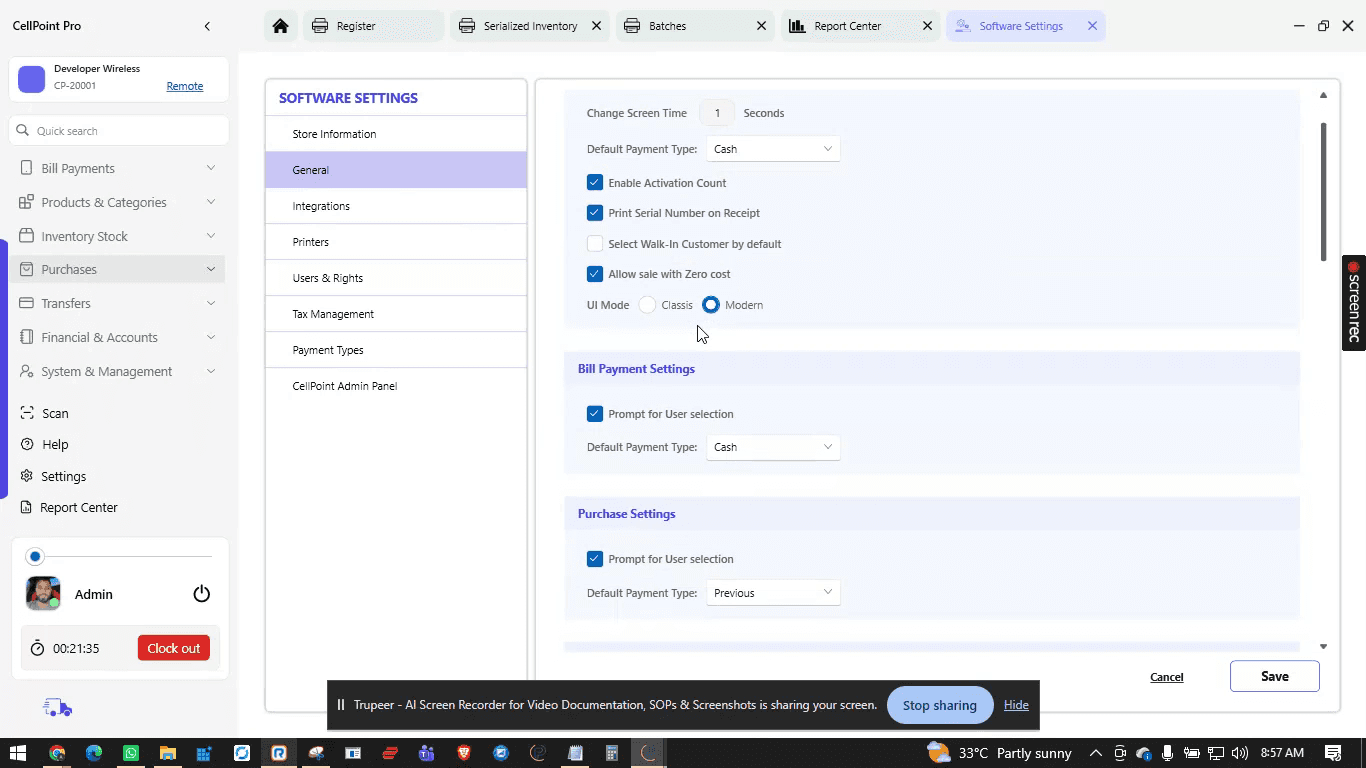
Enable or disable specific modules as needed.
Choose whether to show the user selection screen on transaction completion.
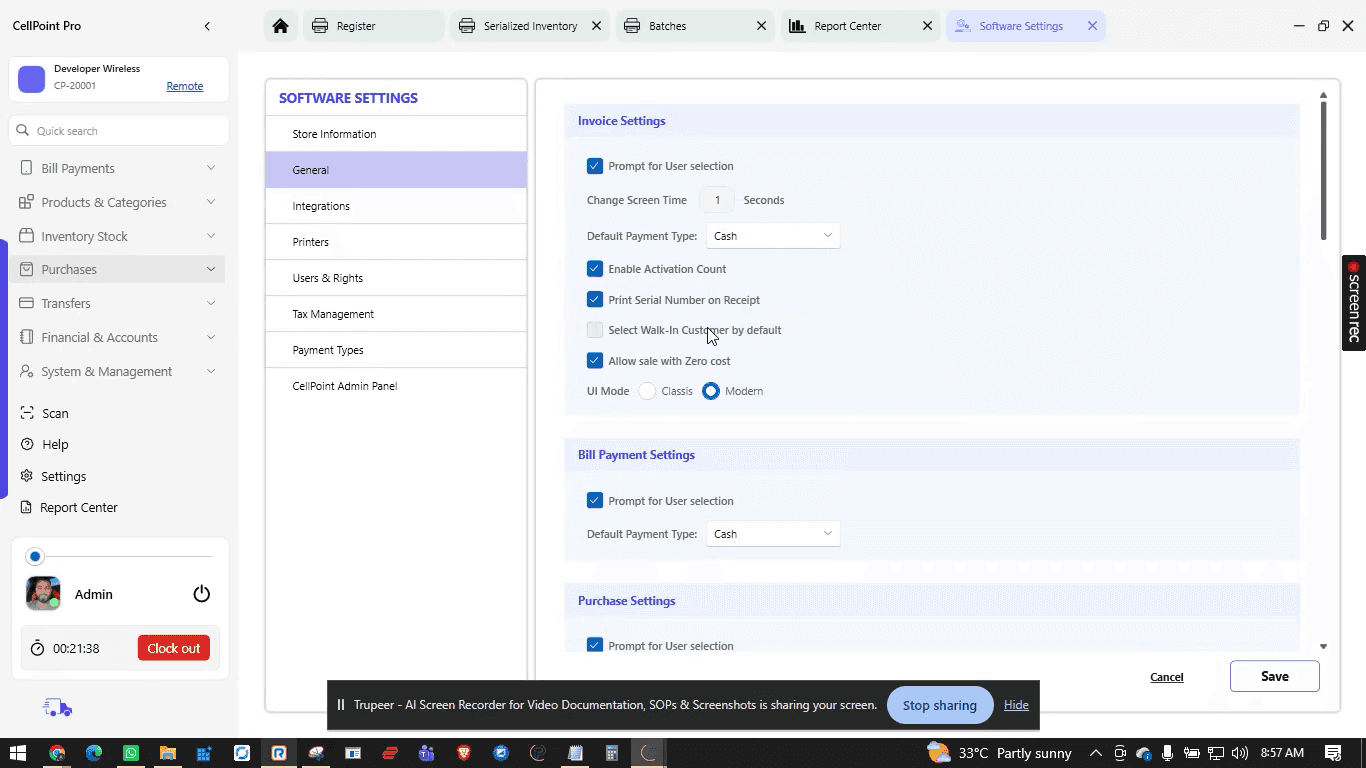
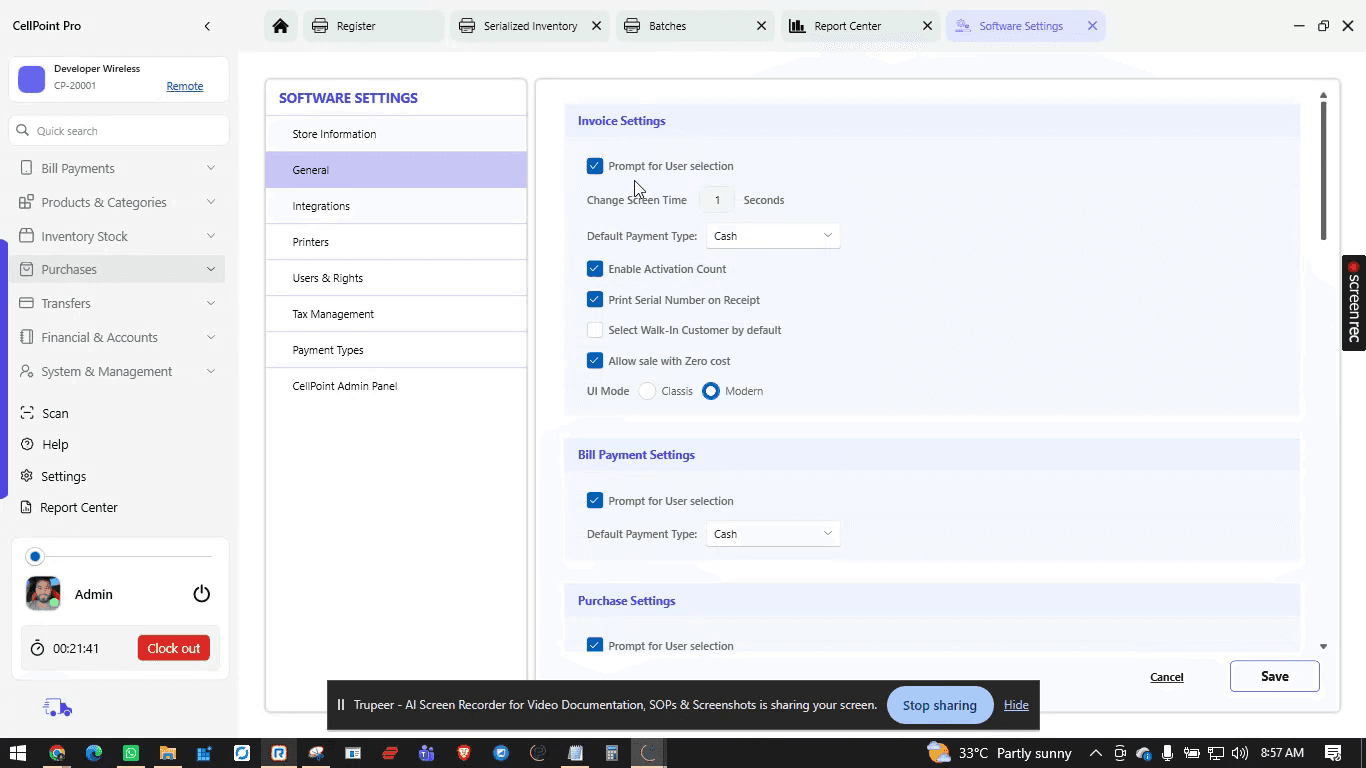
Configure control-level change screen timeouts.
Set the default mode of payment for each module separately, based on your business workflow.
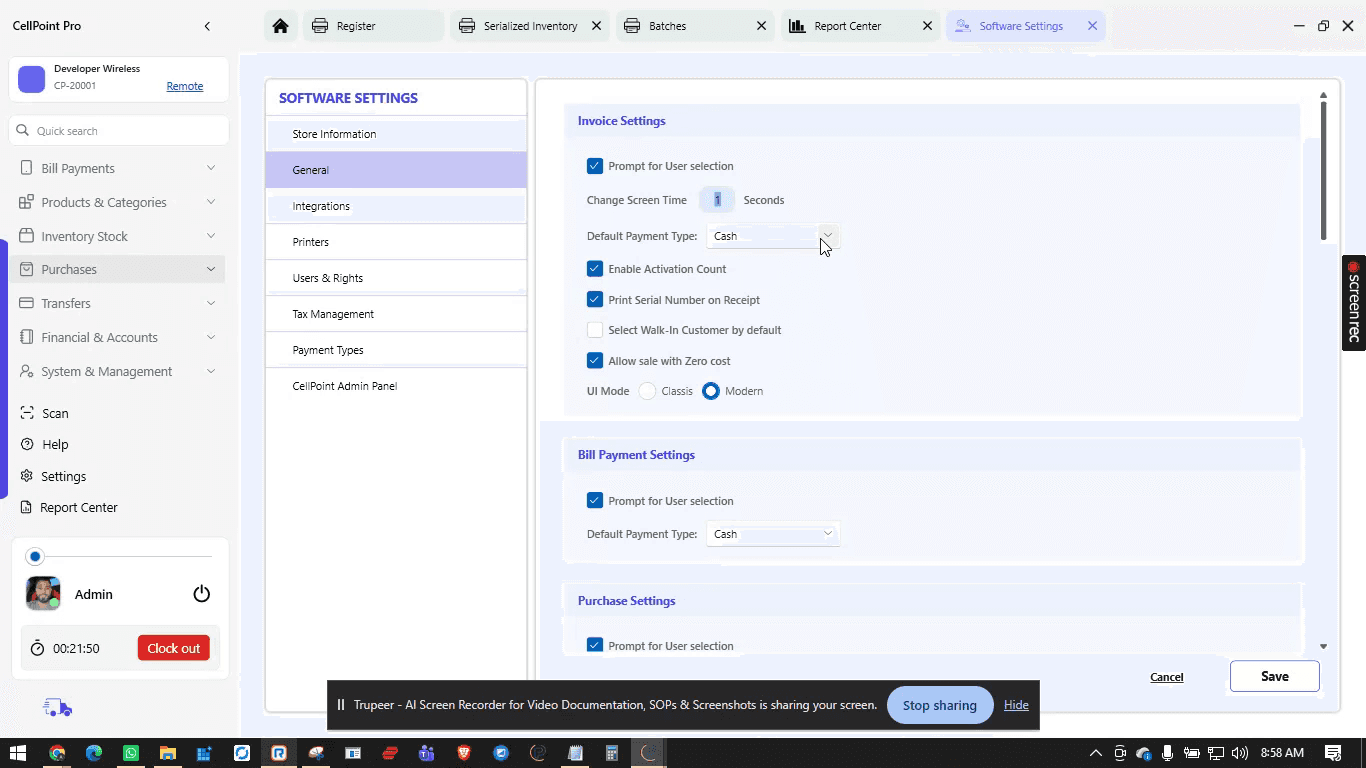
You can also manage special behavior and restrictions:
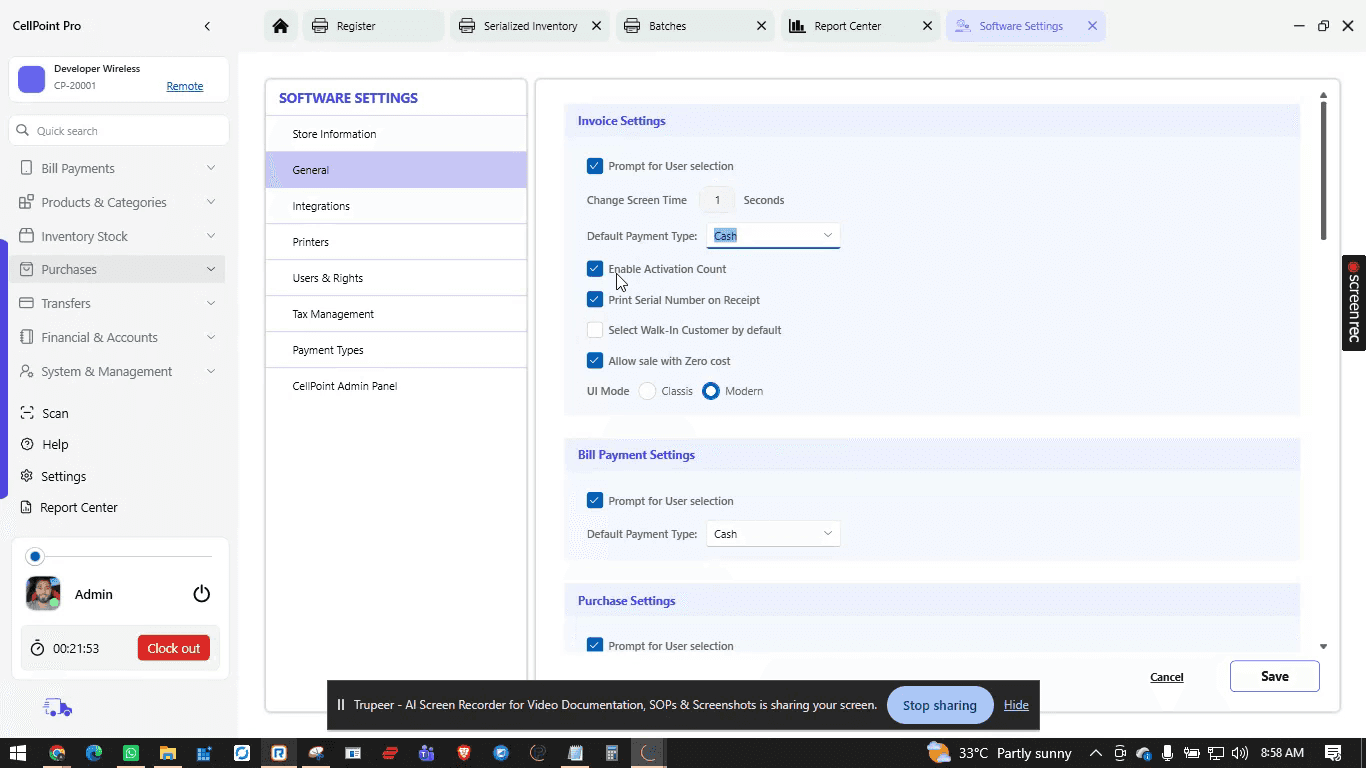
Enable activation count to use the activation feature for devices, allowing you to mark a device as activation, upgrade, boost up, SIM-only, etc., depending on the type of sale.
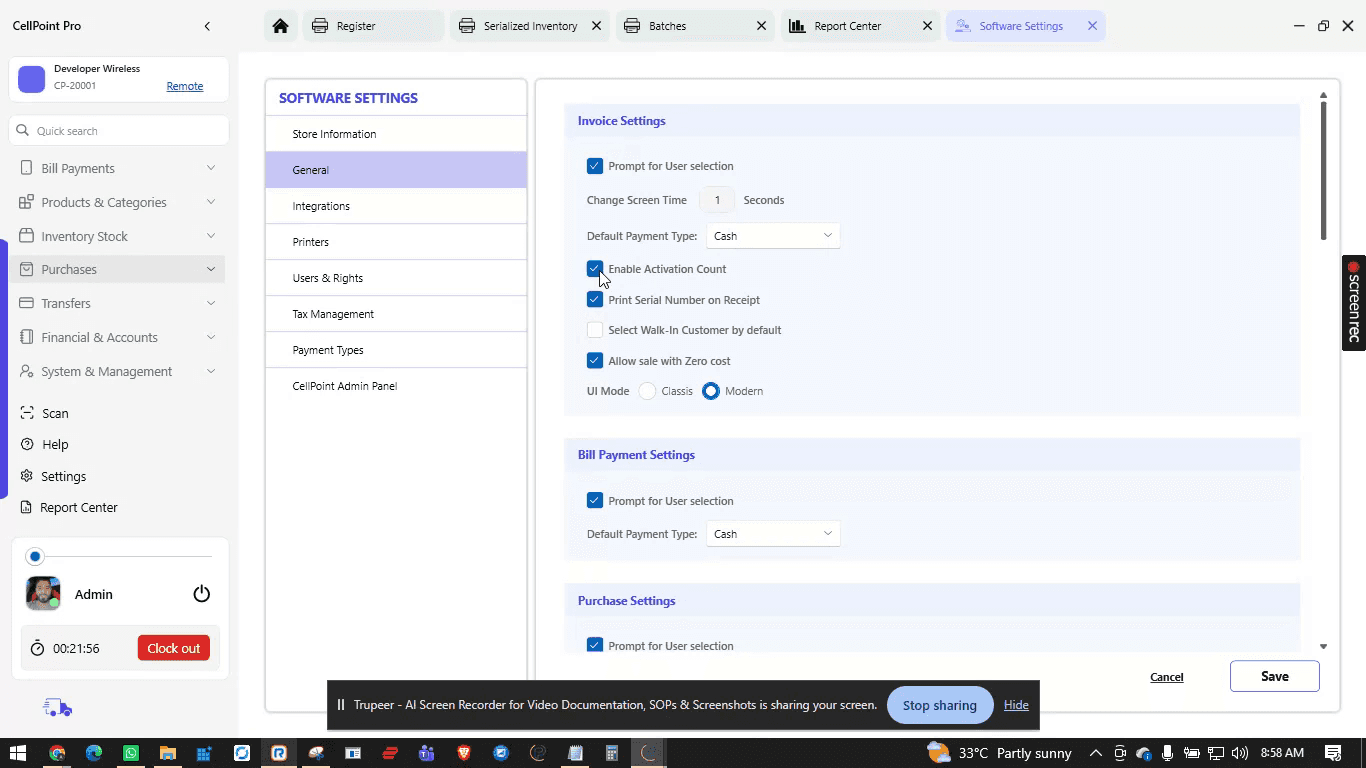
Print serial number on receipt if you want IMEI or serial numbers printed on customer receipts. Uncheck this option if you do not want serials/IMEIs on receipts.
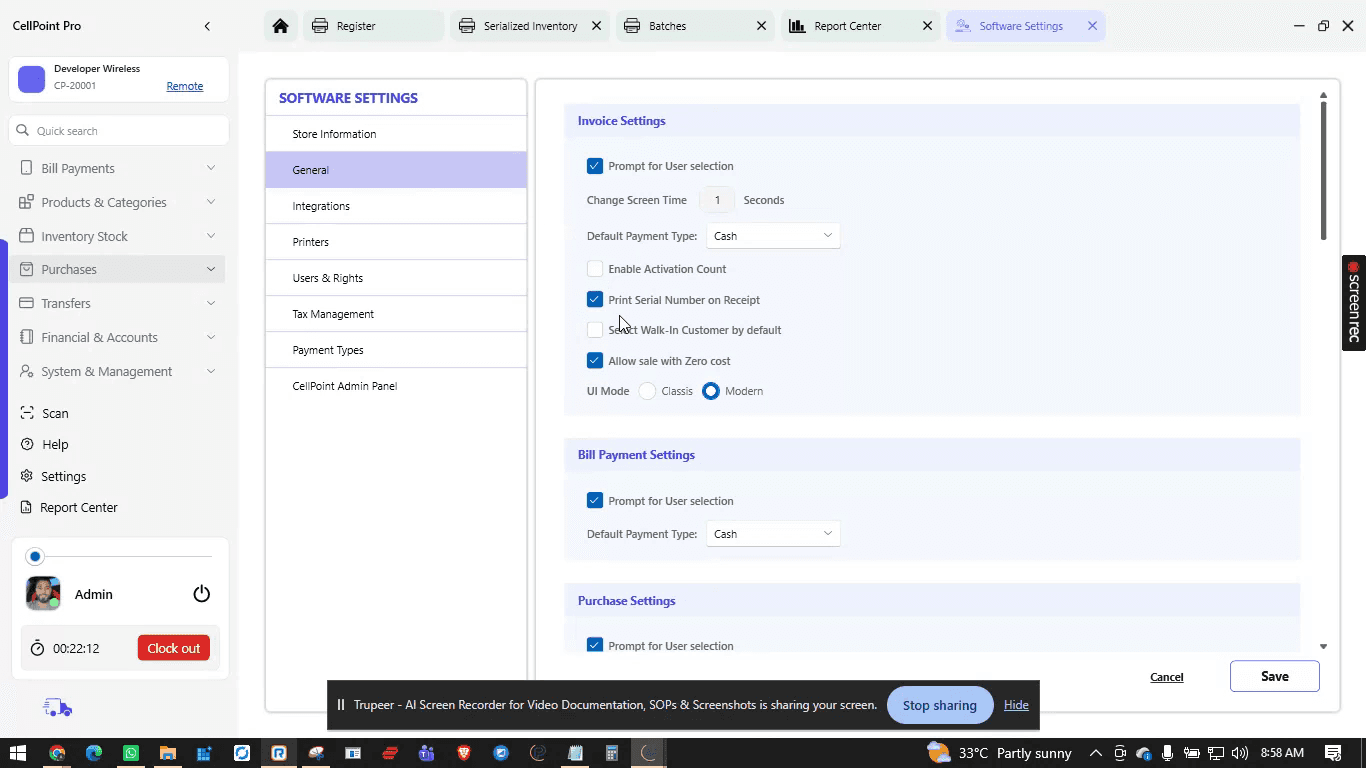
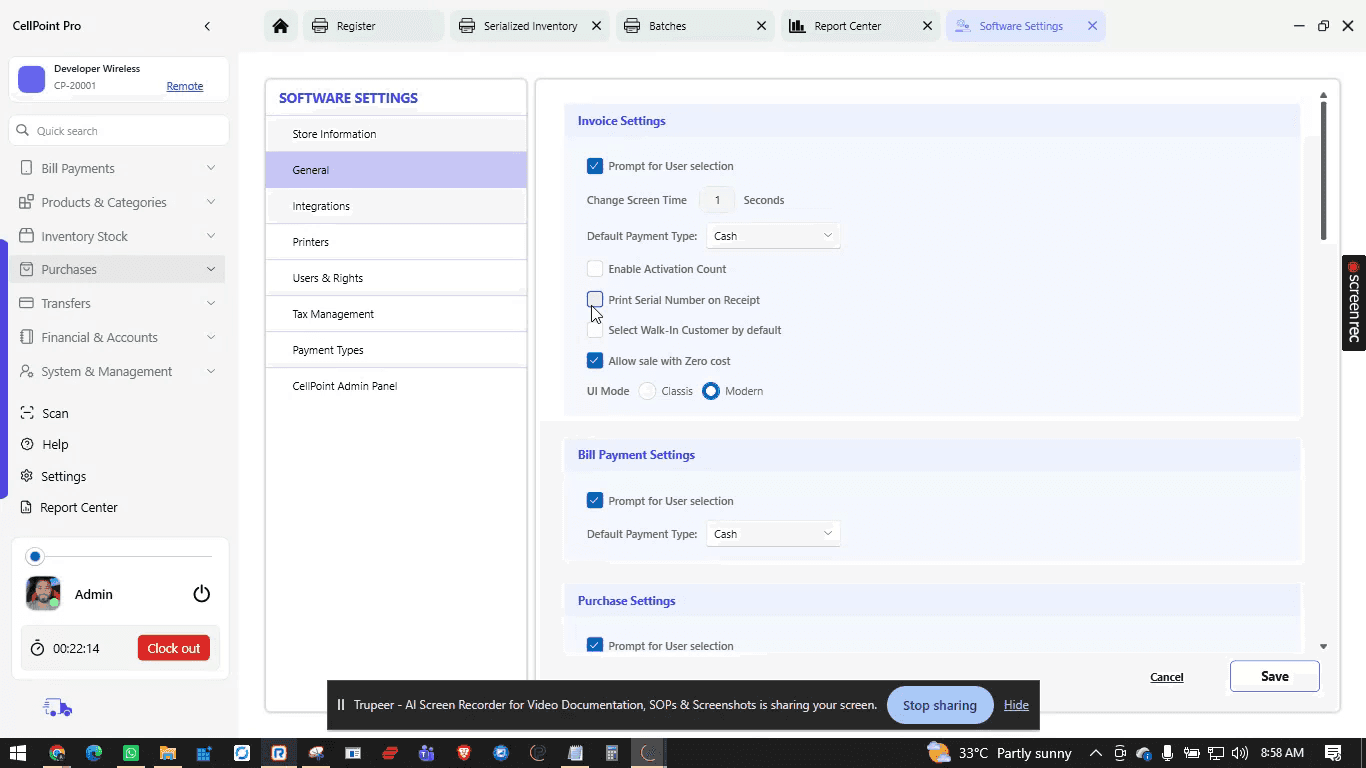
Select walk-in customer by default if you want to allow quick sales without collecting customer details.
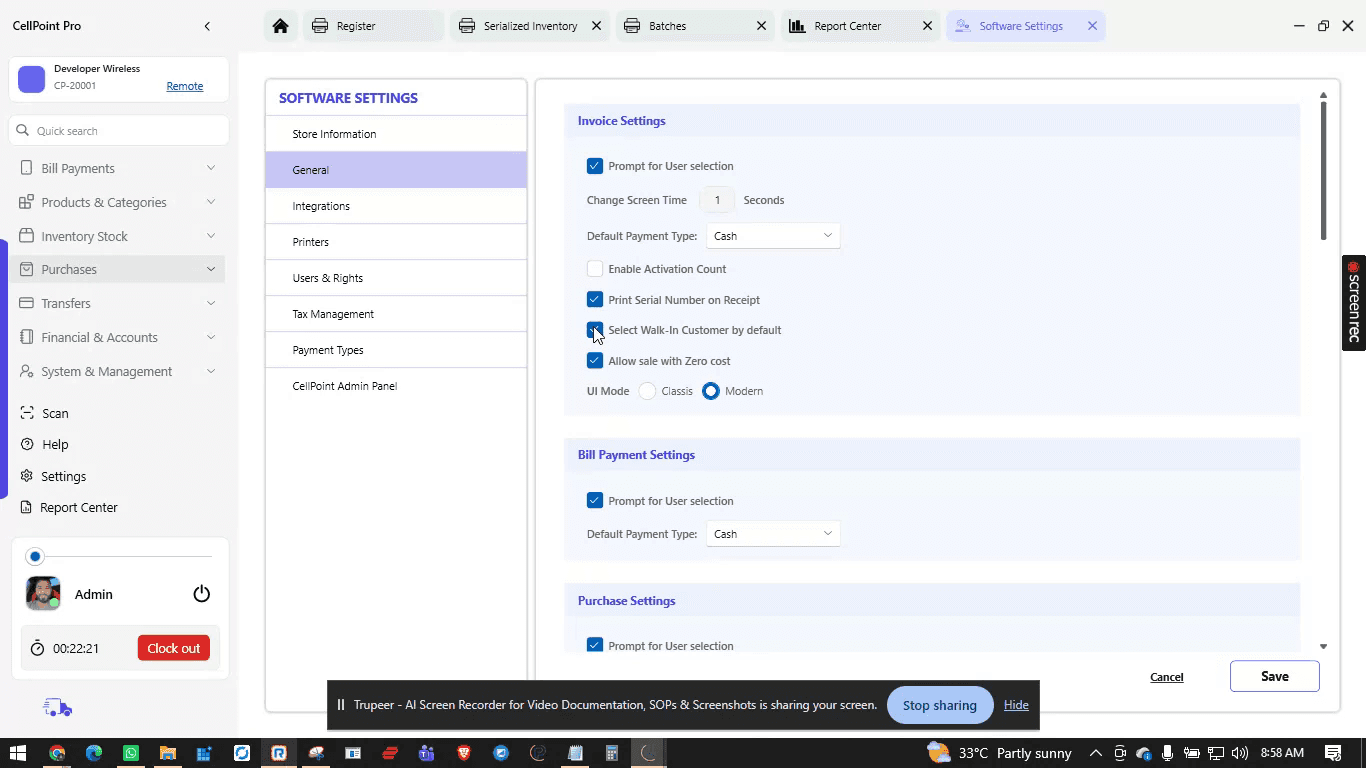
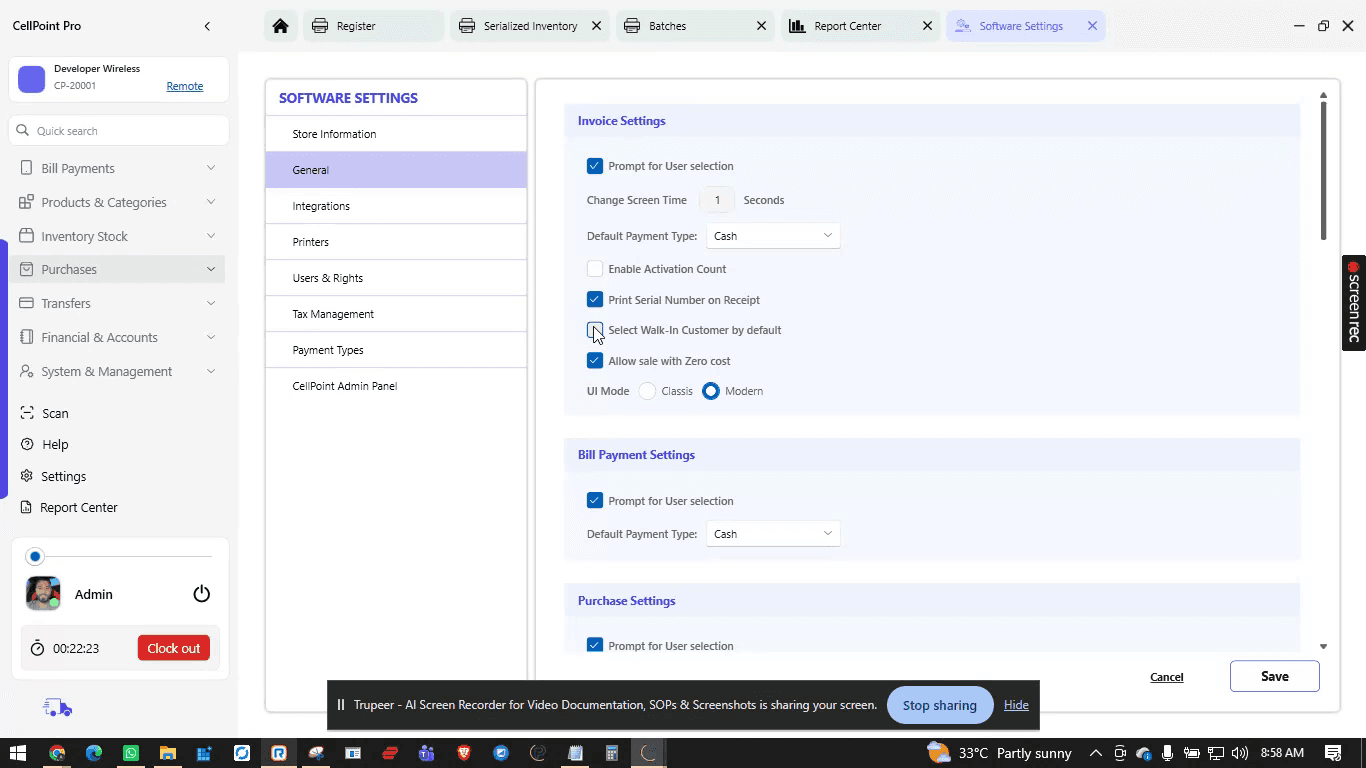
If this is unchecked, employees will be required to add full customer information for every transaction and cannot process a sale to a generic walk-in customer.
Allow sale with zero cost:
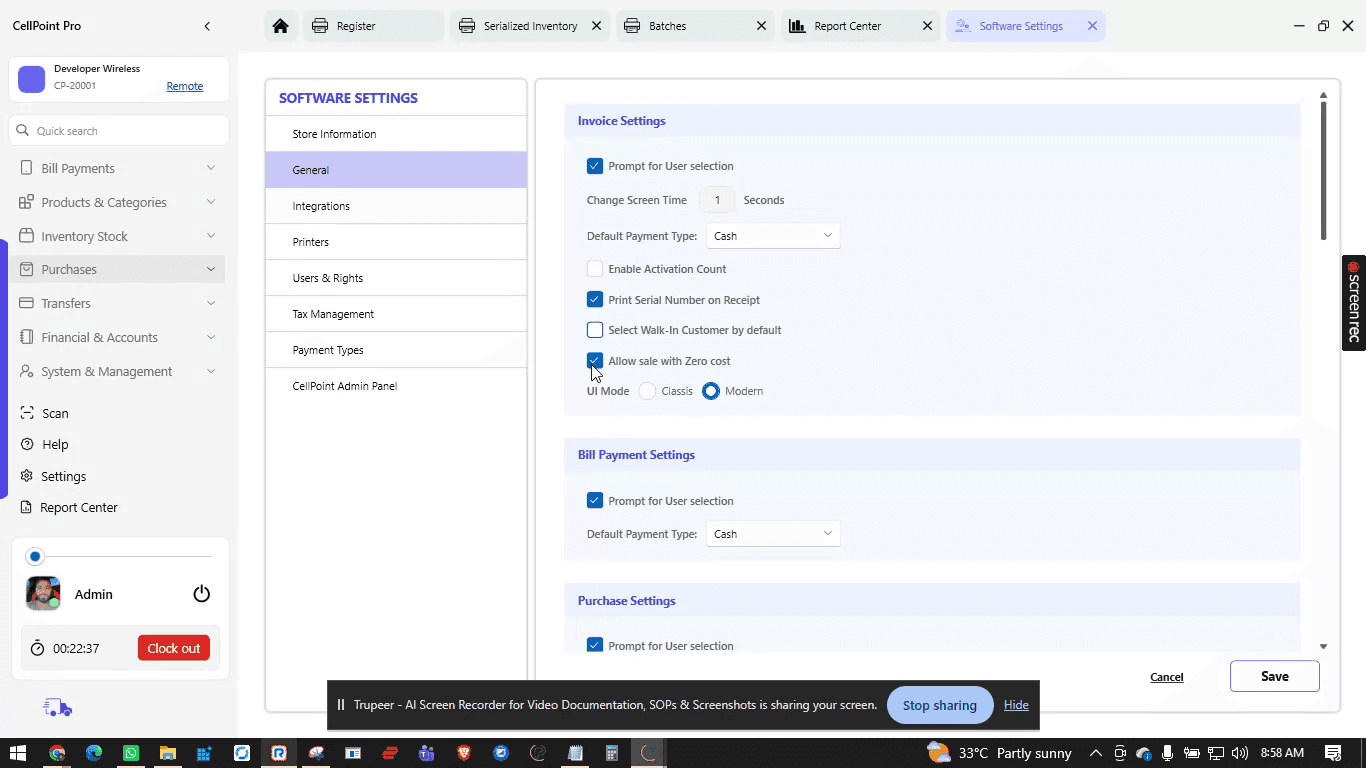
If disabled, users will not be able to sell any item without a cost, ensuring all profit and loss calculations include a cost value.
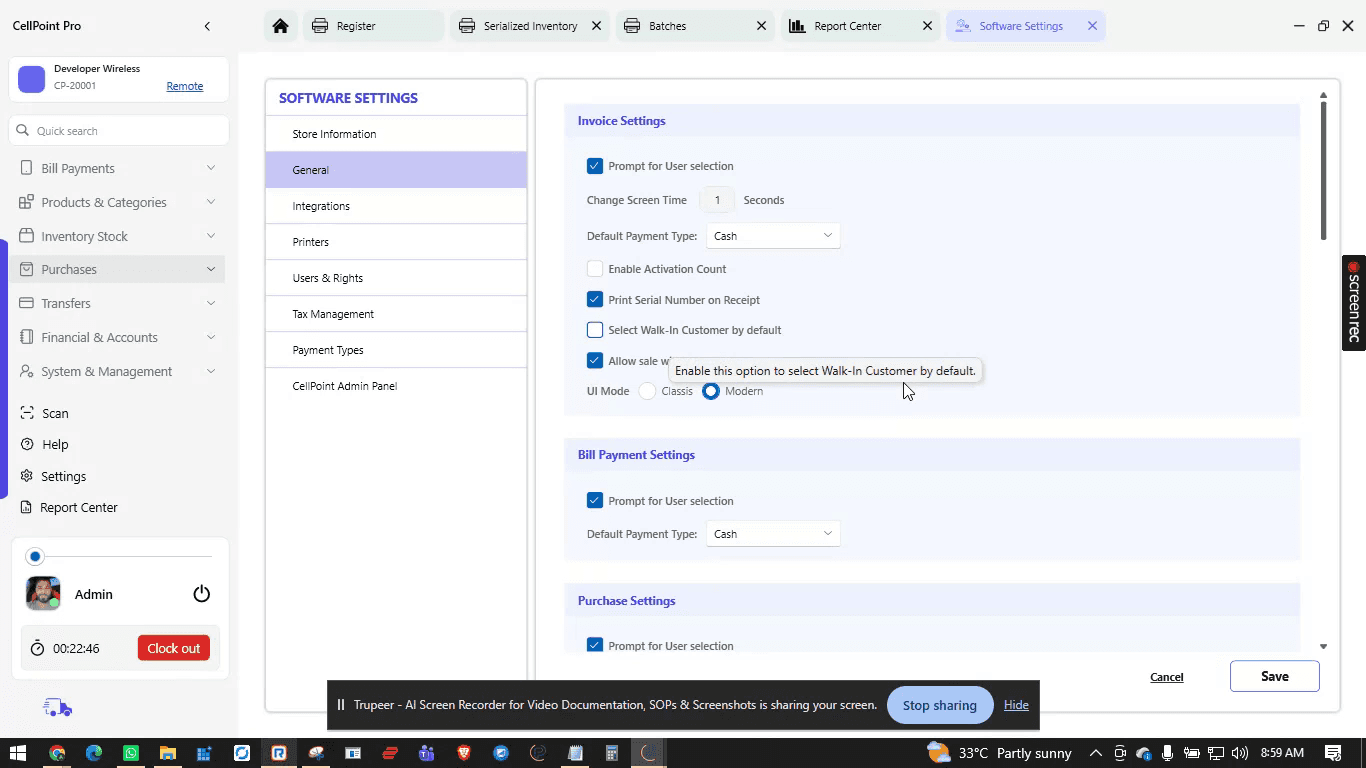
Repeat similar configuration for each module as needed, and select the primary mode of payment for each module according to your store’s operations.
Step 5: Configure Store Targets and Expenses
In the same area, locate Monthly Store Target and related financial fields.
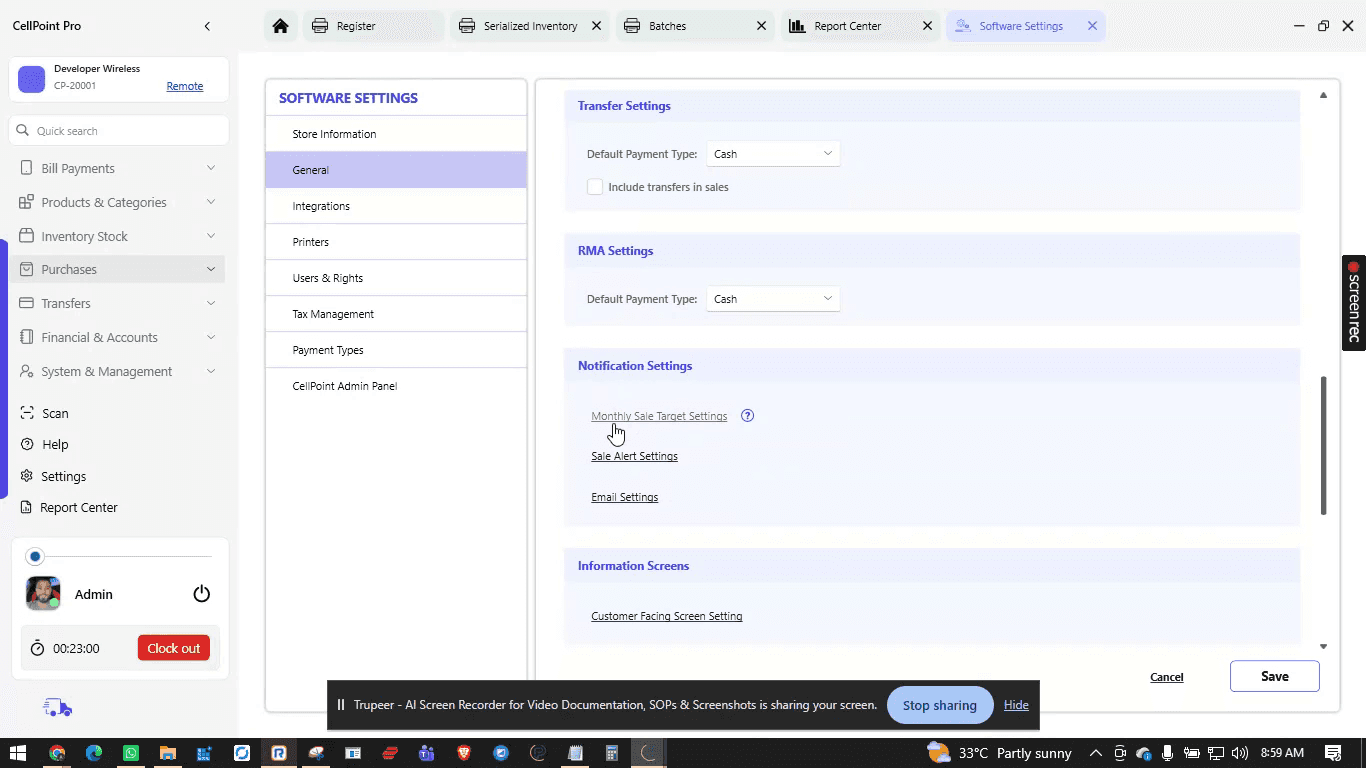
Set the following values:
Monthly store target (total sales goal for the month).
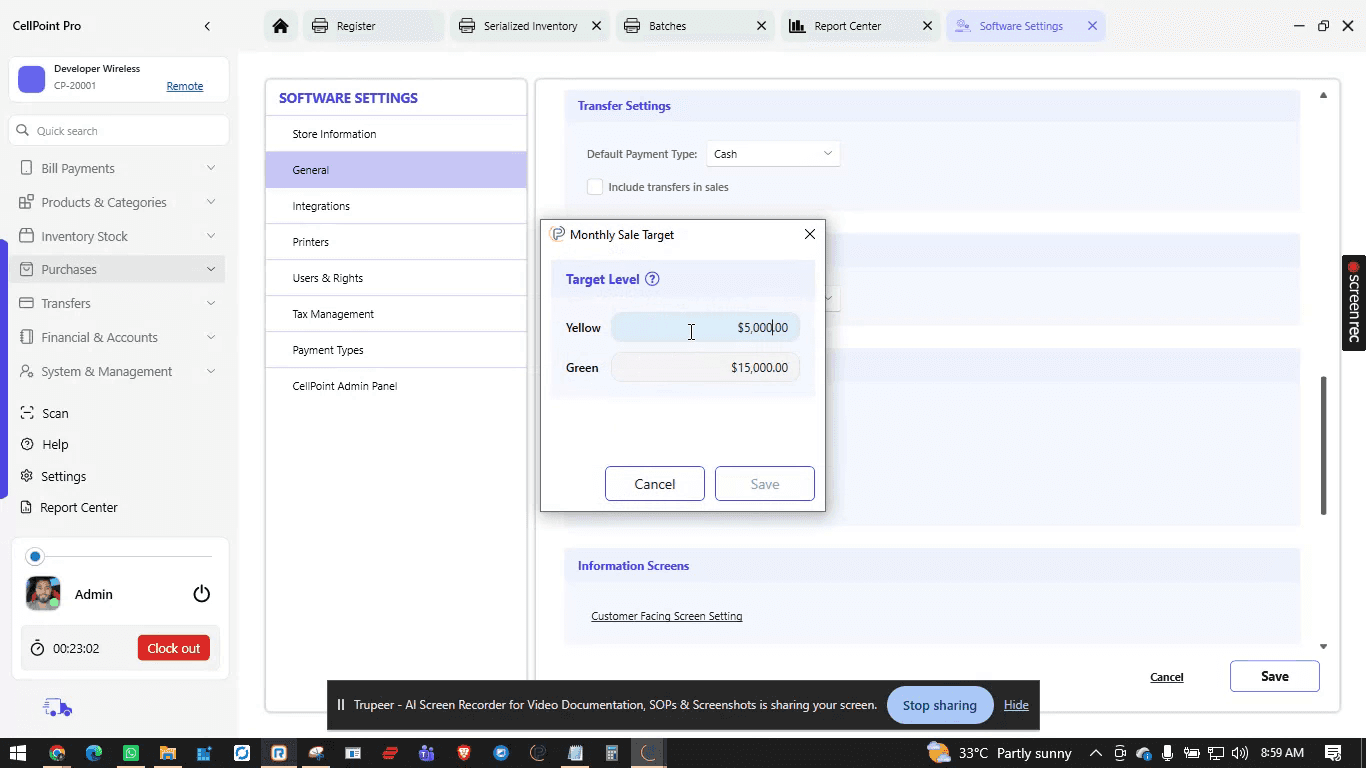
Store expenses (operational cost to run the store for the month).
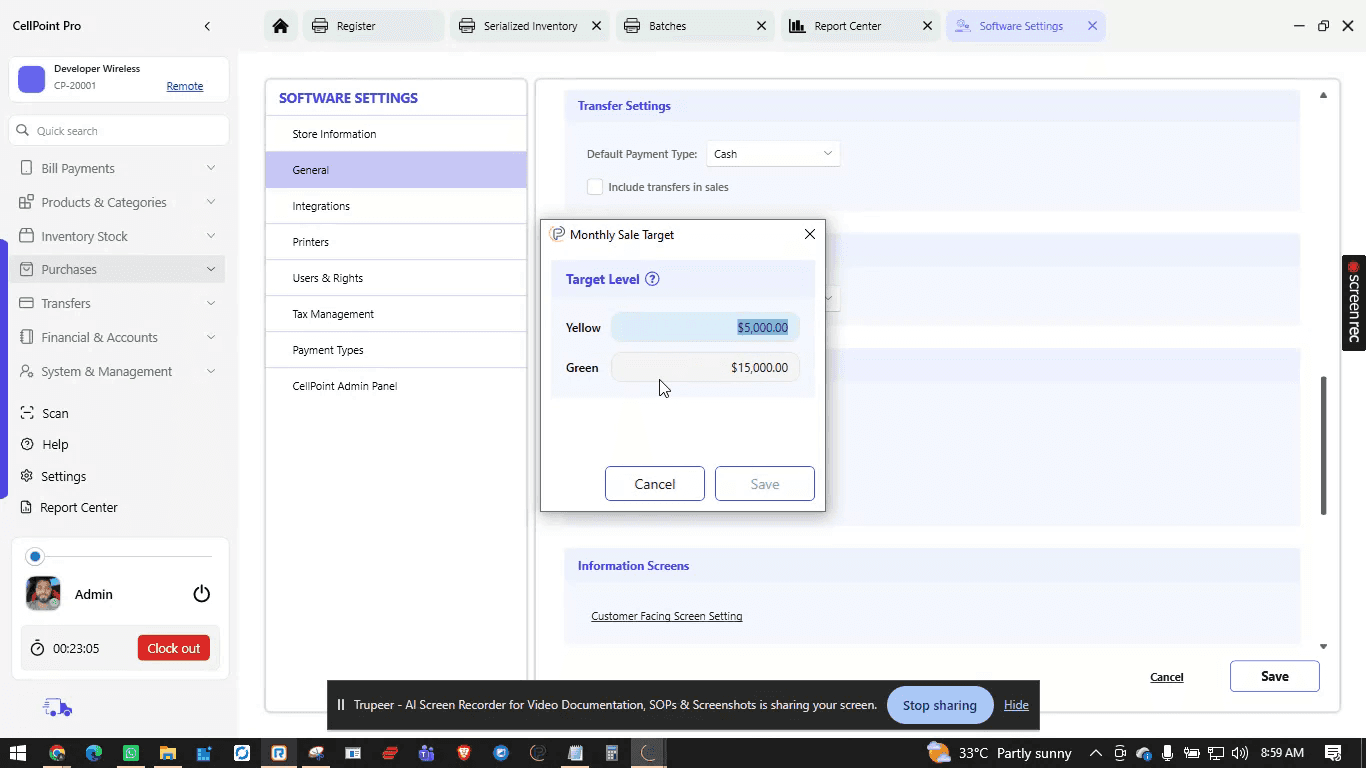
Green light amount (expected profit after deducting all expenses).
Once these values are saved, the system automatically divides the monthly target into a 30-day schedule, generating a daily target for employees to work toward.
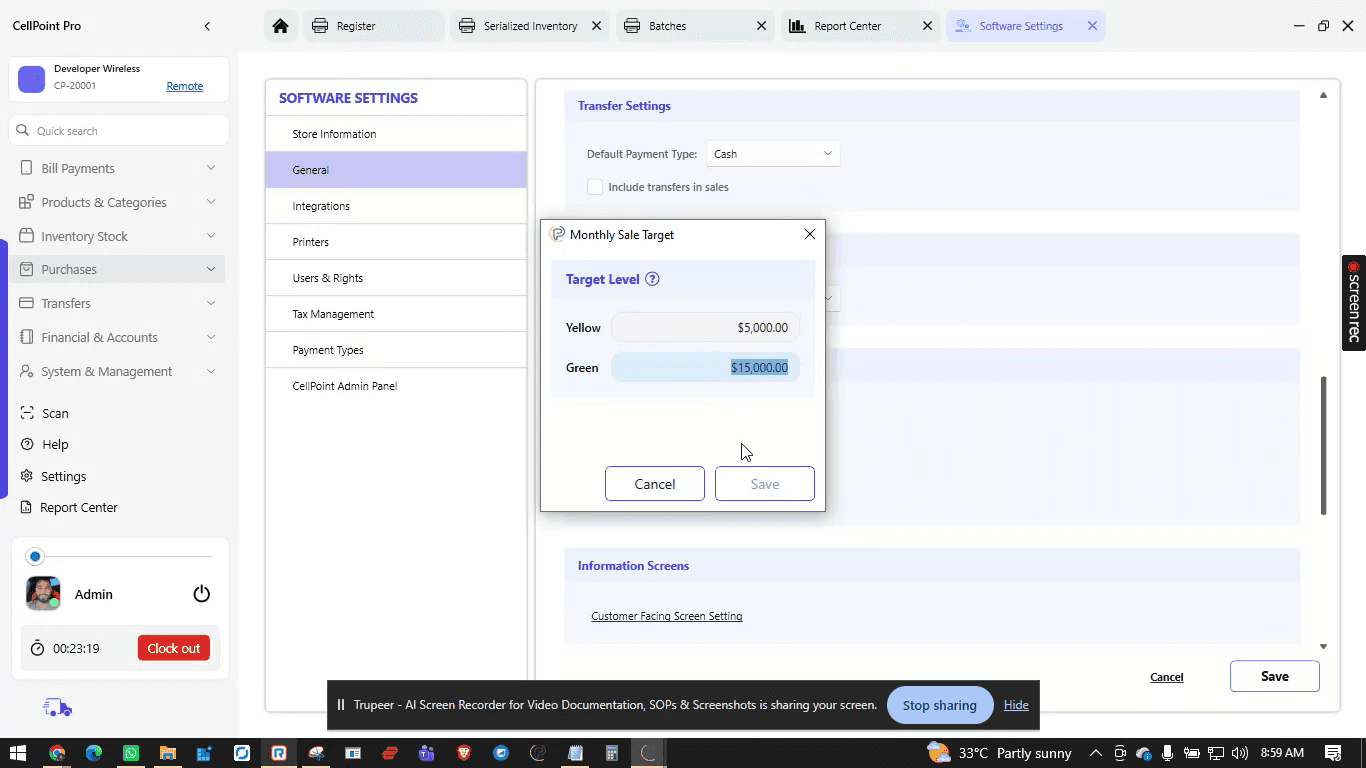
This provides each employee with a clear daily sales target.
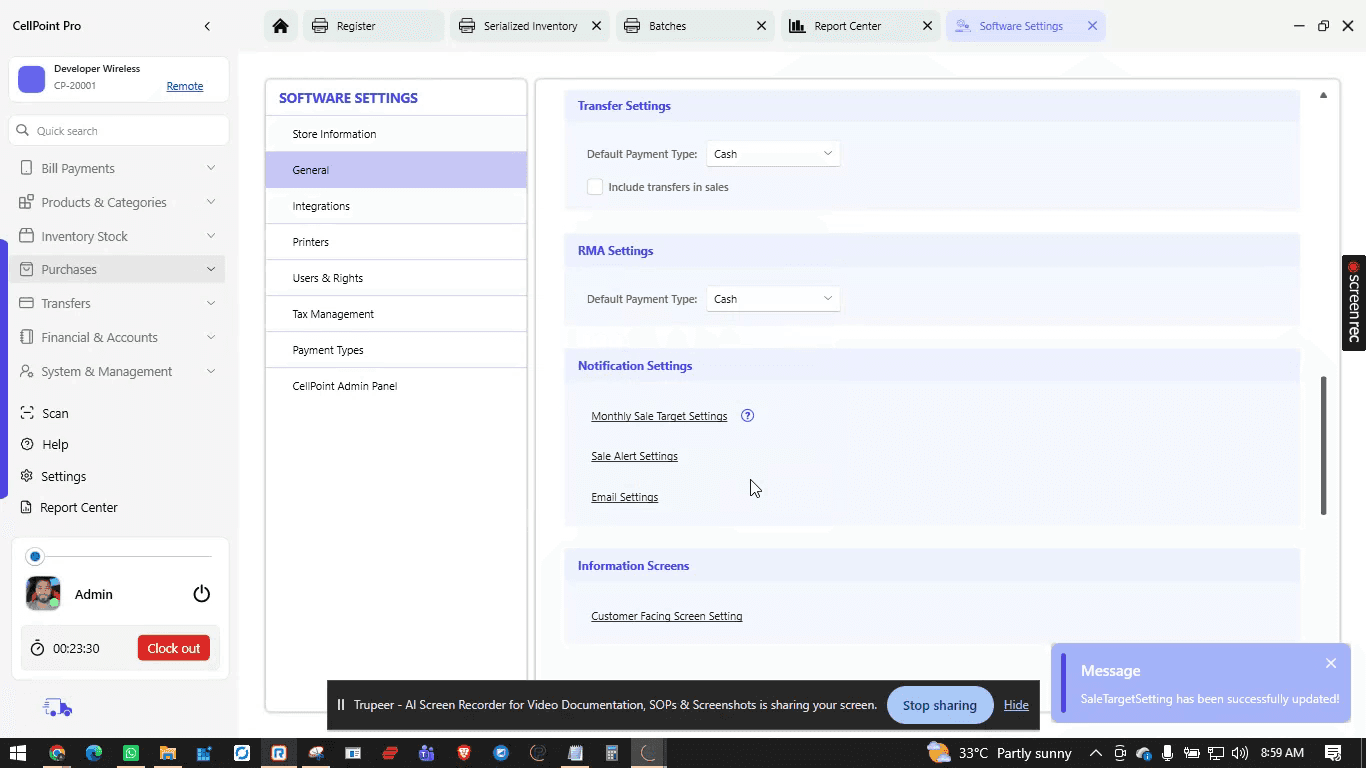
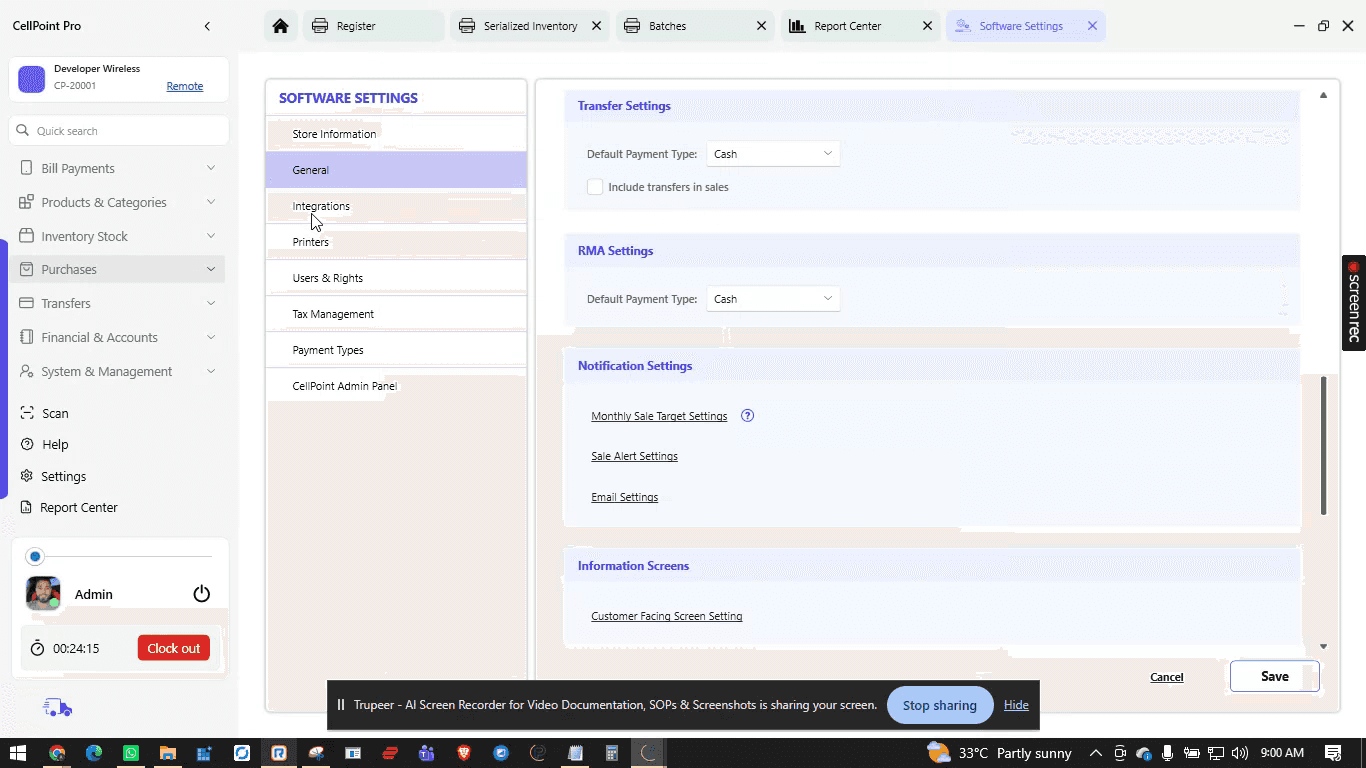
Step 6: Set Up Sale Alert Notifications
Open Sale Alert Settings.
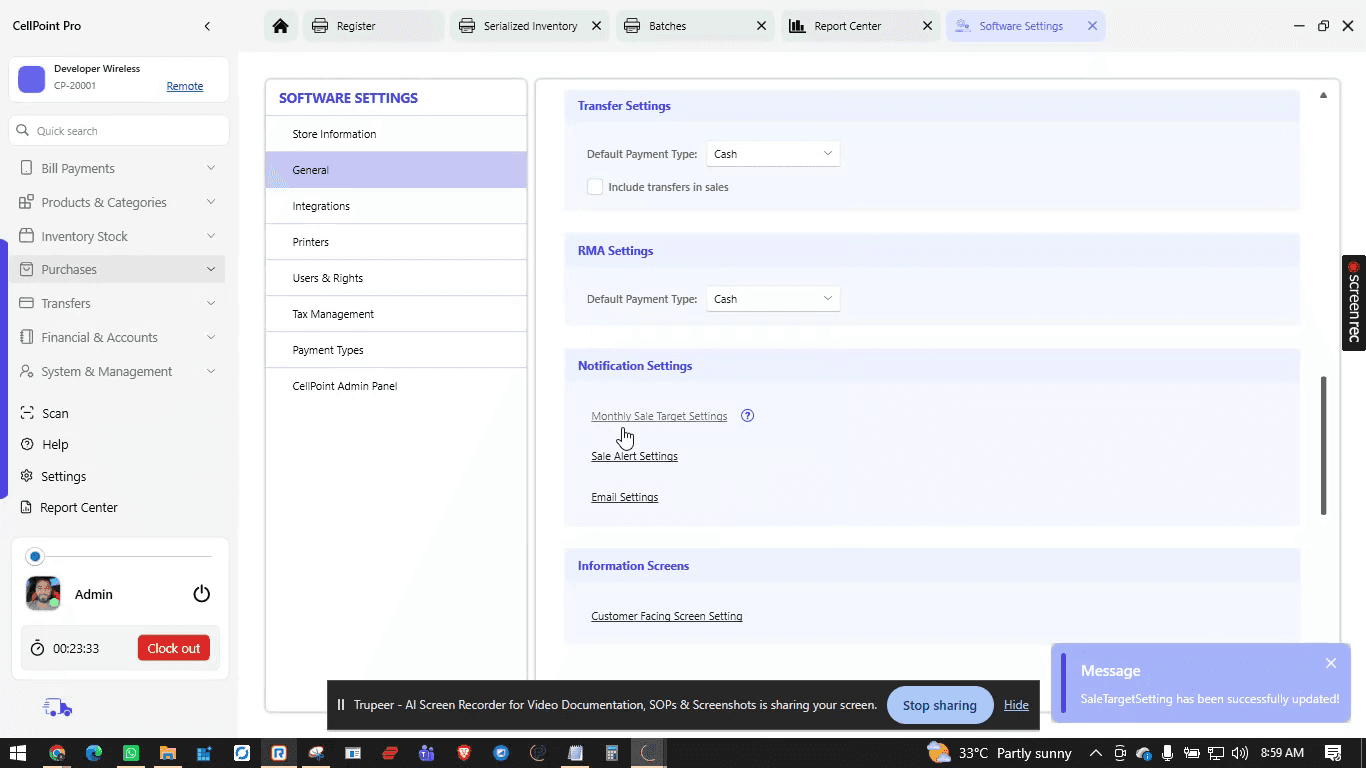
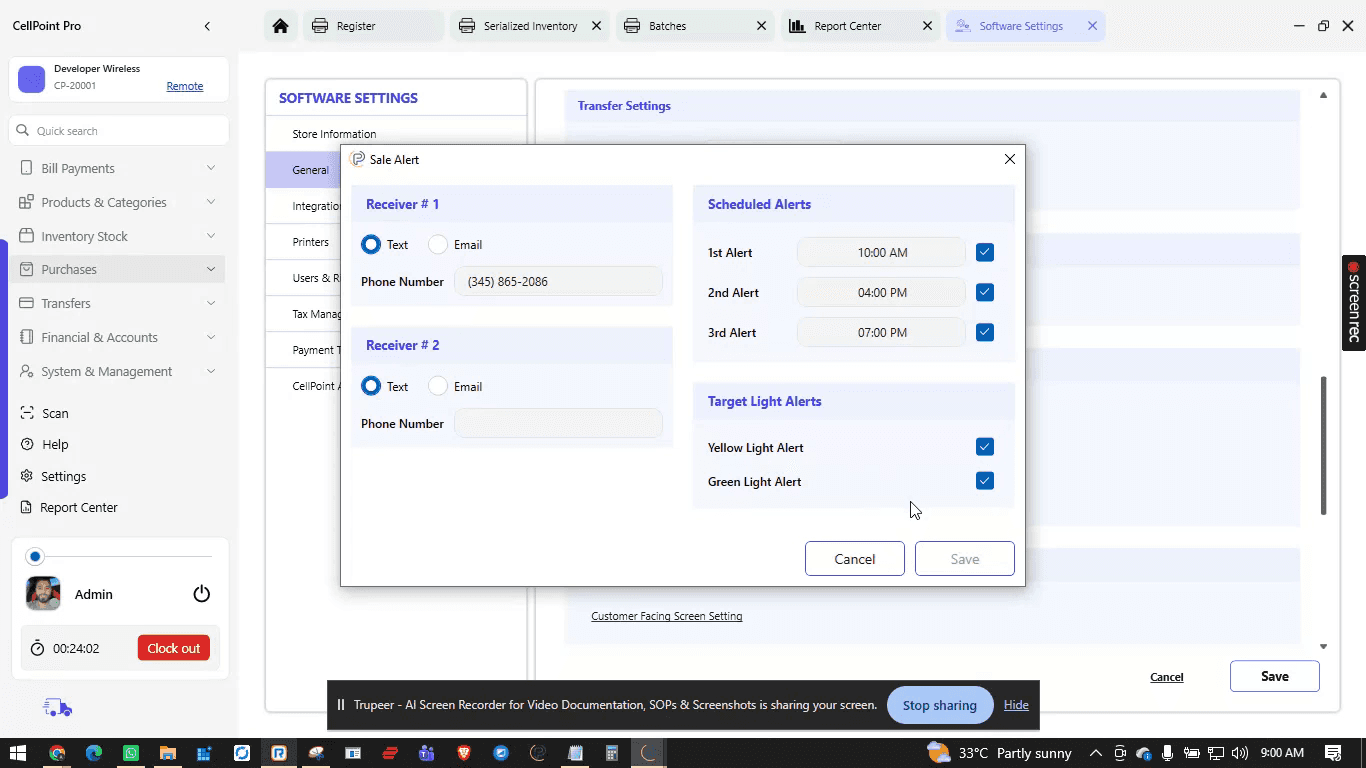
Here you can configure alerts that notify you about store sales performance at various times during the day.
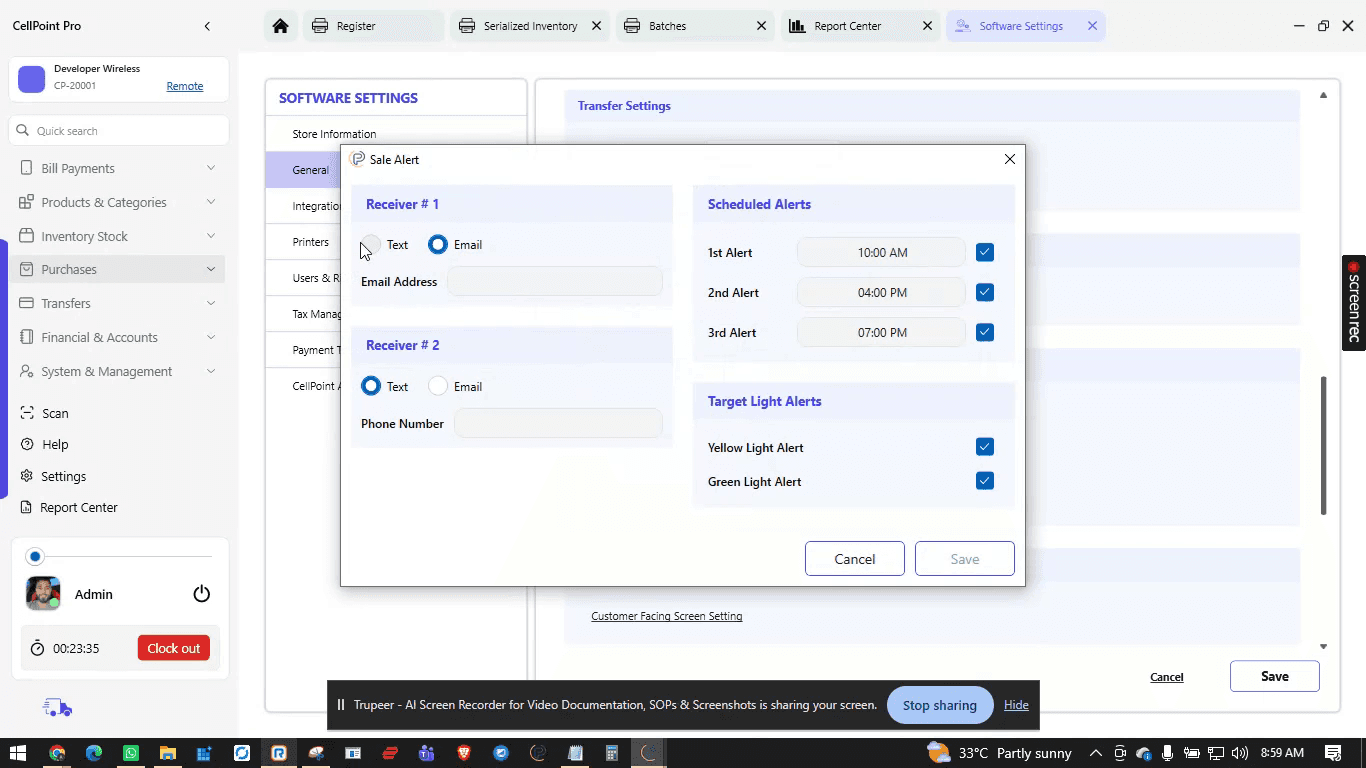
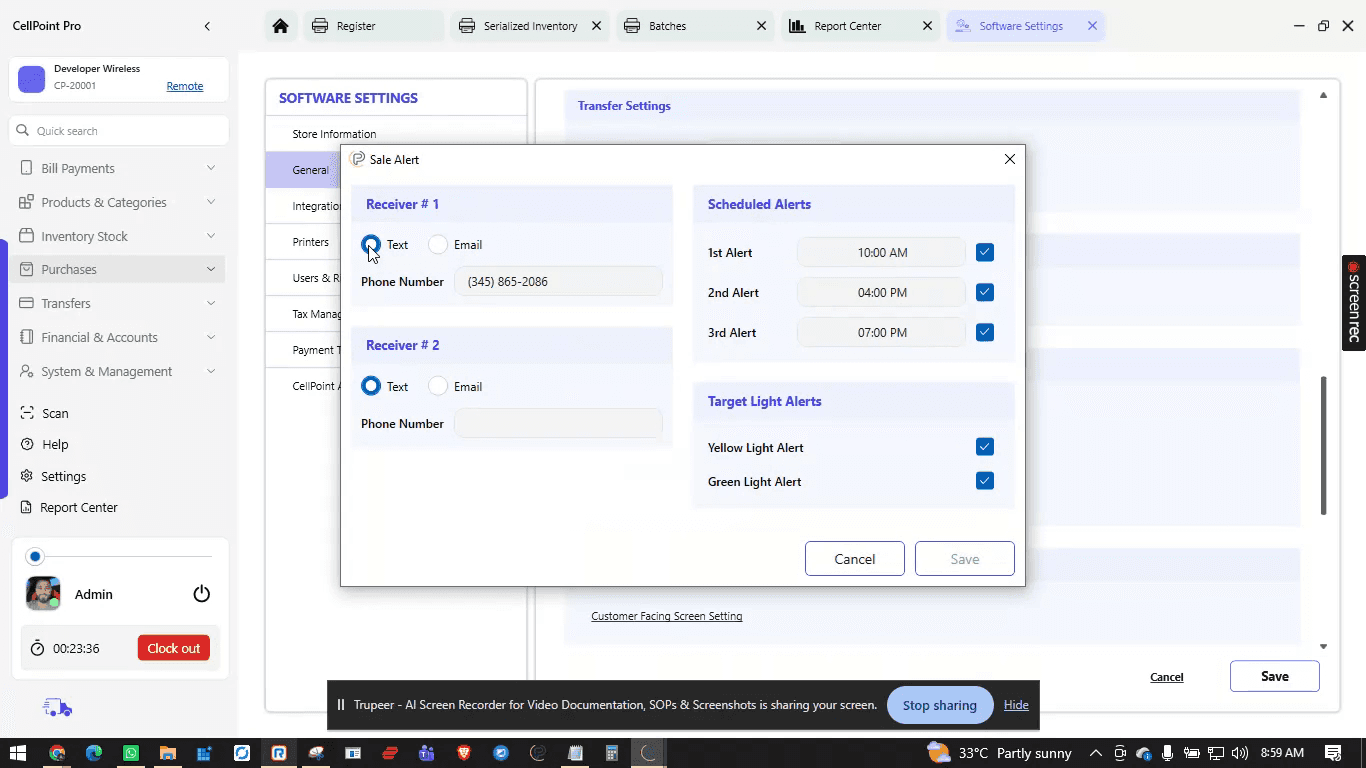
Choose whether to receive a text message or email for these alerts.
Configure the time intervals at which you want to receive alerts (these intervals are fully customizable).
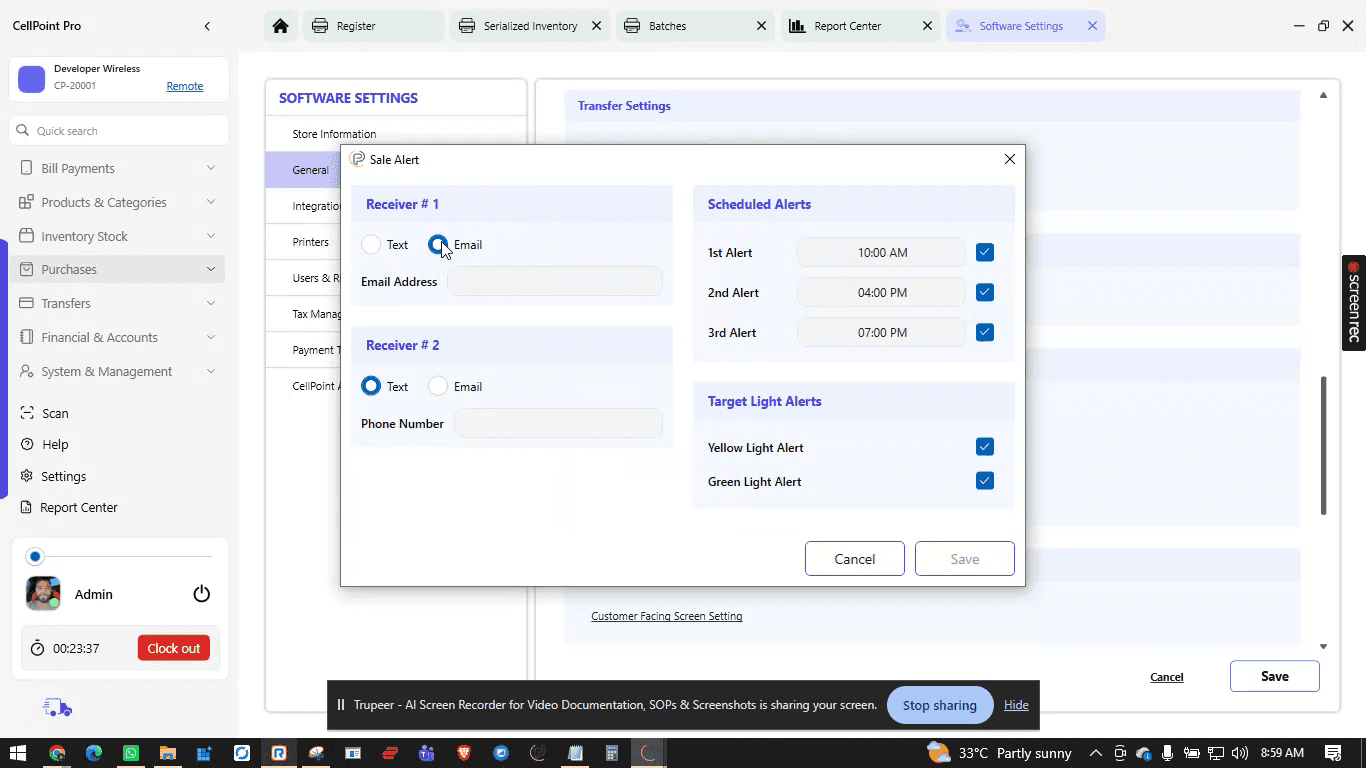
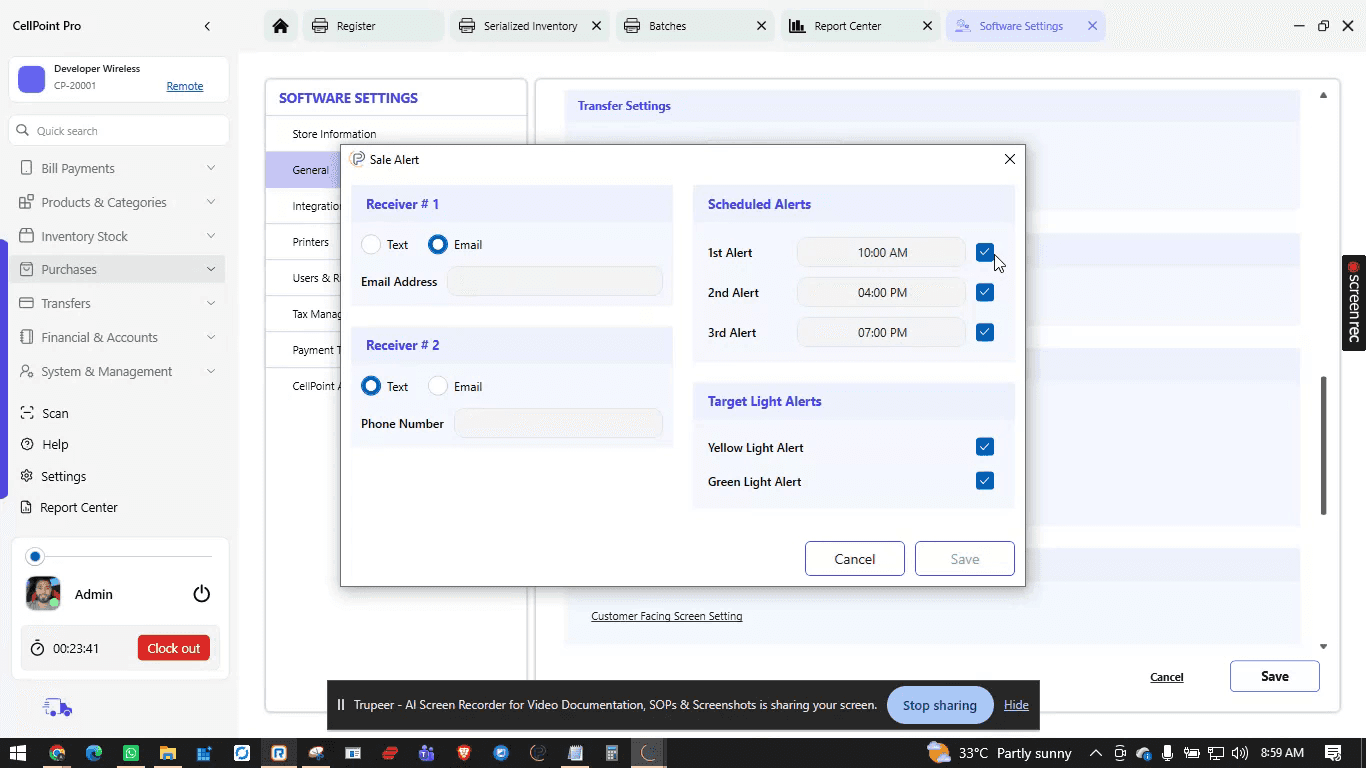
These alerts summarize the sales situation at those specific times. You can choose either email, text, or both.
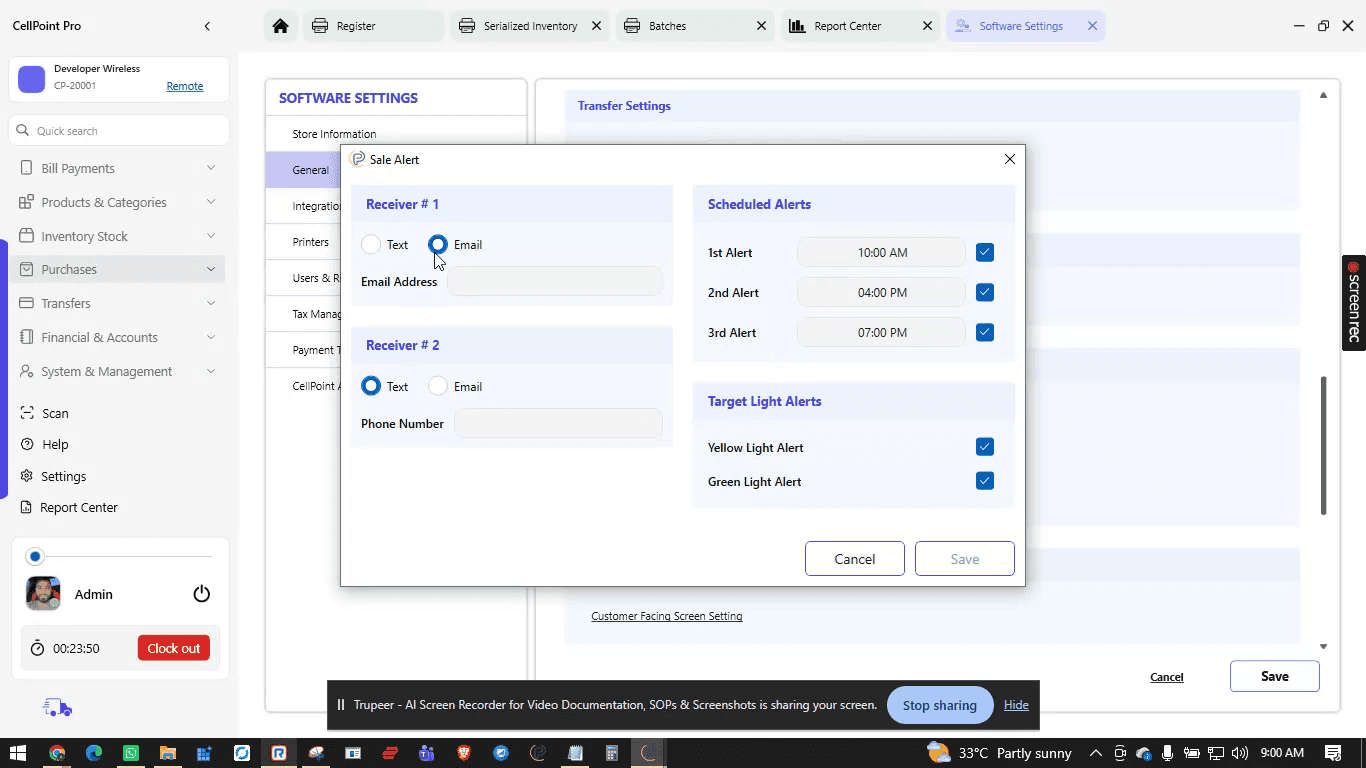
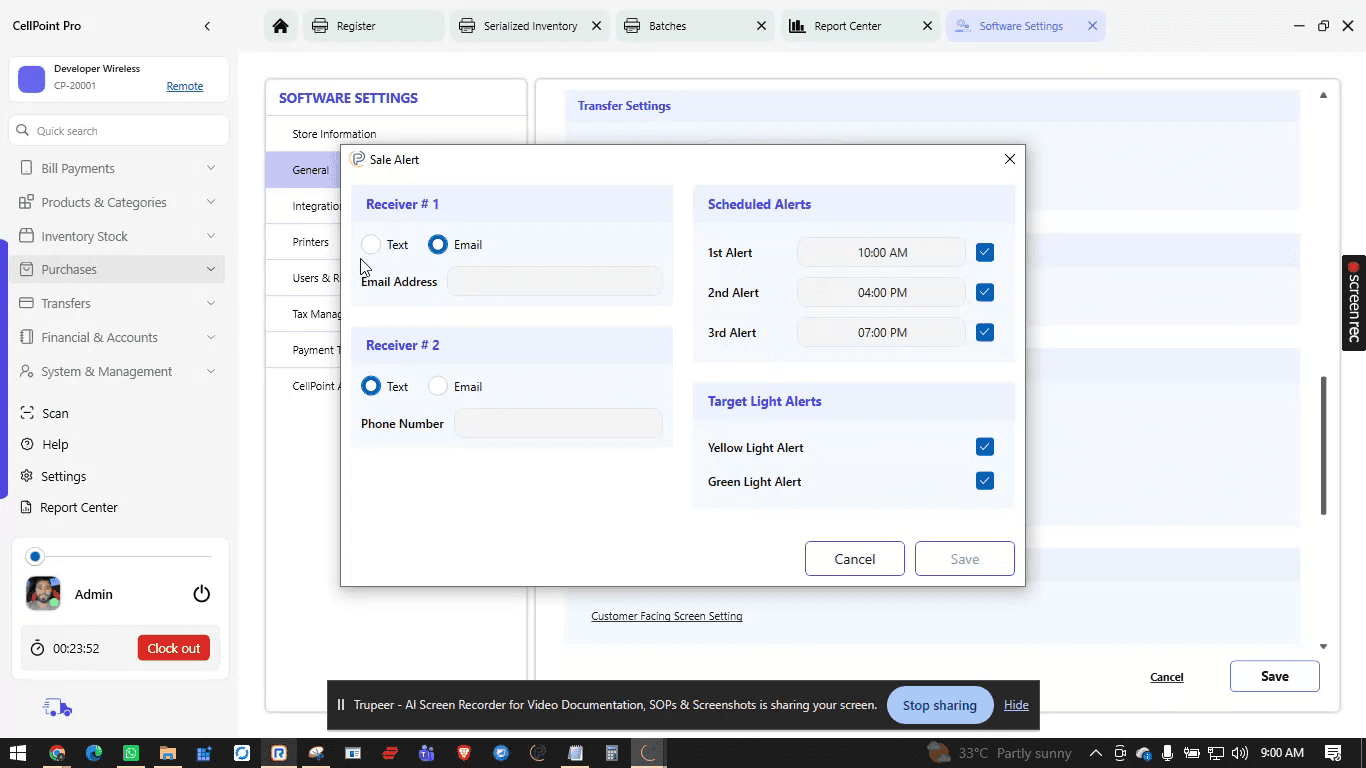
Enter the phone number and email address where these alerts should be sent.
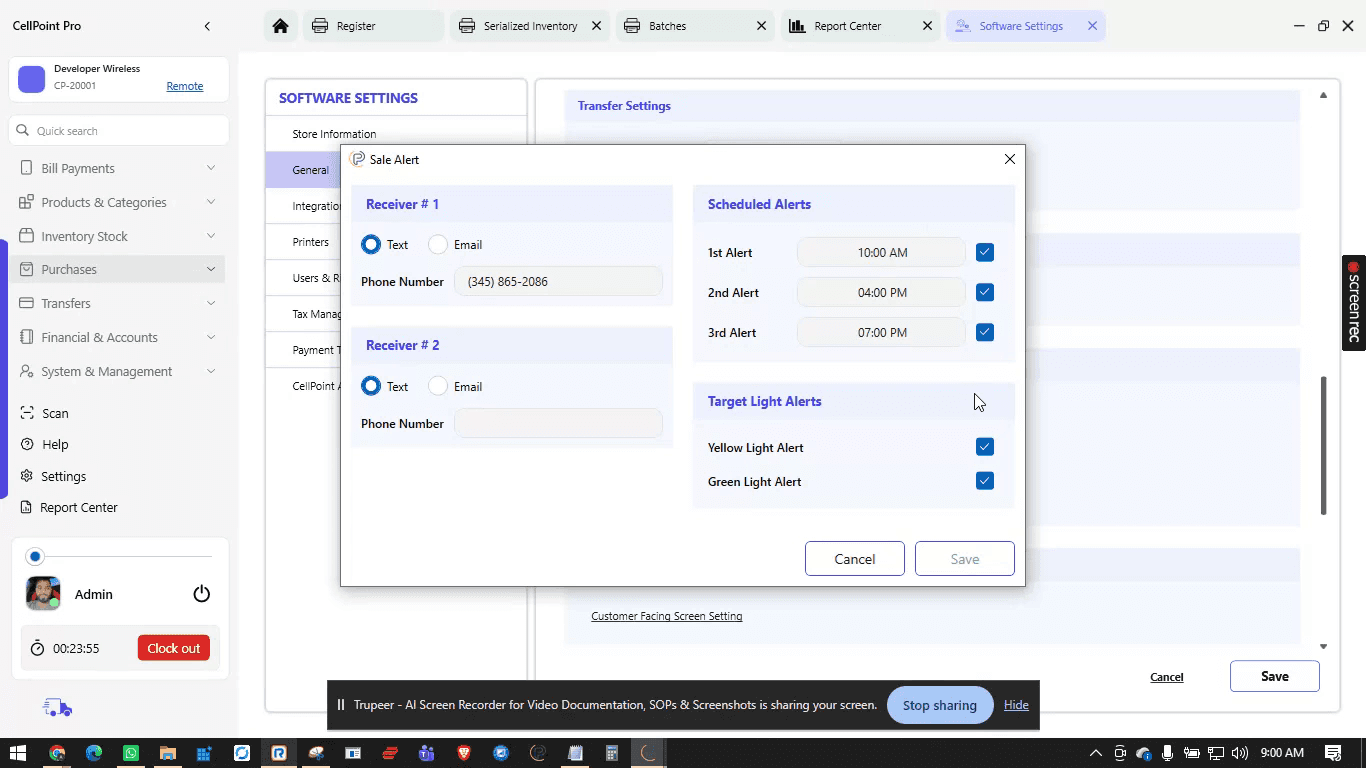
You can also configure target lights (targeted lights) information alerts here, which provide additional performance notifications based on your targets.
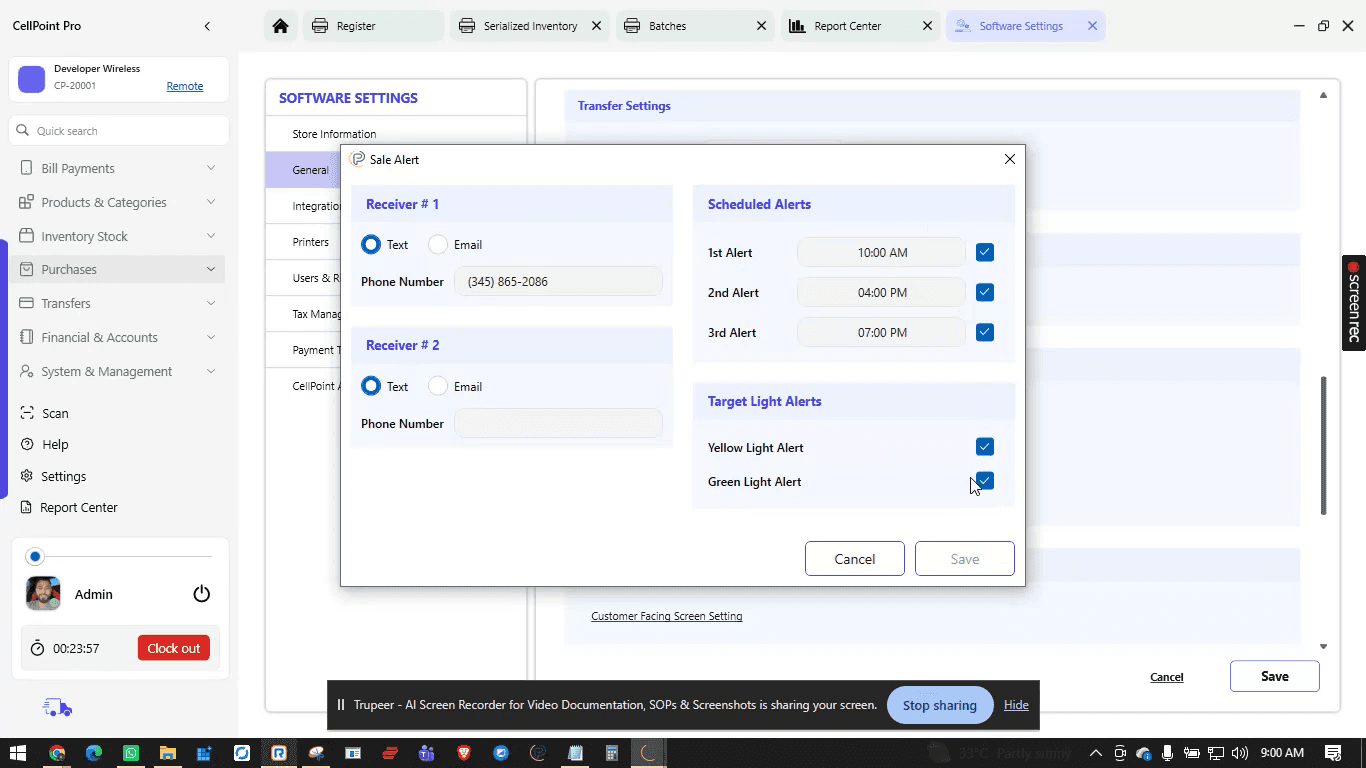
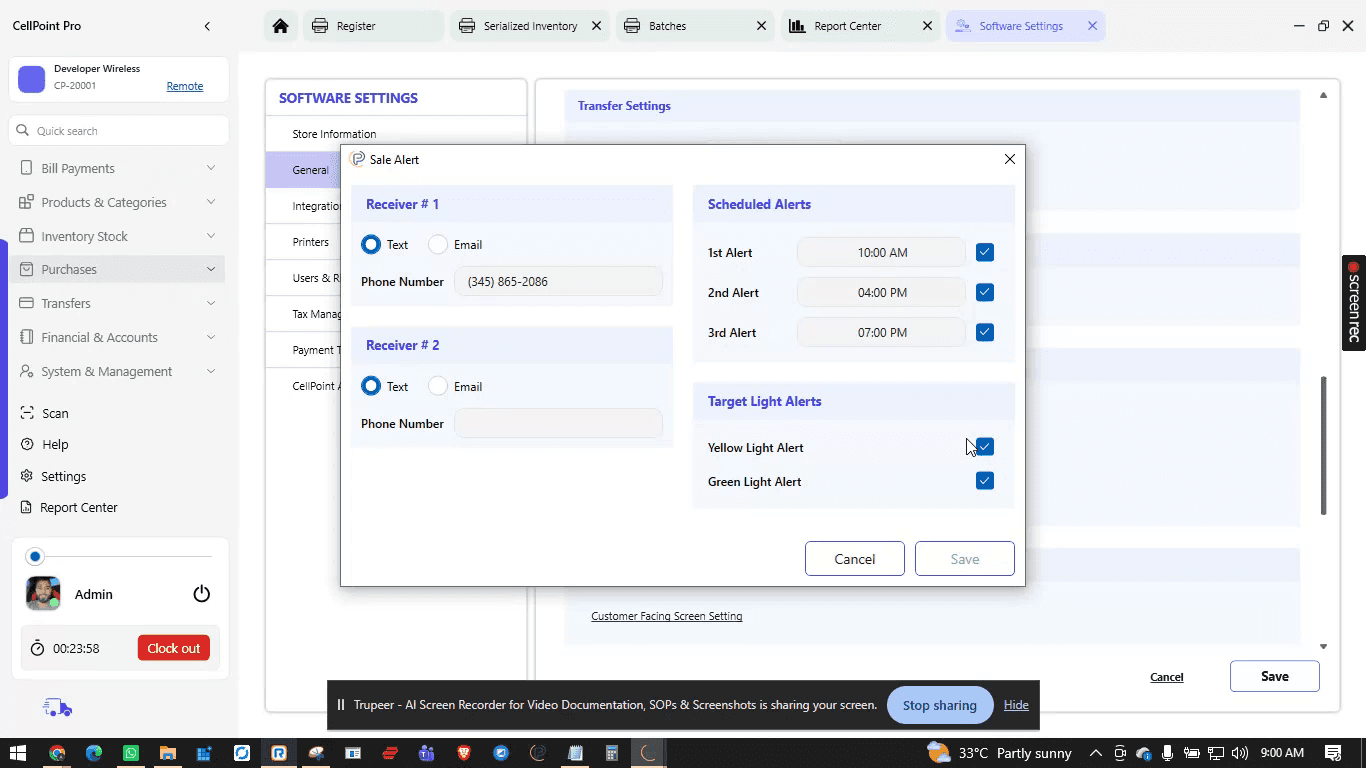
All target-light-related alerts are also managed from this section.
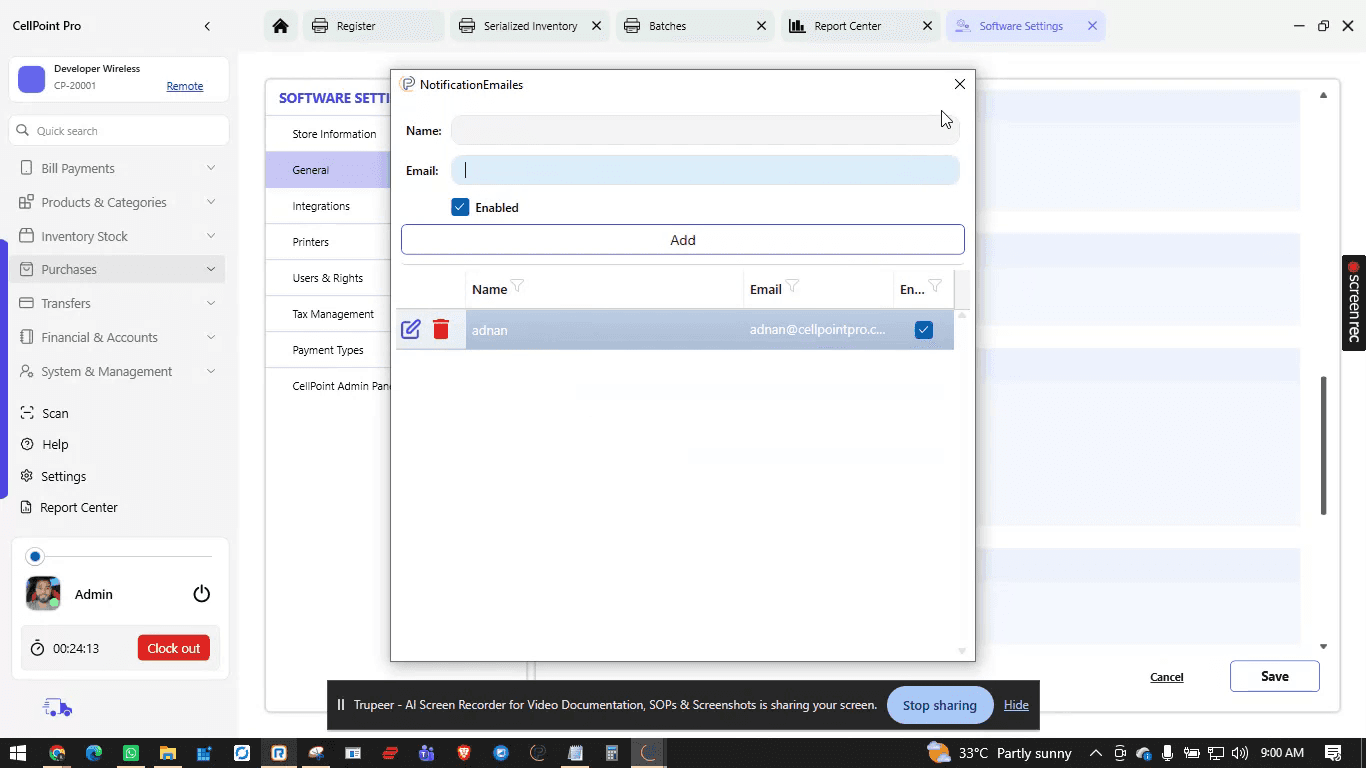
Step 7: Configure Email Settings
Open Email Settings.
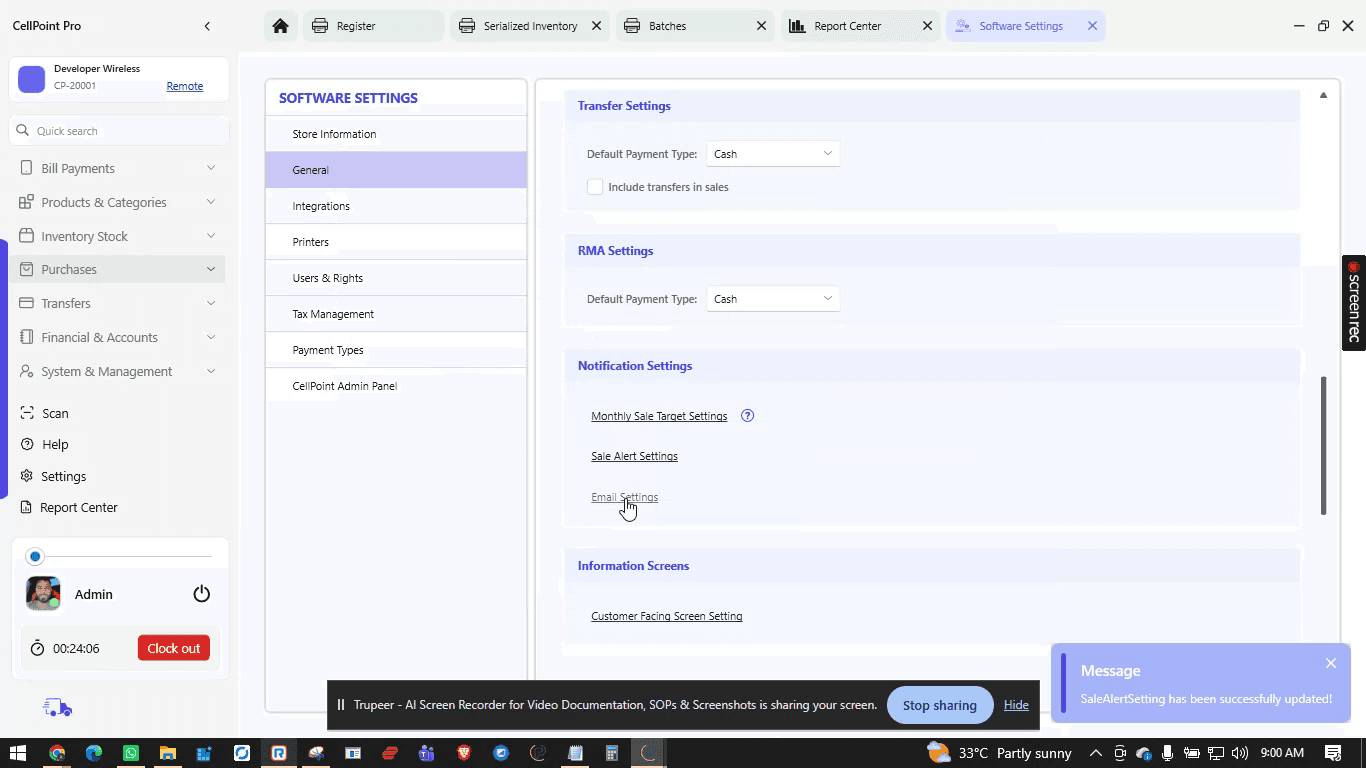
Add and configure the email address and credentials that SellPoint Pro will use for outbound messages.
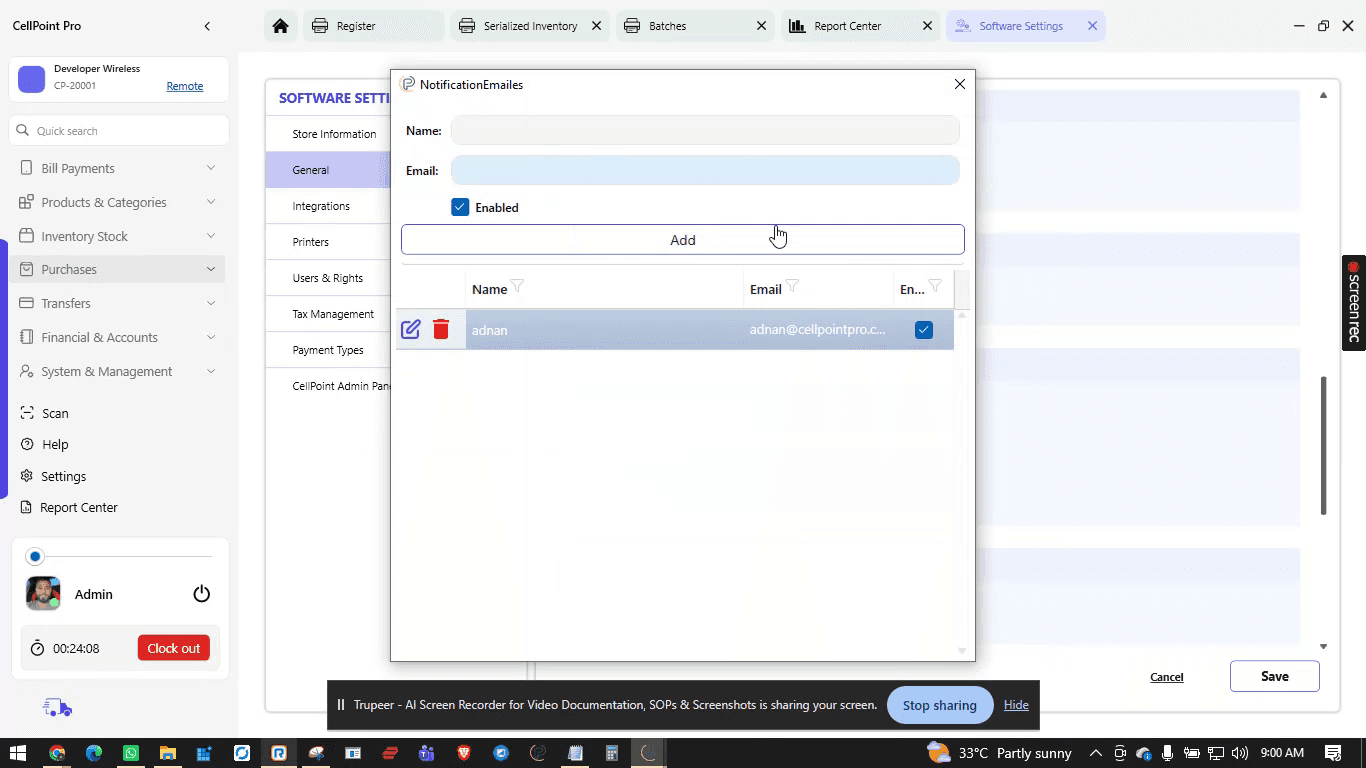
Ensure this email is set up correctly to receive the daily batch email, which includes a summary of everything that occurred in the store throughout the day (sales, activities, and other relevant events).
Step 8: Set Up Integrations
Go to the Integrations section to manage connections with external systems.
Here you can:
Add or update authentication codes and tokens for your integrated services.
Confirm that all integrations you use (e.g., third-party apps or services) are properly authenticated and active.

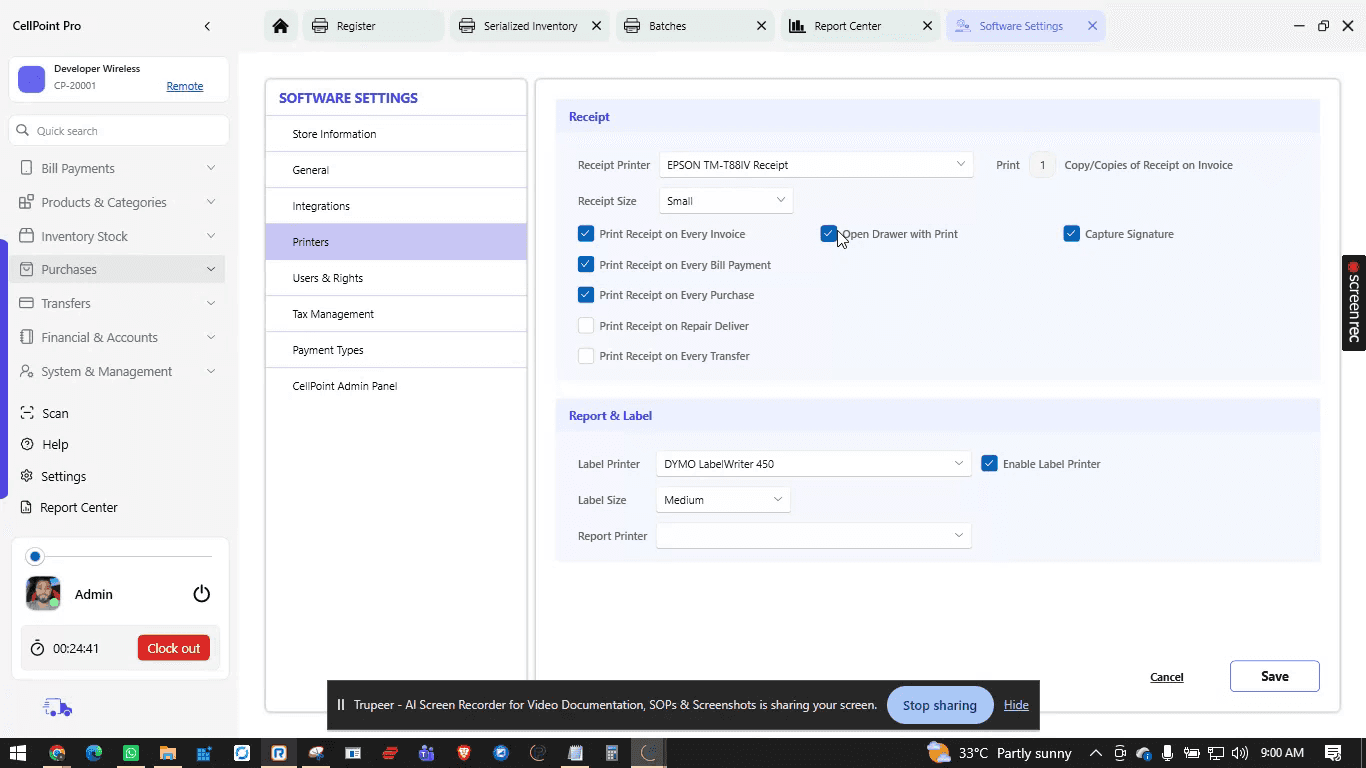
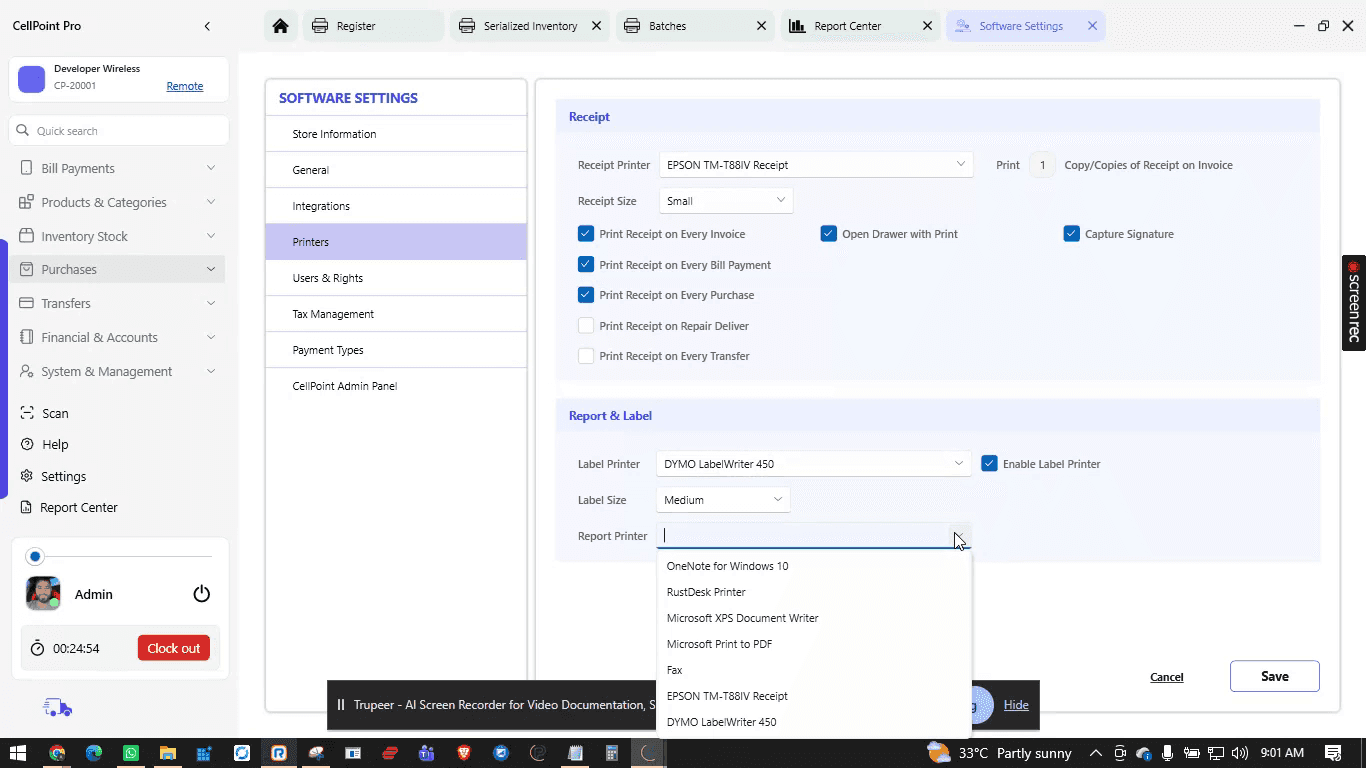
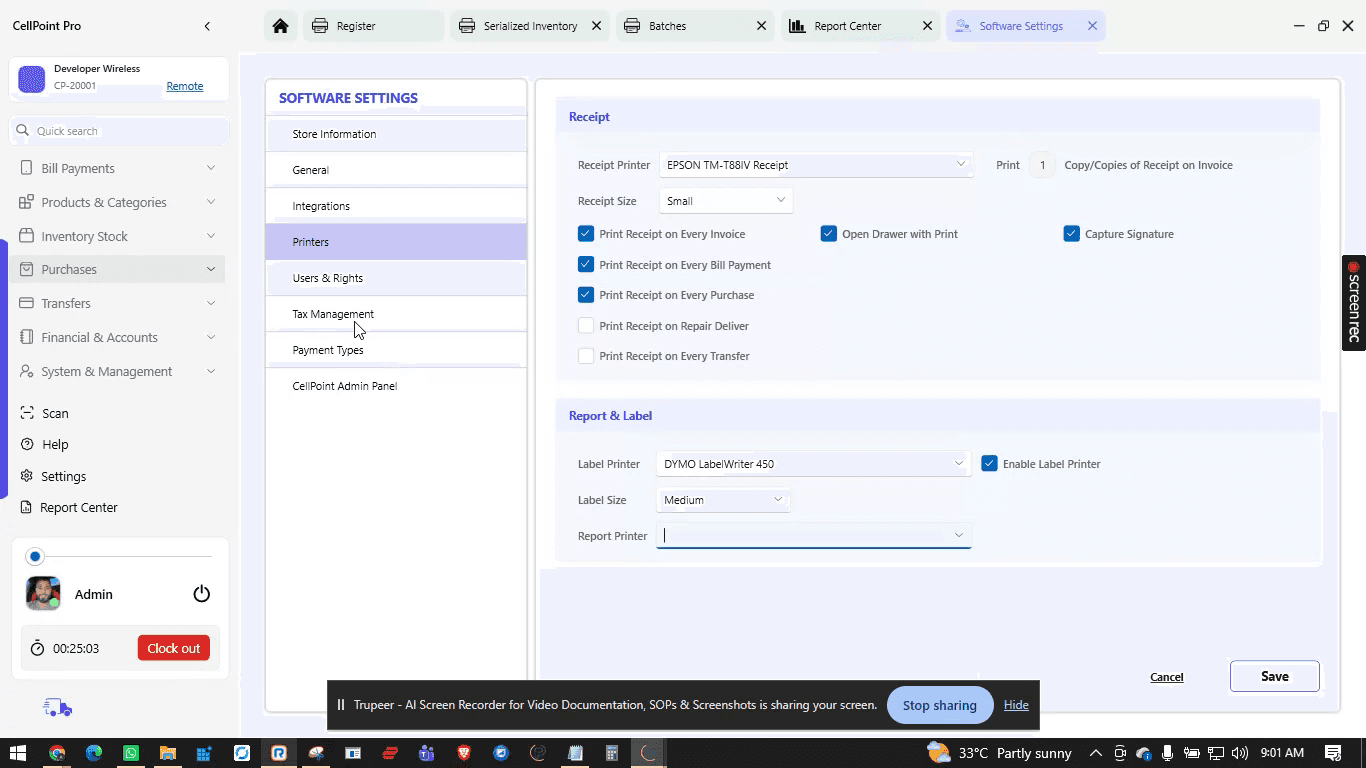
Step 9: Configure Printer Settings
Open Printer Settings.
In this section, you can:
Select your primary receipt and report printers.

Choose paper size and set the number of copies to print.
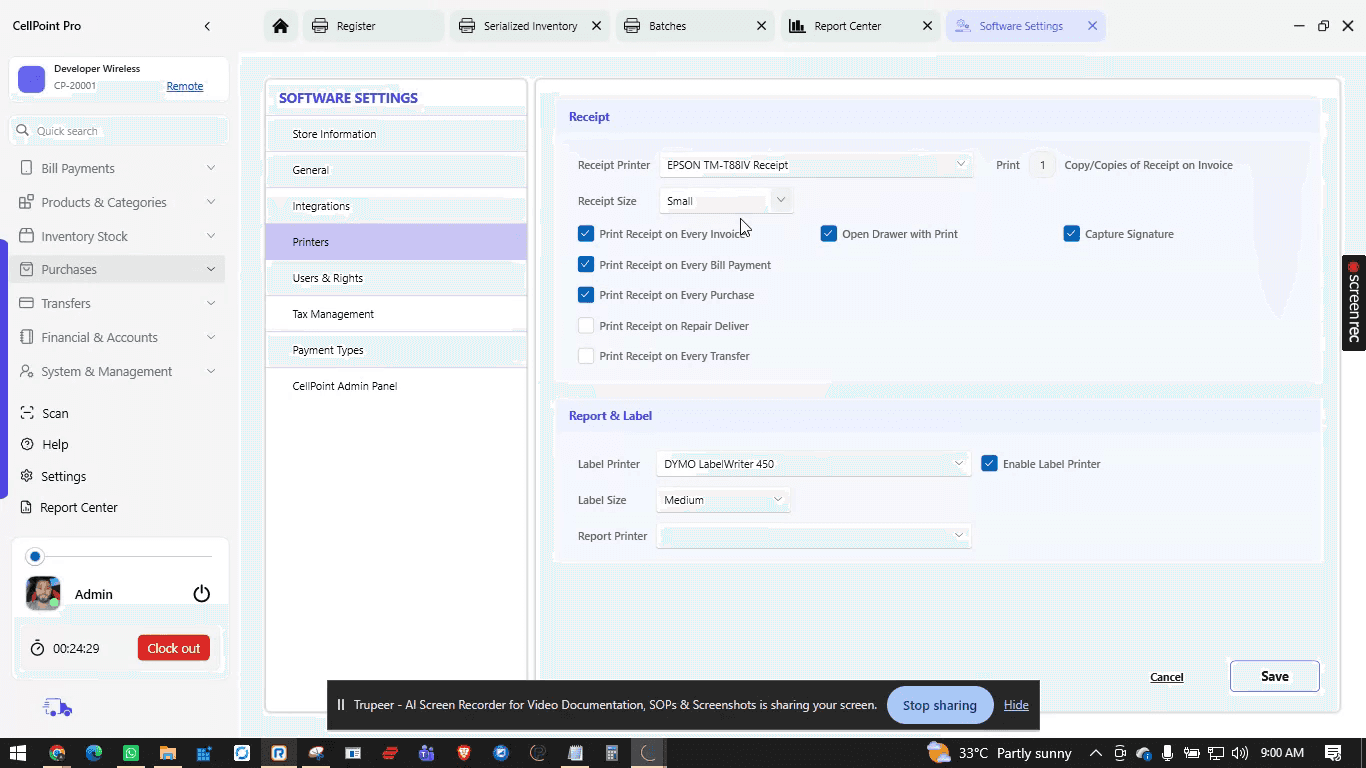
Control invoice printing behavior for different modules and restrict invoice printing where required.
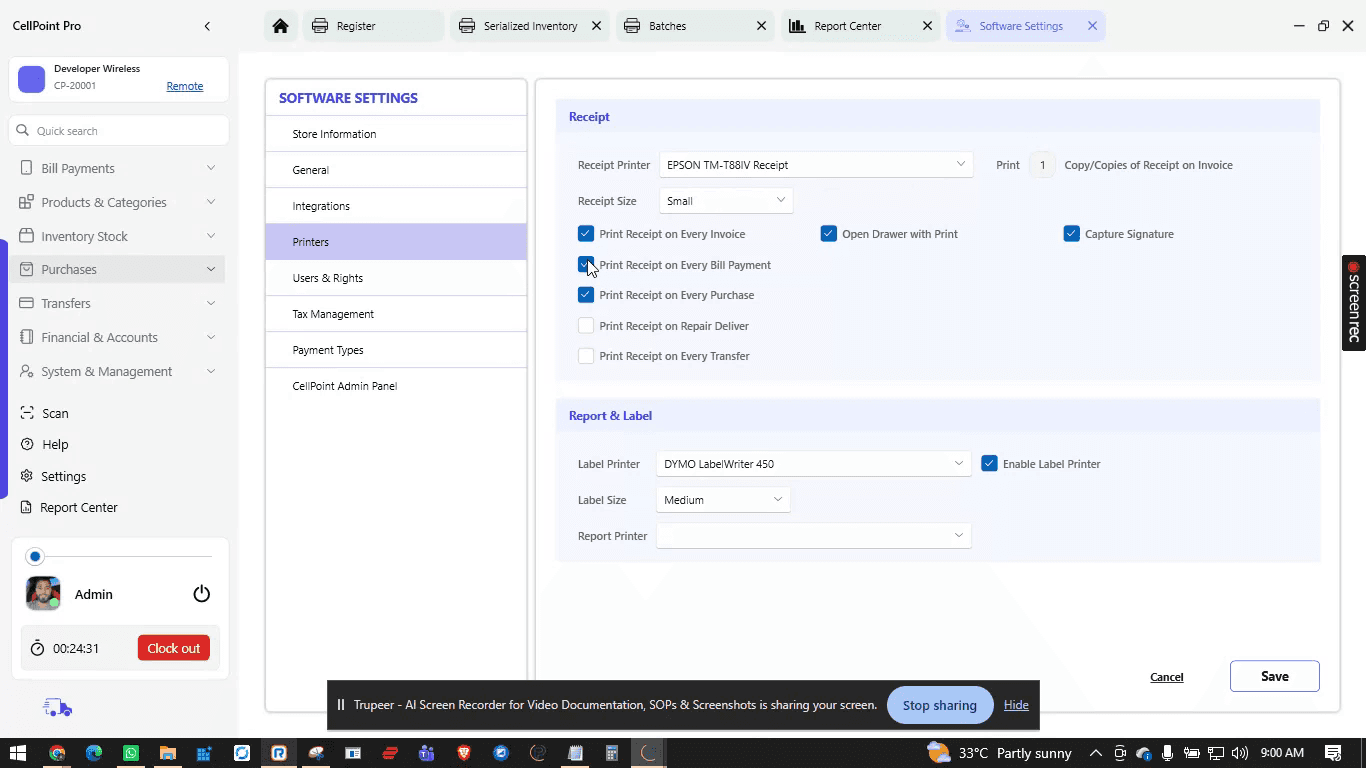
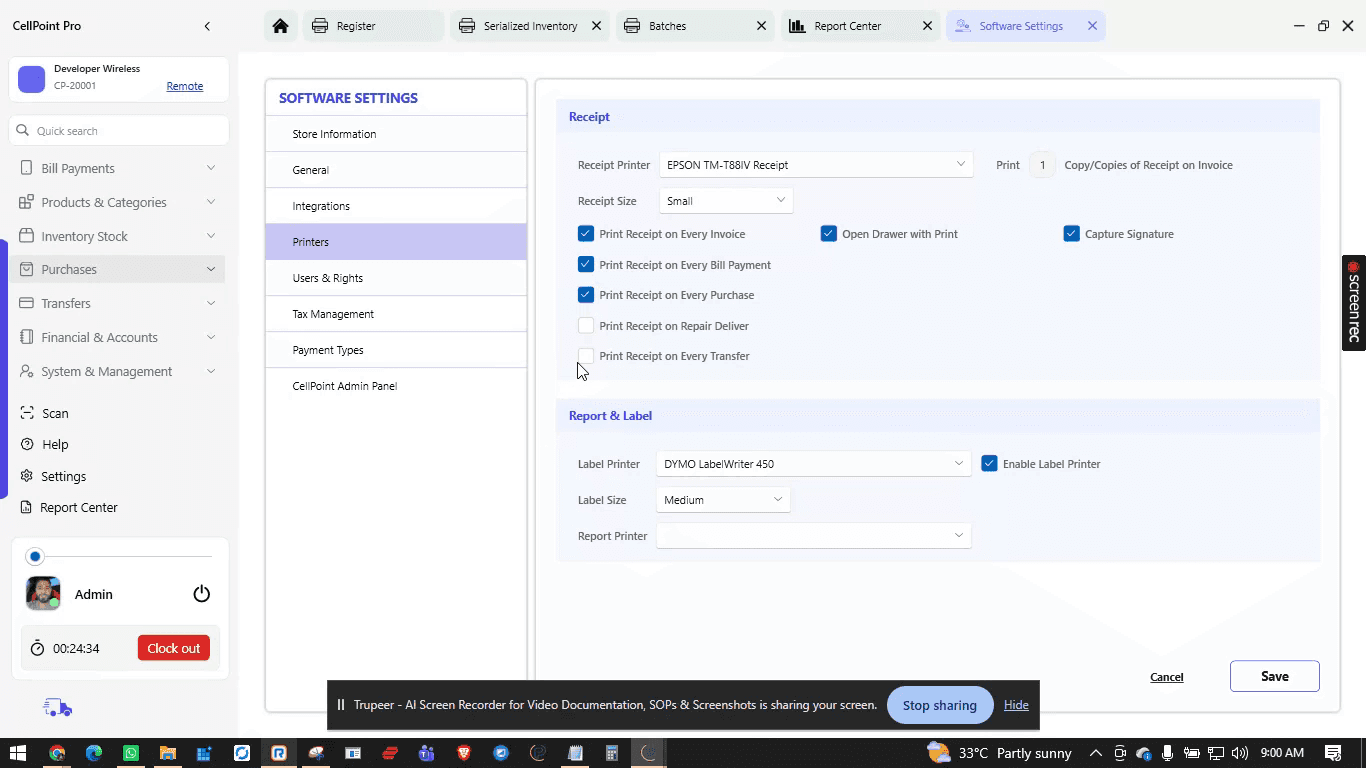
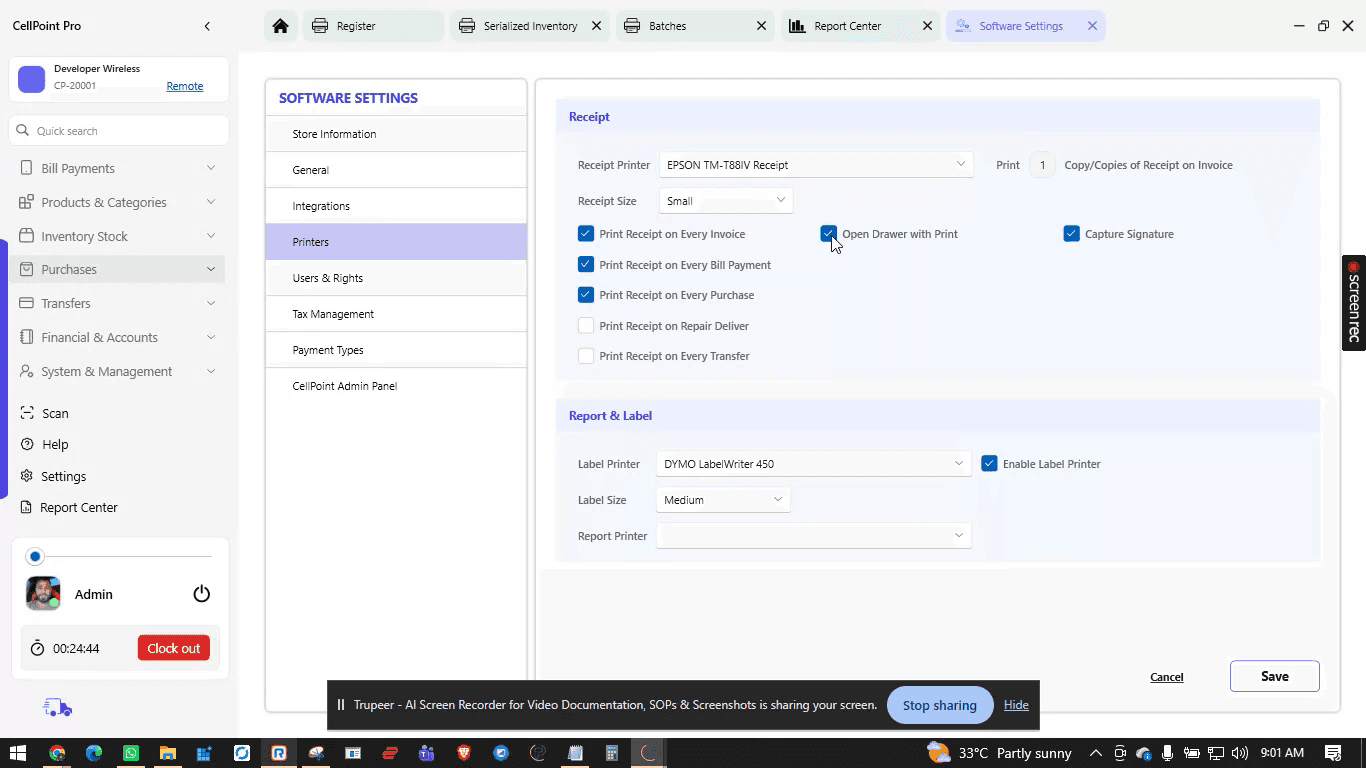
You can also manage signature and drawer behavior:
Enable capture signature through the device.
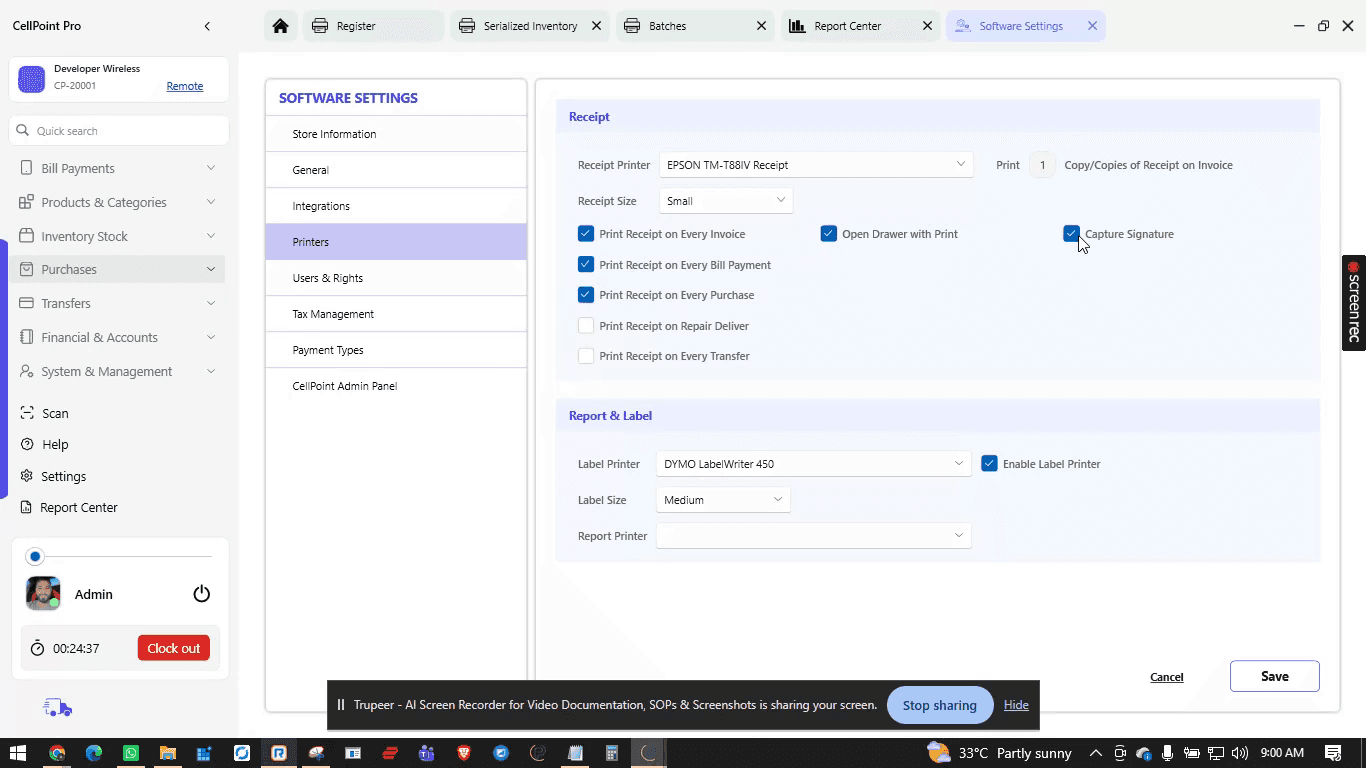
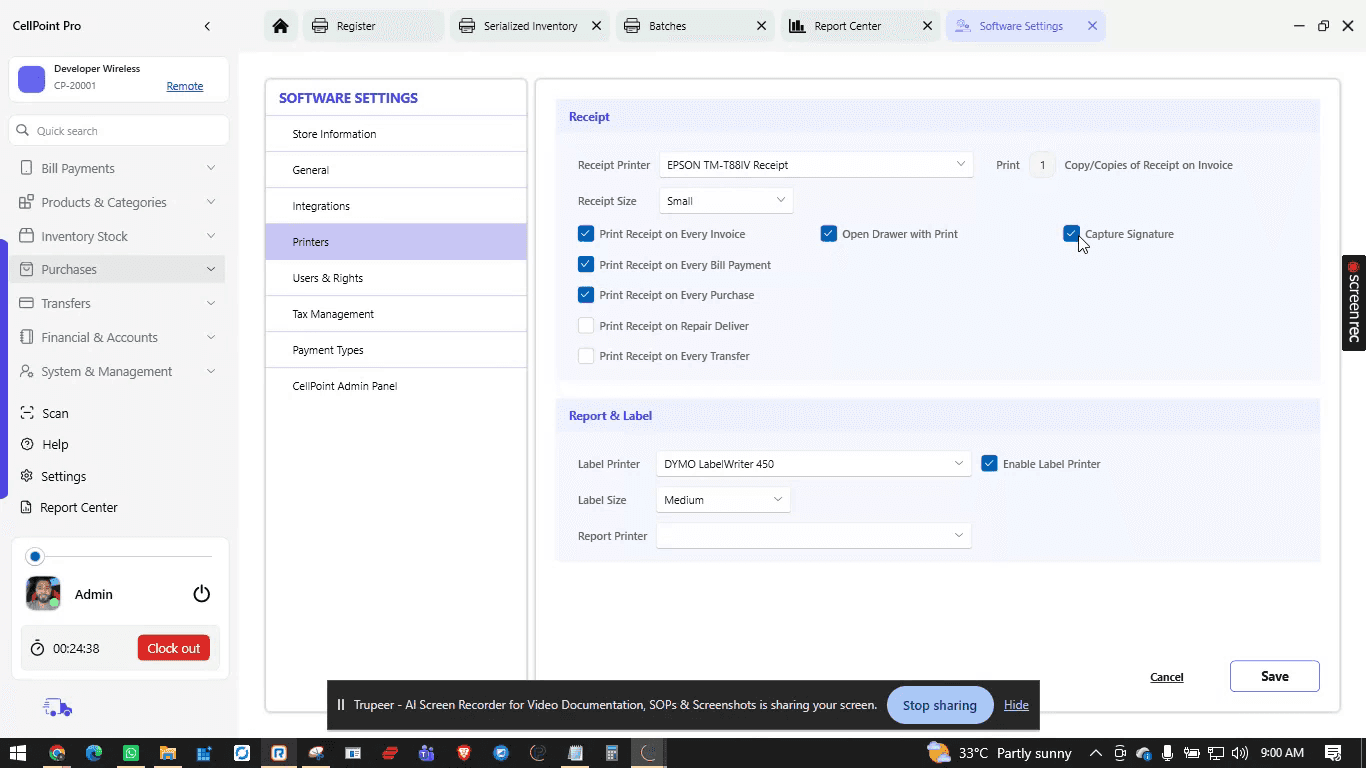
Configure the signature device options.
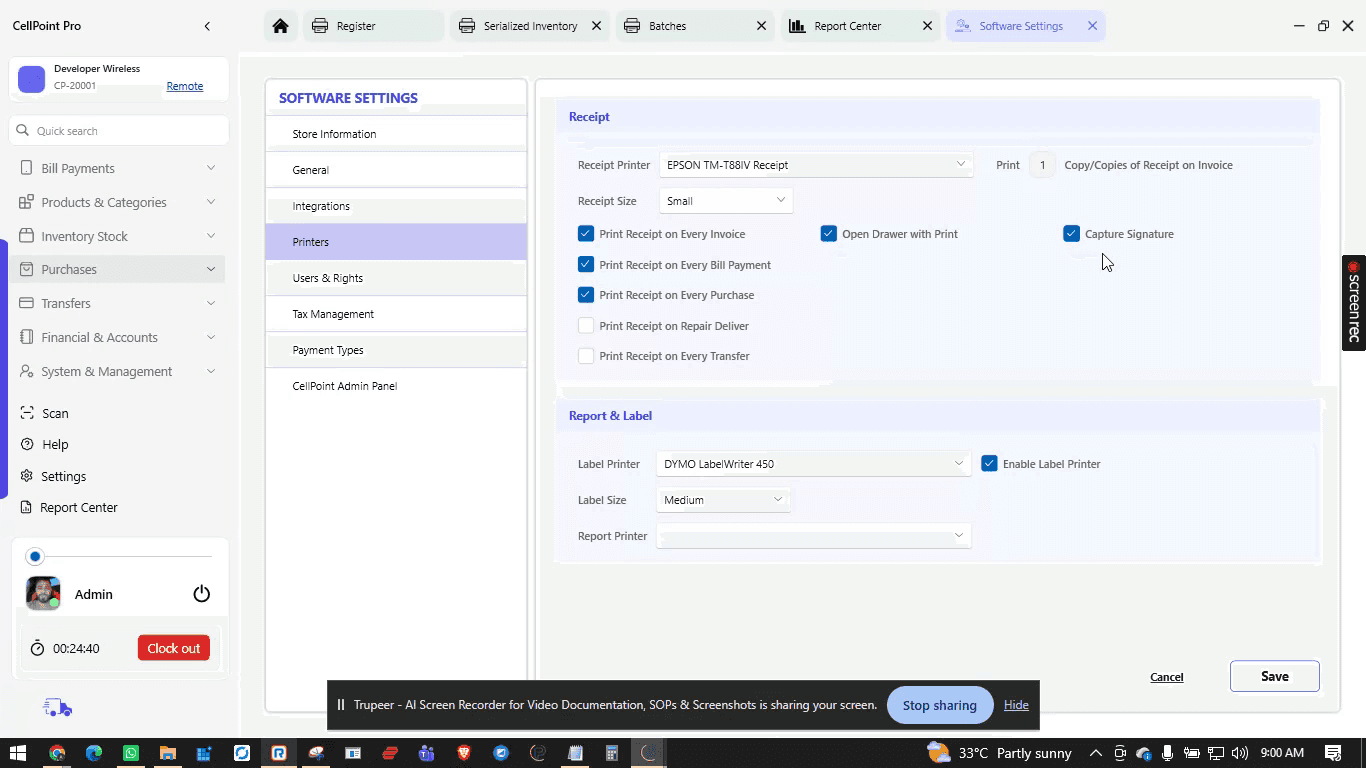
Decide whether the cash drawer opens with each print; disable this if you do not want the drawer to open automatically.
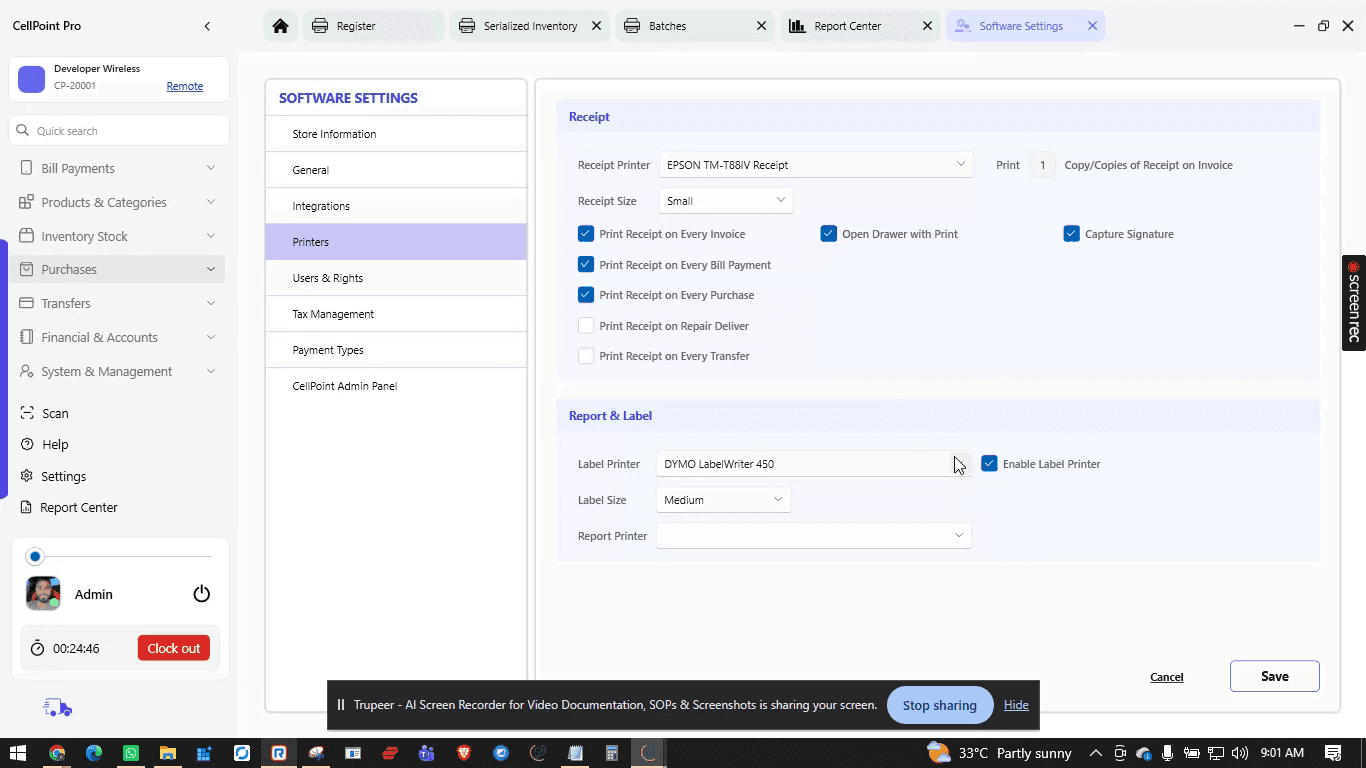
For label printers, you have multiple configuration options:
Select your label printer model (e.g., DemoLabel Writer, one of the primary supported label printers).
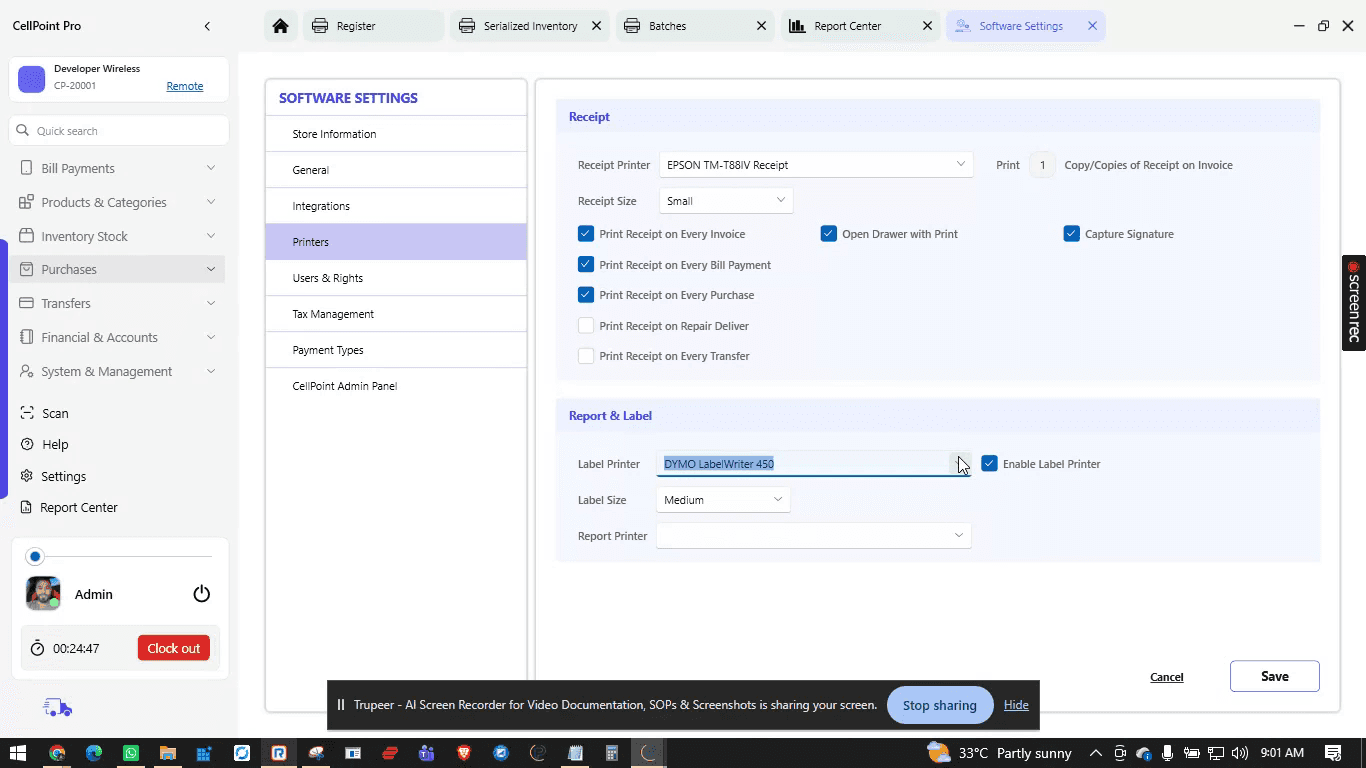
You also have an option to select a larger A4-size printer for reports or other full-page documents.

Step 10: Manage Tax Templates and Category Tax Rules
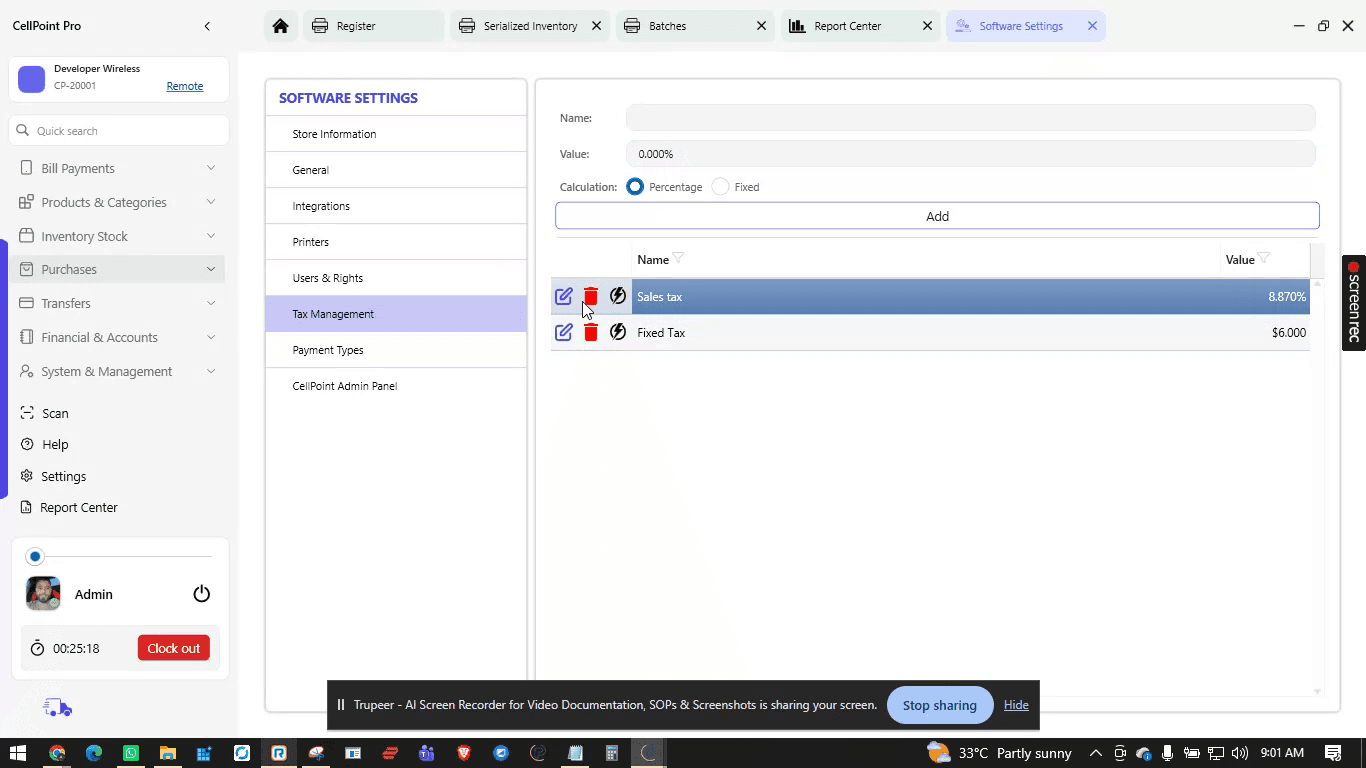
Next, open Tax and Management.
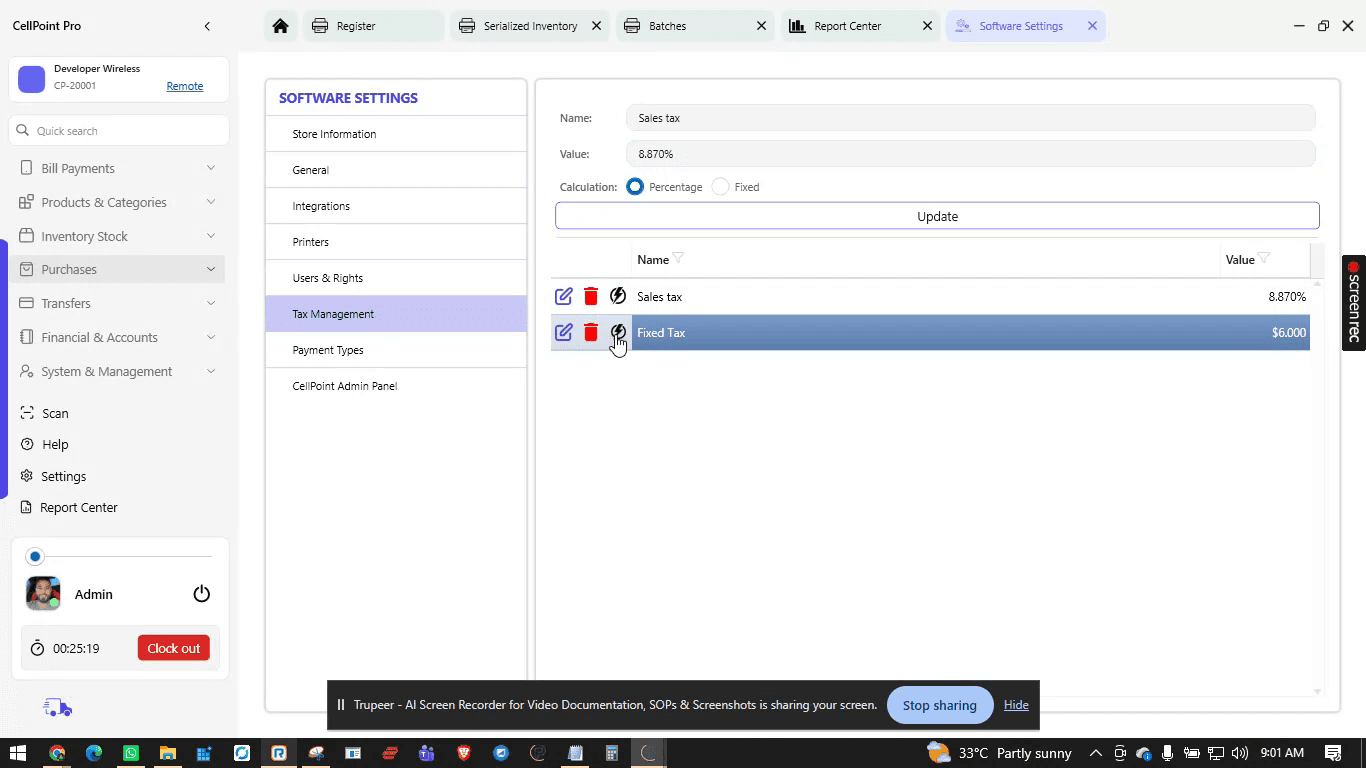
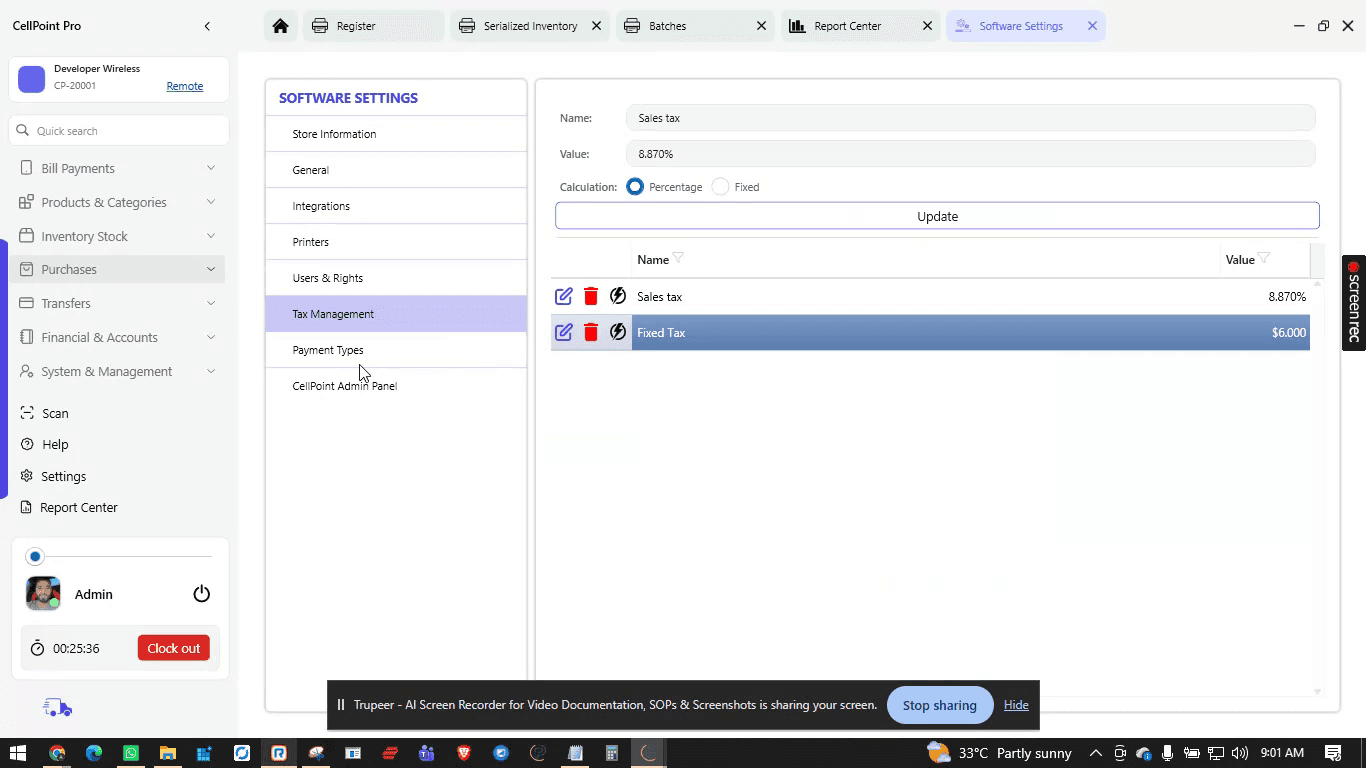
Here you can add and manage tax templates:
To add a new tax template, enter the name and value of the tax.
Choose whether the tax value is fixed or a percentage.
Save the template.
If you need to change an existing tax template, use the edit option.

You can also apply or remove taxes at the category and subcategory level:
Select the category (for example, Bill Payments).
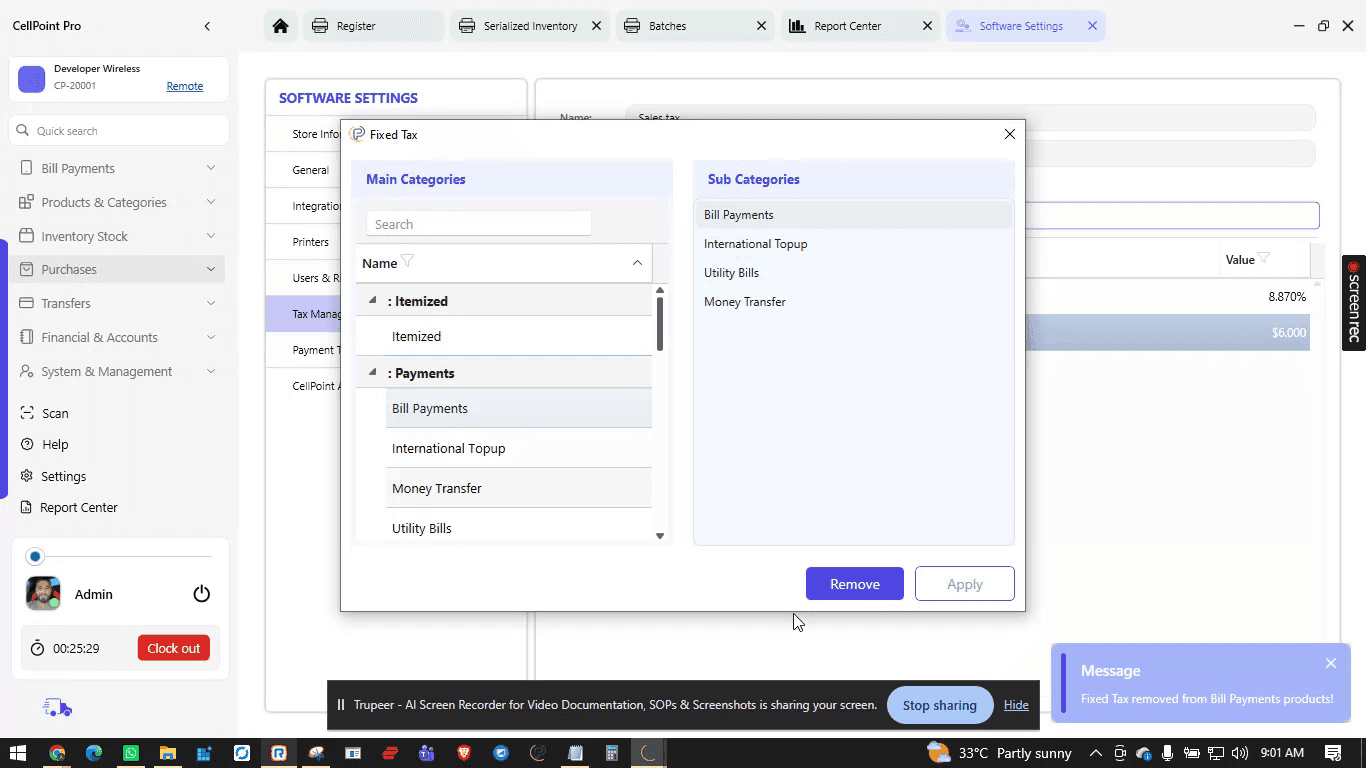
Choose whether you want to apply or remove tax for this category. For example, you may choose not to apply any tax on bill payments at all.
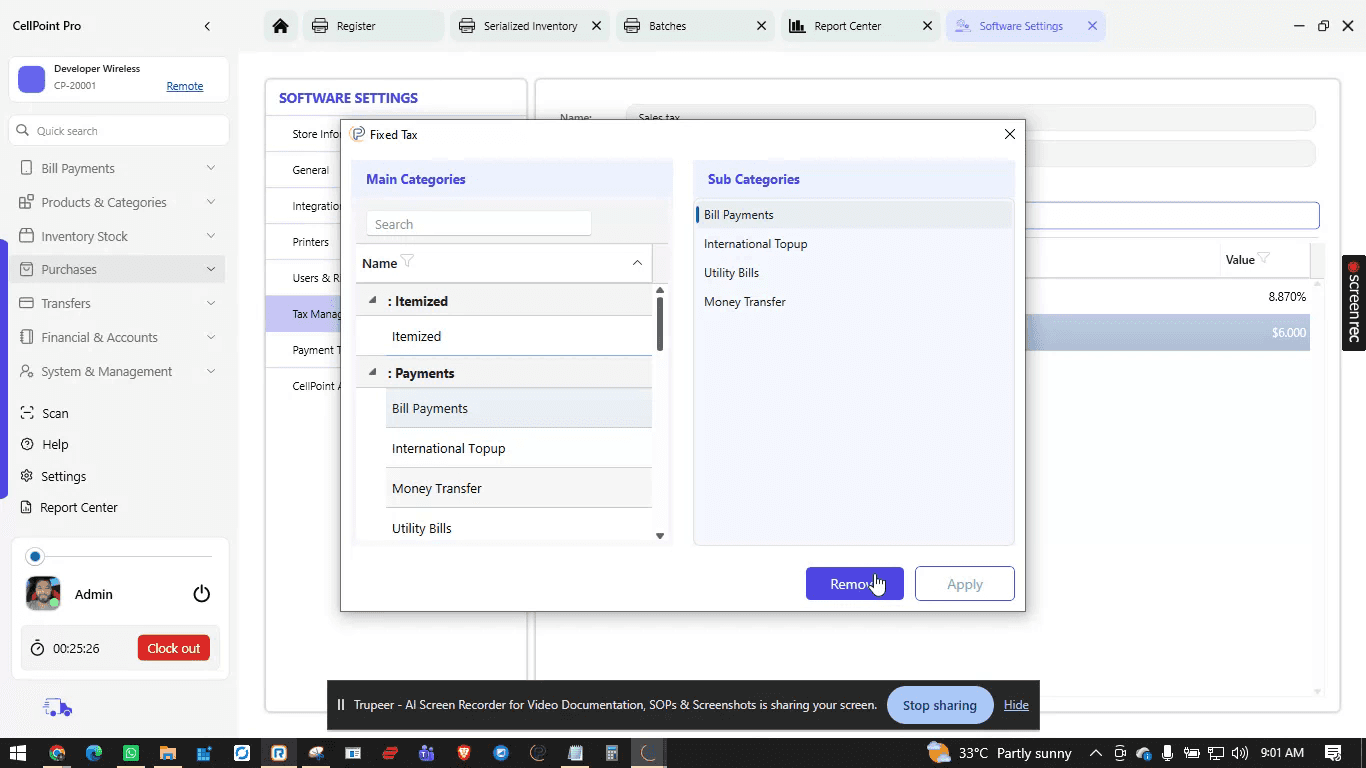
All products under the selected category will follow this tax rule.
Use the bulk options to bulk apply or bulk remove taxes across different categories and subcategories as needed.
Step 11: Configure Payment Types and Surcharges
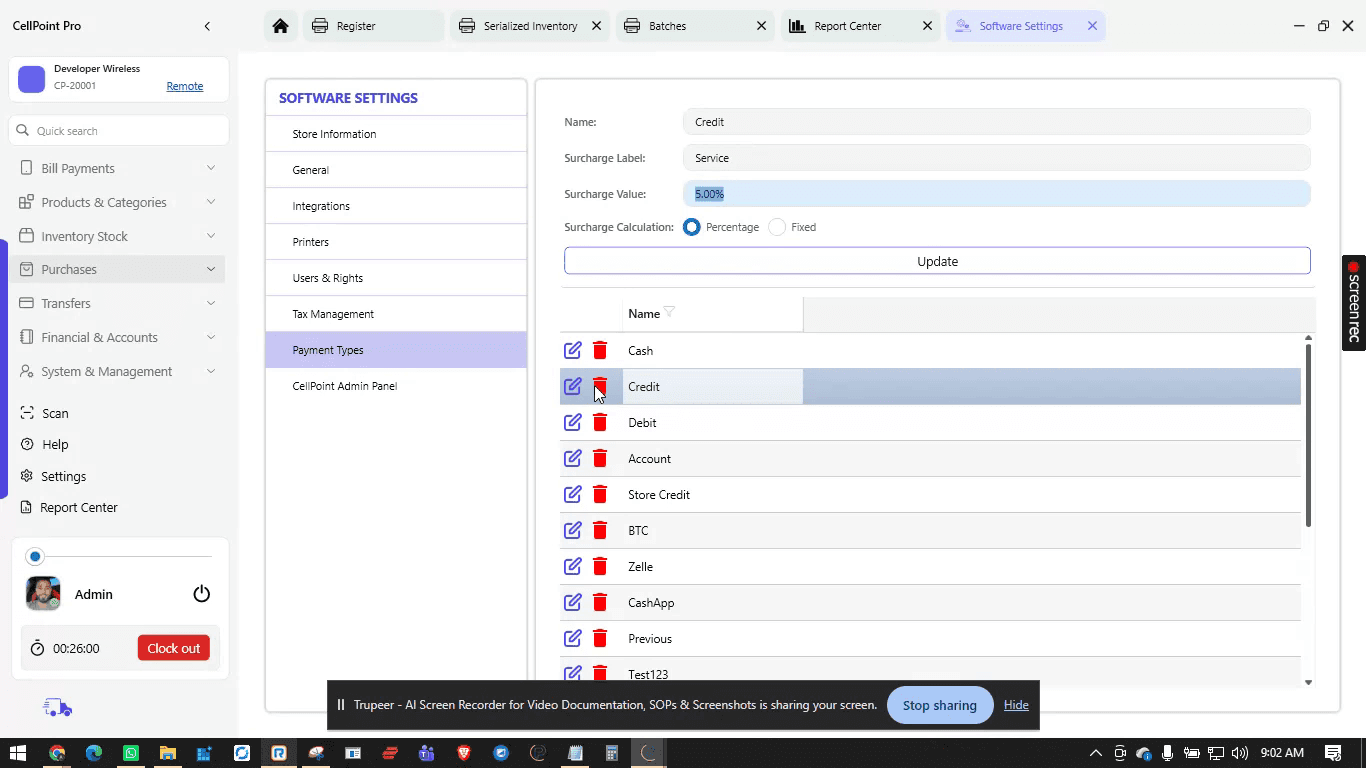
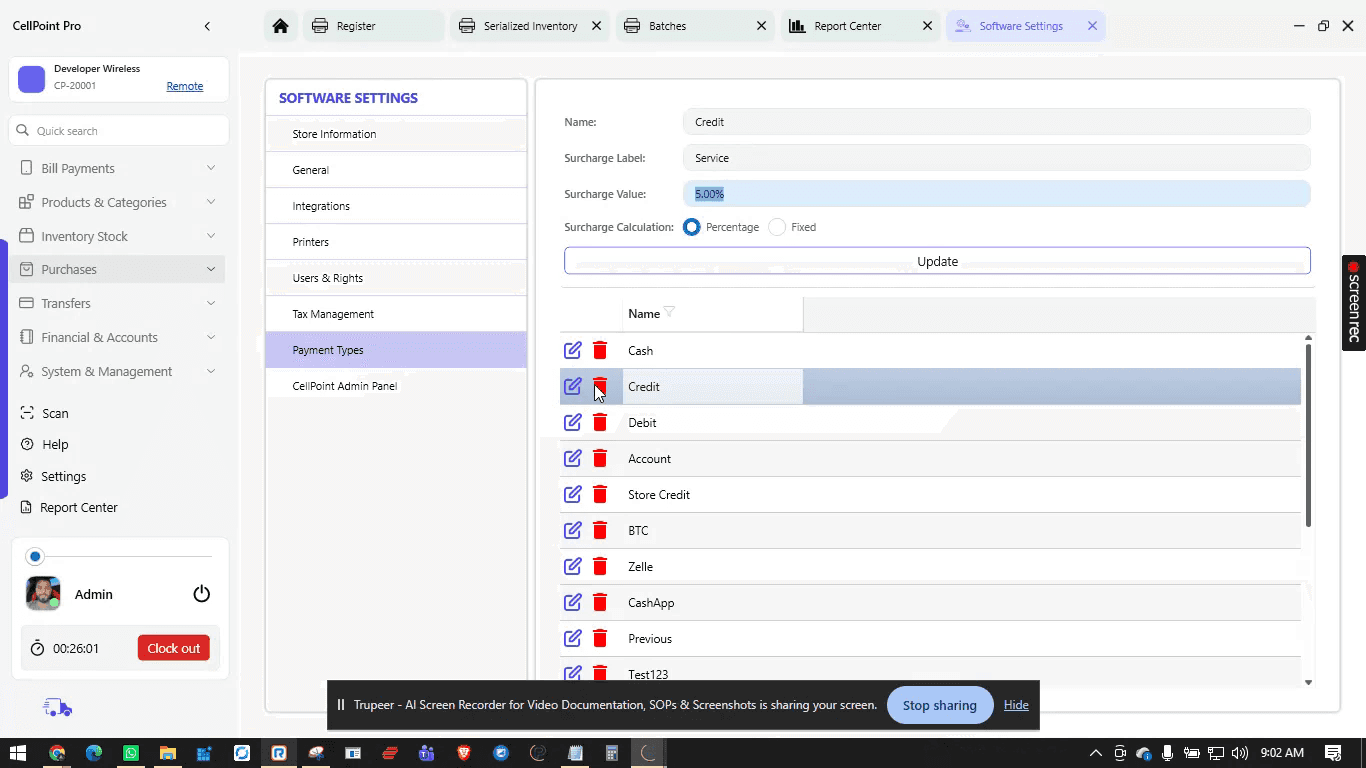
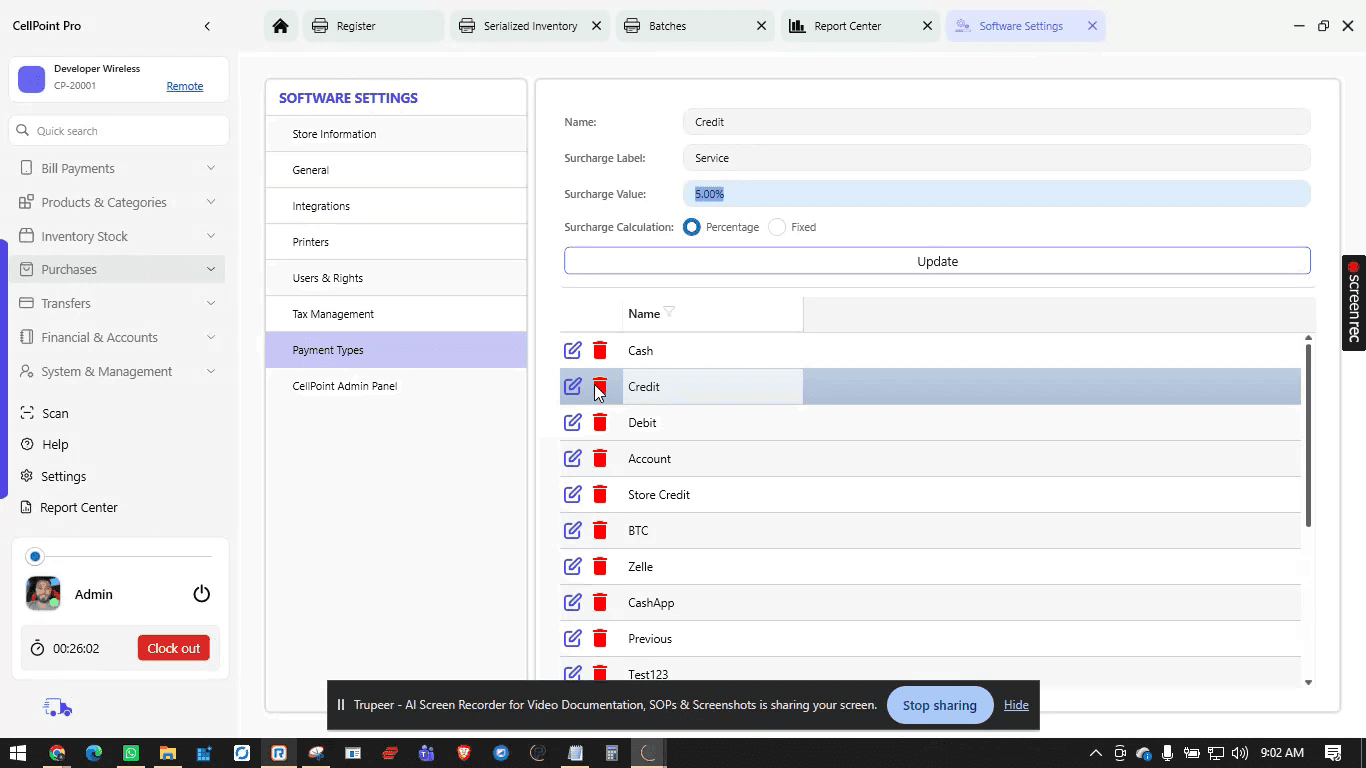
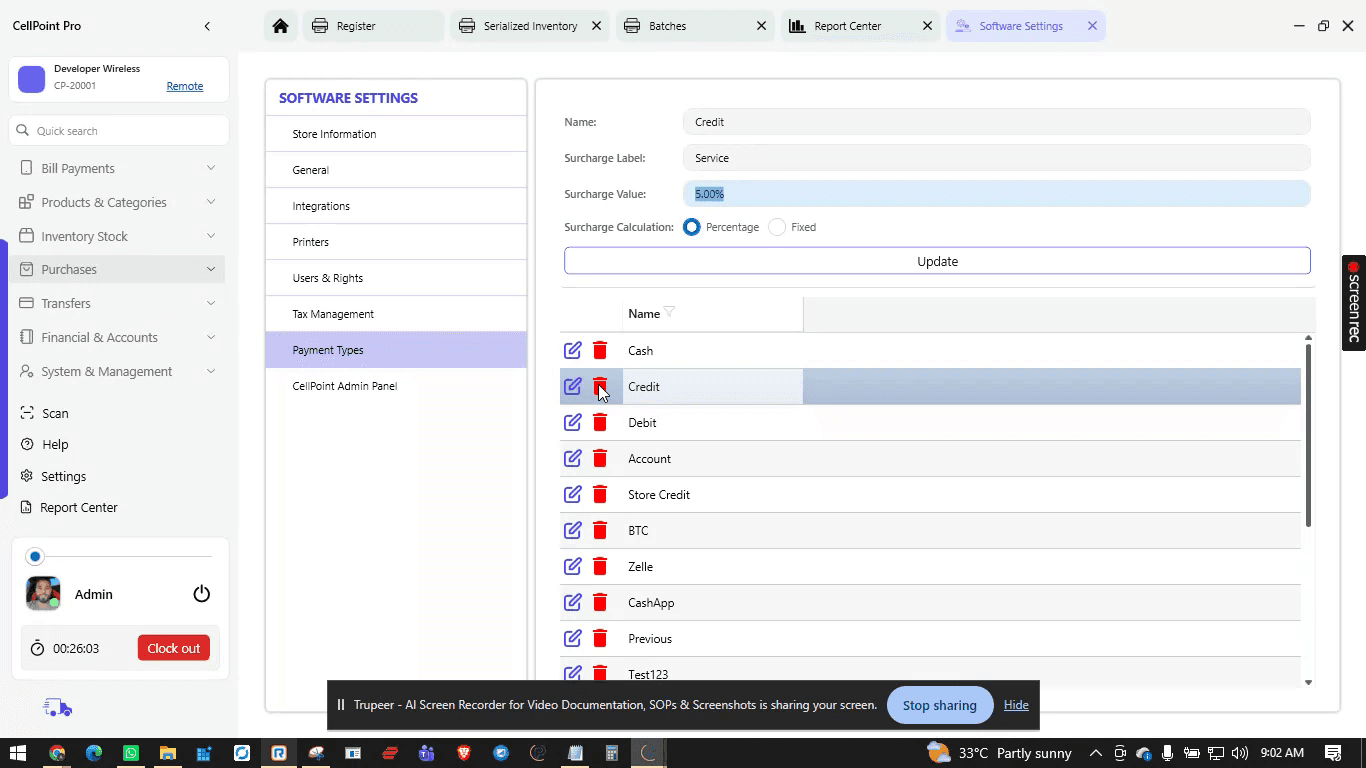
Go to Payment Types.
In this section, you can:
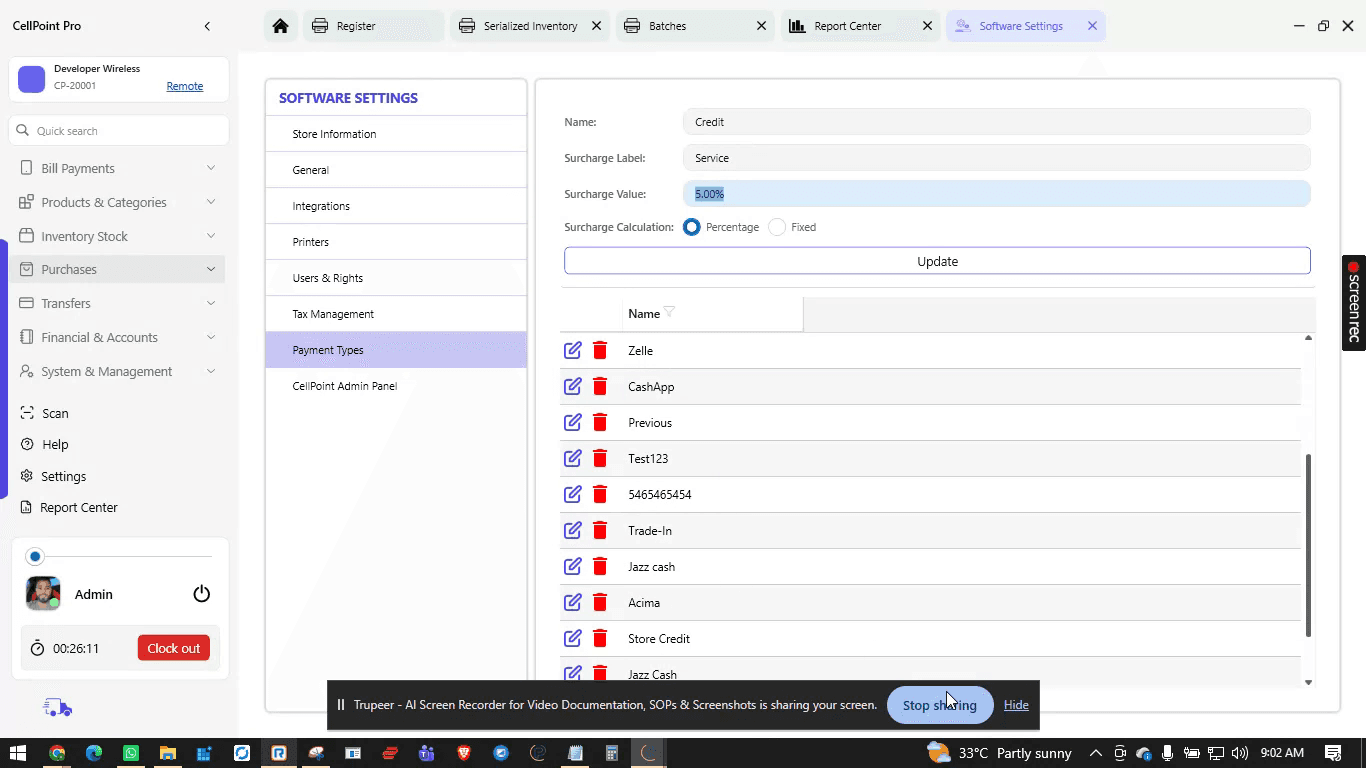
Add new modes of payment and manage existing ones.
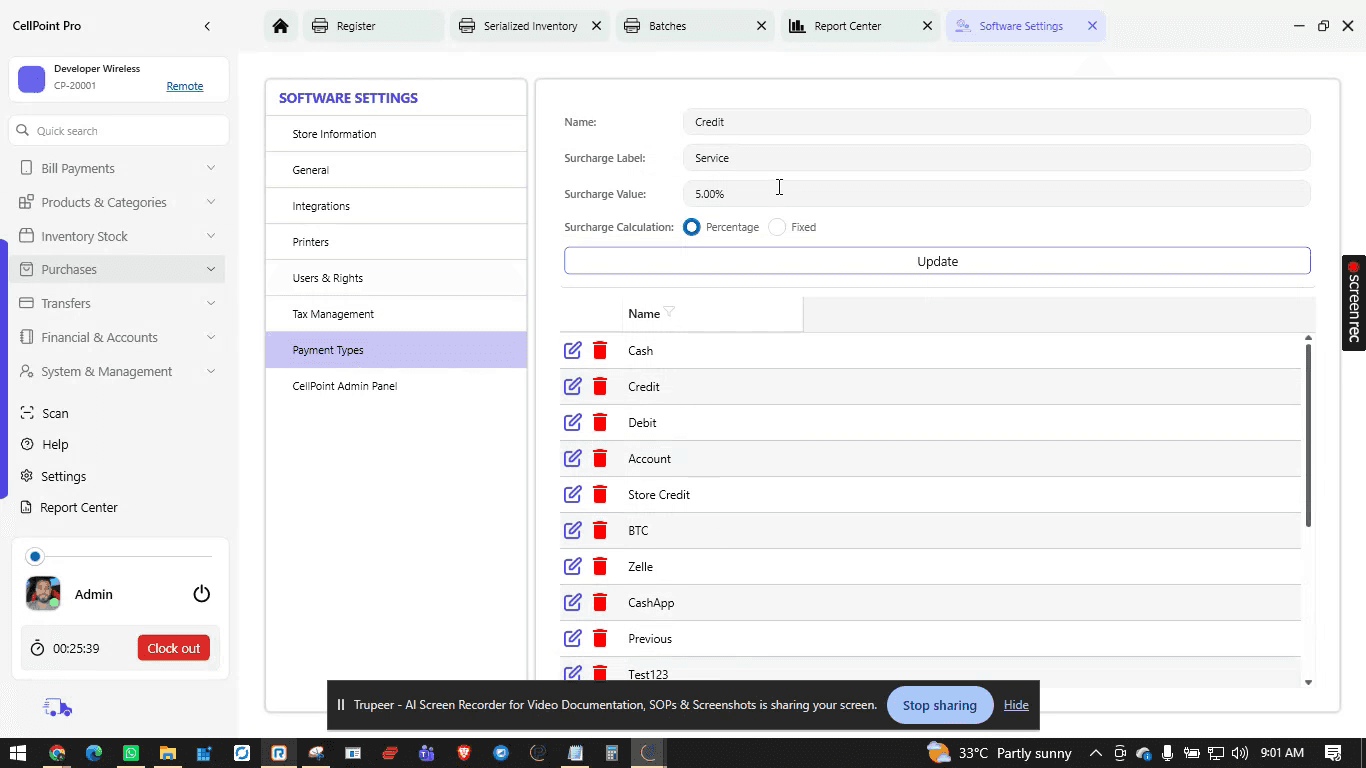
Edit names and settings for each payment type.
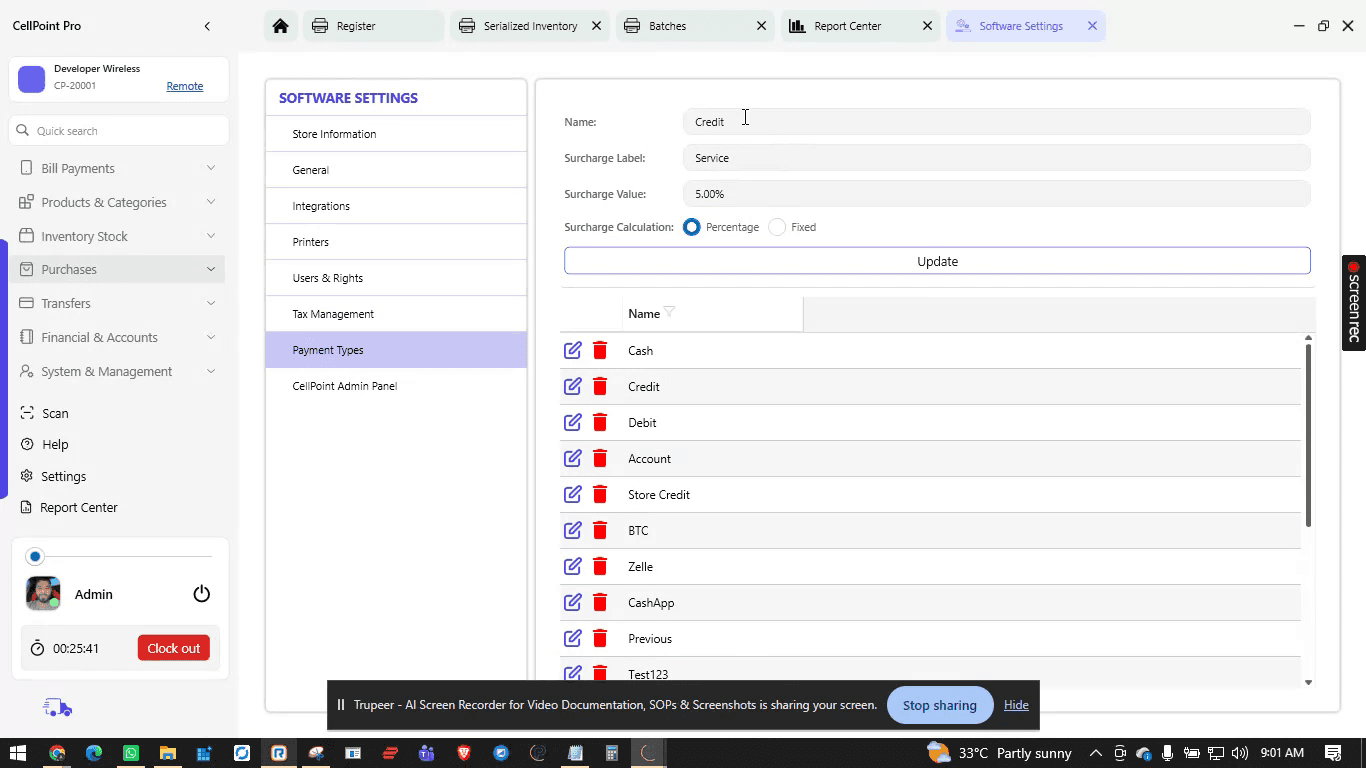
Enable or disable payment methods as required.
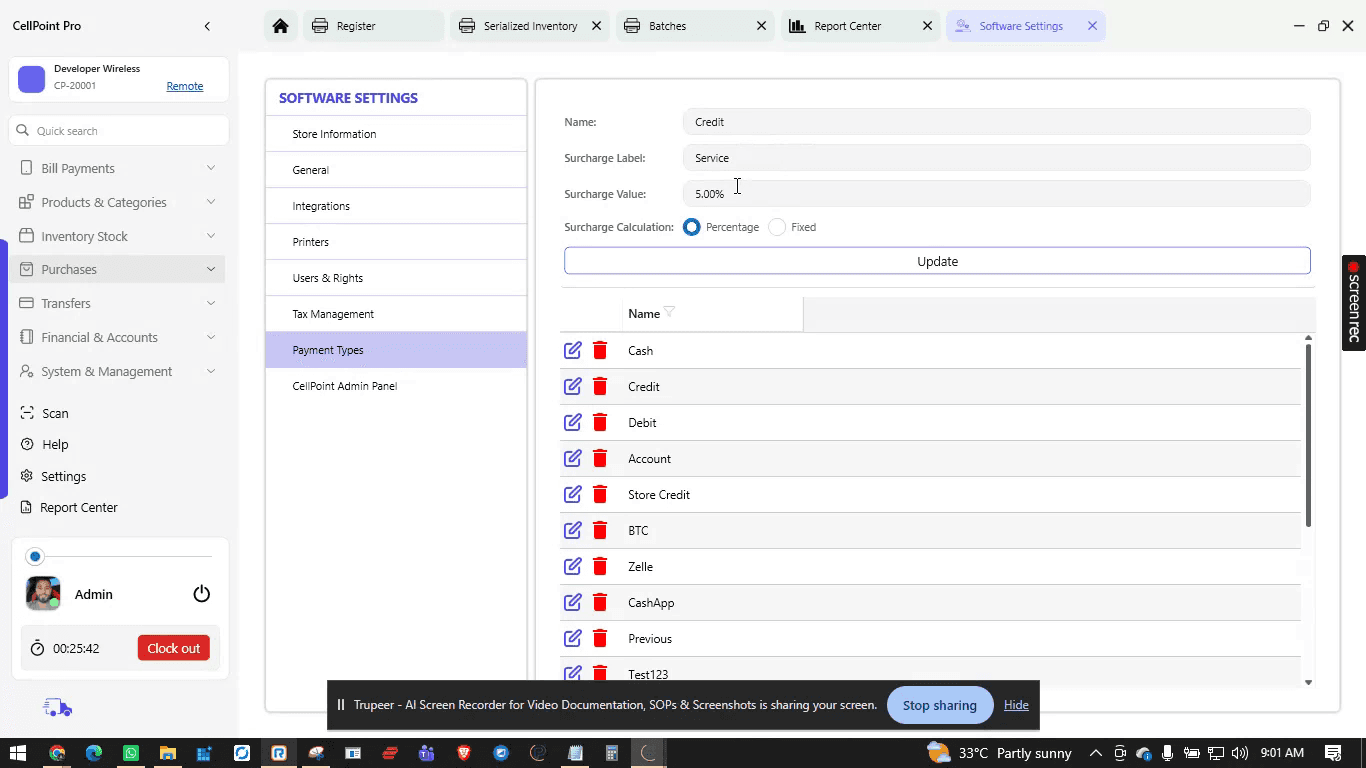
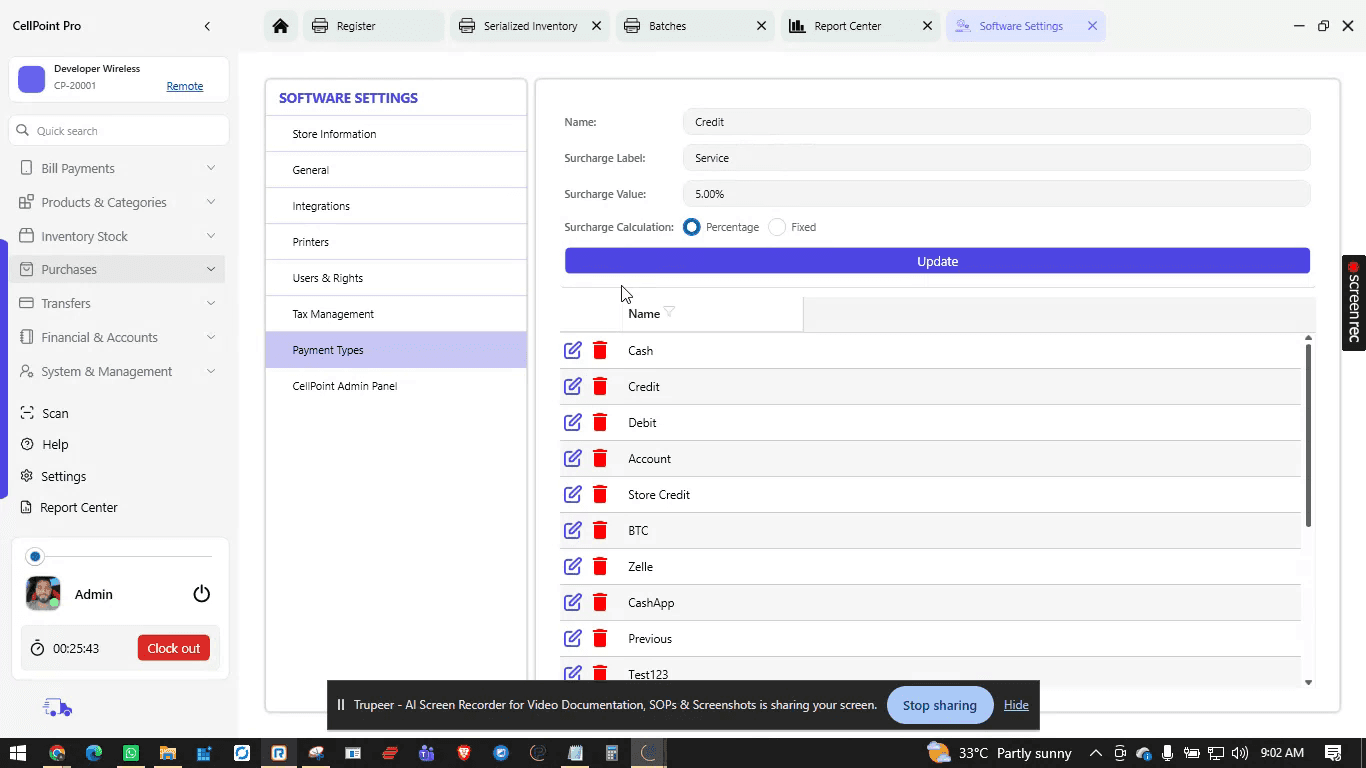
You can also configure credit card and debit card surcharges:
Set surcharges either as a fixed amount or a percentage.
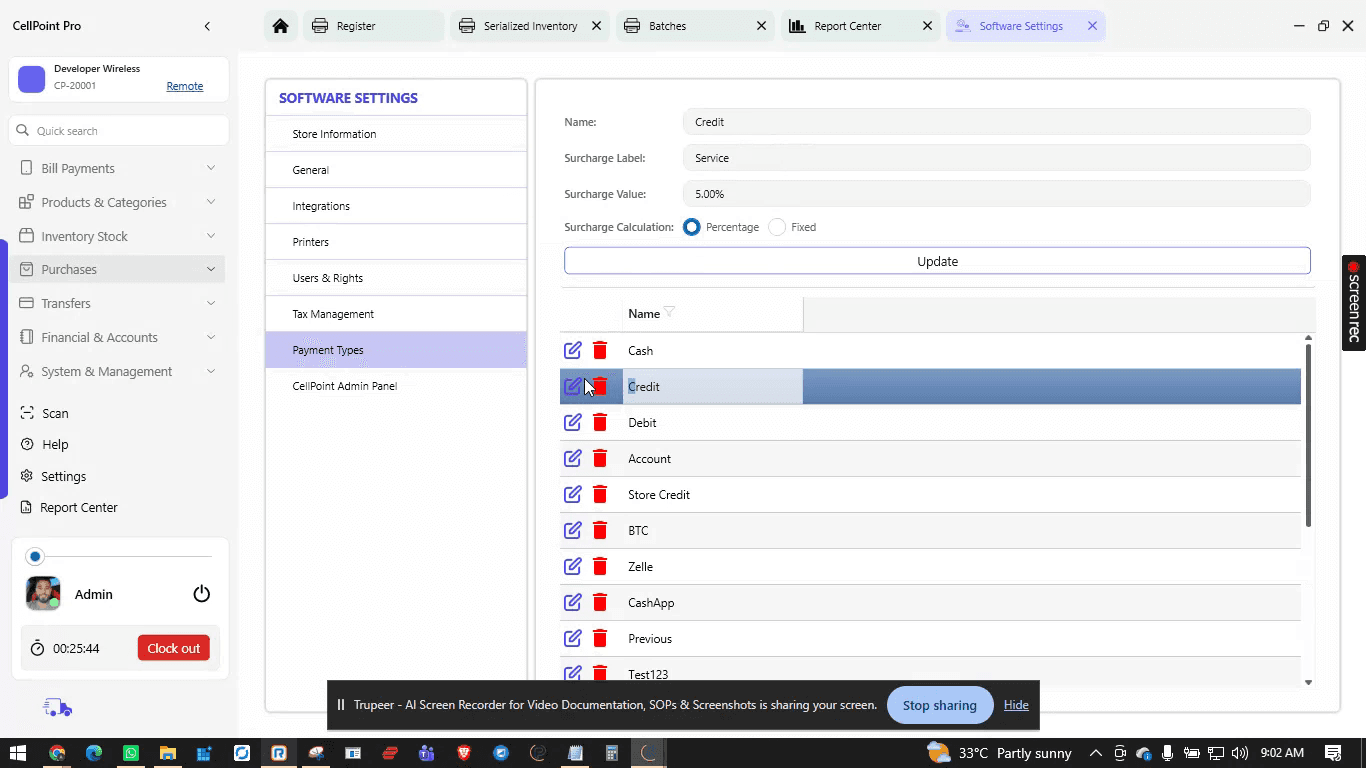
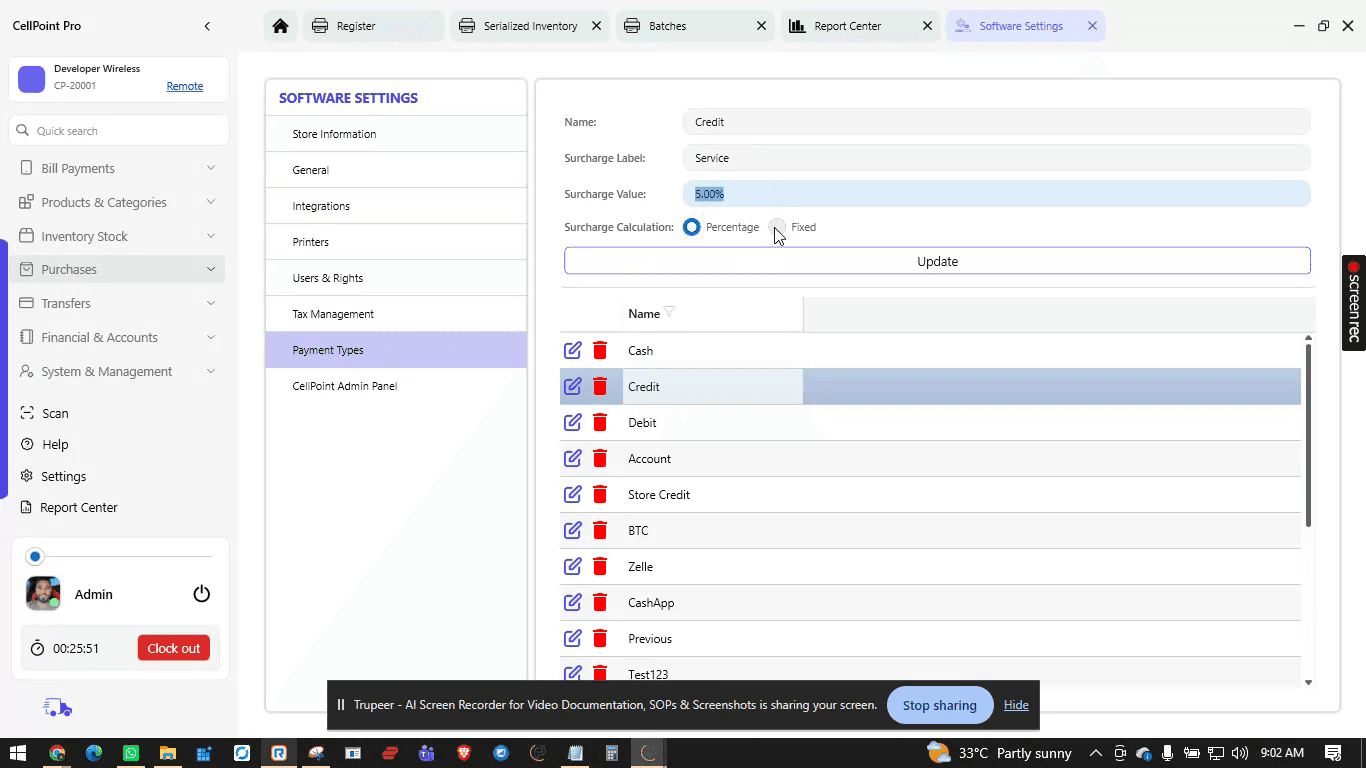
This section is where you add, manage, and remove all non-primary modes of payment.
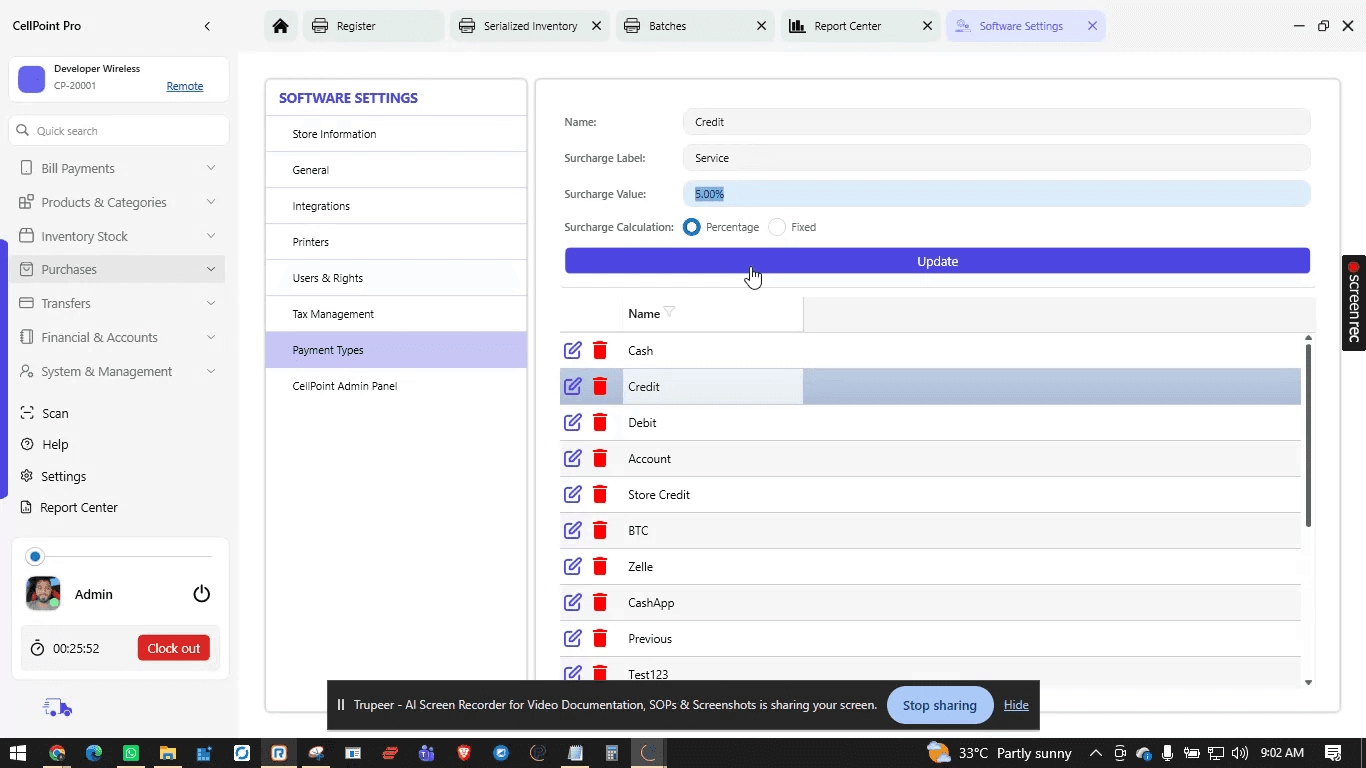
The primary modes of payment (which are generally fixed in the system) include:
Credit
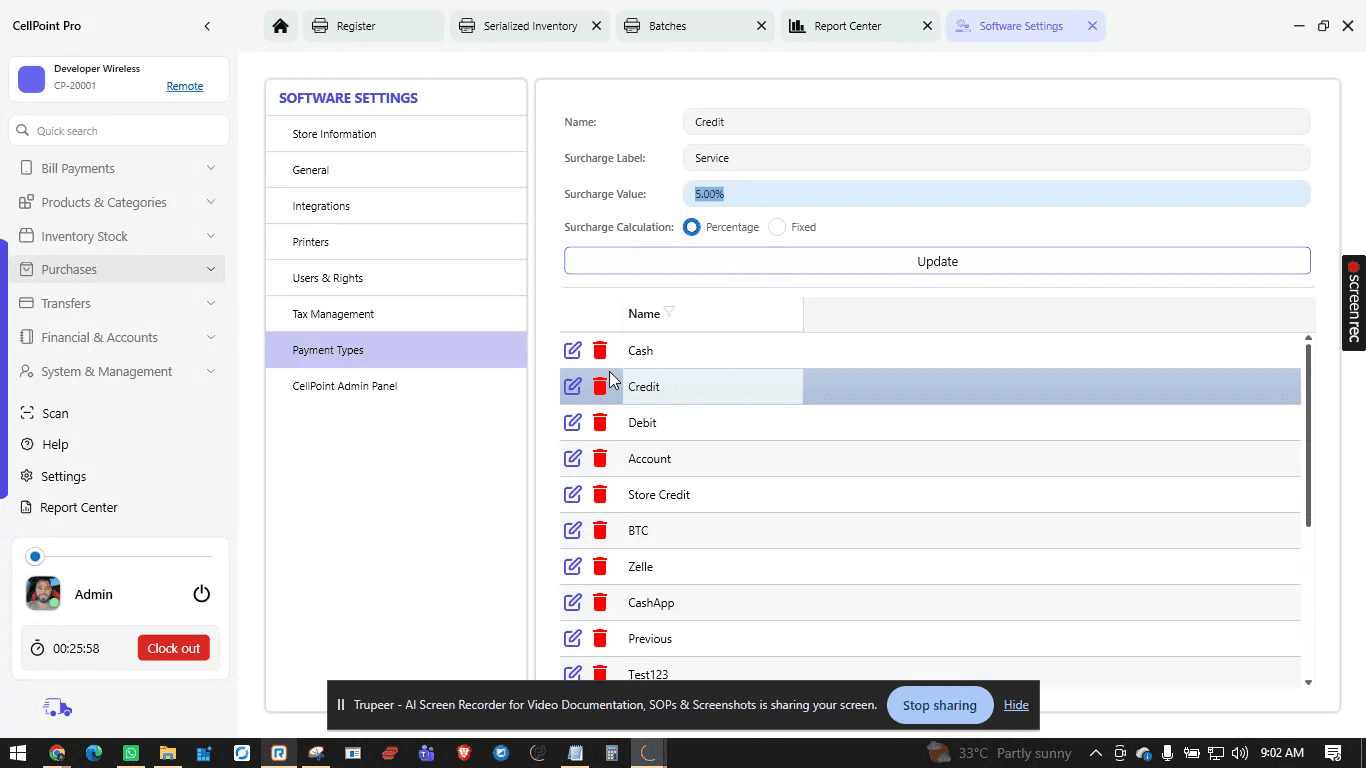
Debit
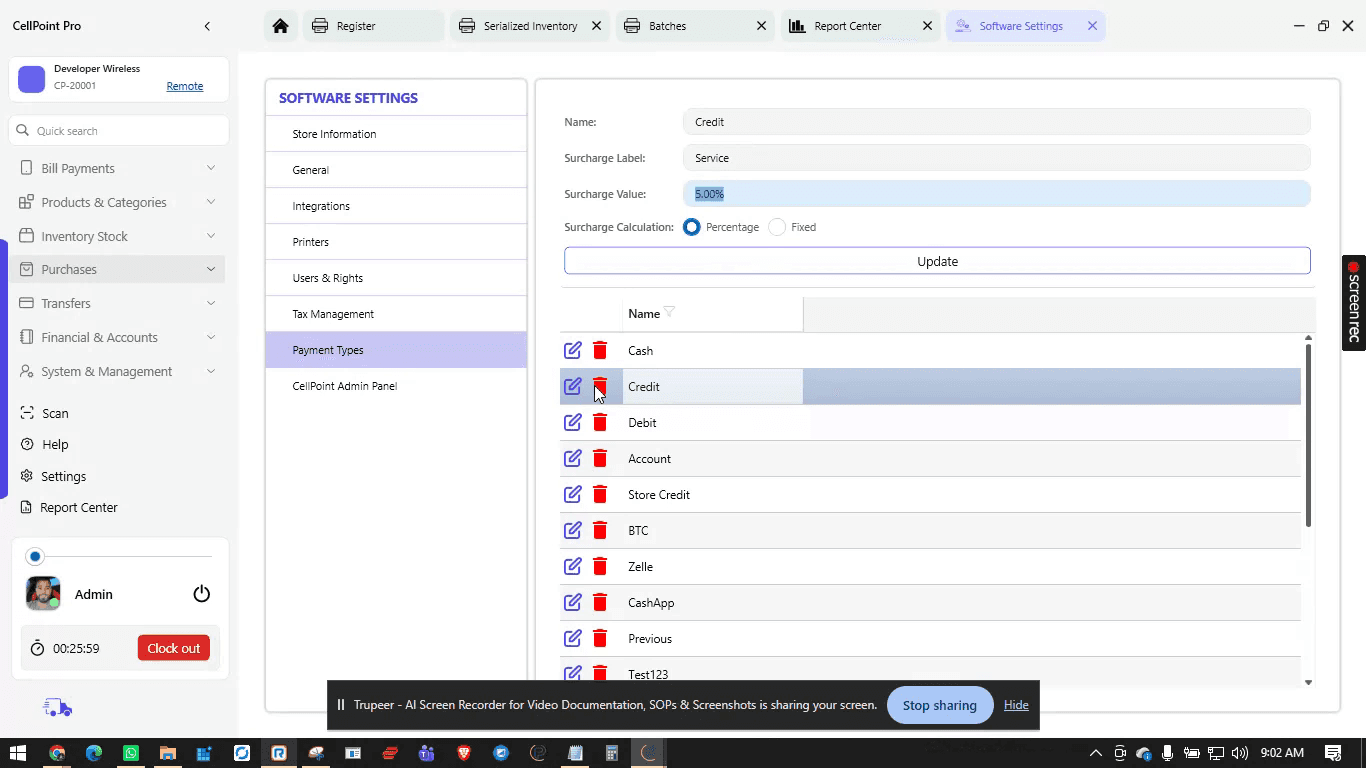
Cash
Account
Store credit
Trade-in
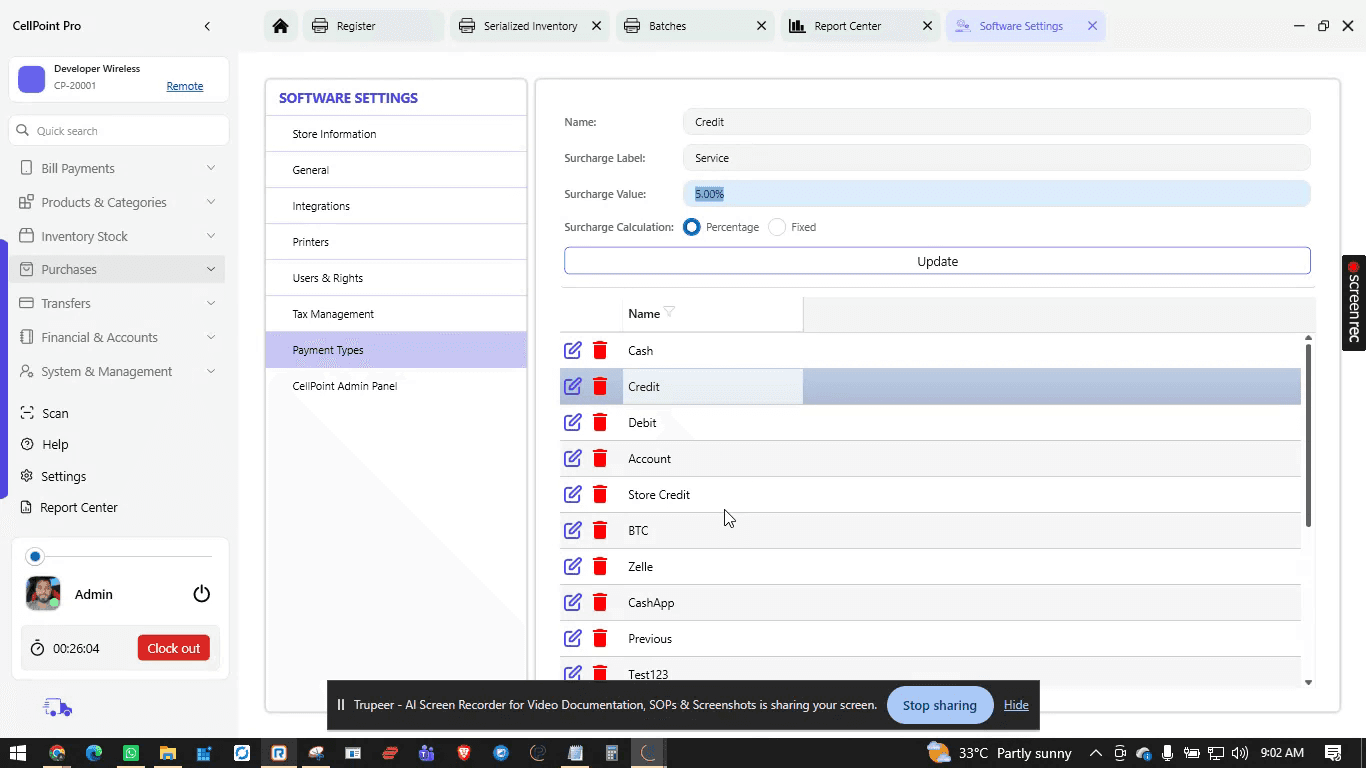
All other payment modes can be edited, removed, or deleted as needed to match your store’s accepted payment options.
Step 12: Review and Finalize Settings
After configuring all sections—Store Information, Policies, General settings, Targets and Alerts, Email, Integrations, Printers, Taxes, and Payment Types—review your changes to ensure they align with your store’s processes and compliance requirements.
Once everything looks correct, your SellPoint Pro POS settings are fully configured and ready for daily operations.
Watch the Video Tutorial
On This Page
Overview
Steps & Instructions
Video Tutorial