
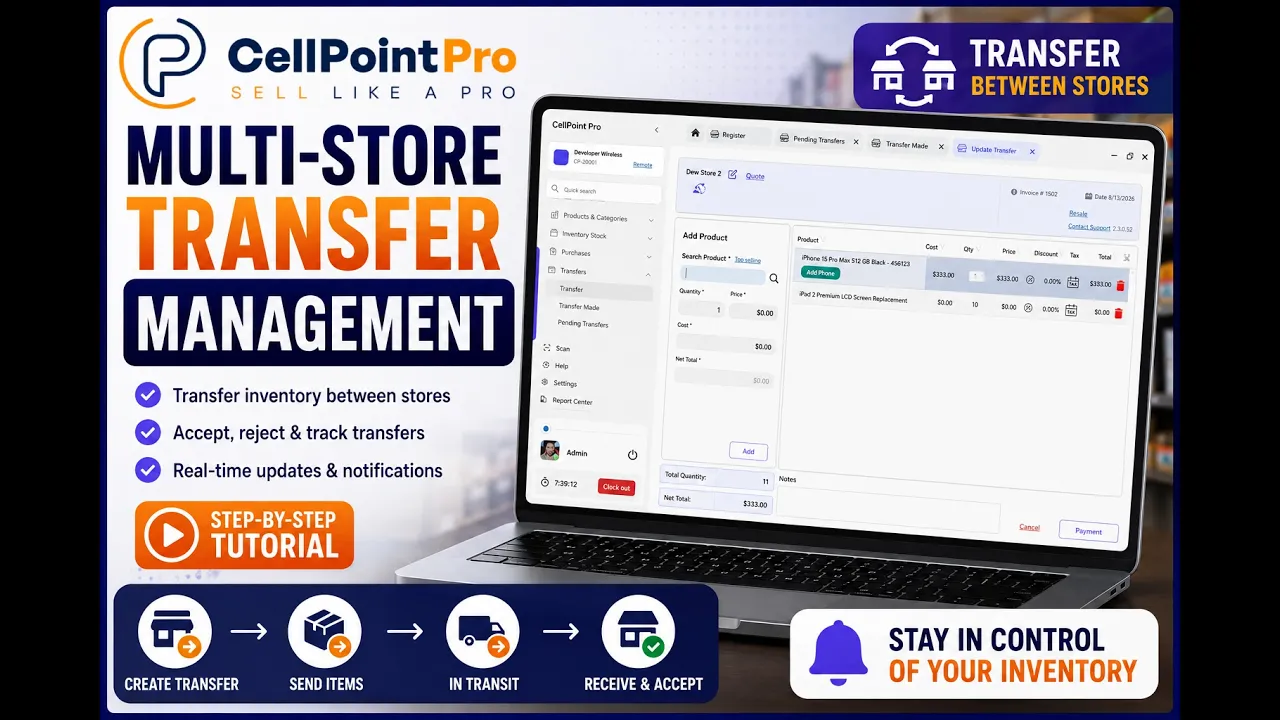
Transfers
·
Tutorial
5 min read

Managing Multi-Store Inventory Transfers in CellPoint Pro
This document explains how to create, send, receive, and track inventory transfers between store locations in SellPoint Pro, including handling serialized items (IMEIs) and monitoring transfer status.
Step 1: Open the Transfer Module
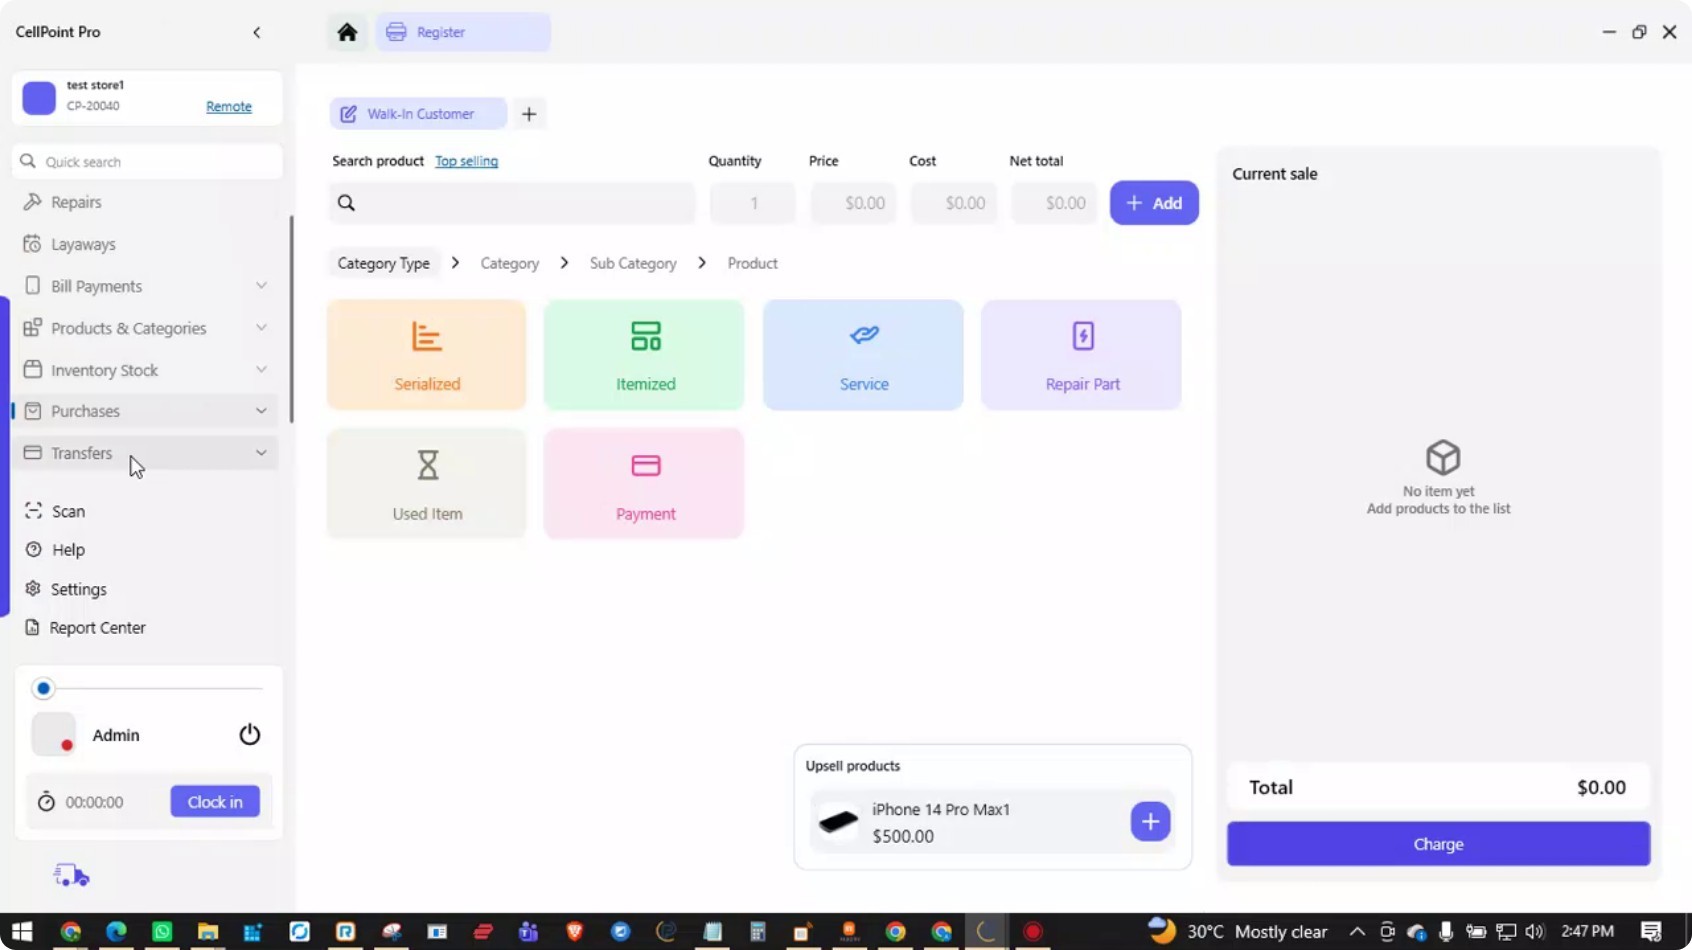
Navigate to the left-side panel and select Transfer to begin creating a new transfer.
Step 2: Select the Destination Store
Select the store to which you want to transfer inventory.

Step 3: Add Serialized Items (IMEIs) to the Transfer
For serialized items (such as IMEI-based products), you can either scan the IMEI directly or search for the product and open the list of associated IMEIs.
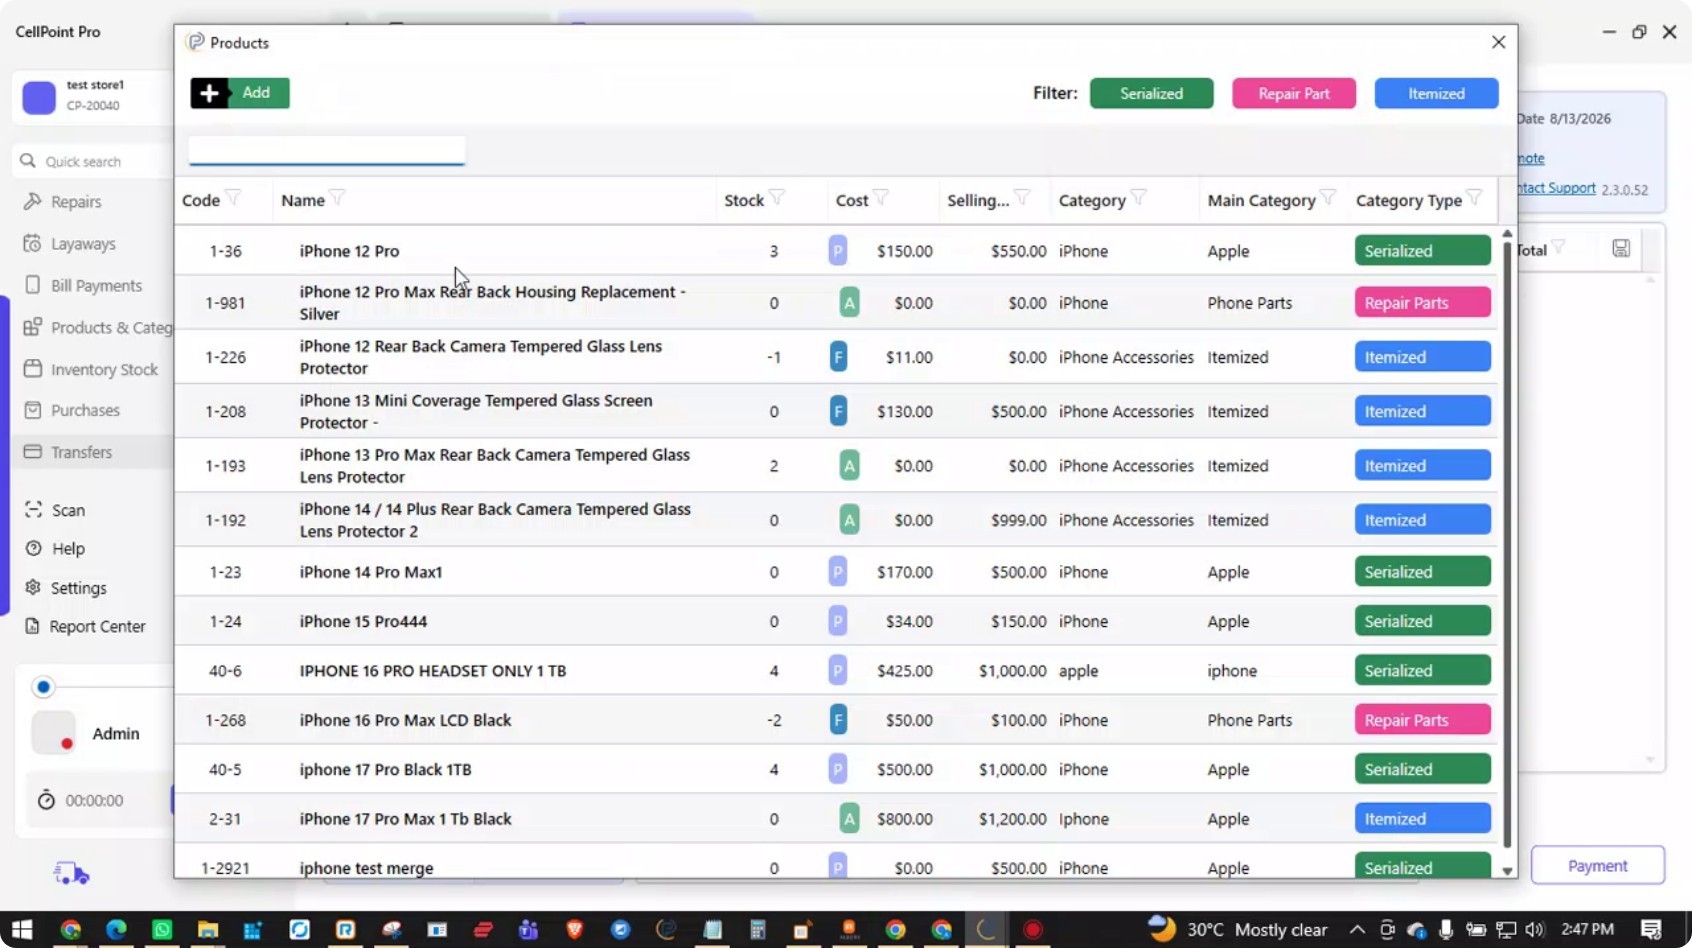
From the IMEI list, select the specific IMEIs you want to include in the transfer.

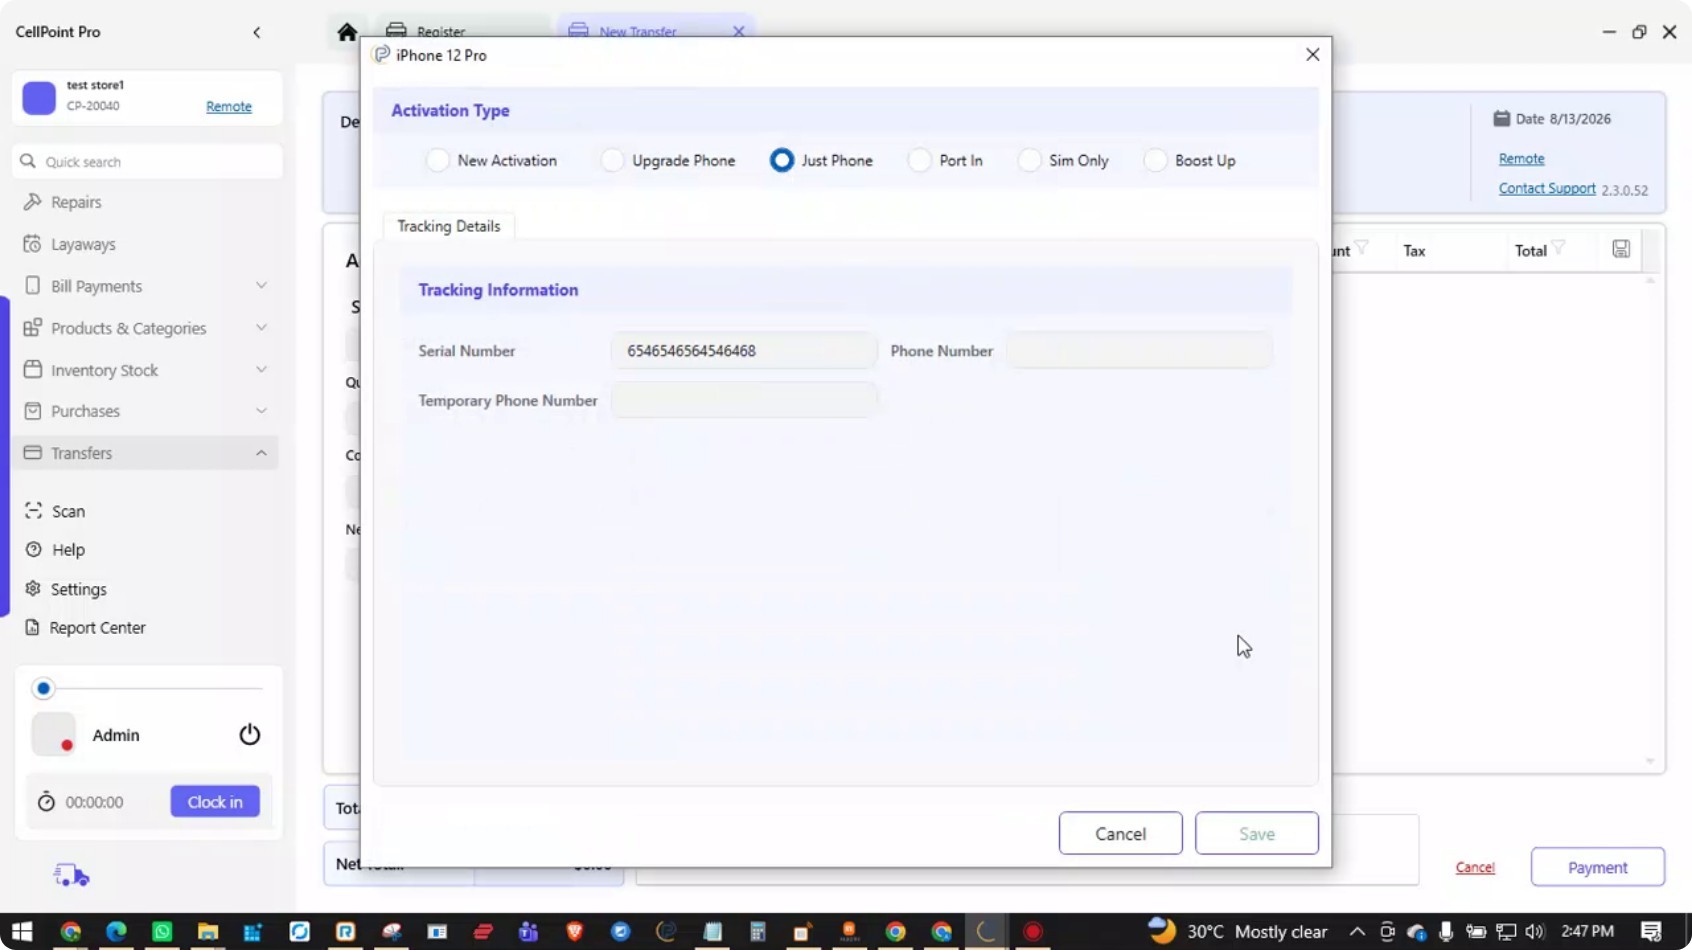
In this example, two IMEIs are being transferred.
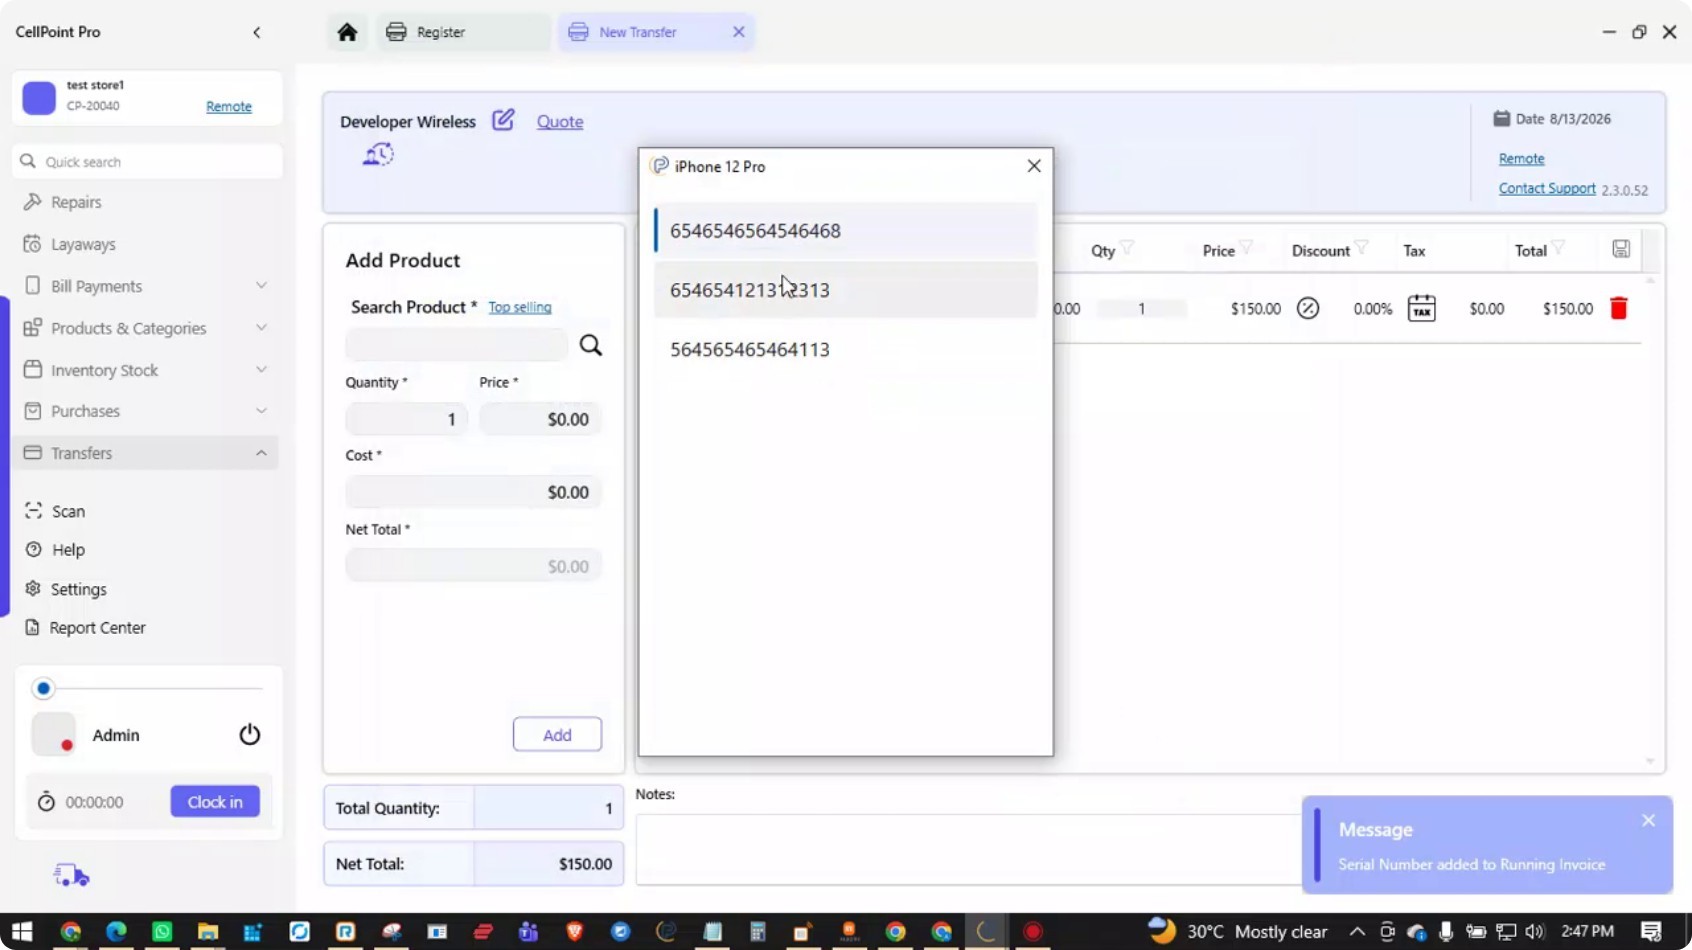
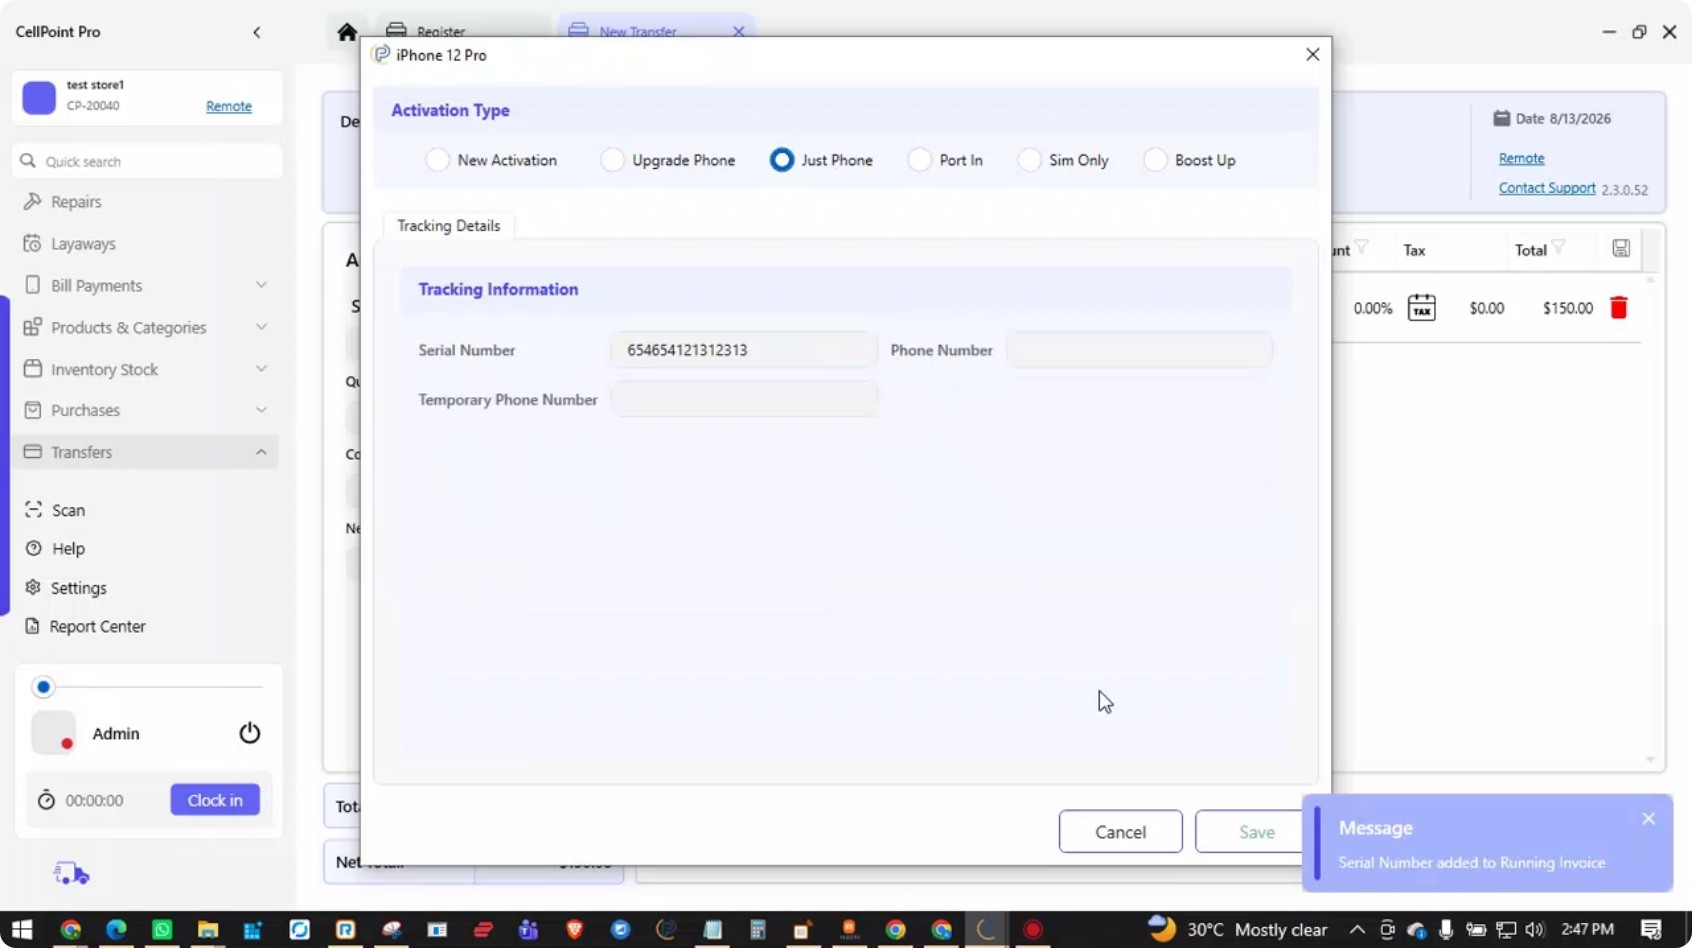
You can also add any additional non-serialized items that need to be transferred in the same transaction.
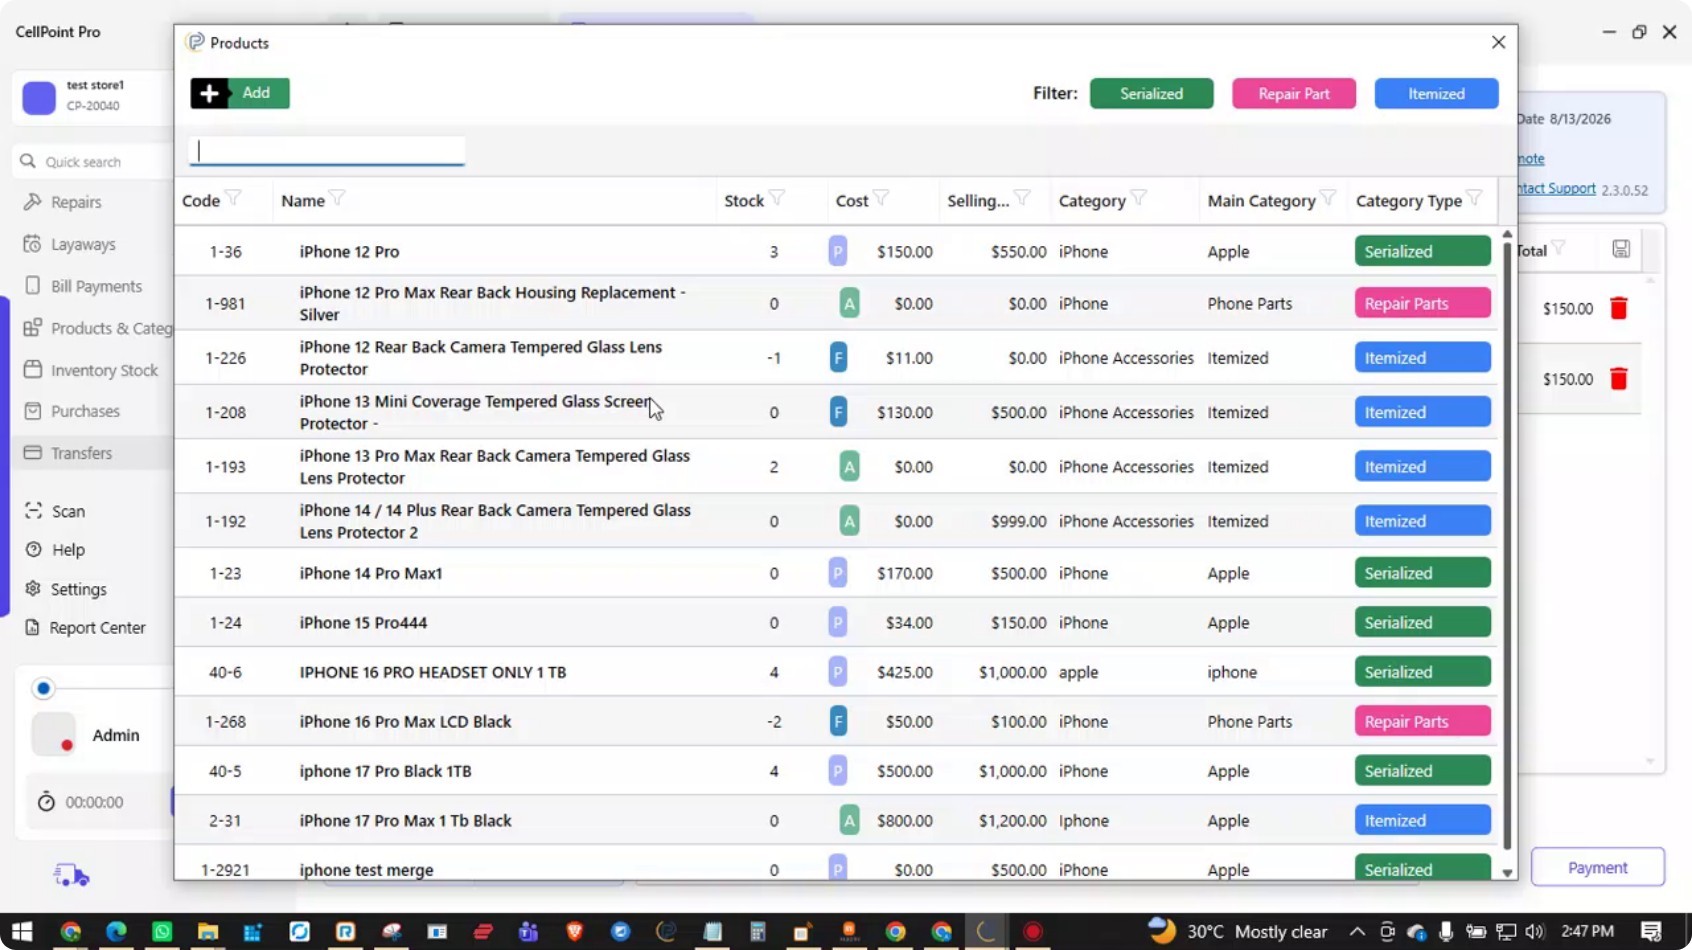
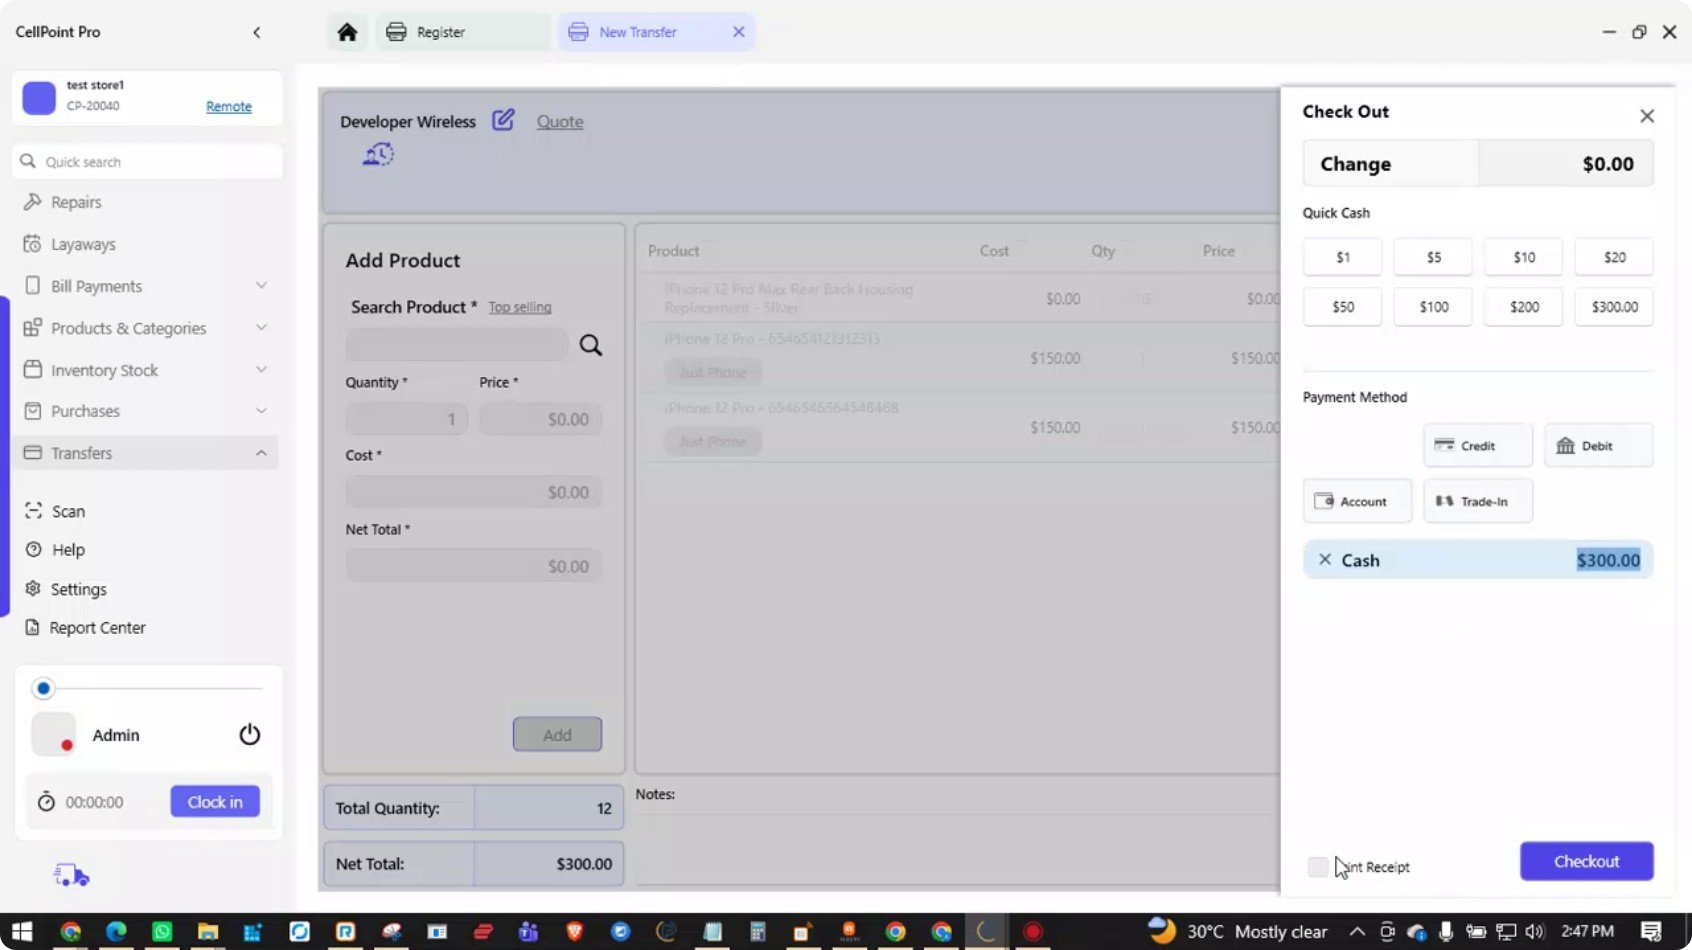
Step 4: Finalize and Submit the Outgoing Transfer
Once all required items have been added to the transfer, proceed to complete it.
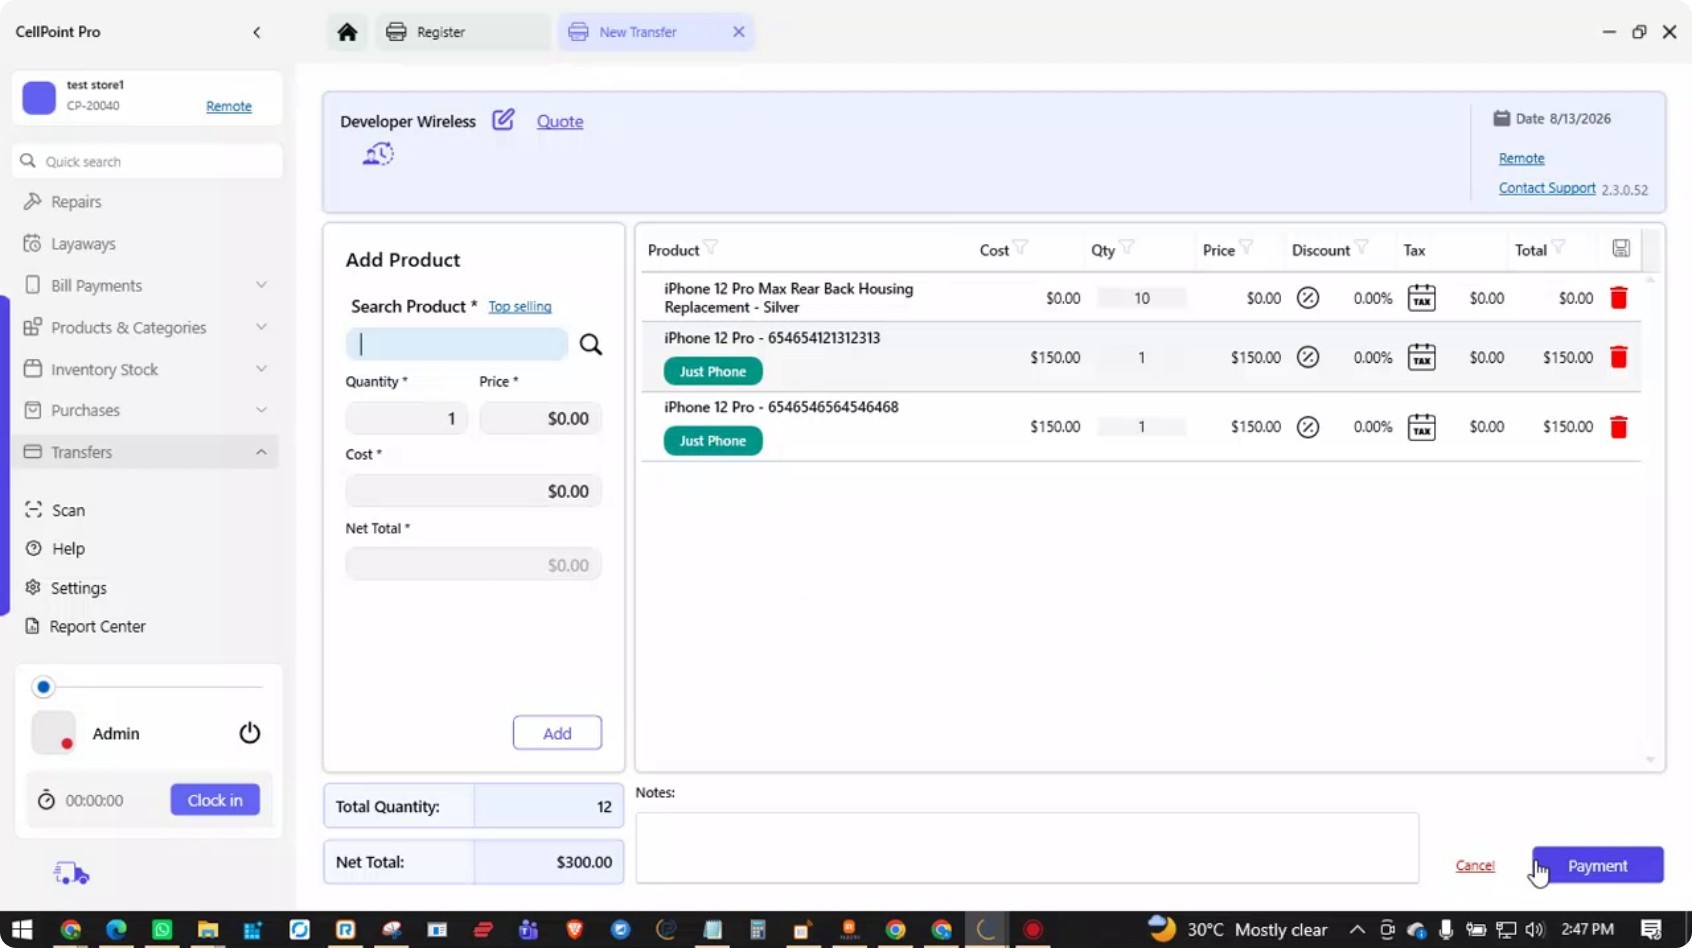
Click Payment, then choose the appropriate mode of payment to finalize and submit the transfer.

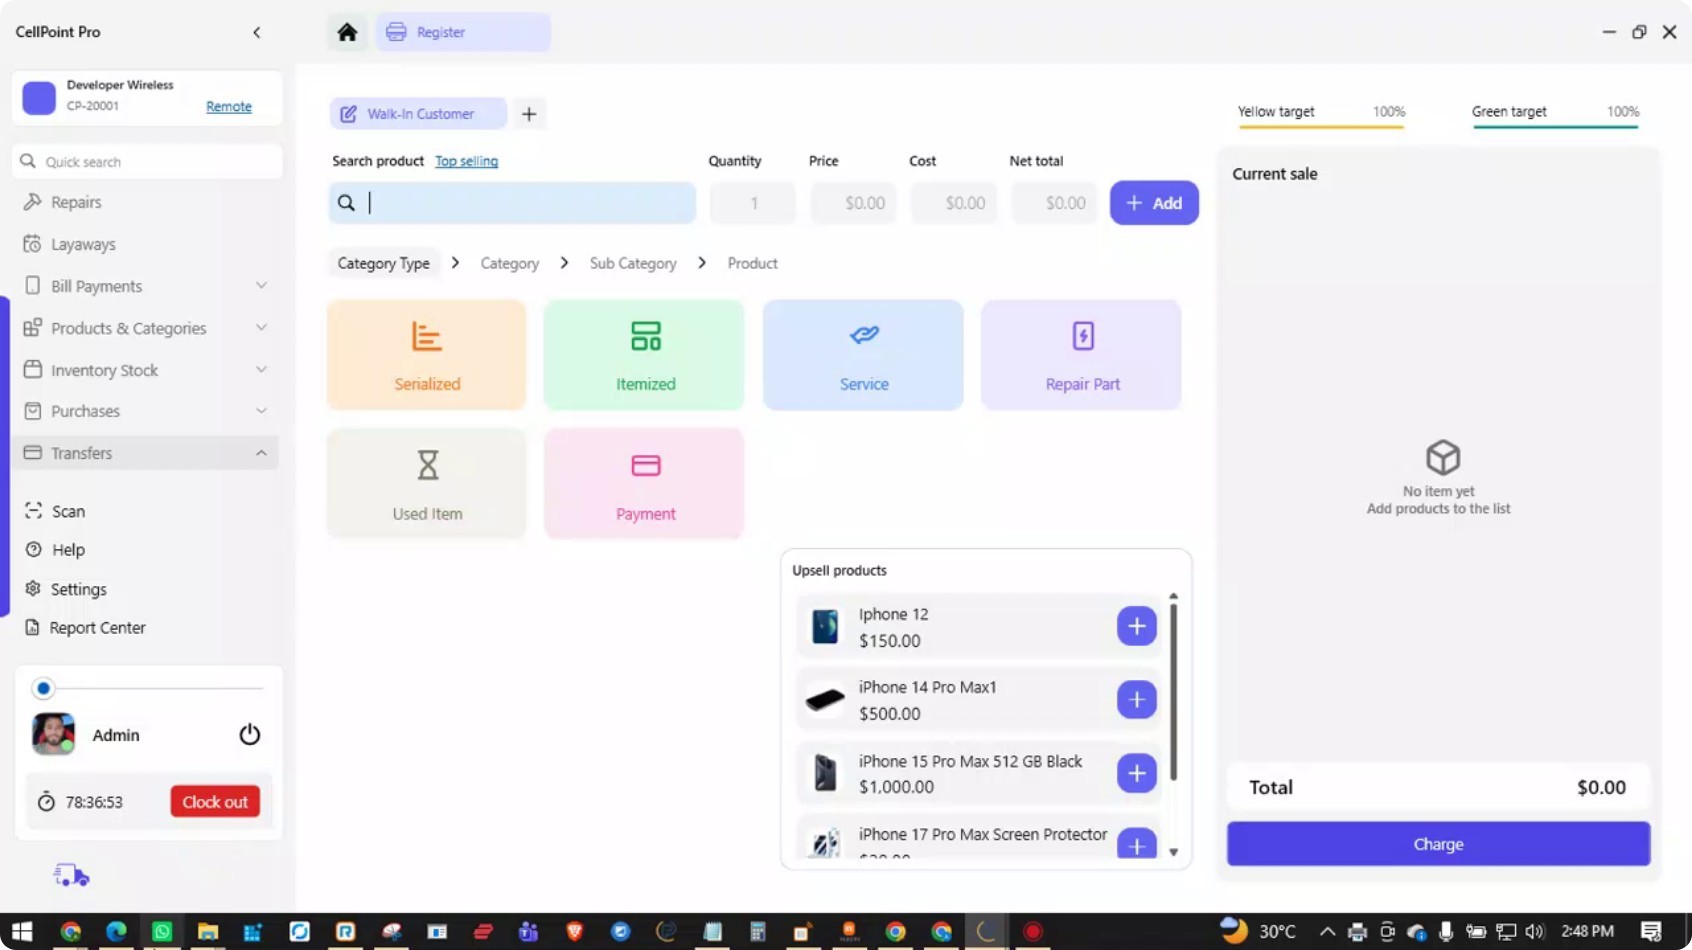
Access the Transfer at the Destination Location
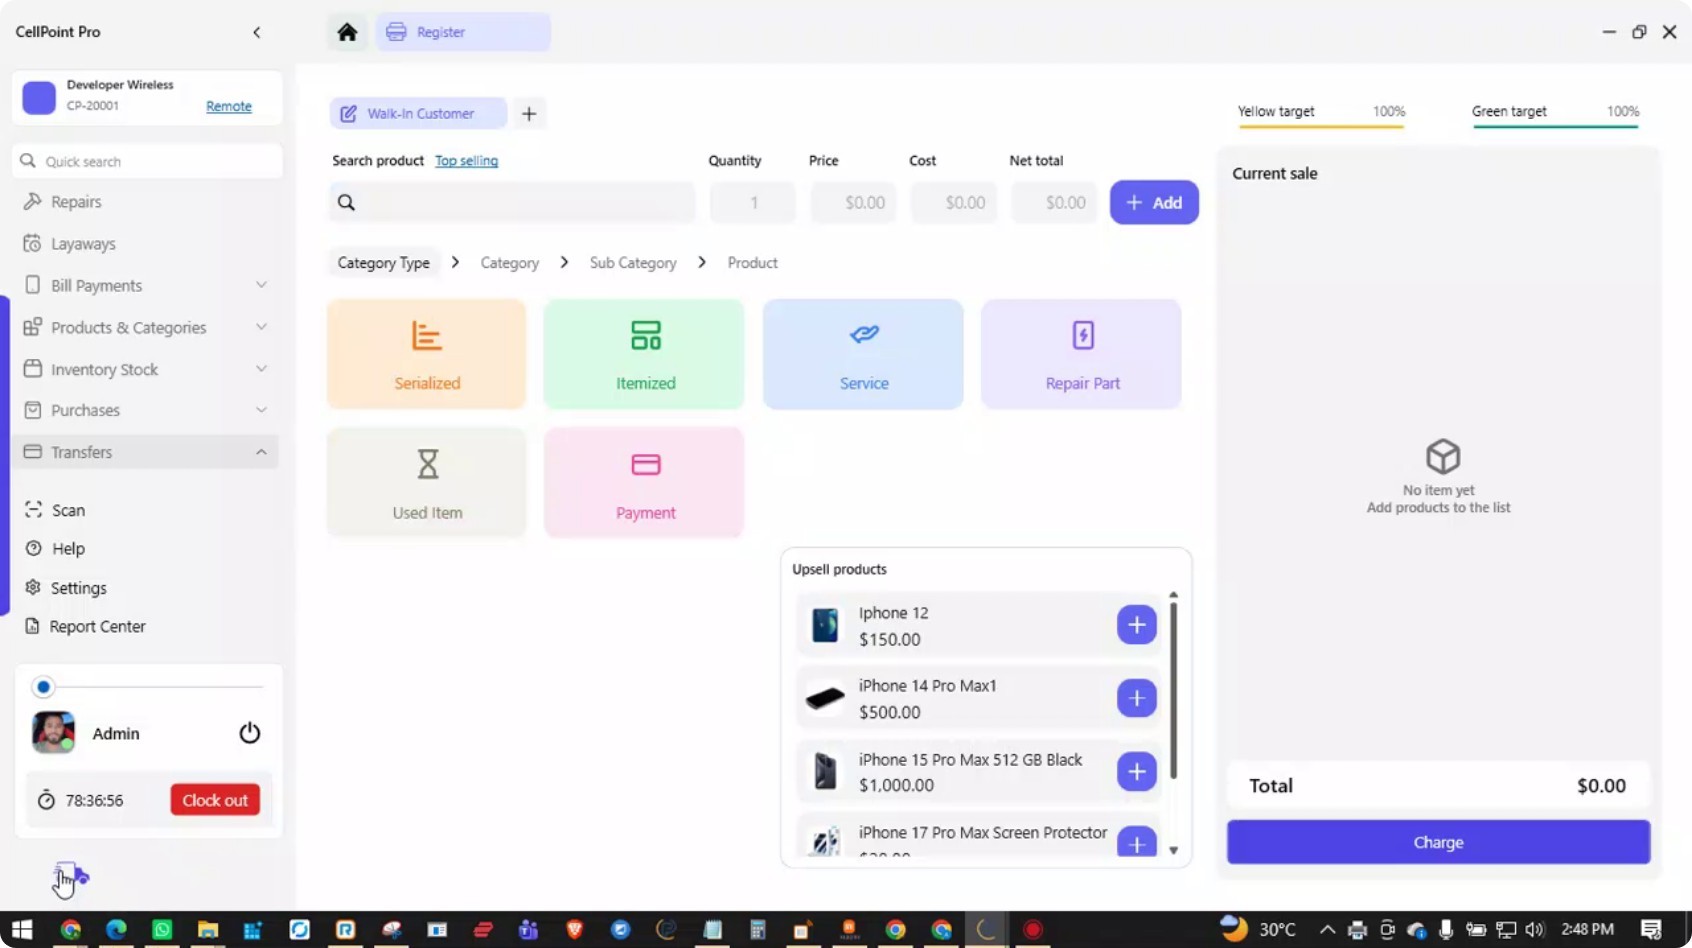
Log in to the destination store where the inventory was sent. In the bottom-left corner, open the Notification panel to view incoming transfer alerts.
Locate the relevant transfer notification and select it to open the transfer details.
Step 6: Accept or Reject the Incoming Transfer
Within the transfer details, choose whether to Reject or Receive the transfer.
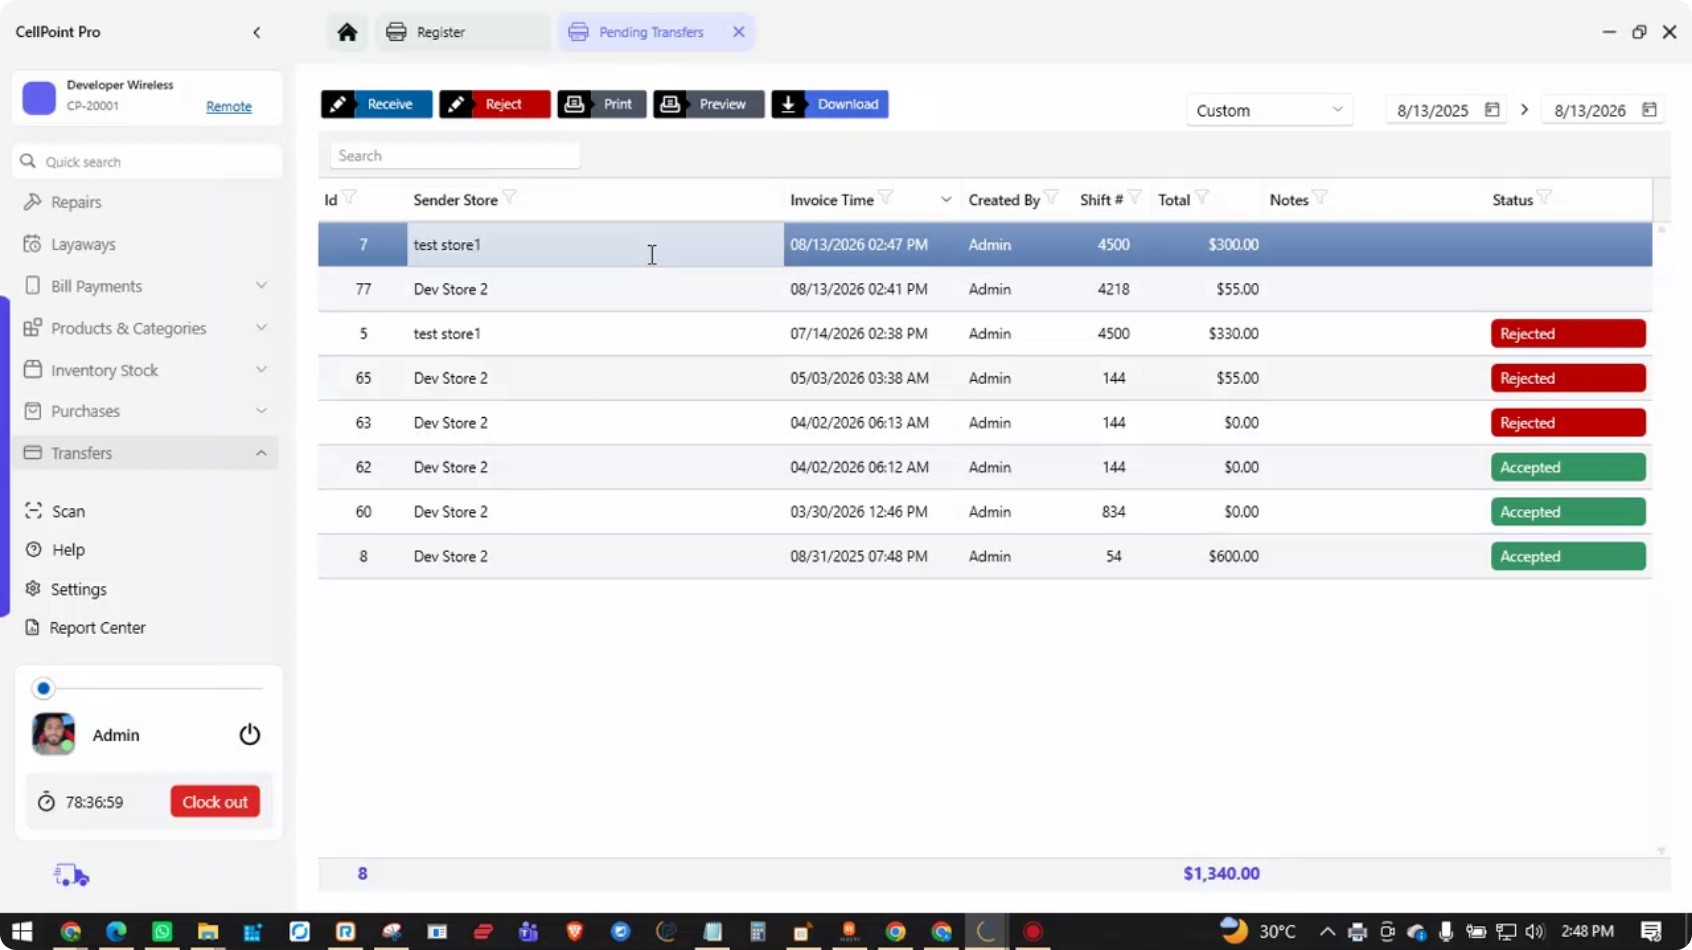
In this example, the transfer is received. The products will automatically be associated with the current store’s product list, and the items will be moved under the appropriate products.

Step 7: Complete Payment for the Received Transfer
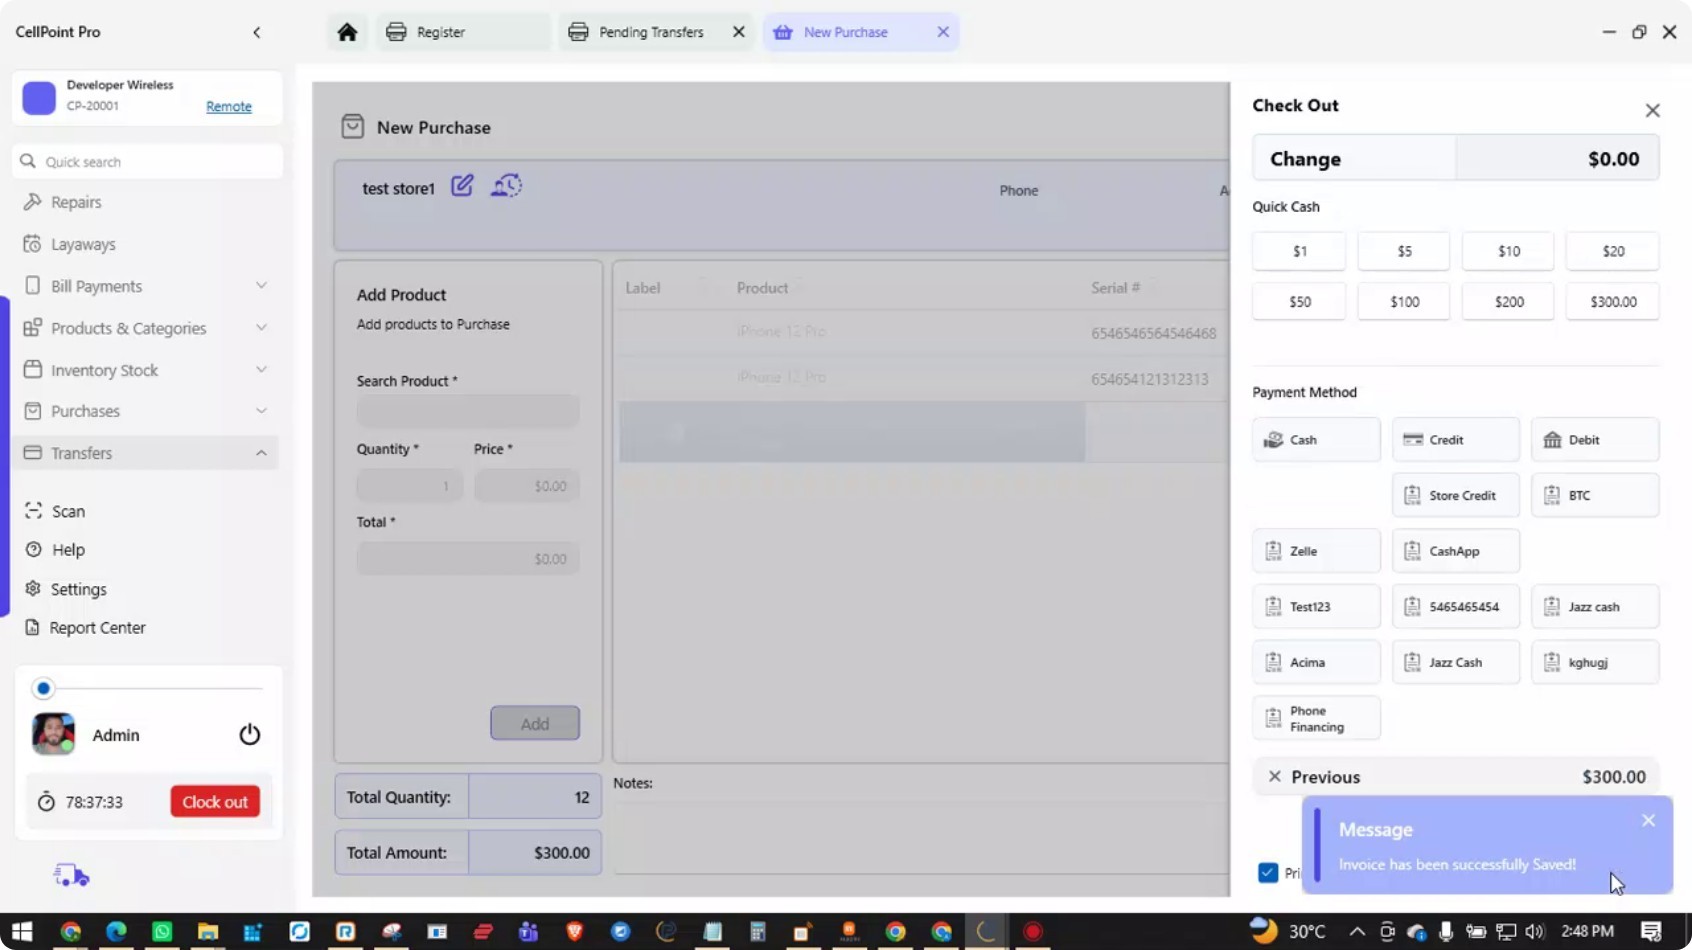
Click Payment to record how this transfer is being settled.
Select User Selection and then choose the mode of payment used to pay for the transfer.
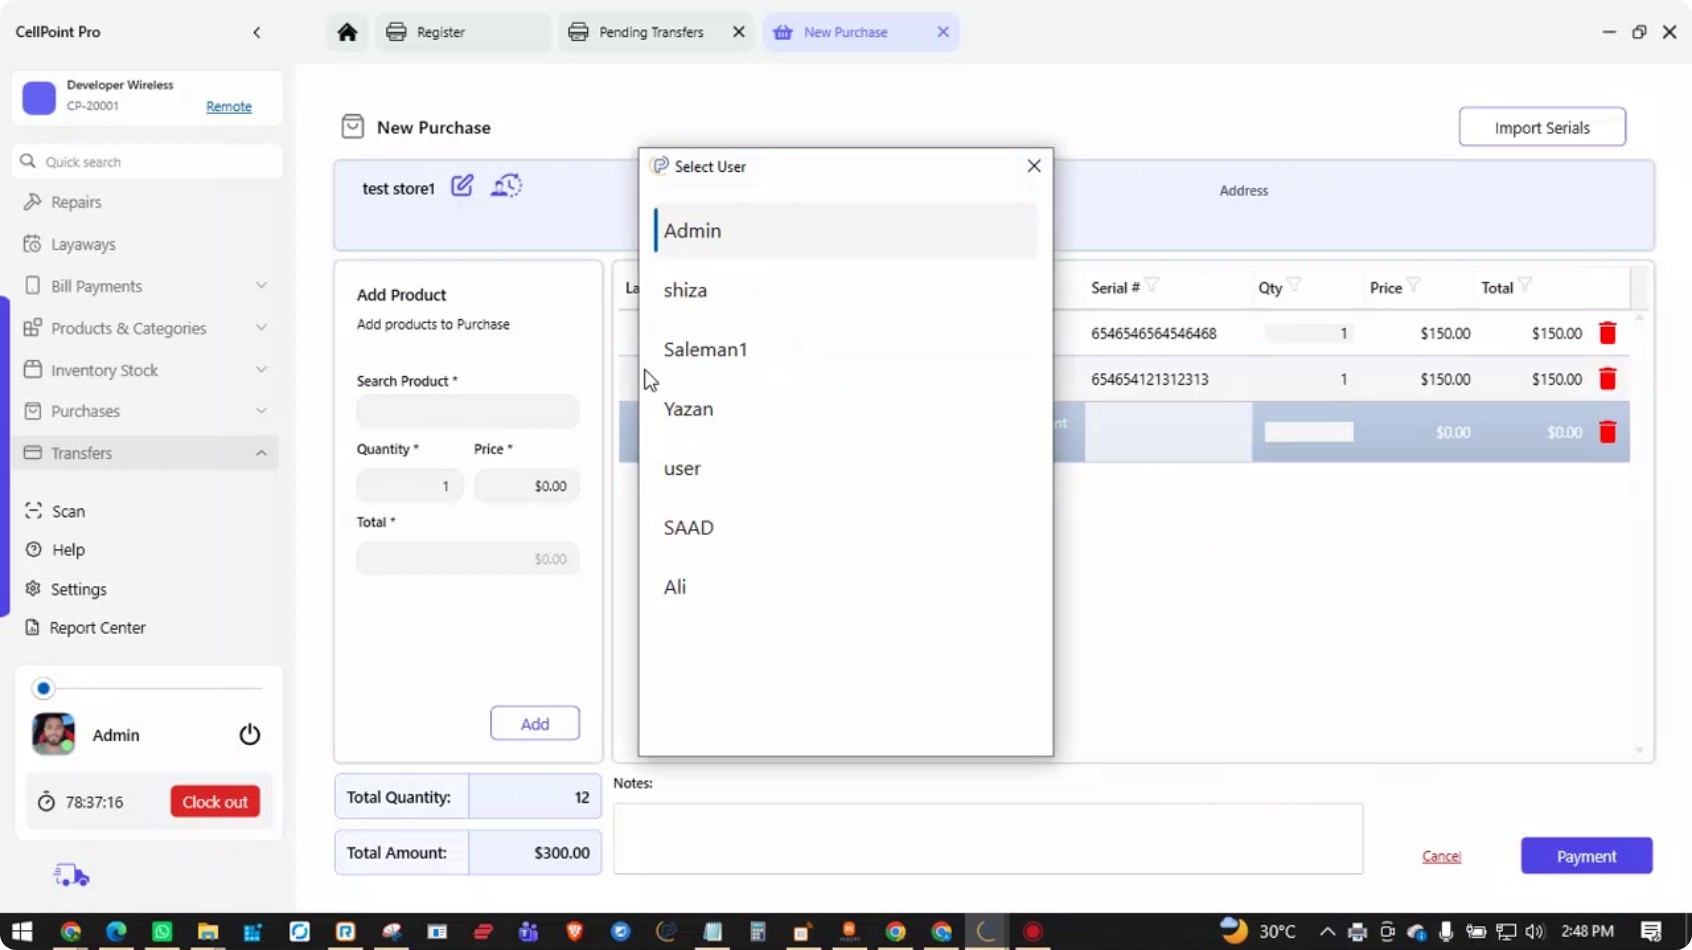
For internal store transfers, you can configure and use a custom mode of payment that reflects how your organization accounts for internal transfers. This helps track transfer payments and the total value of transfers between stores.
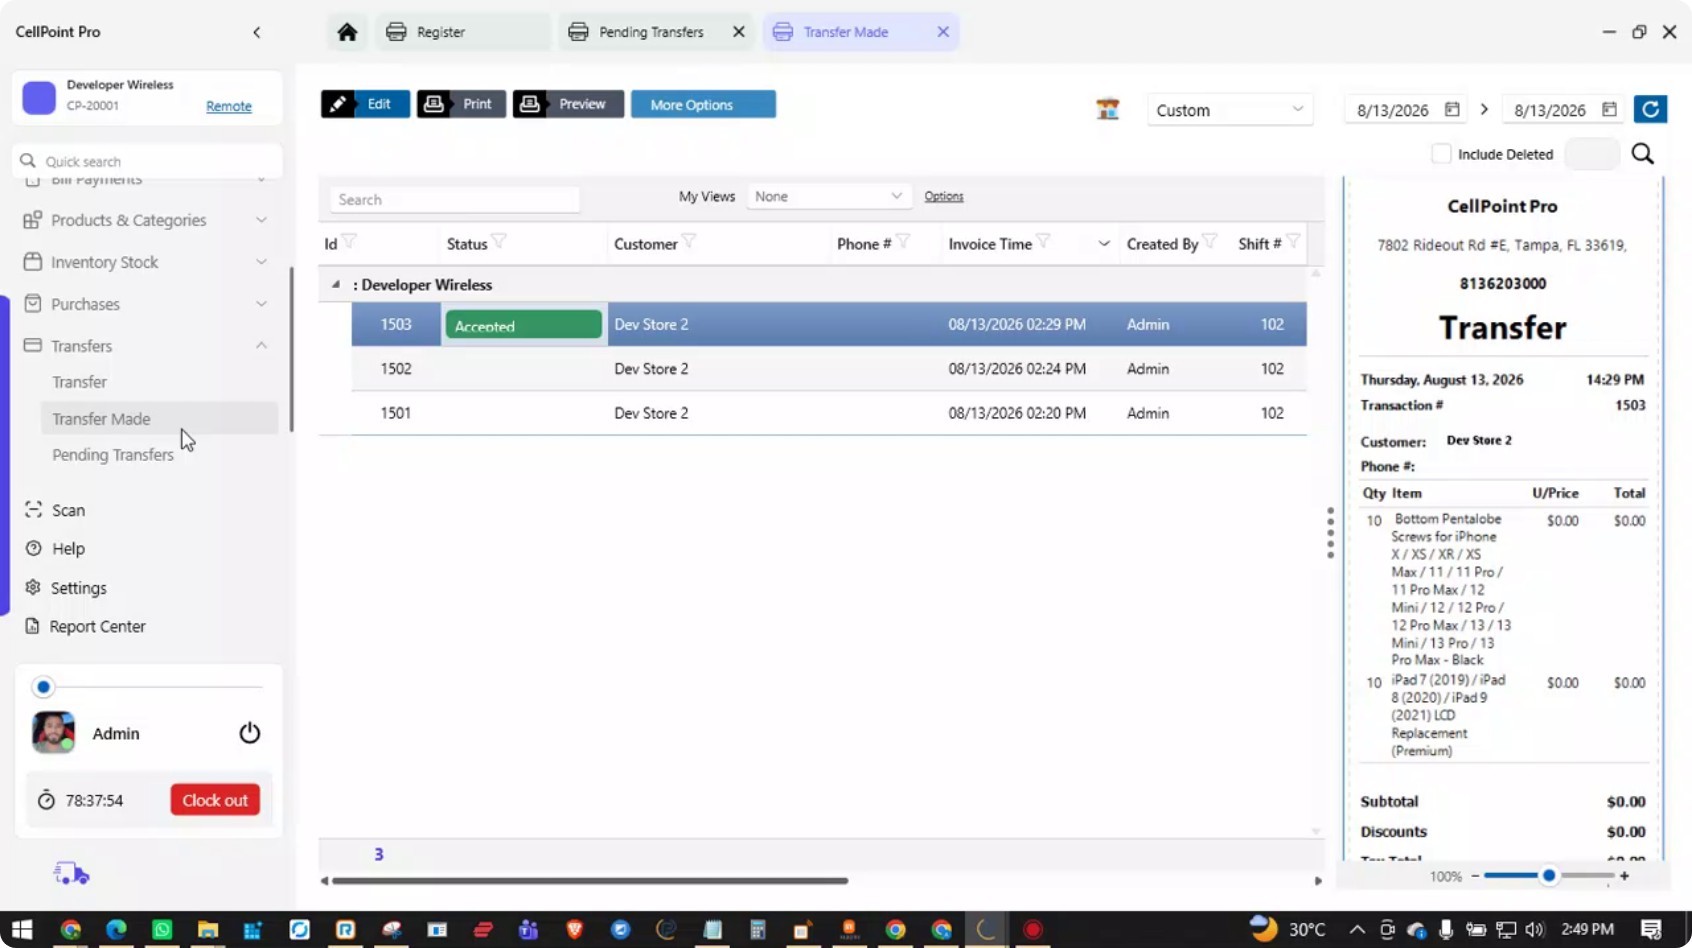
Step 8: Review Transfers Made to Other Locations
Under the Transfers Made list, you can view all transfers you have sent to other locations, including their current status (accepted or rejected) and full transfer details.
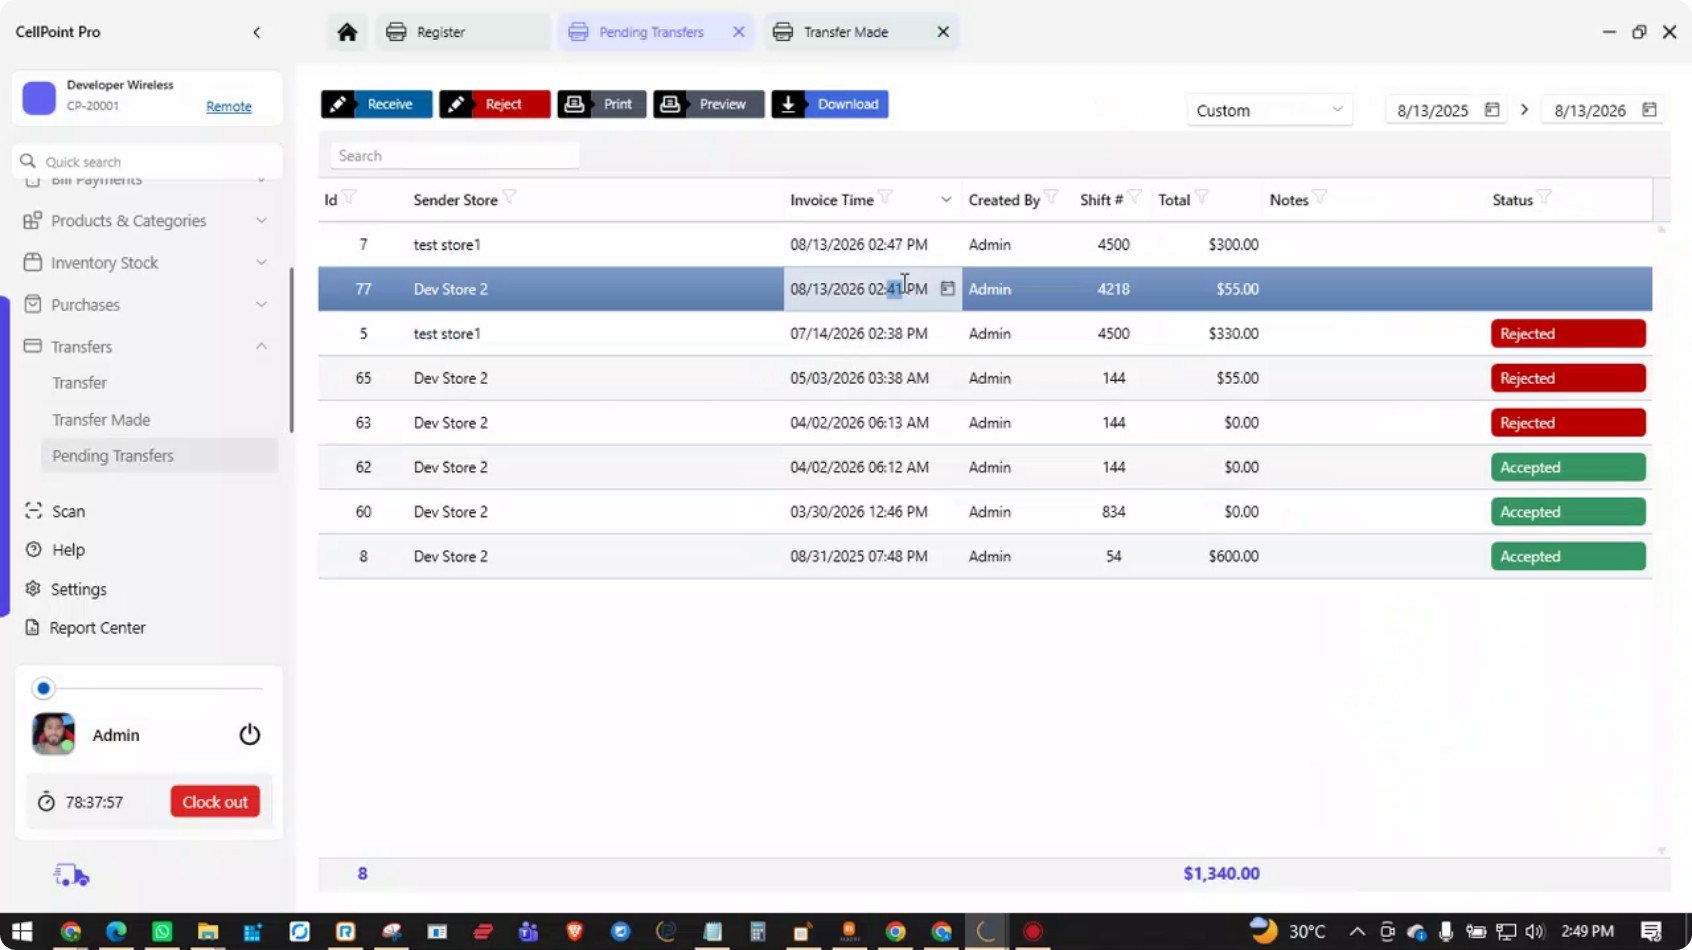
Step 9: Monitor Pending Incoming Transfers
In the Pending Transfers section, review transfers that you are scheduled to receive from other locations. These represent incoming transfers that have not yet been processed at your store.
Watch the Video Tutorial
On This Page
Overview
Steps & Instructions
Video Tutorial