
Sales & Register
·
Guide
6 Minutes
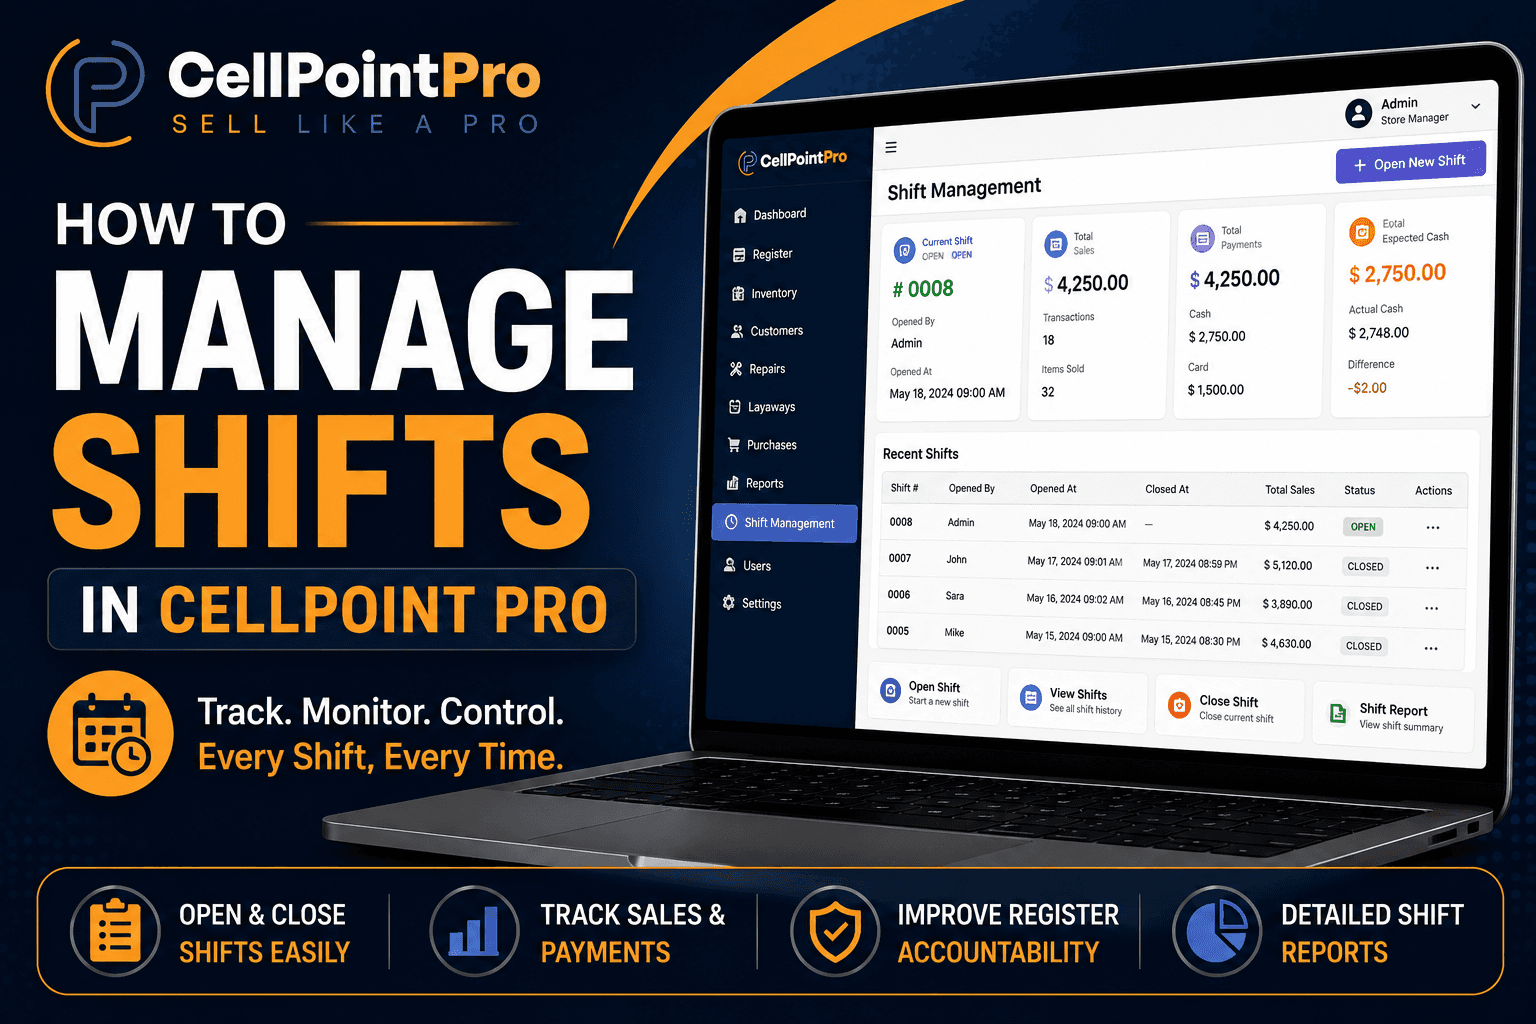
Shift Operations in CellPoint Pro POS
This document explains how to open a shift, review revenue and payment summaries, perform end-of-day reconciliations and cash counts, and properly close a shift and batch in CellPoint Pro POS.
Step 1: Open a New Shift
From the POS home screen, select Open Shift to begin your work session.
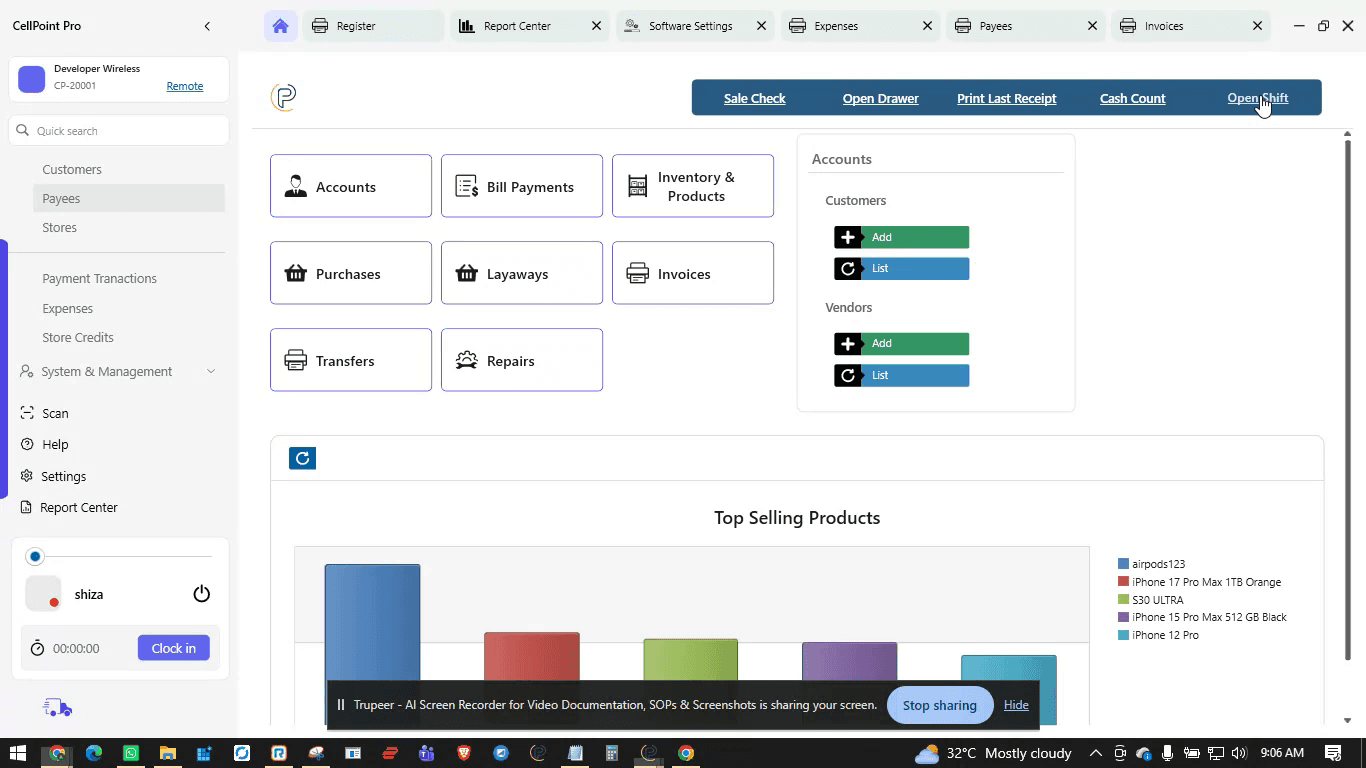
Review the Last Shift Details, including the Closing Cash left by the previous user. For the new shift, either:
Enter the Opening Cash amount manually, or
Place the physical bills in the register and enter the total amount as your opening cash.
Add any Shift Opening Notes as needed, then click Open Shift to confirm.

Once the shift is opened, you can proceed with normal POS transactions.
Step 2: Access the Close Shift Screen
At the end of the day (or when you are done with the shift), go to the POS Home screen and select Close Shift.

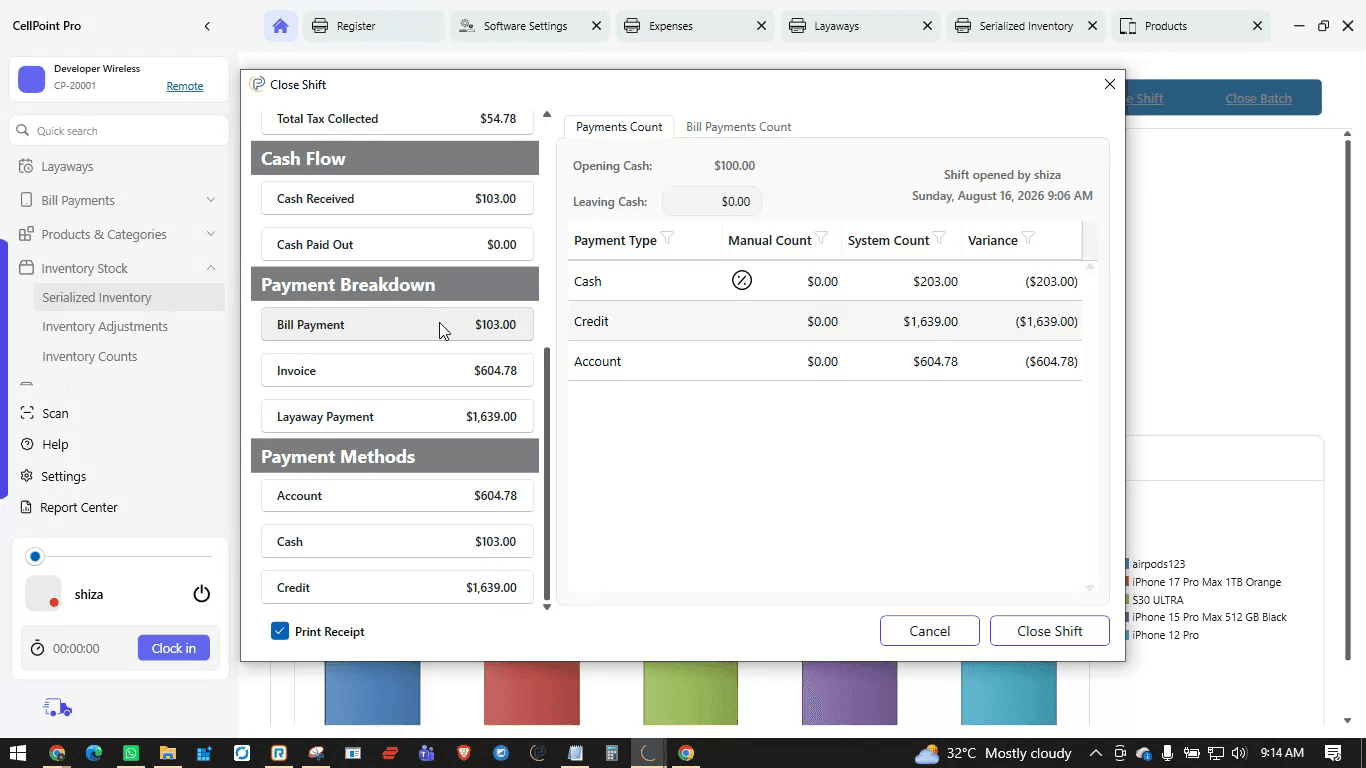
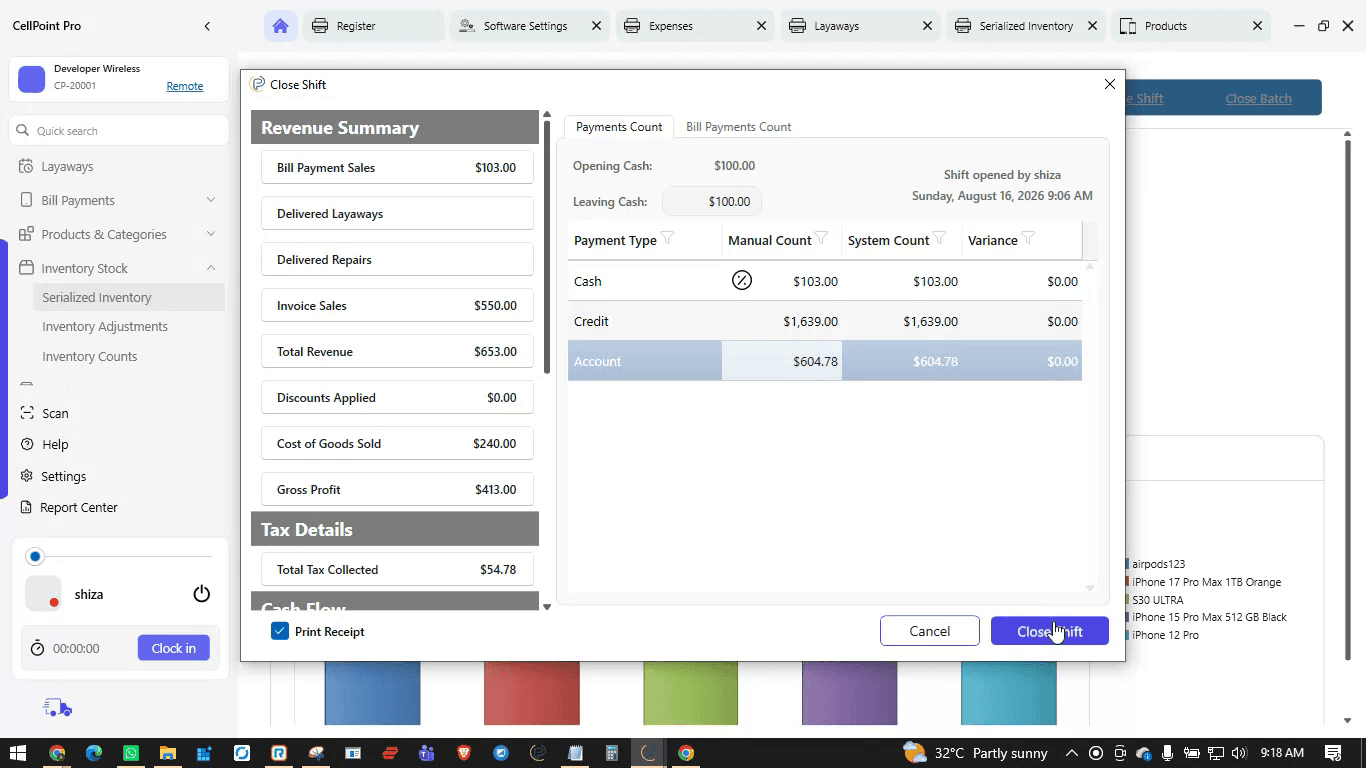
On the left side of the Close Shift screen, you will see a complete Revenue Summary for the current shift.

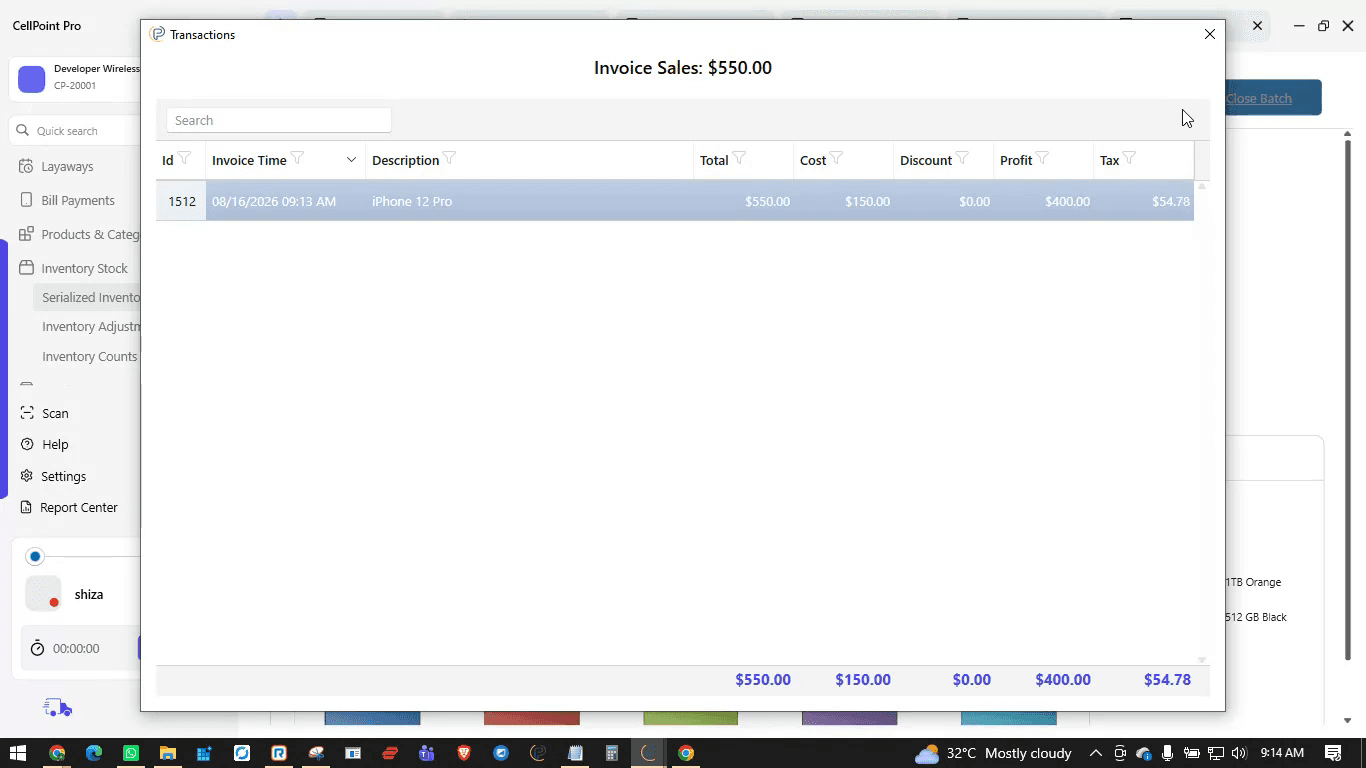
This summary includes all modules such as Bill Payment Sale, Repairs, Layaways, and Sales. You can click any category to view the relevant transactions and verify the figures for that specific type of sale.
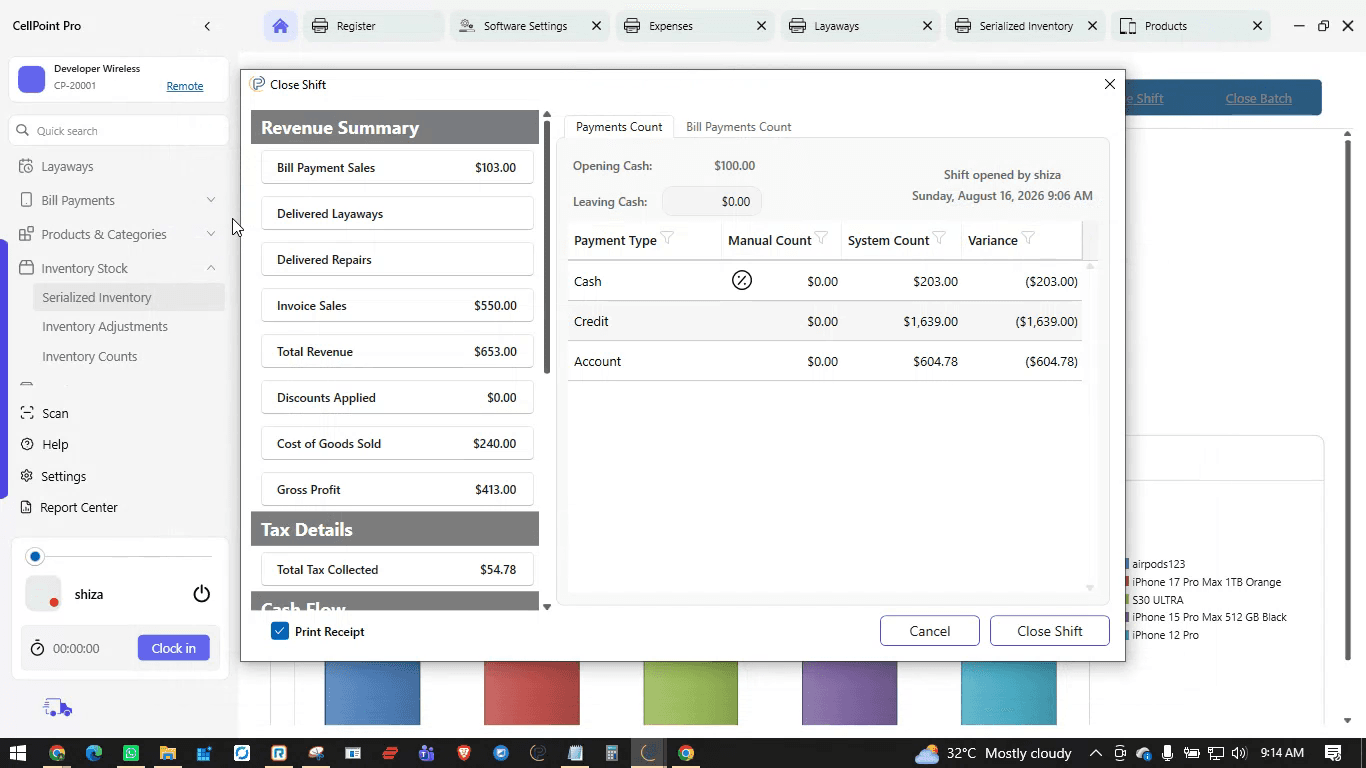
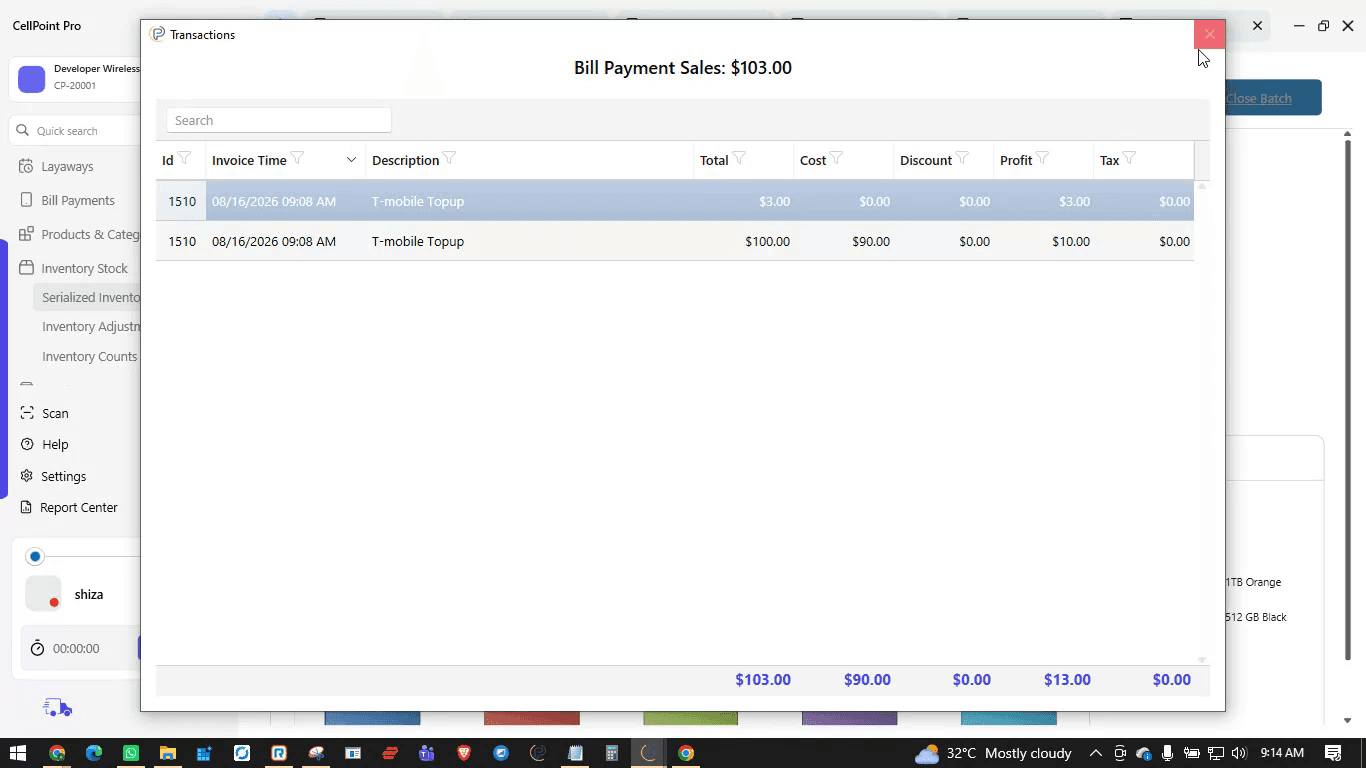
This view also covers all Delivered Layaways, Repairs, and Invoice Sales—anything sold through the register or via invoices.

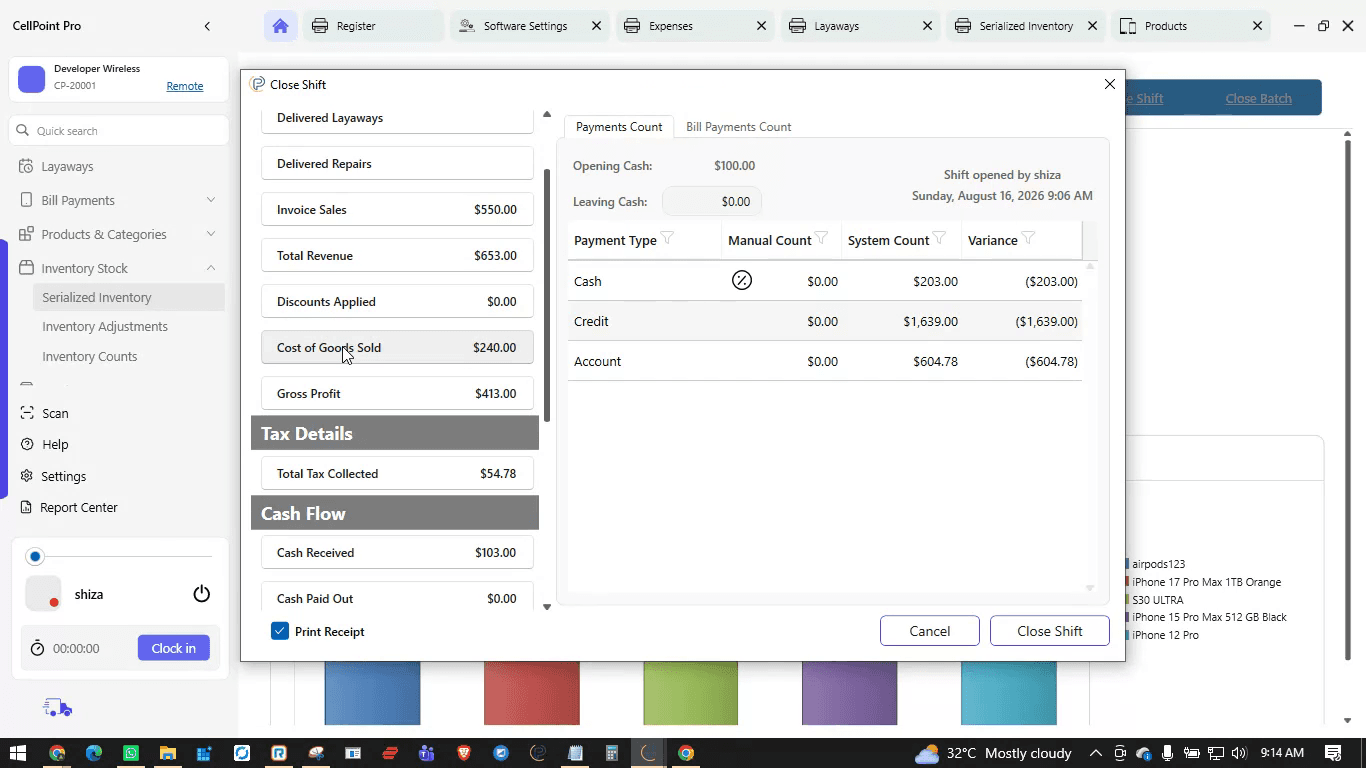
You will additionally see details such as Cost of Goods Sold, Gross Profit, Tax Details, and Cash Flow, including Cash Received through the register and Cash Paid Out.
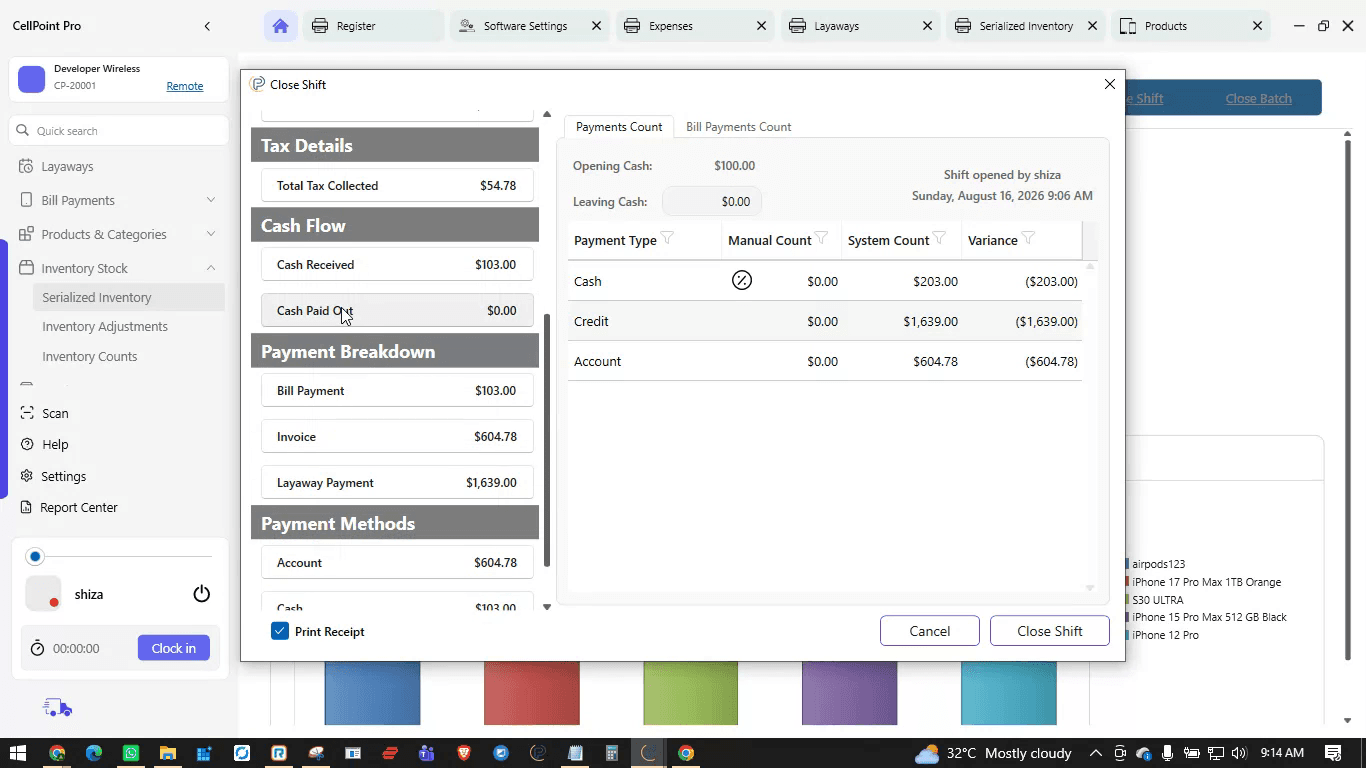
Review the Payment Breakdown by modules or categories, and verify the Payment Methods used during the day (e.g., account, cash, credit).
Step 3: Reconcile Bill Payments (Bill Payment Count)
On the Count side of the Close Shift screen, you will see two main sections: Bill Payment Count and Payments Count.
The Bill Payment Count refers to bill payments processed through providers (e.g., RTRs). The system displays the total bill payments recorded for each provider and asks you to reconcile them at shift close.
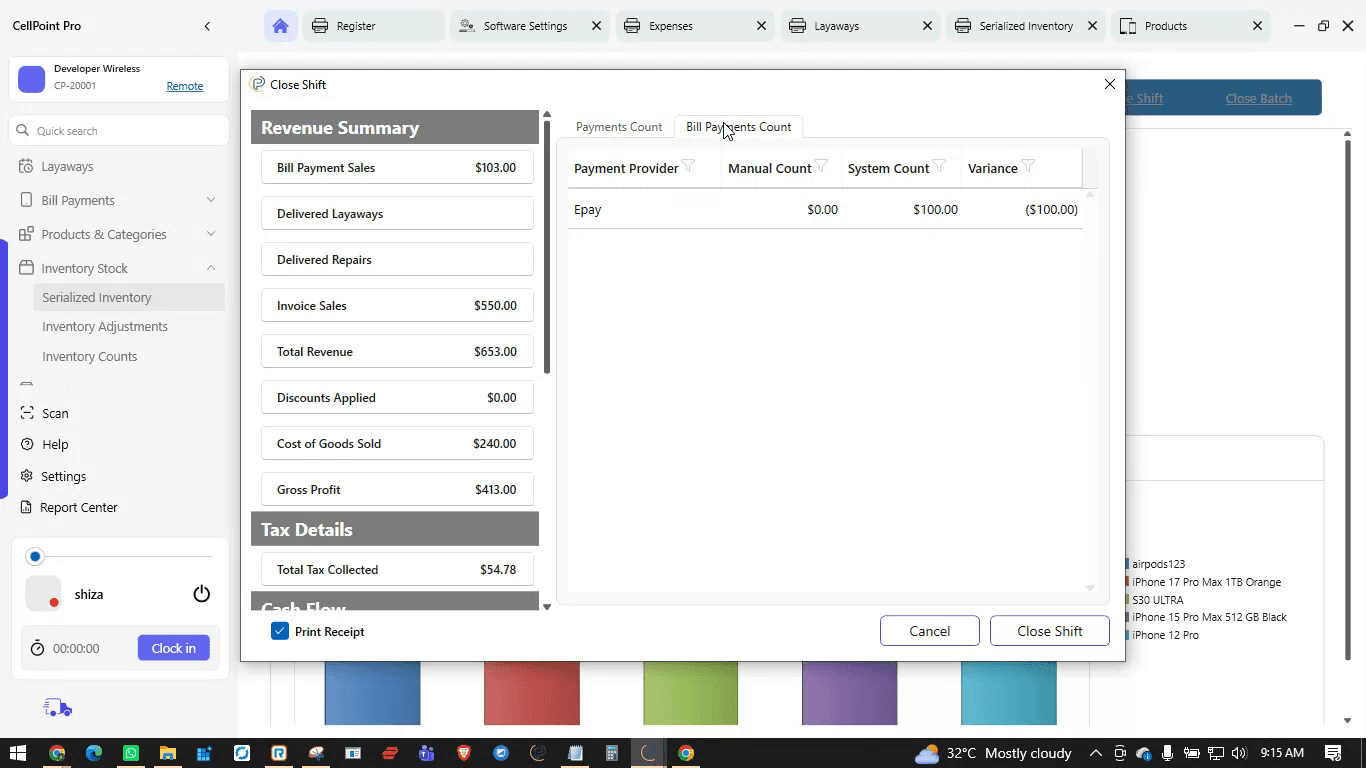
For example, if the system shows that you processed $100 of bill payments for the eBay provider, verify this amount against the provider’s portal (e.g., check your eBay portal).
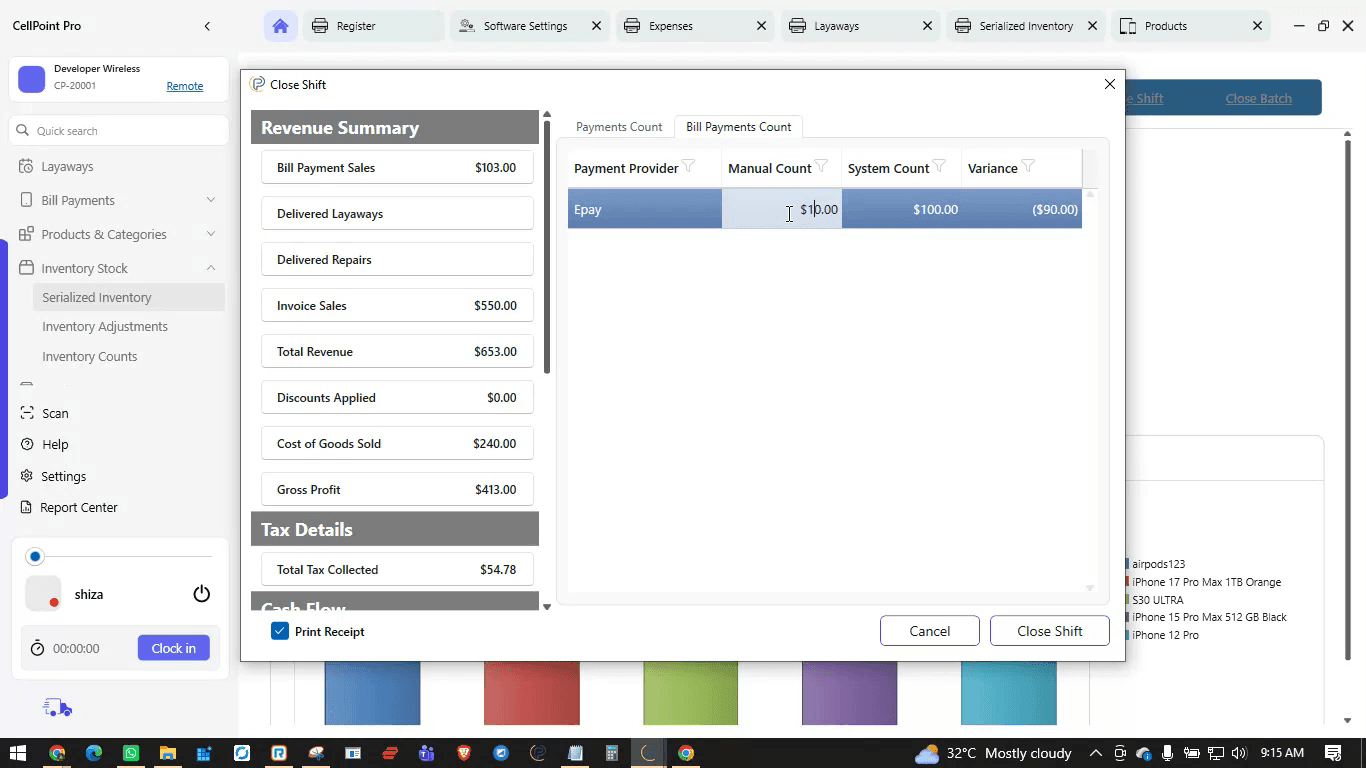
If the portal total matches the POS system amount, enter that amount in the Bill Payment Count field.
If there is any variance, it indicates that some bill payment invoices were either missed in the POS or not posted on the provider portal, and you will need to investigate and correct those discrepancies before finalizing.
Step 4: Set Leaving Cash and Understand Opening vs. Leaving Cash
Review the Opening Cash information displayed (e.g., $100). Typically, stores follow the practice of leaving the same amount as Leaving Cash for the next day’s opening, but this is not mandatory.
Enter the Leaving Cash amount (the cash you will leave in the register for the next shift).
This does not have to be exactly the same as your opening cash; it should reflect what you actually plan to leave behind.
In the common workflow for a cell phone store:
The day starts with an opening cash of $100.
At the end of the day, before final cash count, staff remove $100 and set it aside as Leaving Cash for the next day.
The remaining cash is then counted as part of the final cash count for the closing shift.
Step 5: Perform the Cash Count and Payment Method Reconciliation
After setting aside the leaving cash, the system will show how much cash should remain to be counted. For example, if the system indicates that you should have $103 after removing the $100 leaving cash, you need to verify that amount during your cash count.
You can enter counts in two ways:
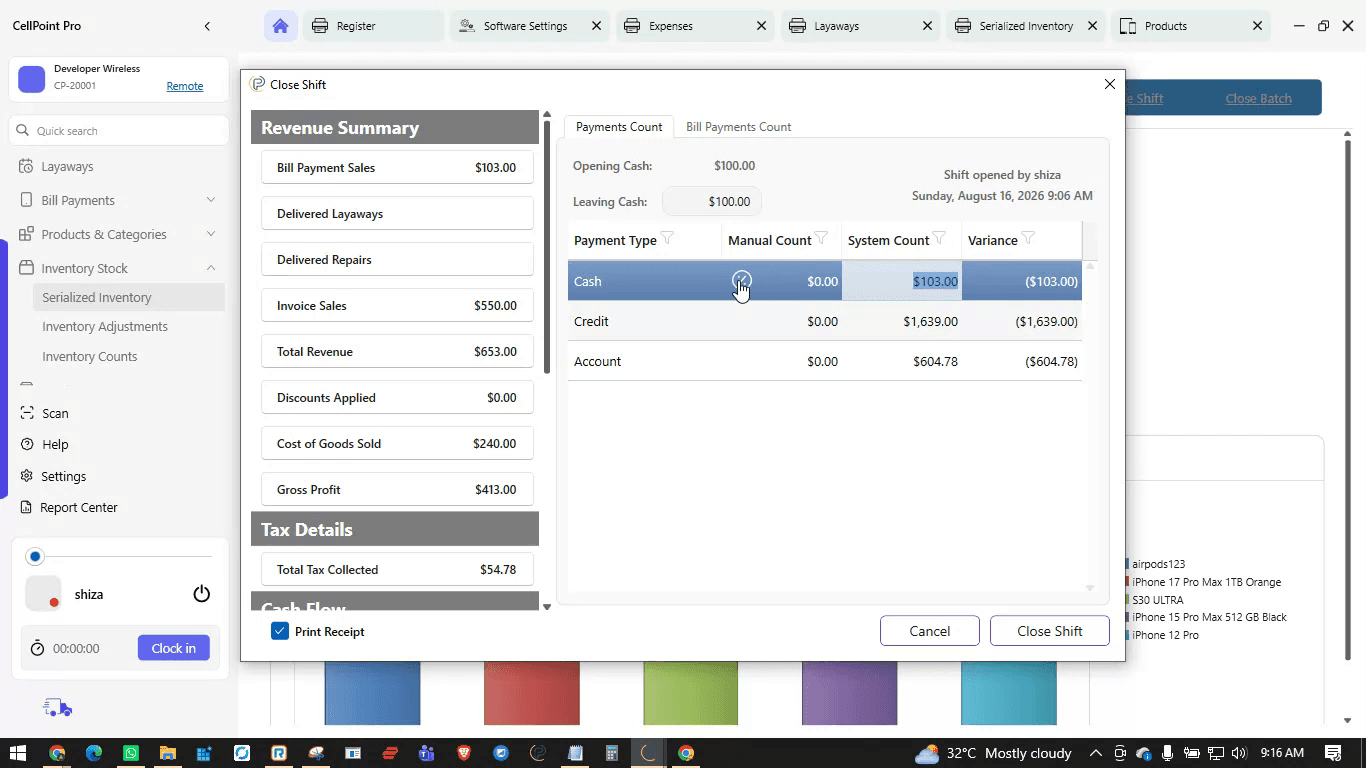
Manual Entry: Type in the total amounts directly.
Bill-by-Bill Entry (Recommended): Enter the quantity of each bill denomination (e.g., number of $1 bills, $5 bills, etc.), which is considered best practice for accurate reconciliation.
Enter the count for each denomination to match the system’s expected total.

Repeat similar reconciliation for other payment methods:
Credit/Debit Cards:
Check your credit/debit card machine’s end-of-day or batch report (the small receipt printed by the terminal).
Compare the terminal total with the POS system count for credit/debit.
If they match, you are good; any variance means you must review the card transactions.
Account (Credit) Payments:
Review customer open invoices or account statements.
Confirm that the POS system’s account total matches your records.
Enter the reconciled amount in the Account count field.
Resolve any discrepancies before proceeding.
Step 6: Close the Shift and Finalize the Batch
Once all counts are reconciled and verified, review the Shift Opened By information and the Date and Time to ensure you are closing the correct shift.
Click Close Shift to finalize the shift.
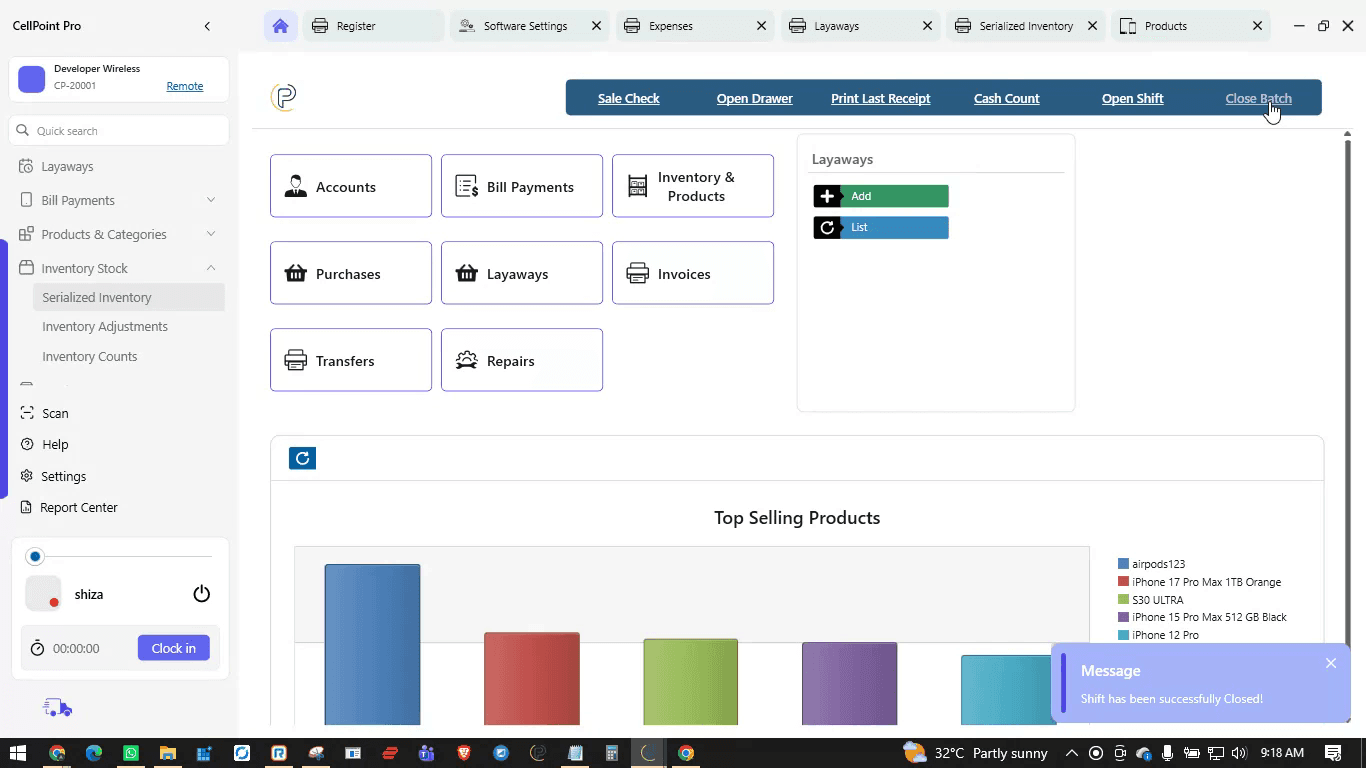
Immediately after closing the shift, you must also close the batch (for card payments) to fully conclude the day’s processing.
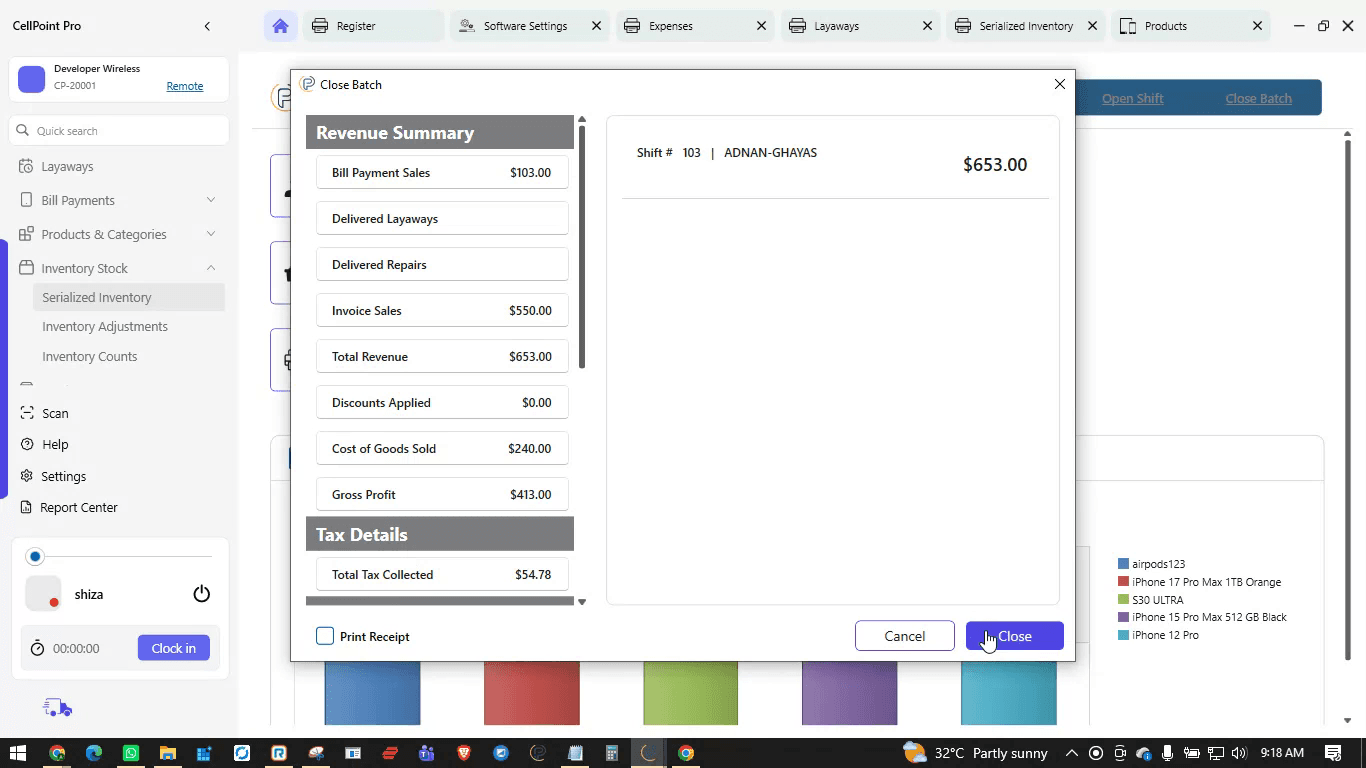
This step ensures that all credit/debit transactions are settled with your payment processor and that the day is fully closed in both the POS and payment systems.
Step 7: Review the Shift Invoice/Receipt
After closing the shift and batch, you can review the Shift Invoice (or shift receipt) within the system. A hard copy can also be printed for records.
The shift invoice typically includes:
Revenue Summary
Tax Collected Details
Cash Flow
Payment Breakdown
Payment Methods Collected for the shift
Payment Counts and Bill Payment Count (by provider)
Cash Count (final cash reconciliation)
Closing Note and space for user signature
The signed shift receipt can be provided to management or the store owner as part of the daily closing documentation.
Watch the Video Tutorial
On This Page
Overview
Steps & Instructions
Video Tutorial