
Repairs
·
Tutorial
7 min read

Creating and Managing Repair Tickets in CellPoint Pro
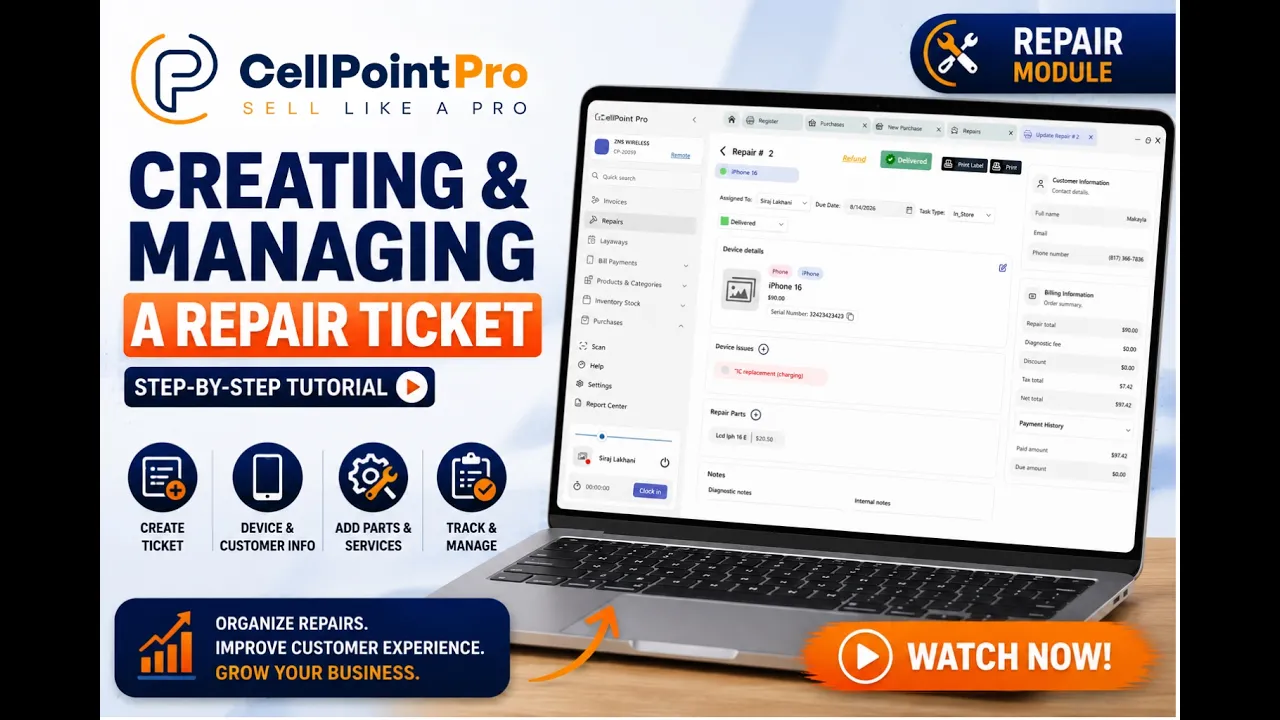
This document explains how to create, manage, and complete repair tickets in ServPoint Pro, including adding devices, issues, parts, costs, payments, and printing receipts and labels.
Step 1: Navigate to the Repair Creation Screen
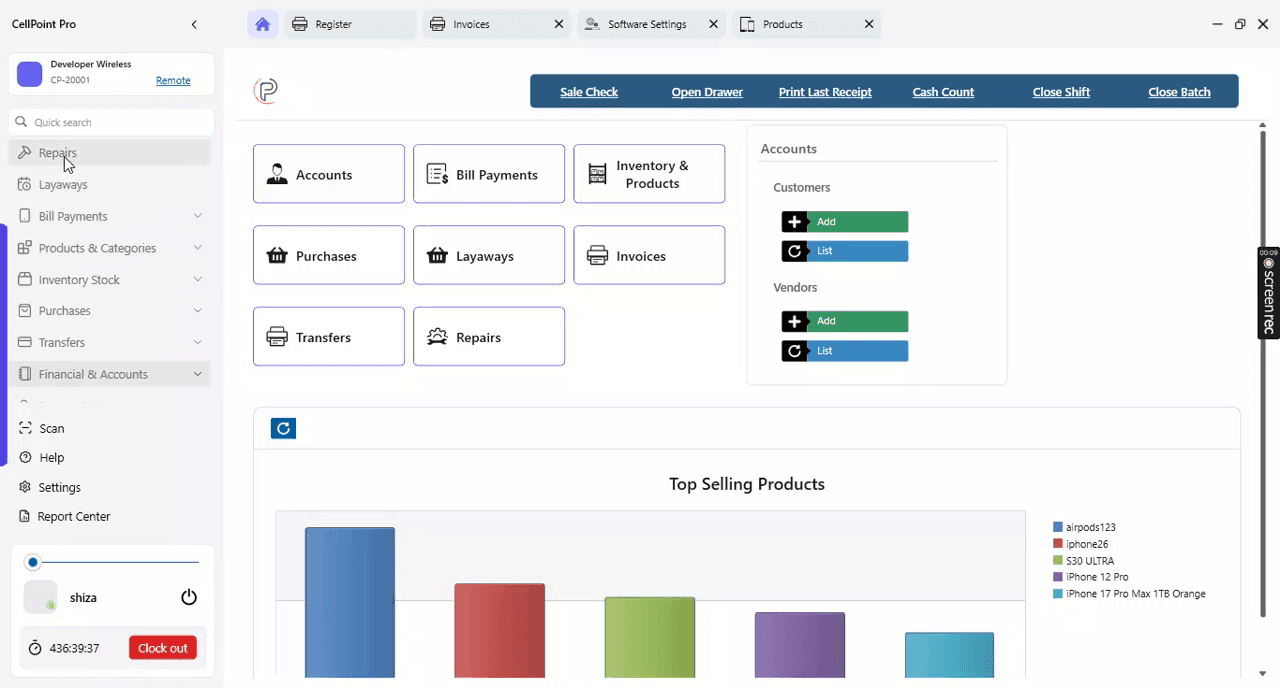
From the home screen, use the left panel menu to open the Repairs section and start adding a new repair ticket.
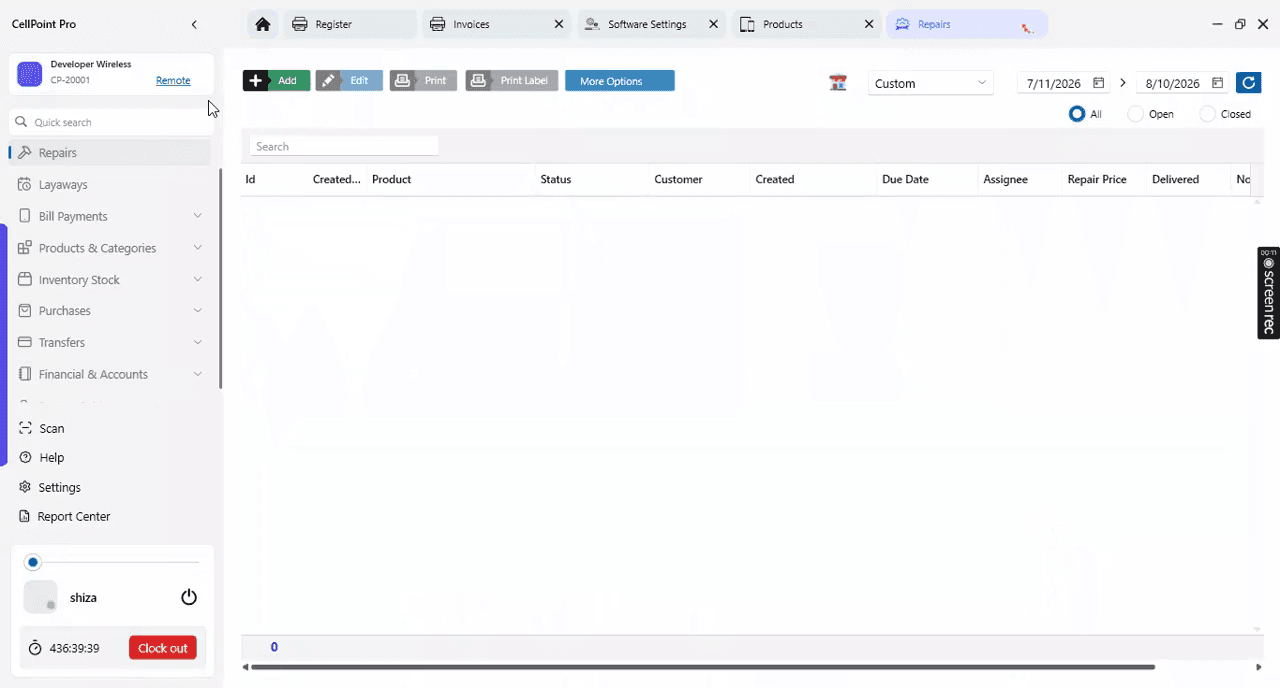
Select Add to create a new repair ticket.
Step 2: Select Repair Type, Brand, and Device
Choose the appropriate type of repair for the ticket.
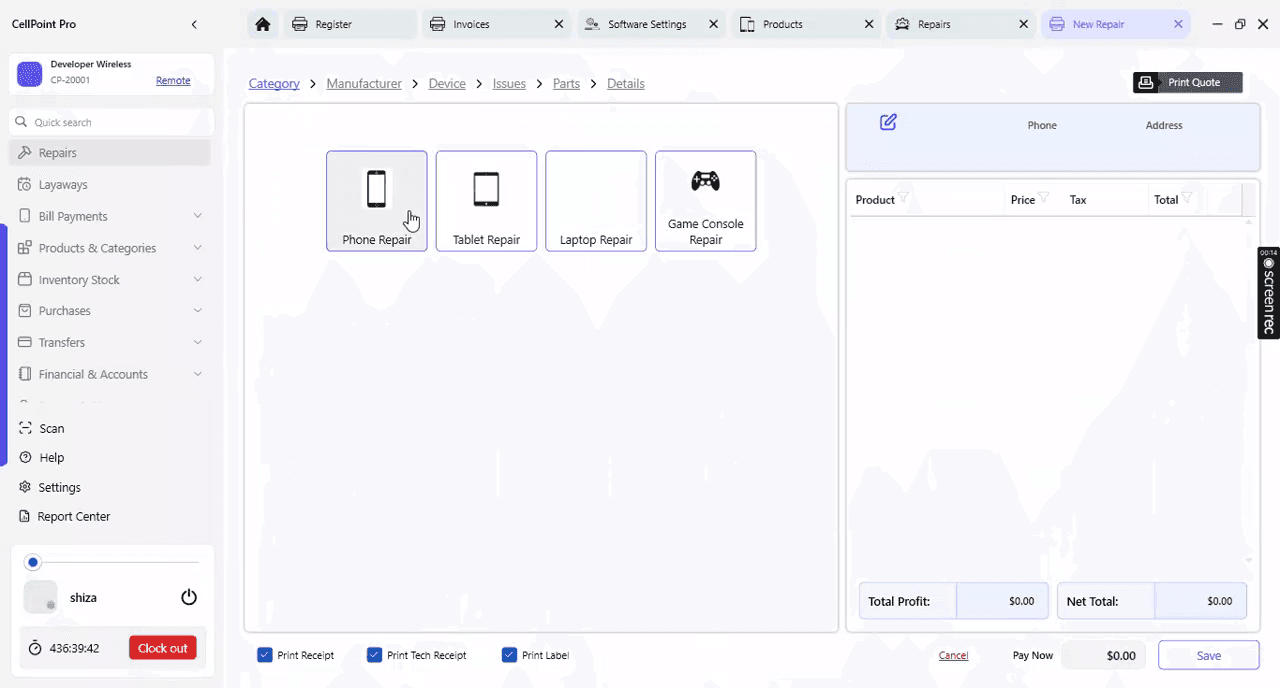
Select the brand of the device being repaired.
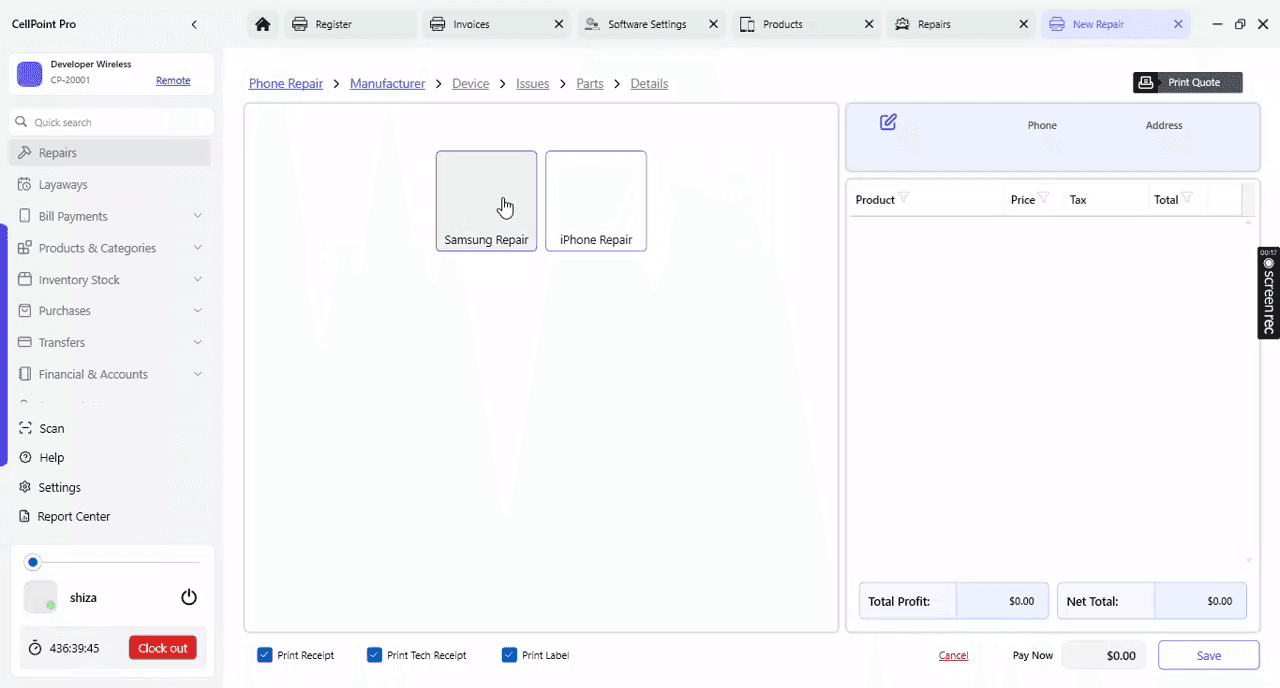
Select the specific device model.

Step 3: Add Issues and Parts for the Repair
Add the relevant issues to the ticket for the selected device.
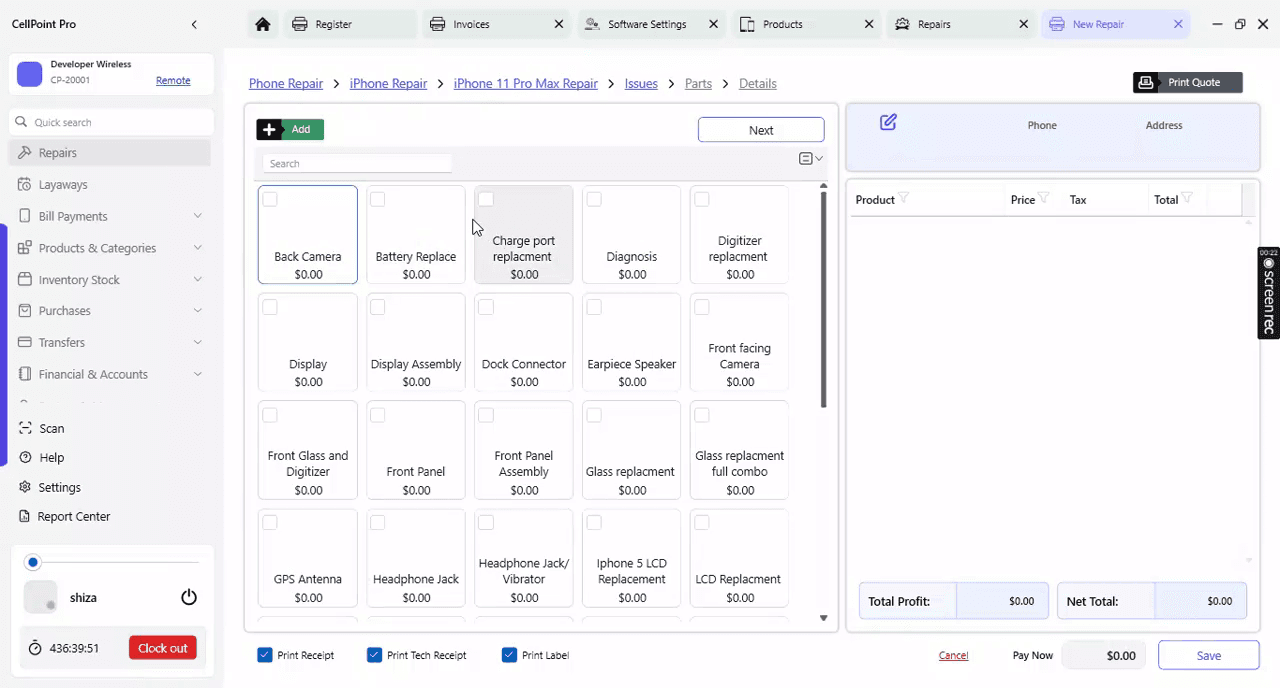
Click Next to proceed.
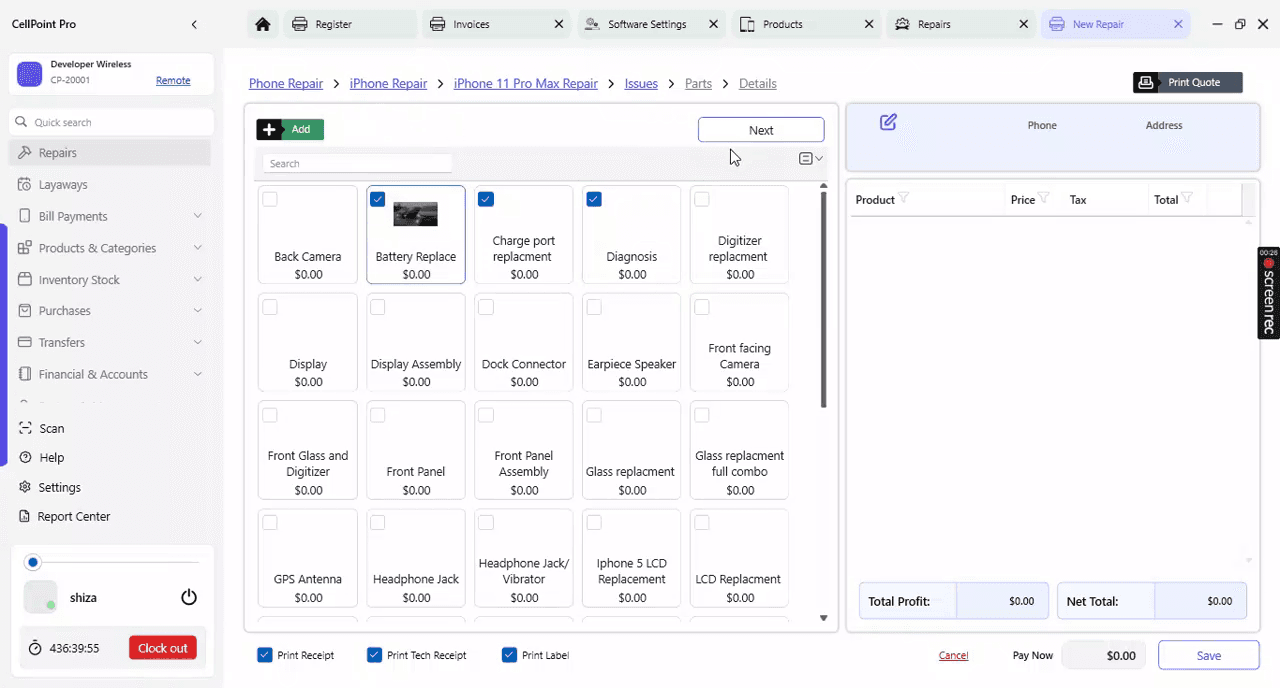
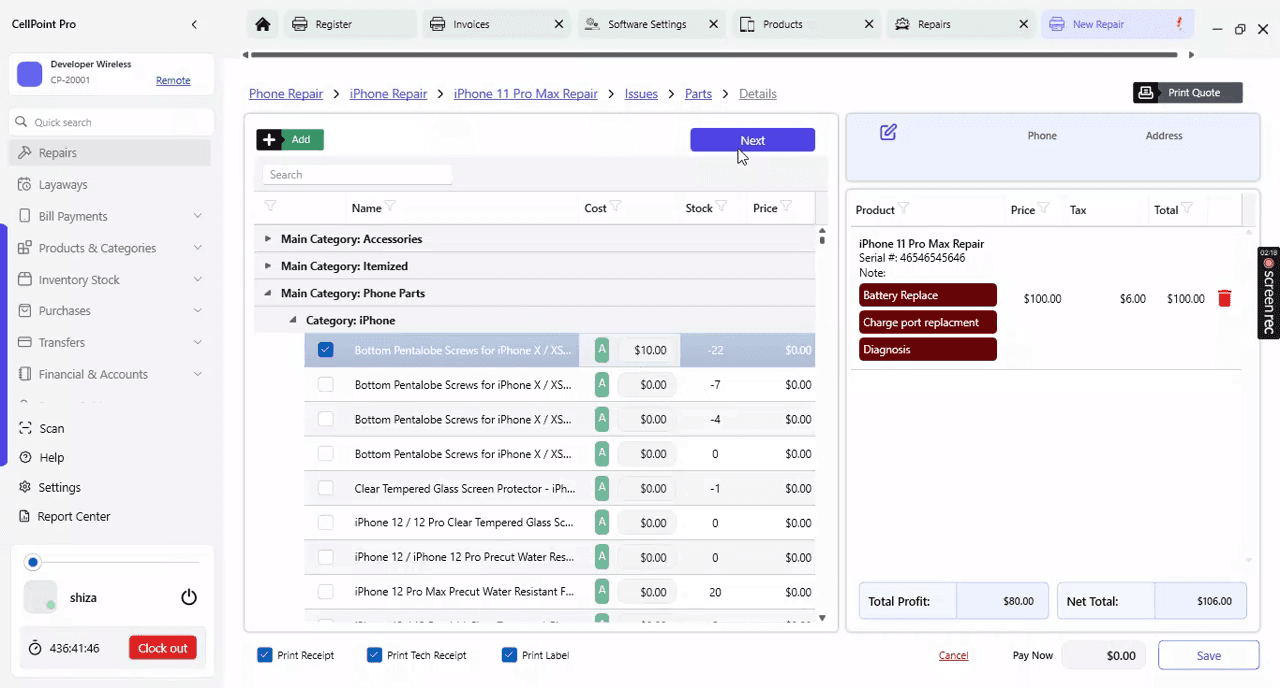
You can now choose whether to add parts during ticket creation or later during ticket management.
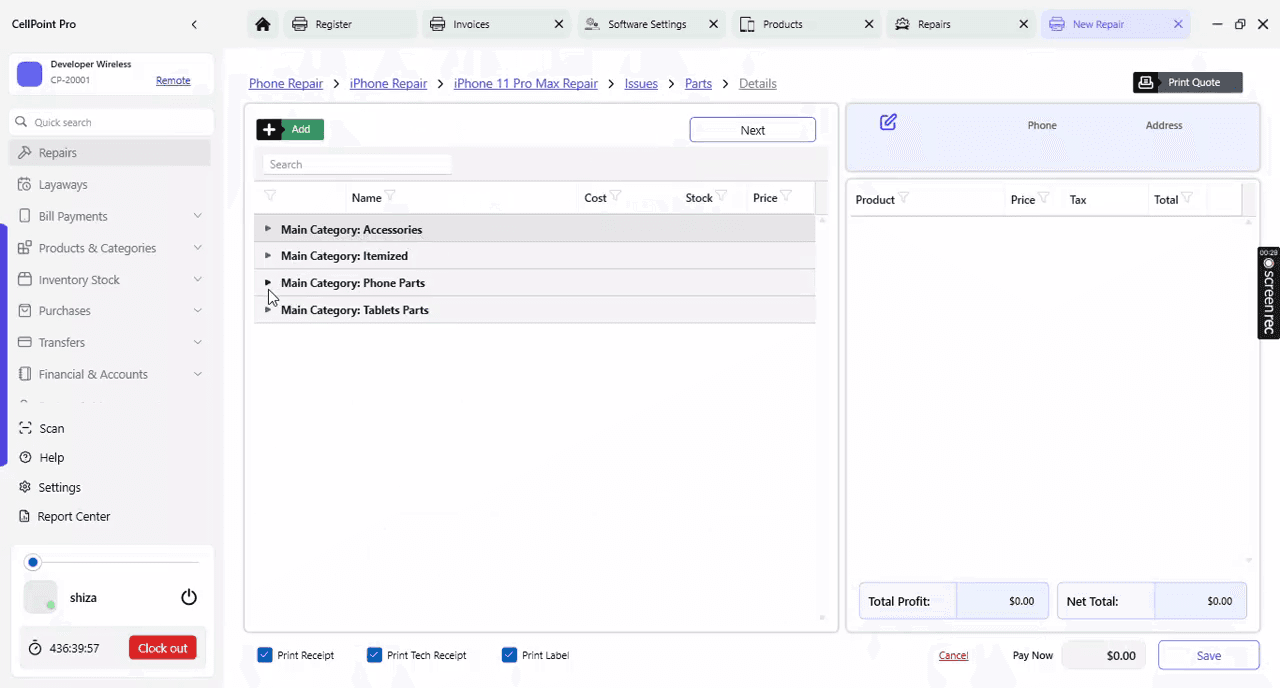
You may add parts now,

or skip and add them after the ticket has been created.
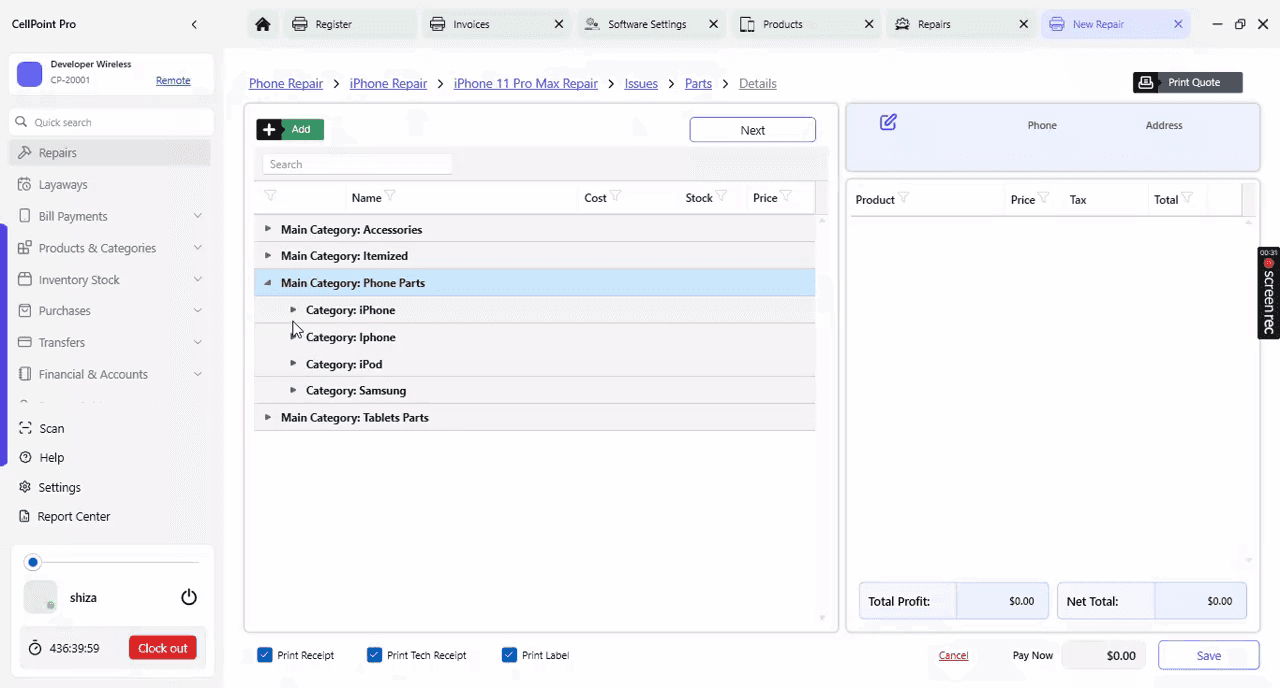
This flexibility allows you to update parts at any time during the lifecycle of the ticket.
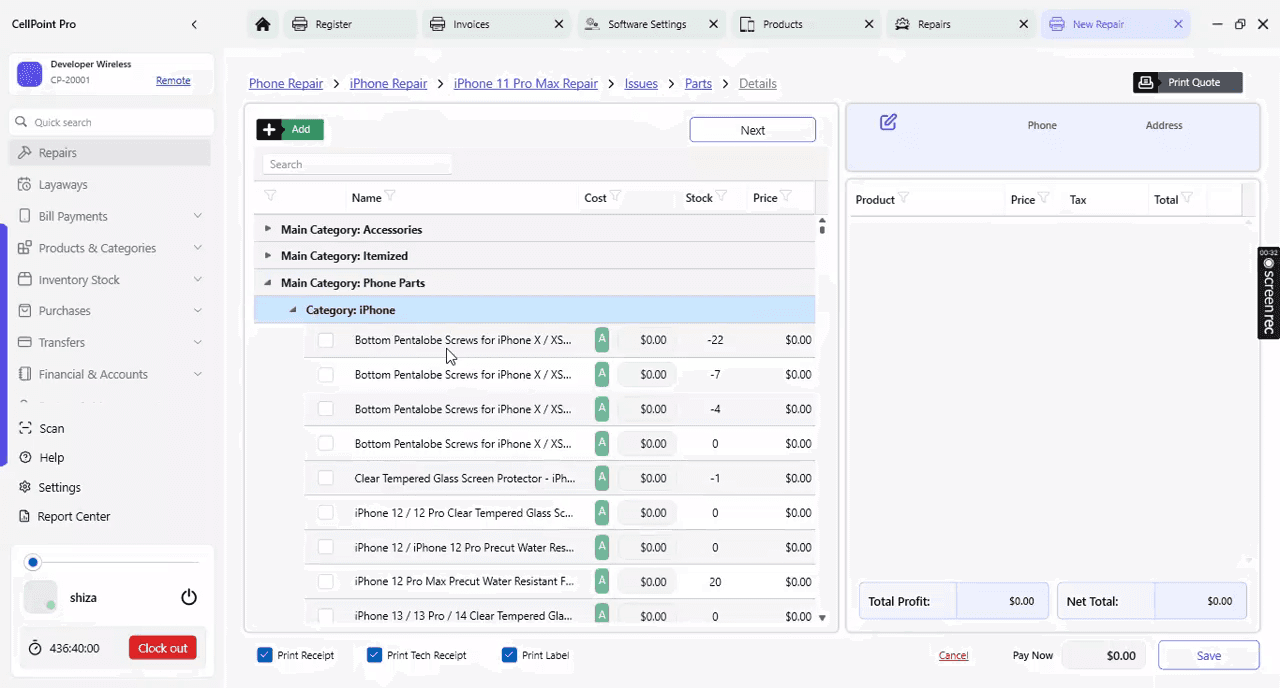
During management of the ticket, you can also modify or add more issues and parts as needed.
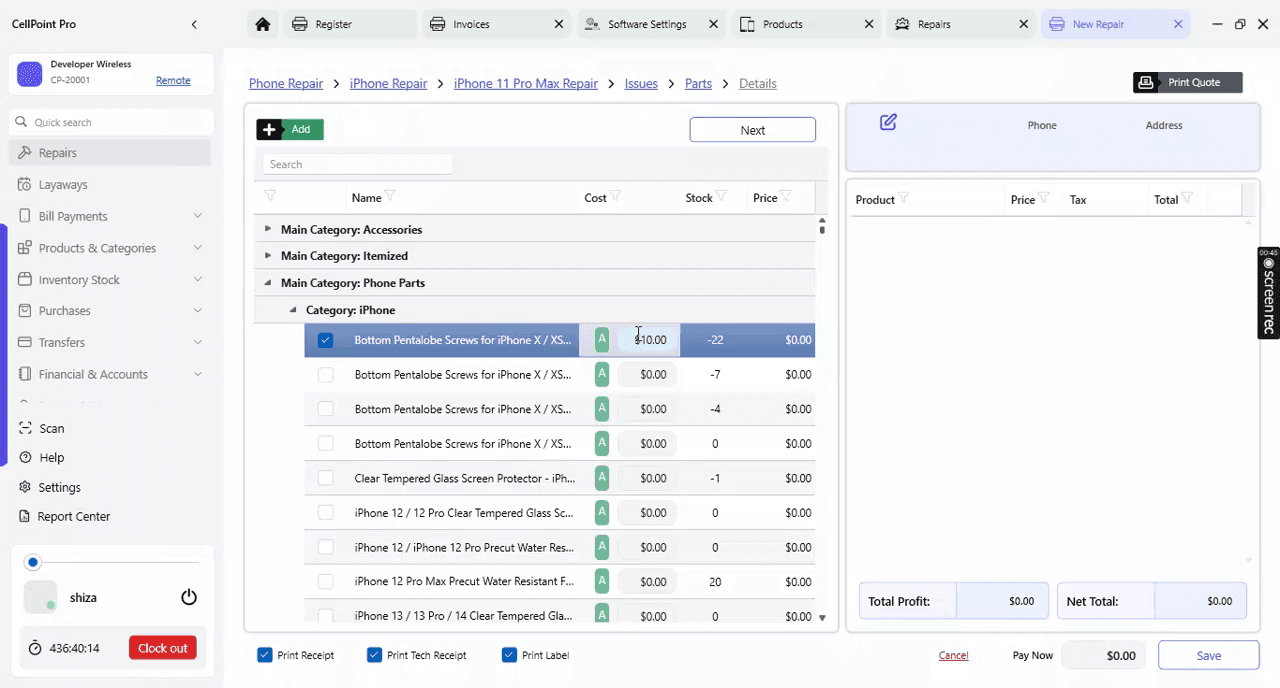
Here you can update the cost price for parts and labor used in the ticket to ensure accurate profit and loss is calculated for every repair.
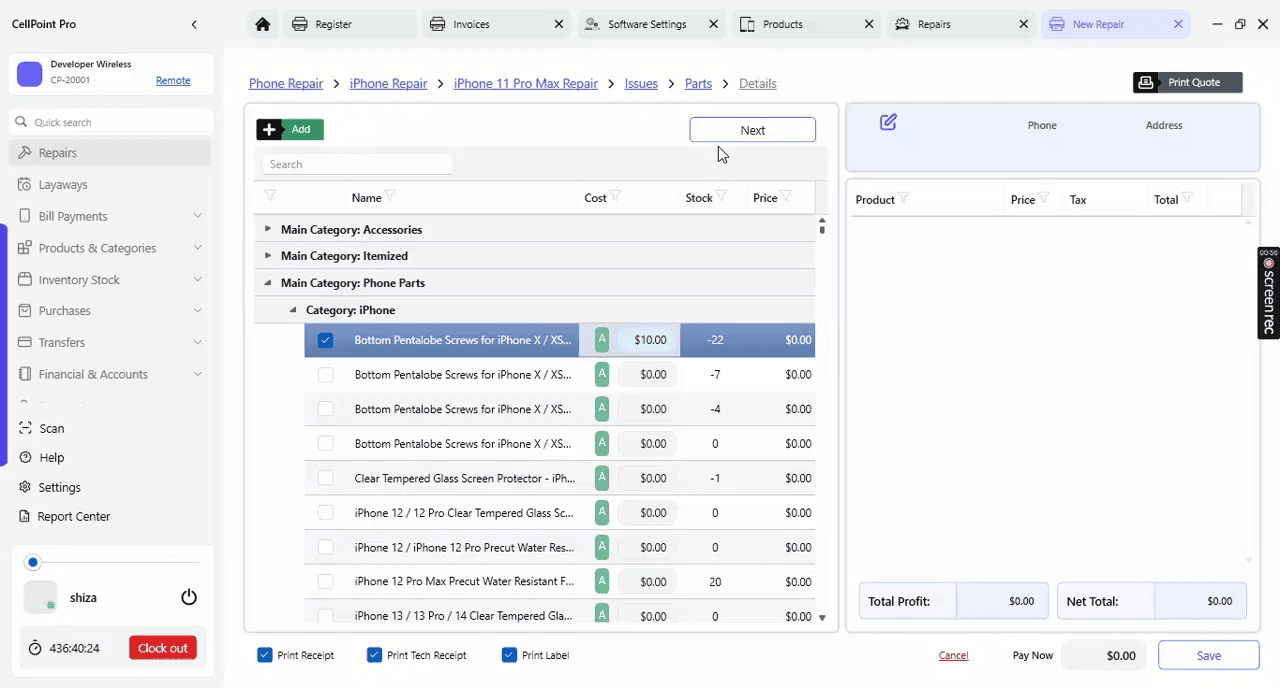
Step 4: Enter Device and Assignment Details
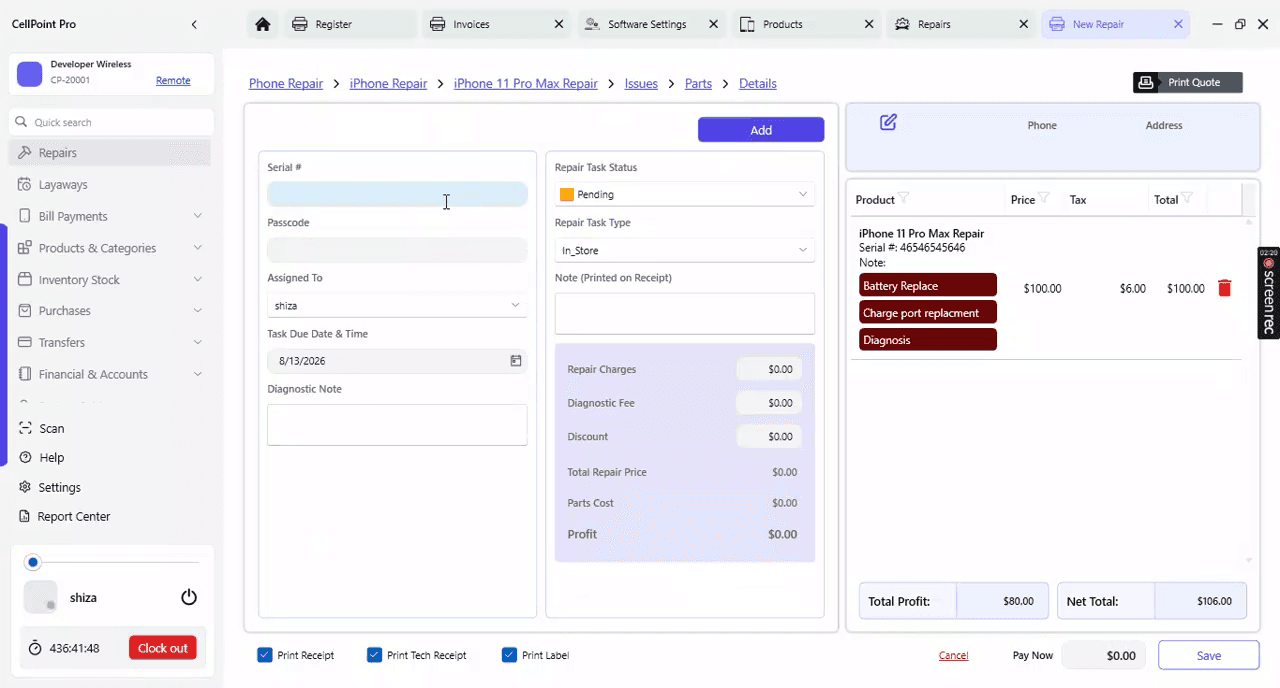
On the information screen, enter all necessary ticket details.
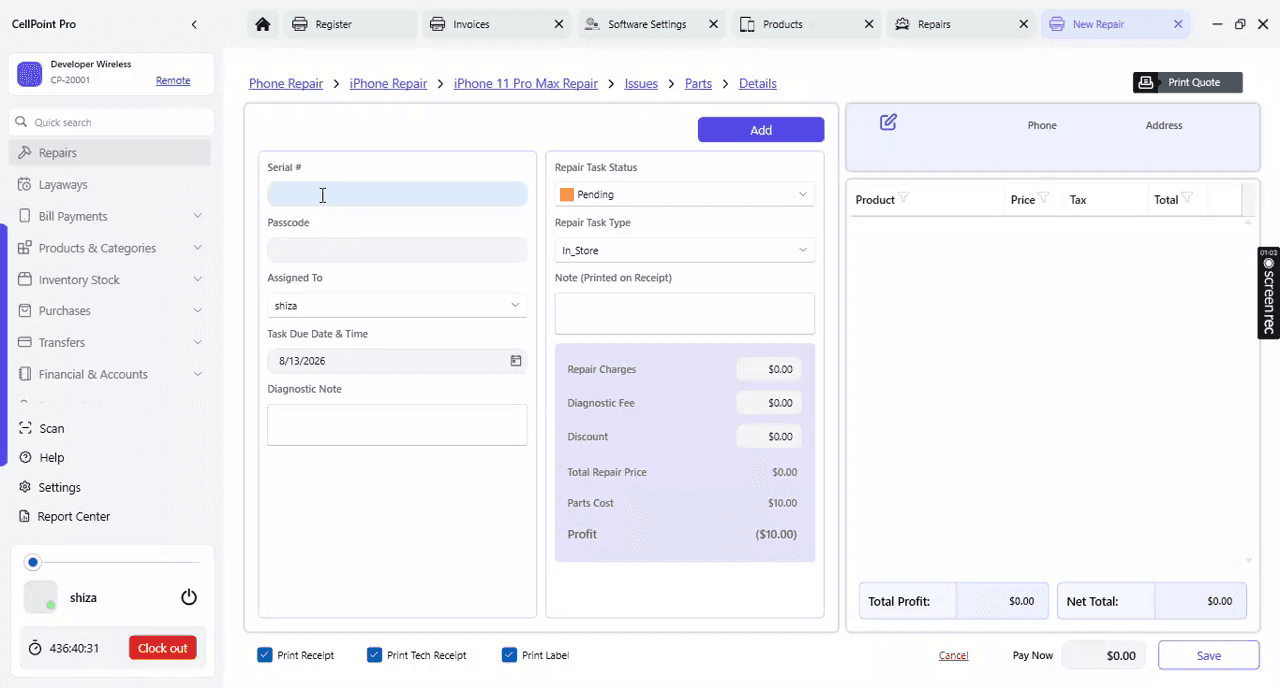
Add the device serial number.
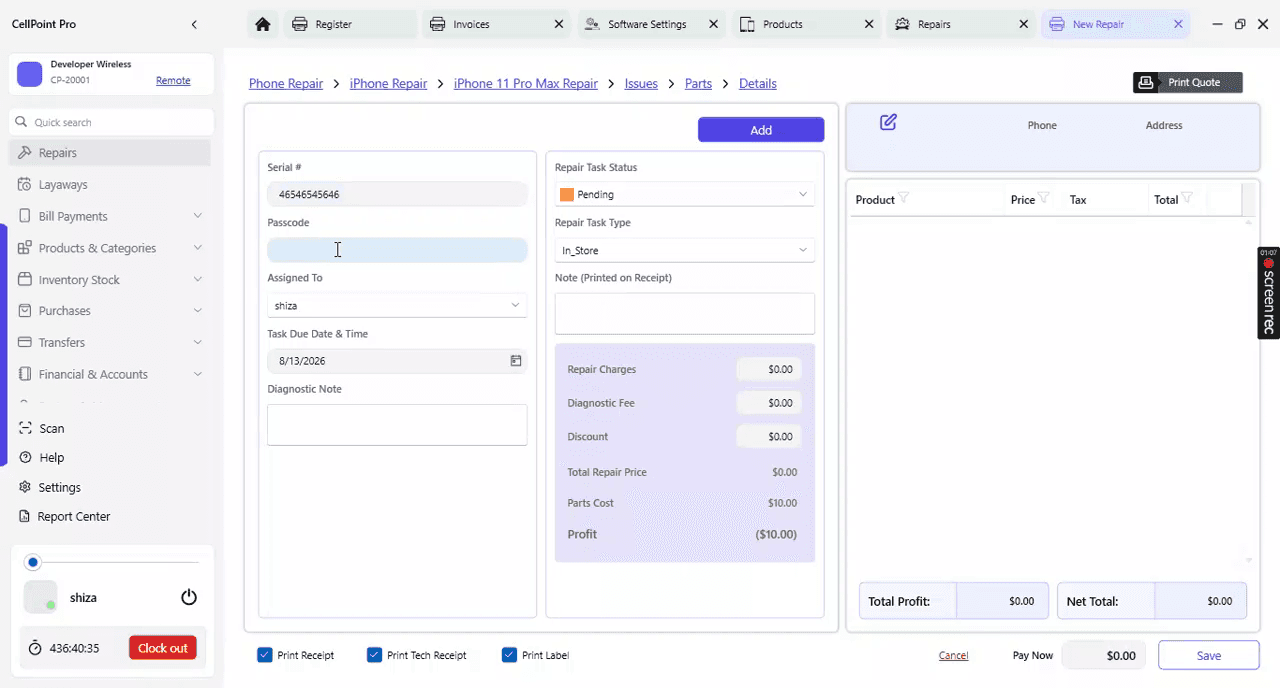
If the device has a password or passcode, record it here (if needed and allowed by your policies).
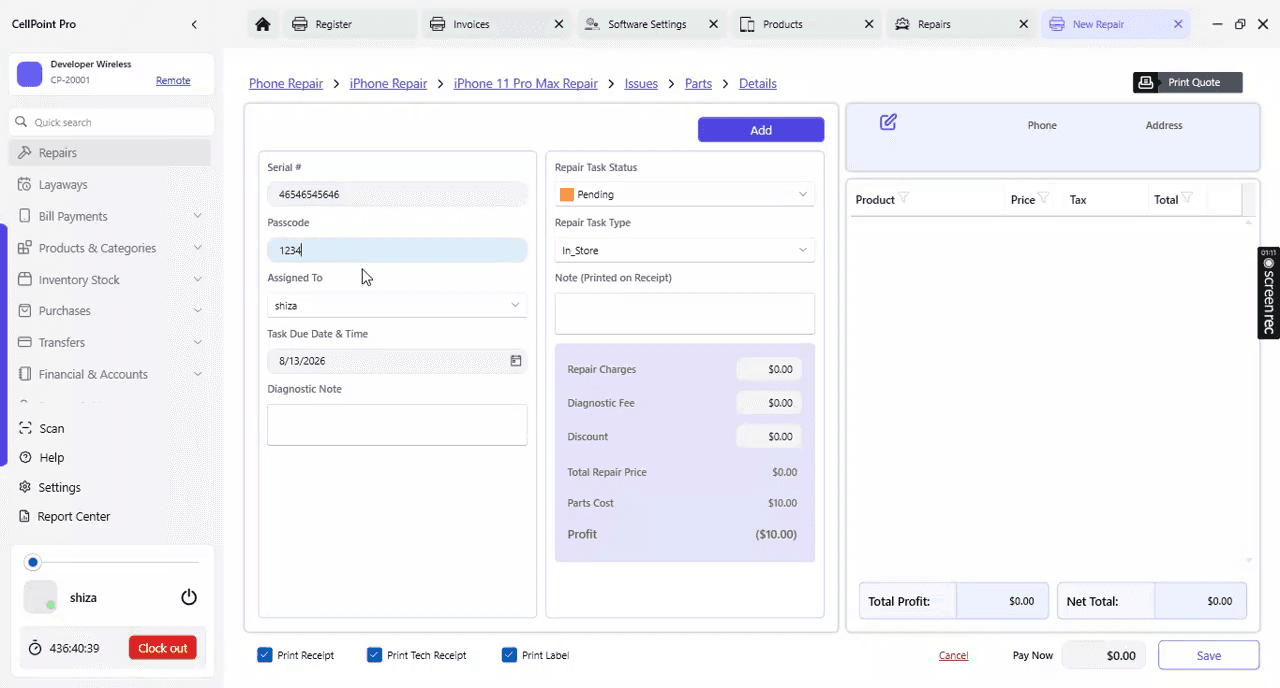
Assign the ticket to a specific technician or staff member, if applicable, and add diagnostic notes describing the issue or findings.

Step 5: Set Pricing, Fees, Discounts, and Print Options
Proceed to the pricing and details section.
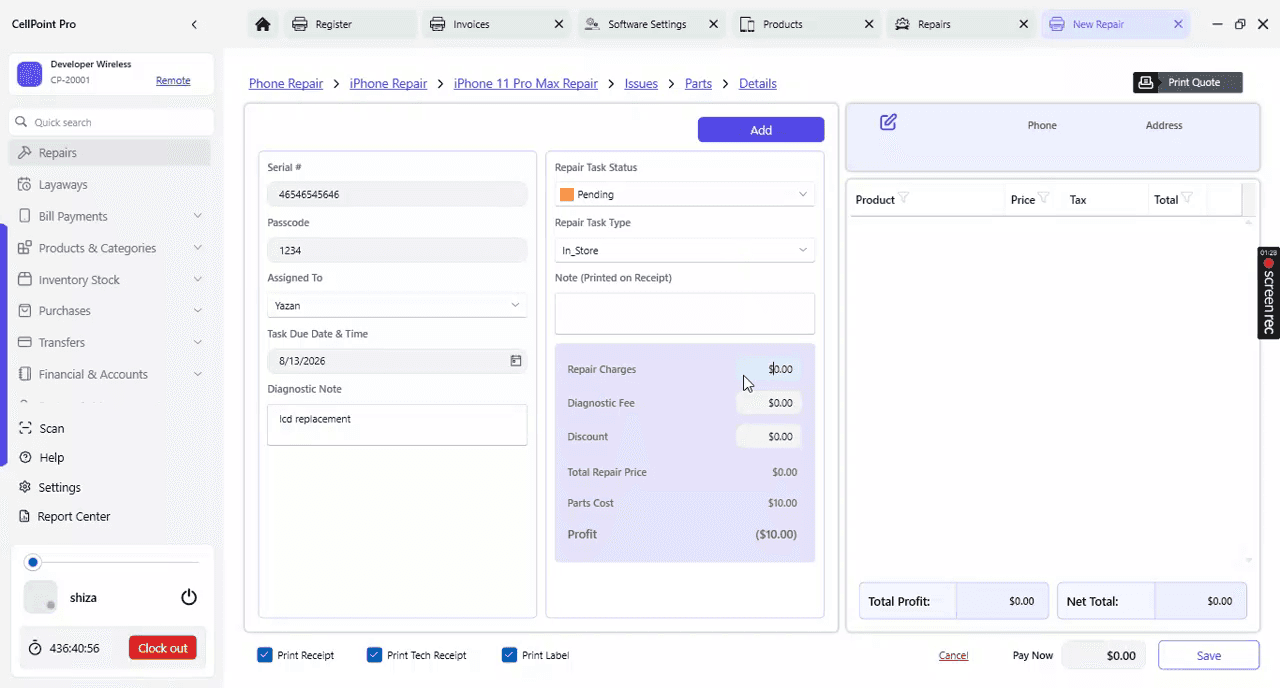
Enter the repair price for the service.
Add any diagnostic fee, if you charge one, so it is included in the ticket.
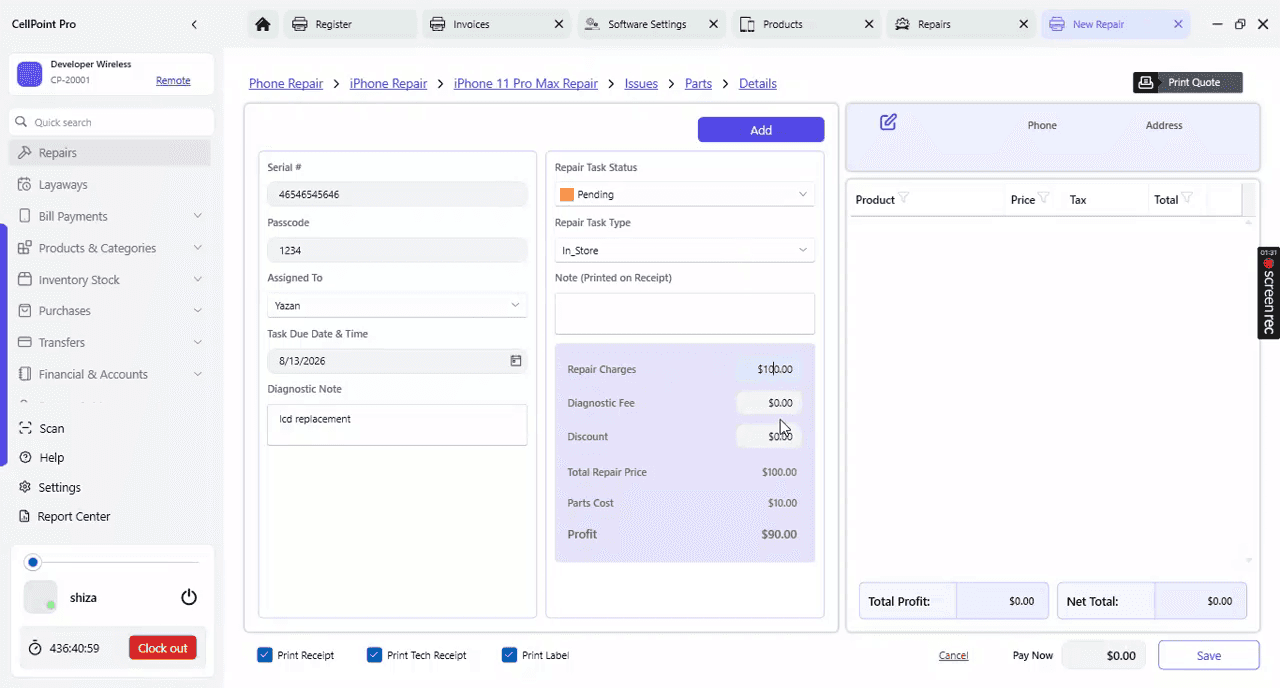
You can also apply a manual discount to the ticket if required.
You have multiple printing options available during ticket creation.
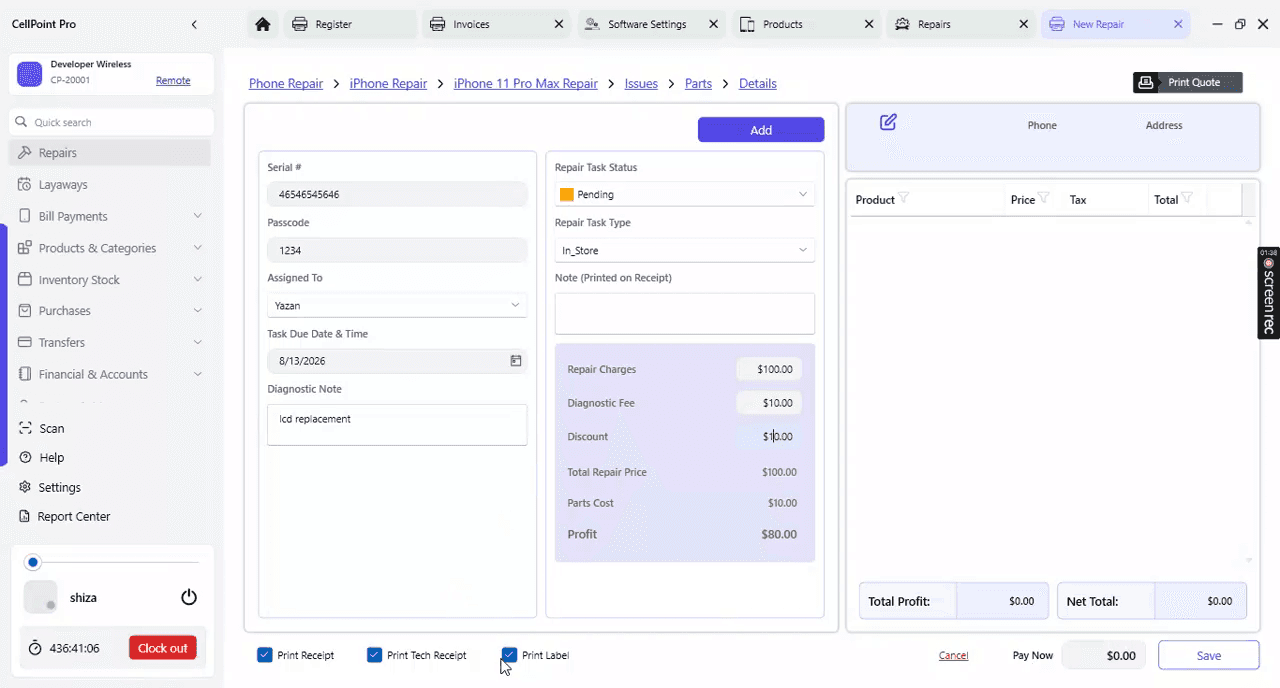
Choose whether to print or not print the technician receipt.
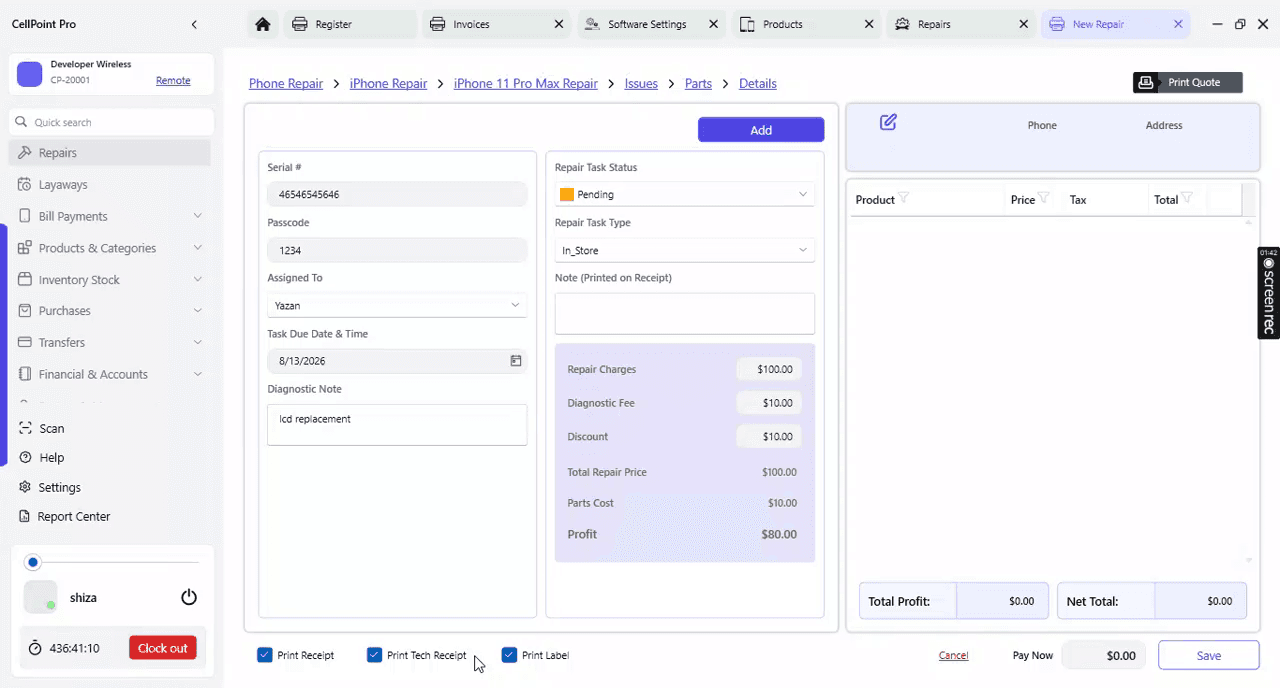
Choose whether to print a customer receipt.
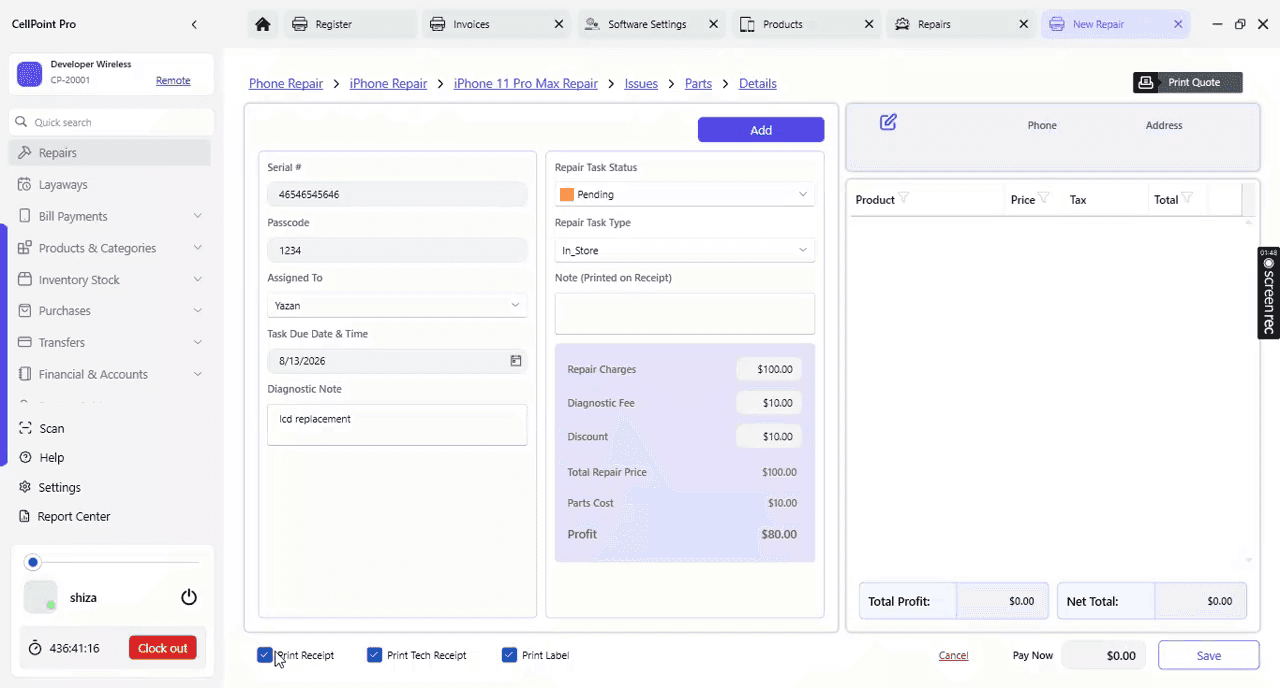
Choose whether to print a repair label that can be attached to the device, giving technicians quick access to all relevant information.
Between these three options, select what best suits your business operations.
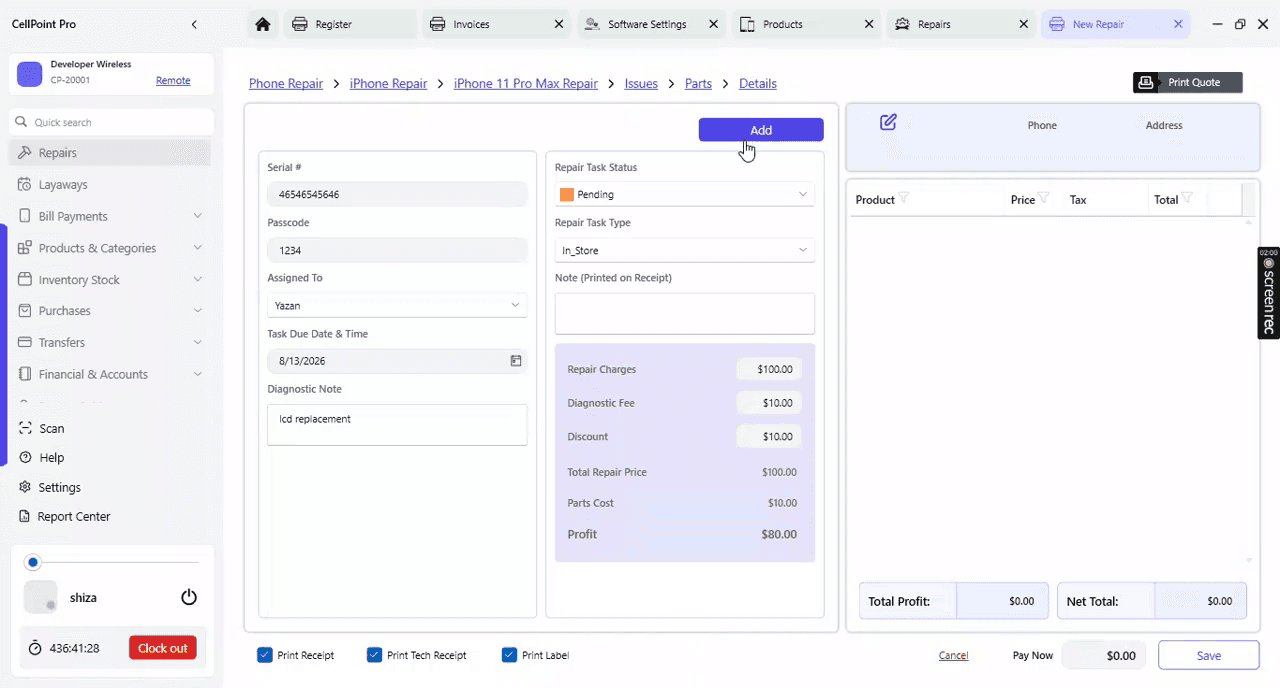
Finalize and add the ticket, which will appear on the right-hand side (or in your ticket list).
Step 6: Add Multiple Devices to the Same Ticket
You can add multiple devices under the same repair ticket if needed.
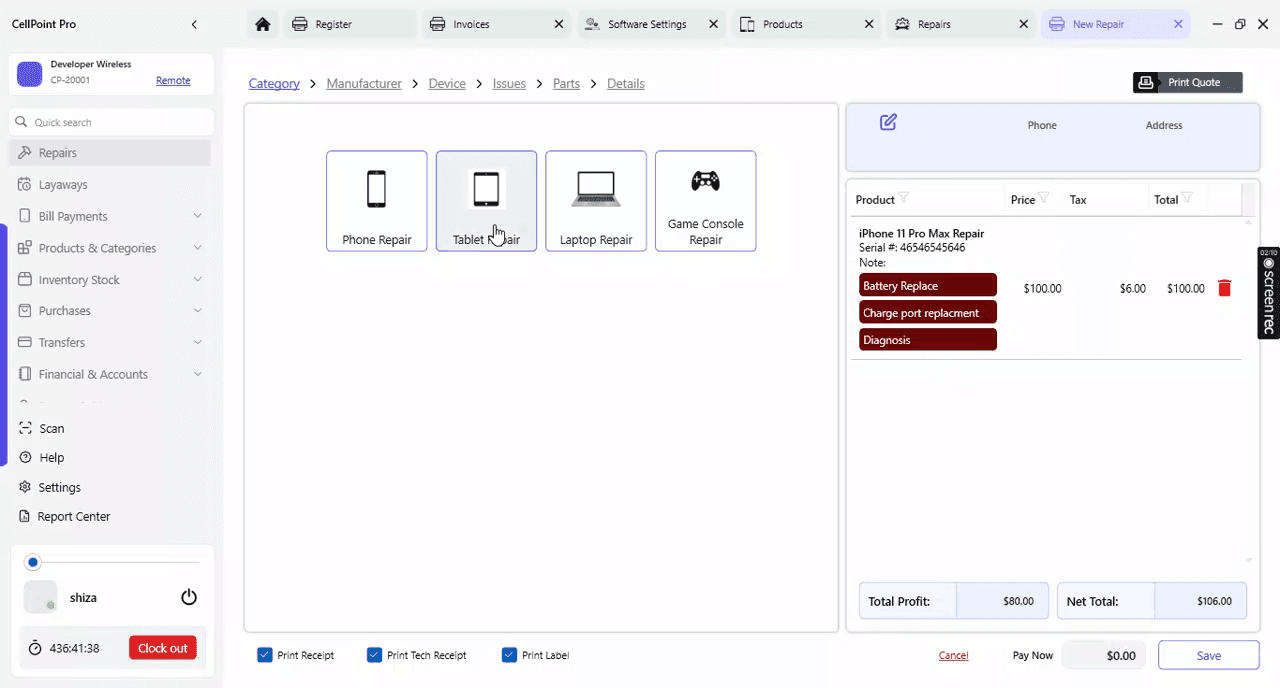
For each additional device, follow the same process:
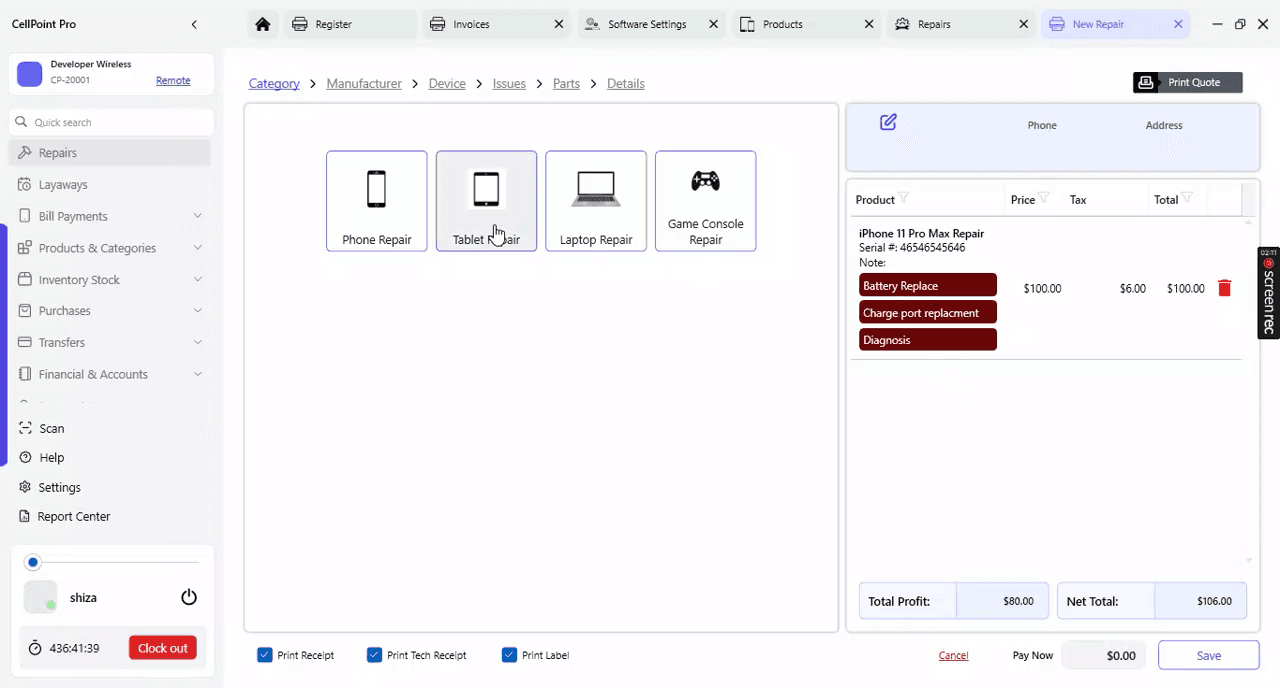
Select the device,
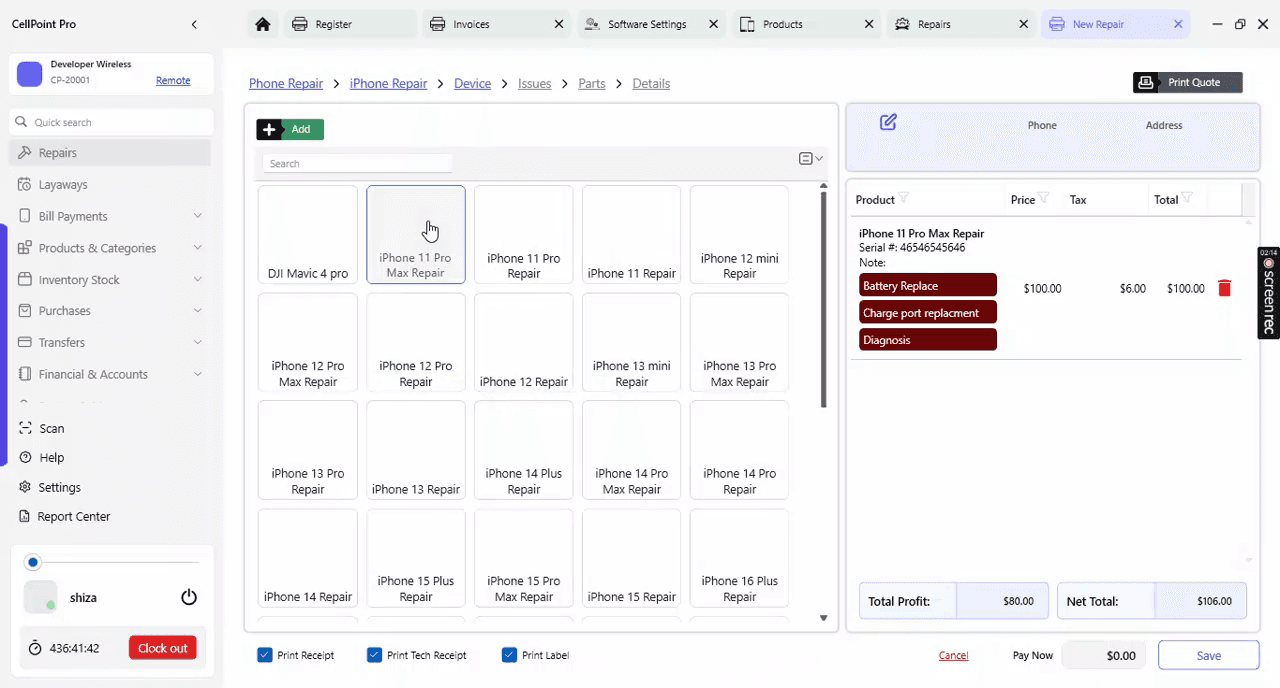
add issues and parts,
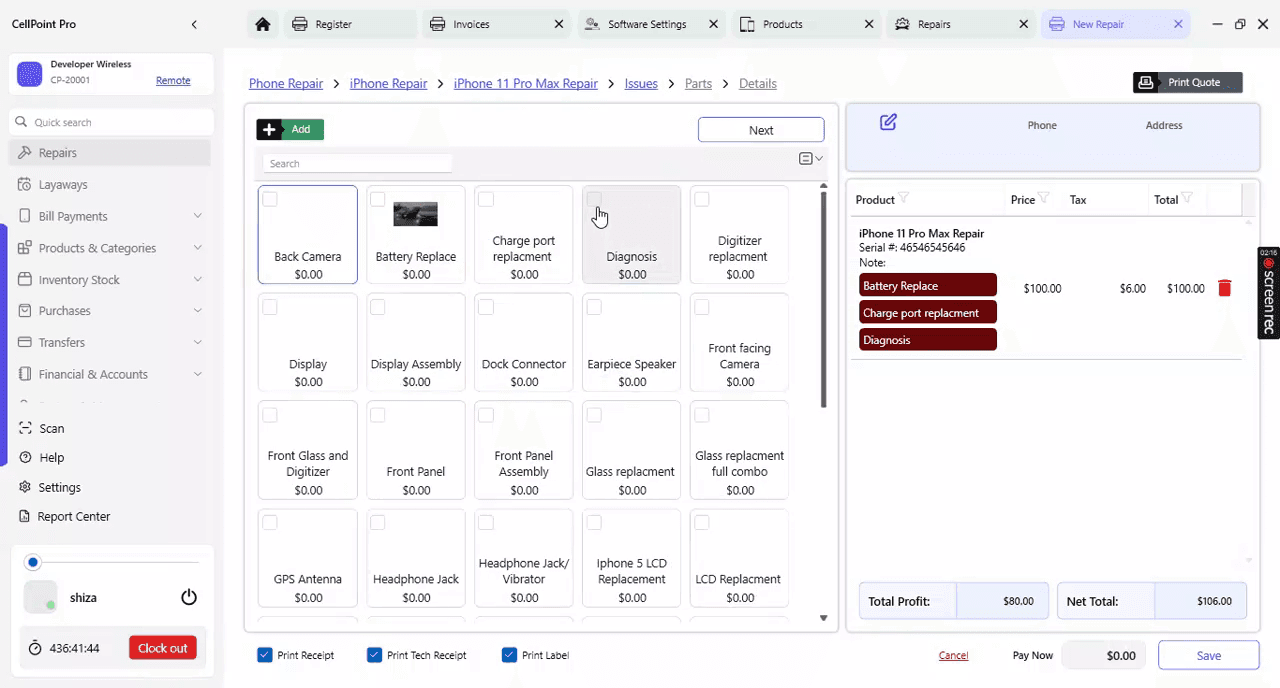
and complete the required device information.
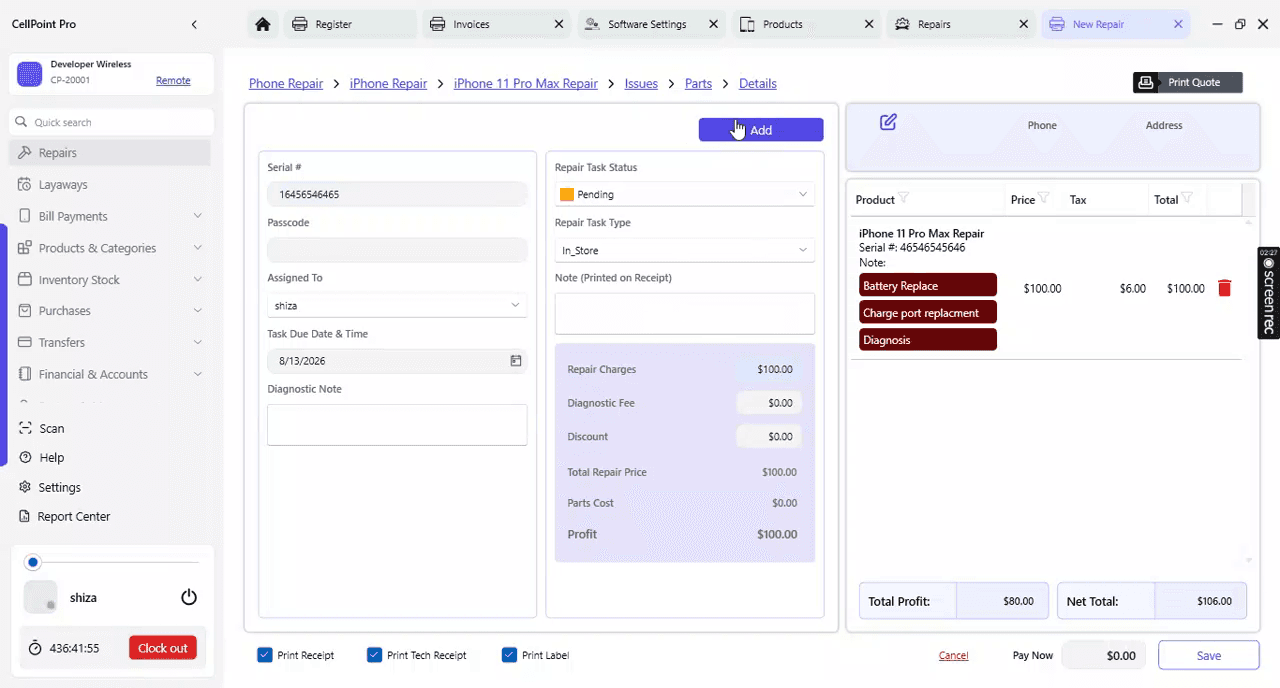
Enter the device information (you can keep it limited if appropriate).
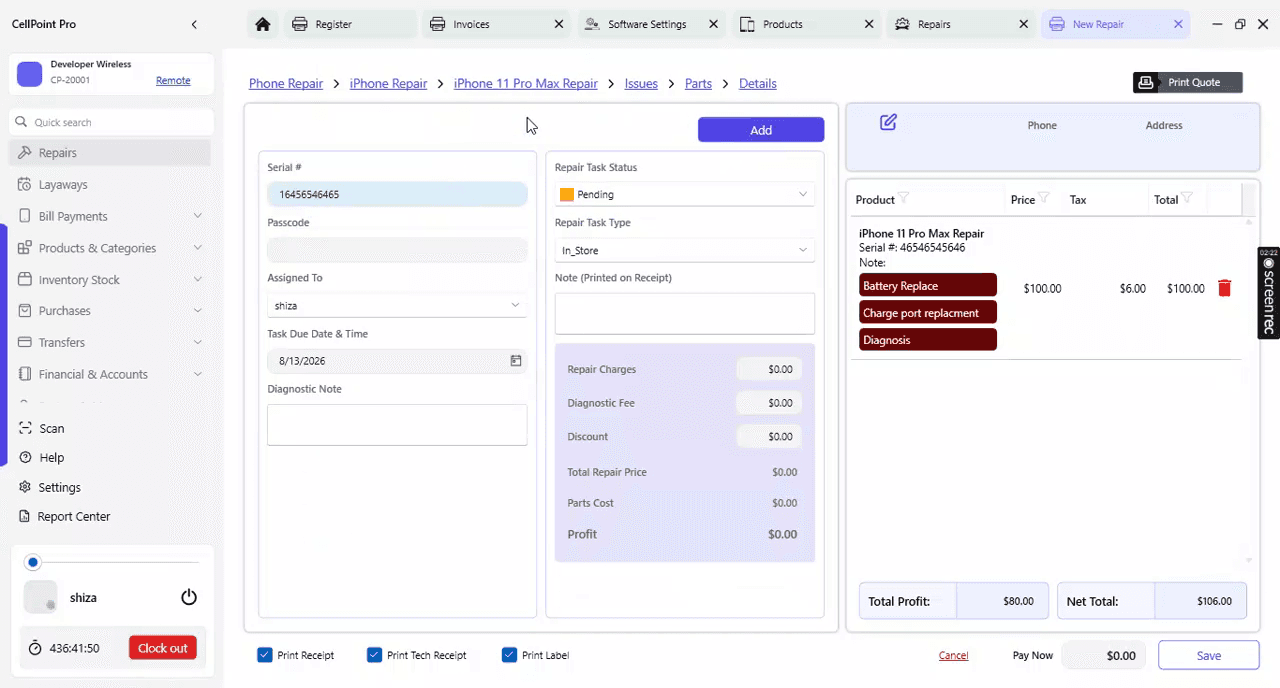
Click Add to include this device in the ticket.
Step 7: Print QR Code and Handle Upfront Payments
After adding devices, you can choose to print a QR code for the customer, which they can use to check the status of their repair.
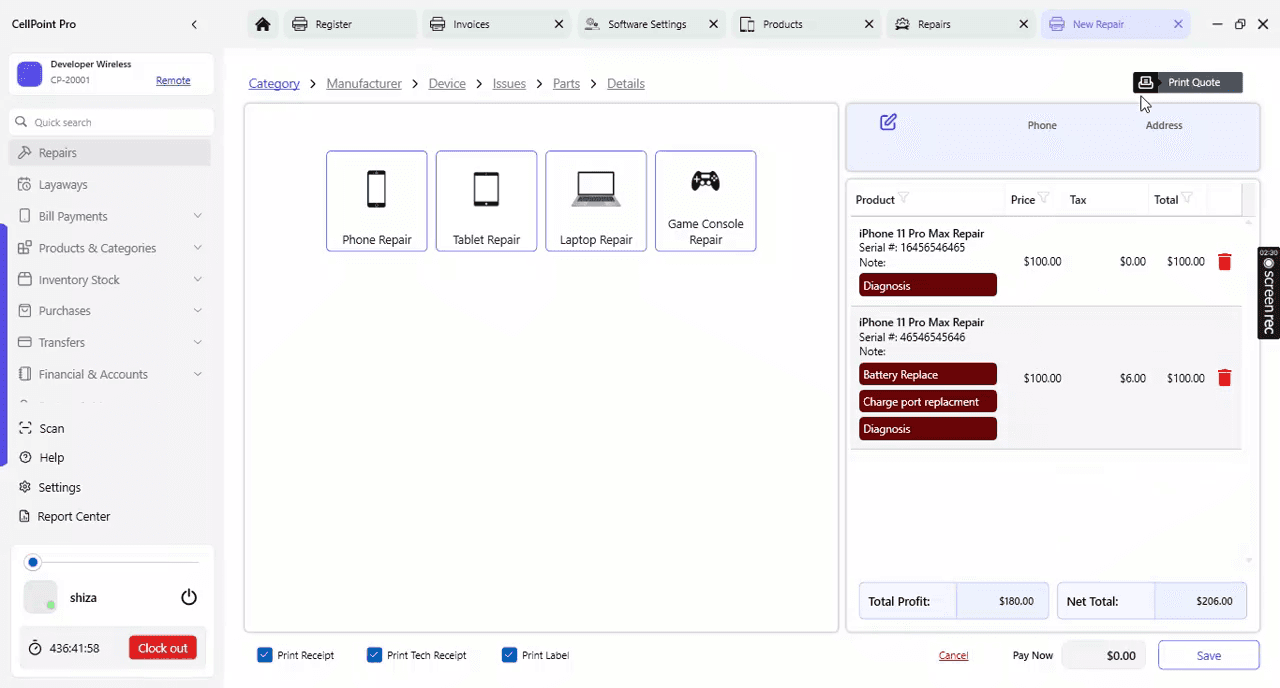
If there is an upfront payment, you can collect it at this stage. Select Payment.
Then proceed to Checkout.
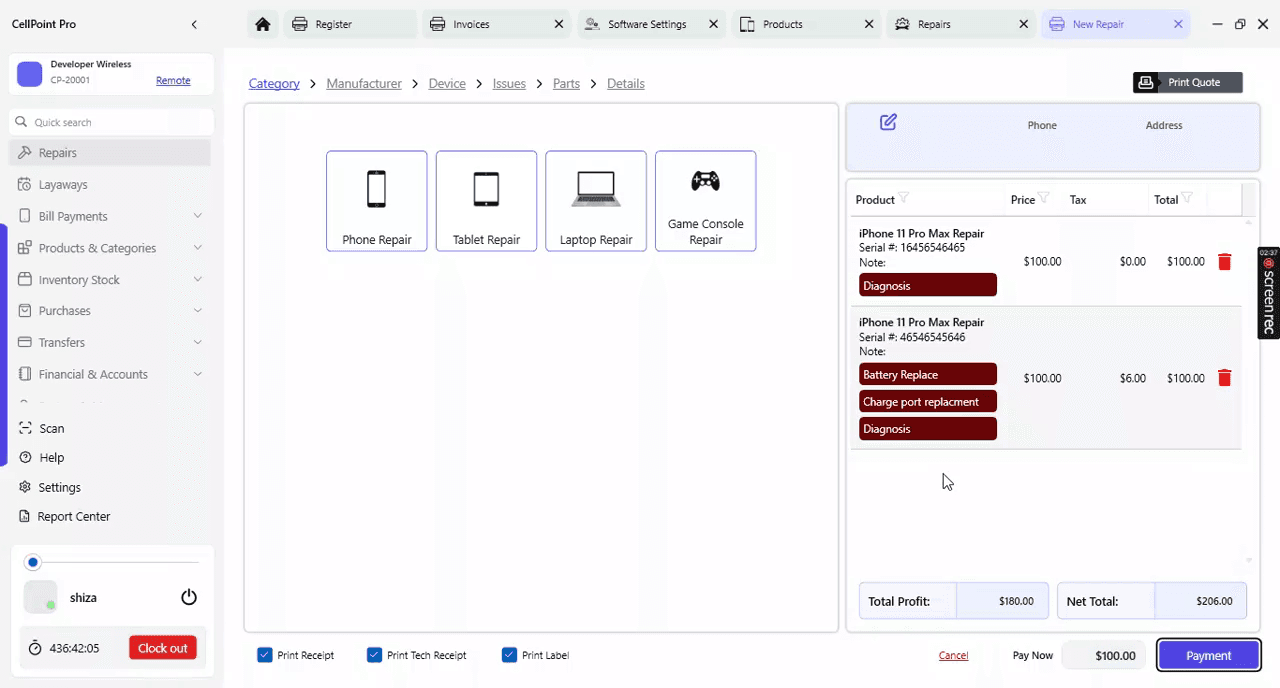
Add or confirm customer information for the ticket.
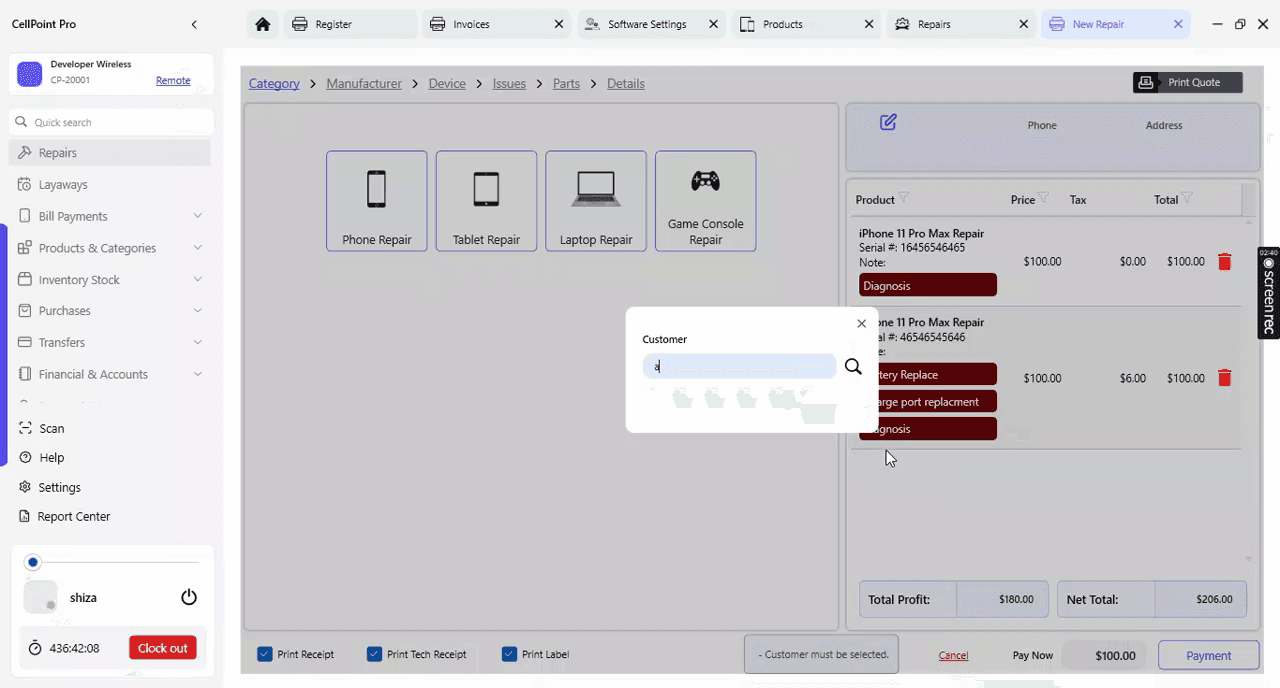
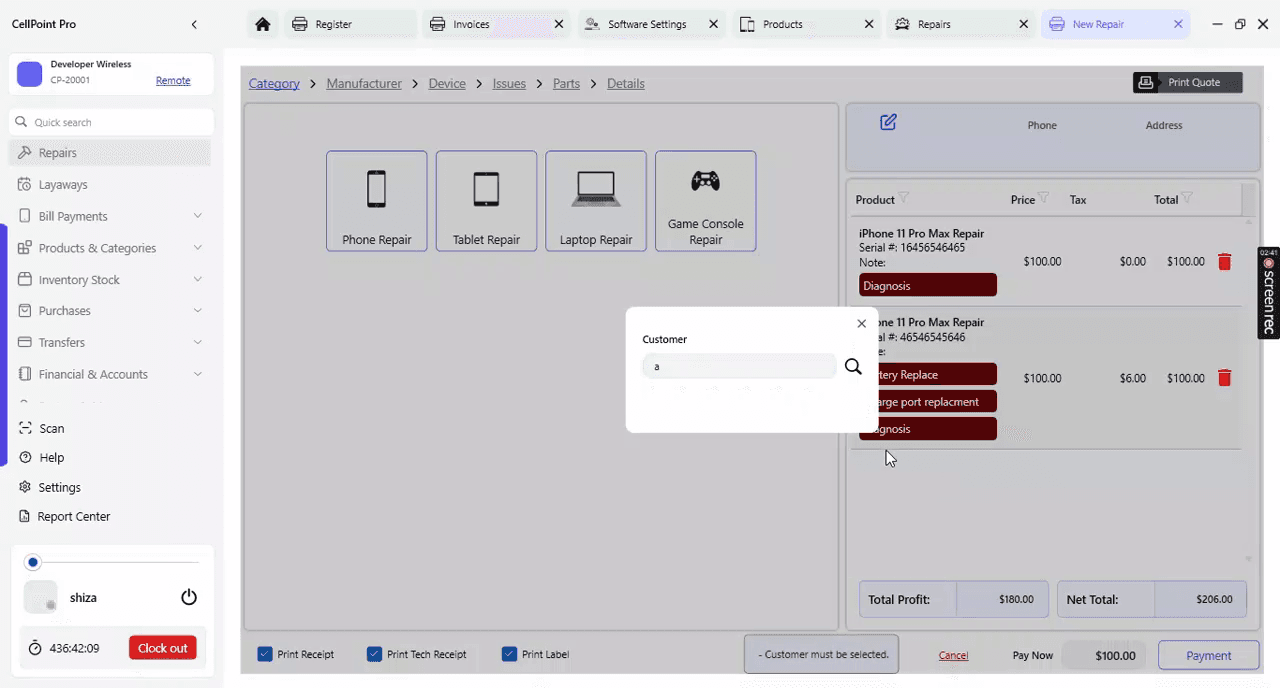
If prompted, you may need to open a shift before completing the checkout.
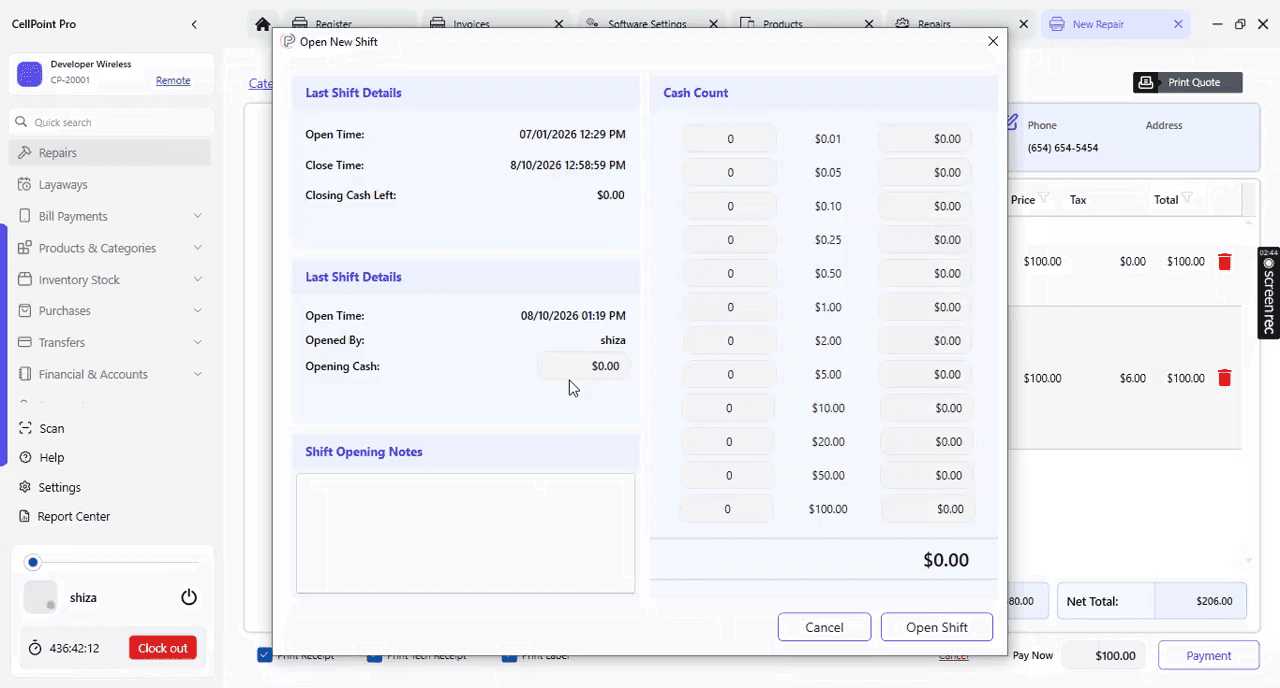
Open the shift as required, then return to the checkout interface.
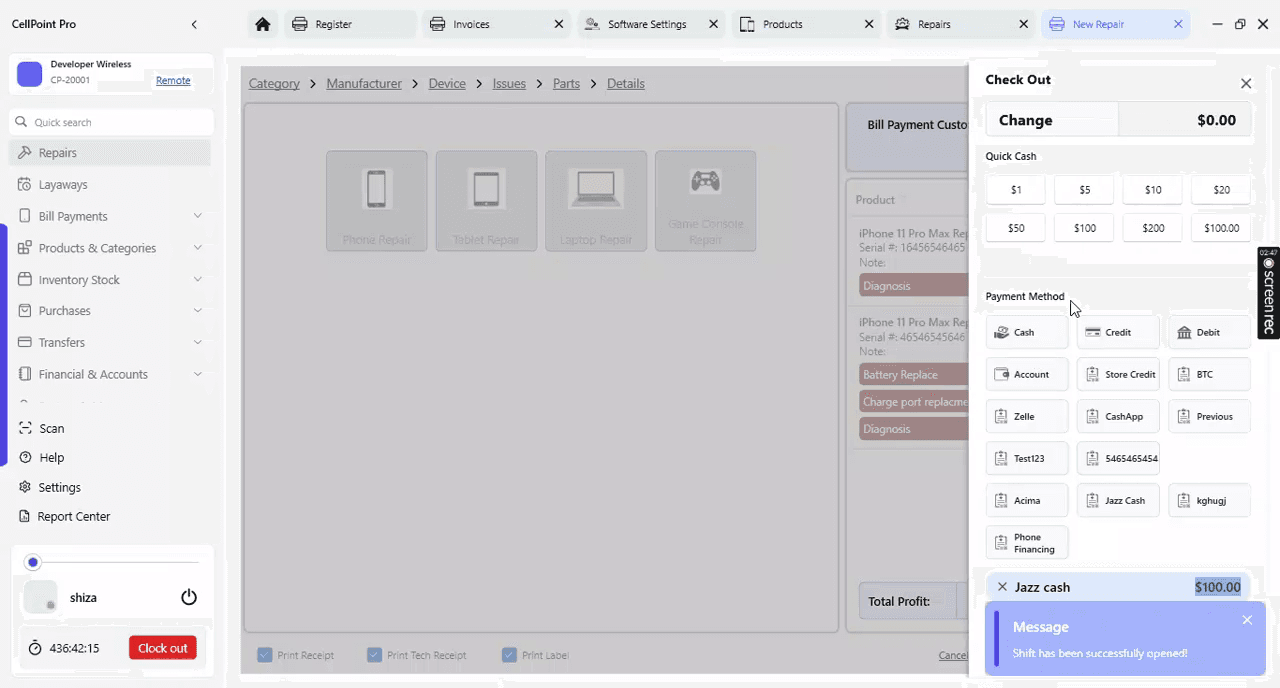
From the checkout interface, you can choose
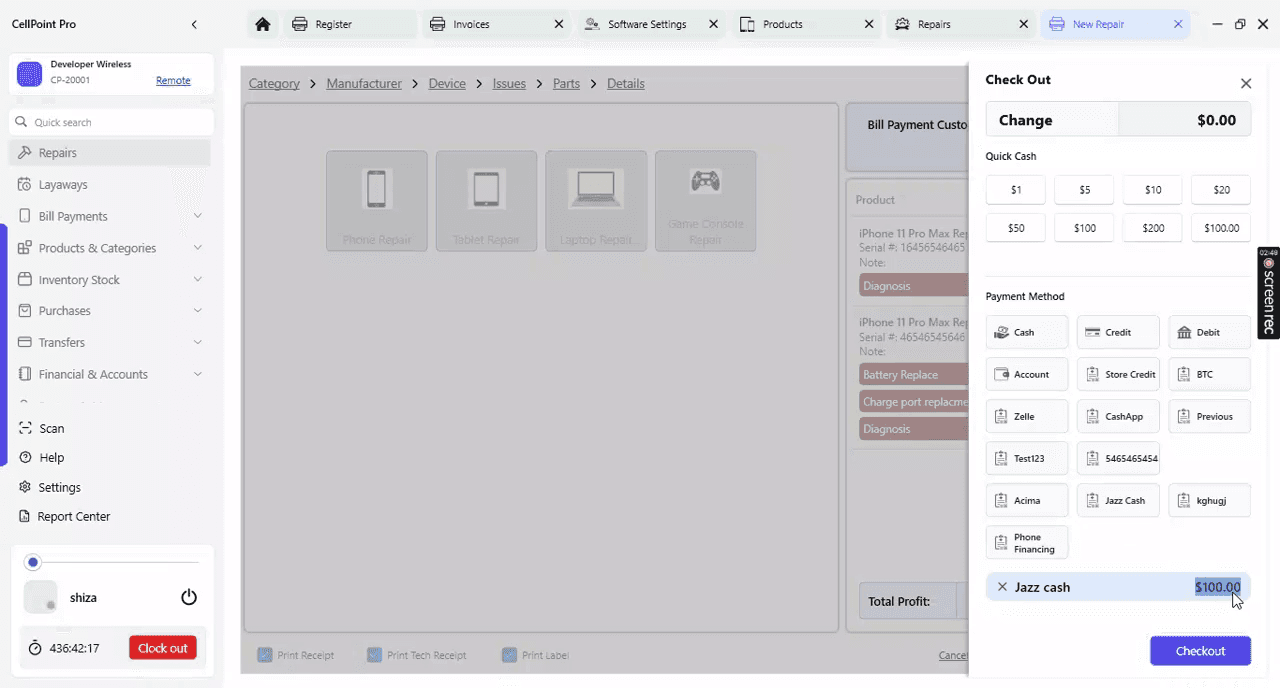
any supported mode of payment (cash, card, etc.)
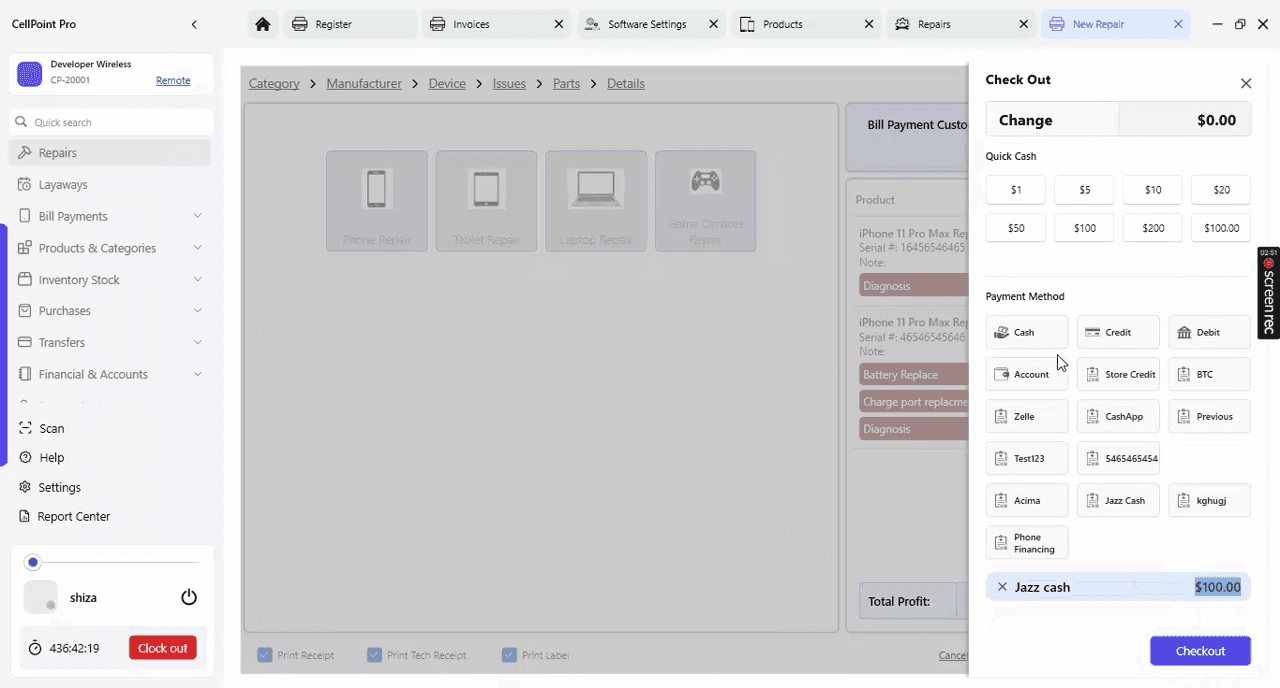
and you can also add custom payment methods if needed.
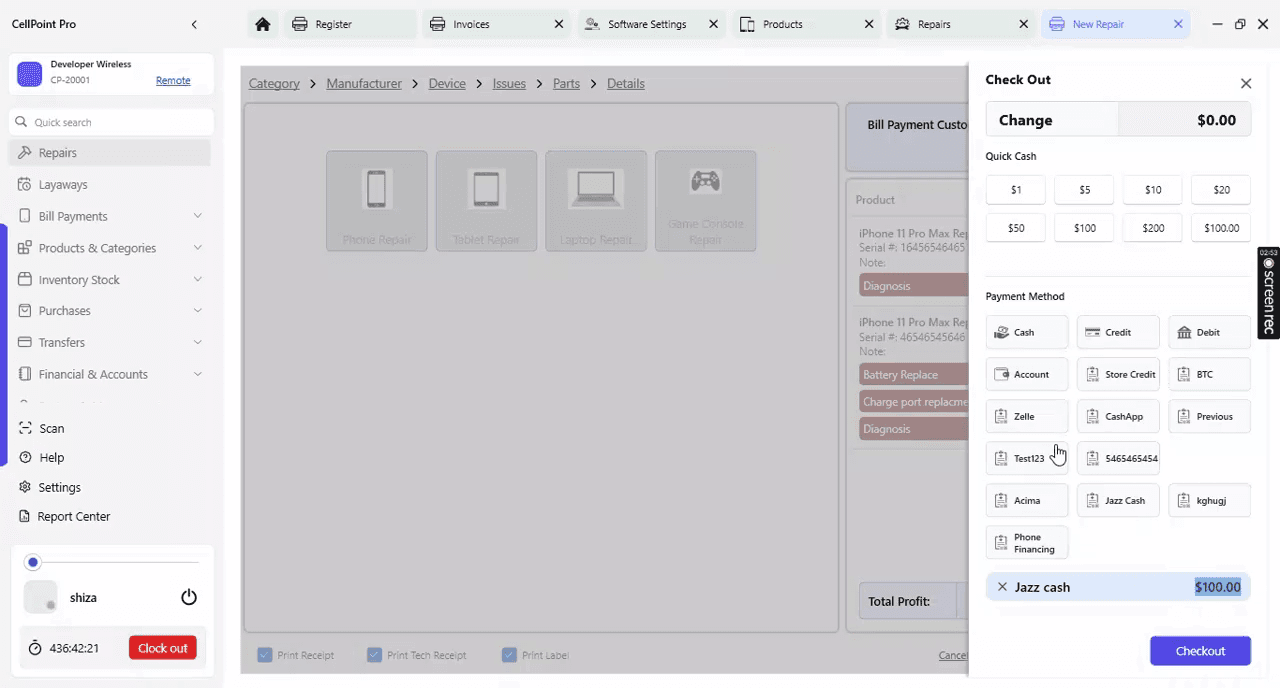
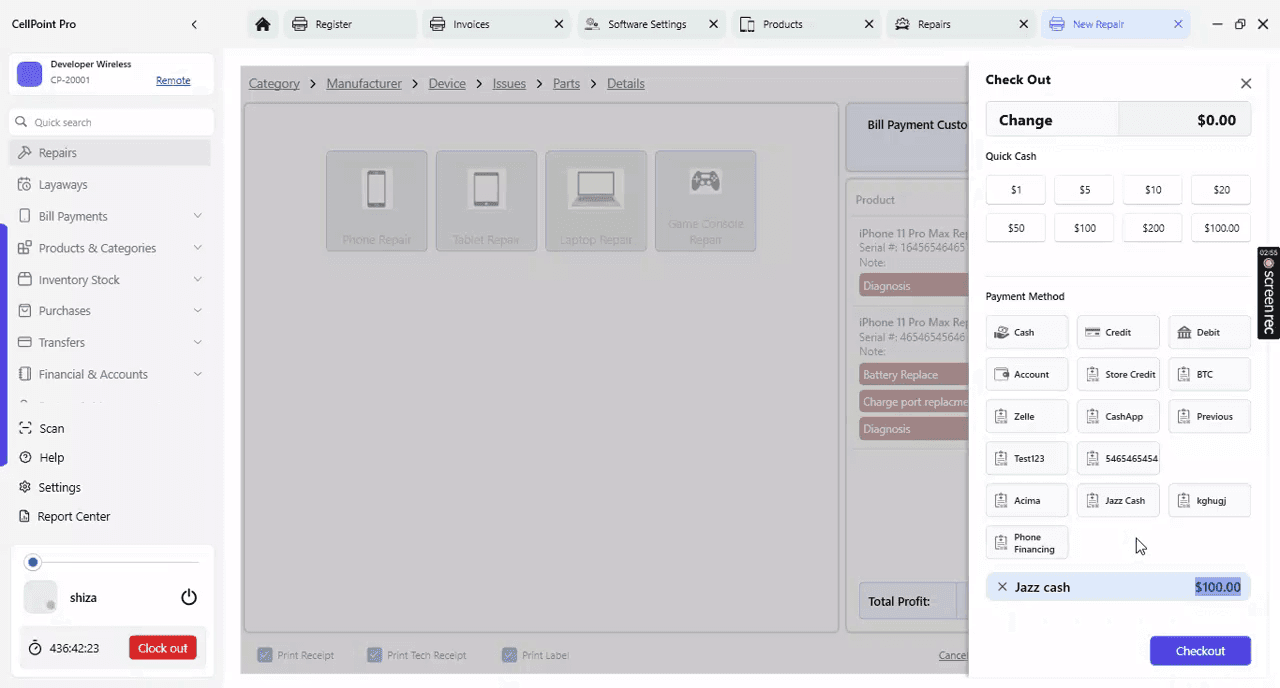
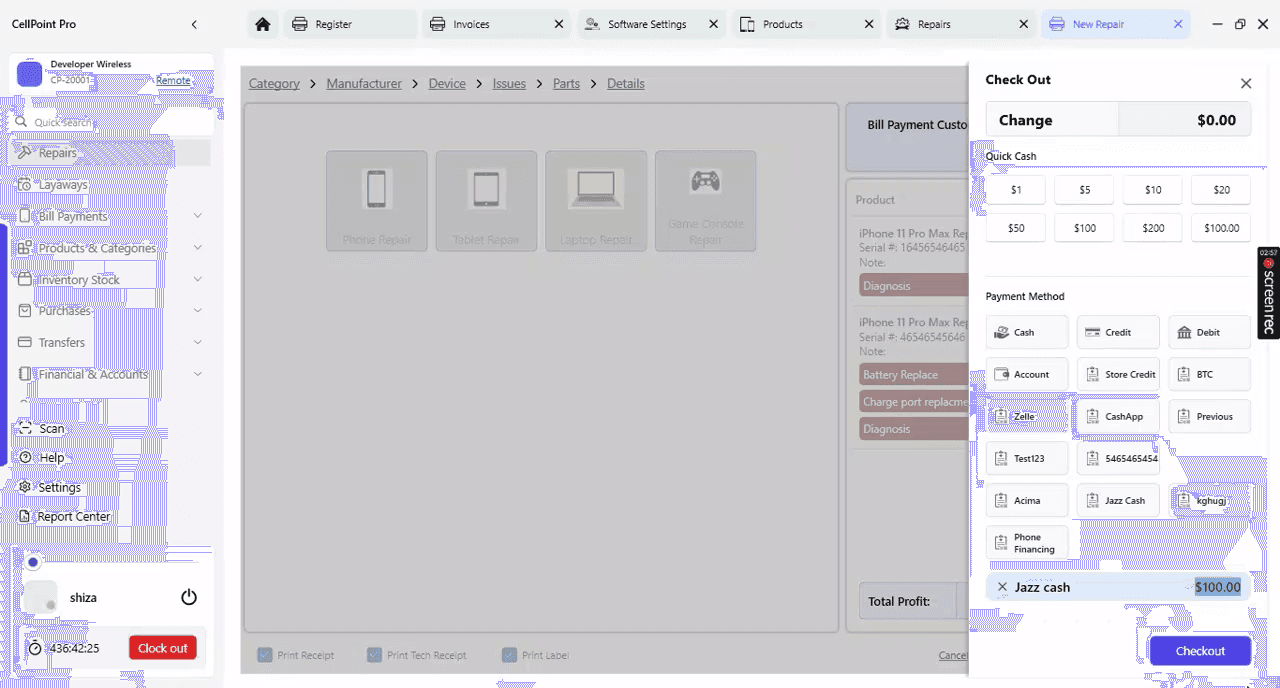
Click Checkout to finalize the payment.
Step 8: View the Repair Receipt
Once payment is completed, the repair receipt is generated.
You can open and view this receipt.
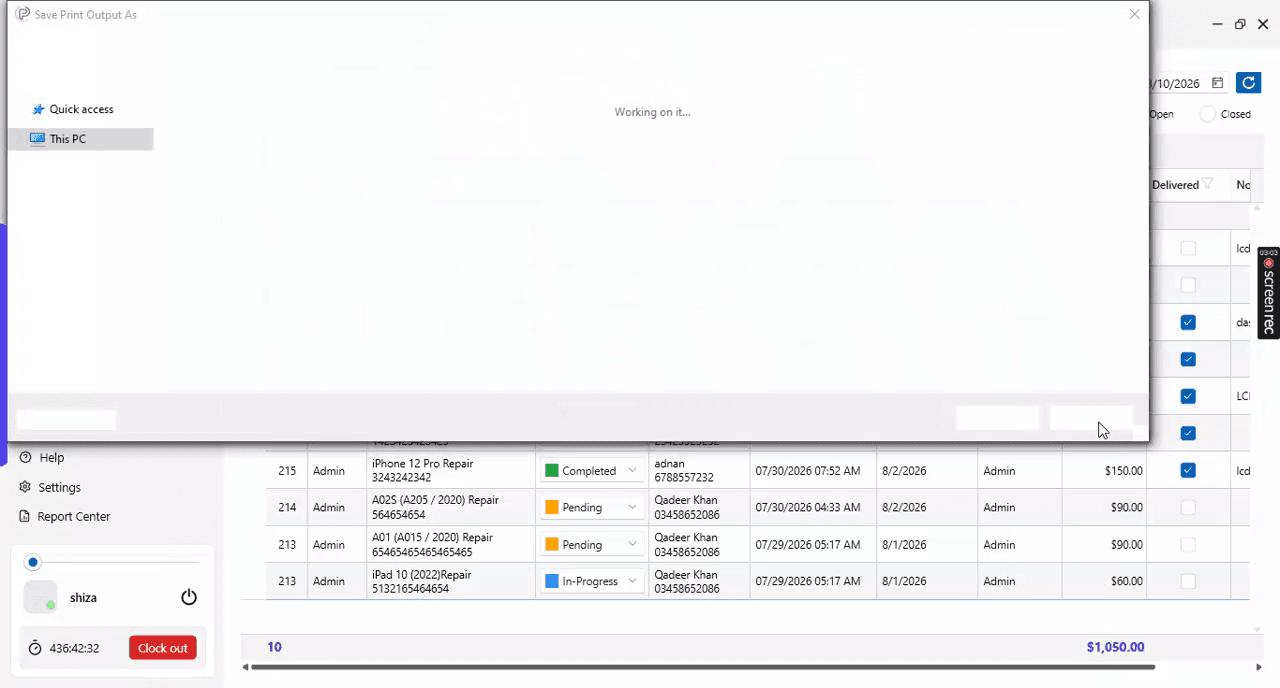
This will display the receipt view.
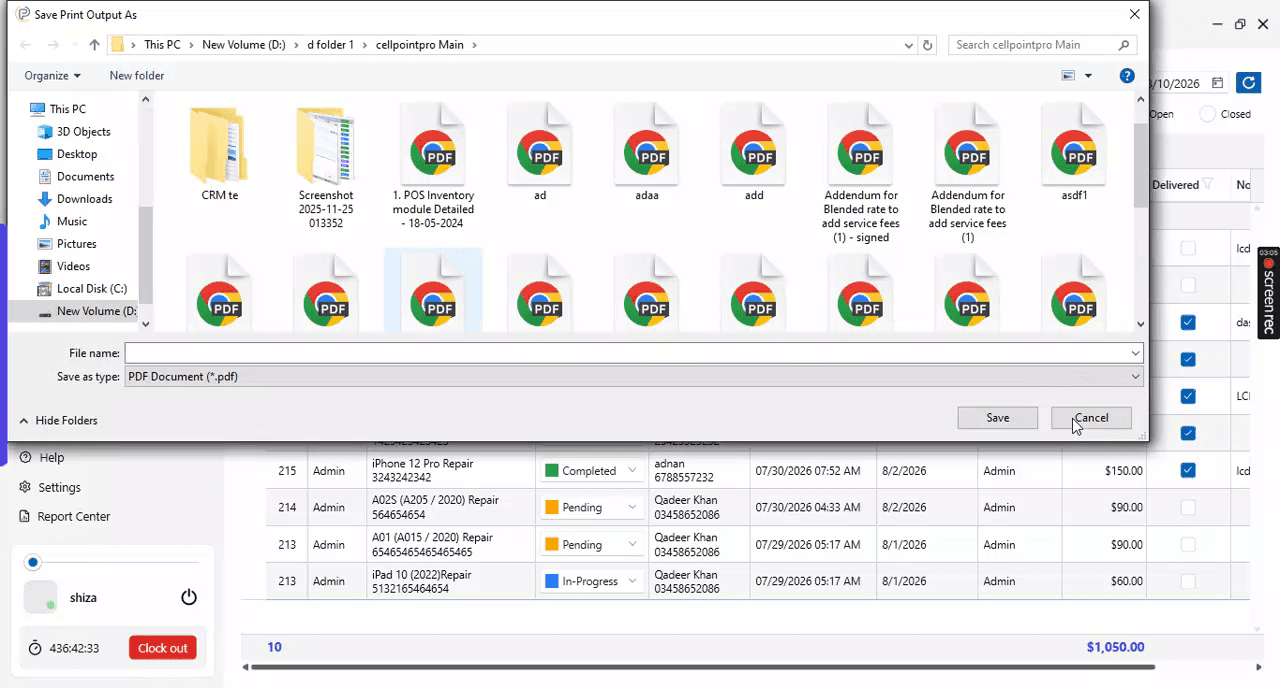
Select the receipt to review its details.
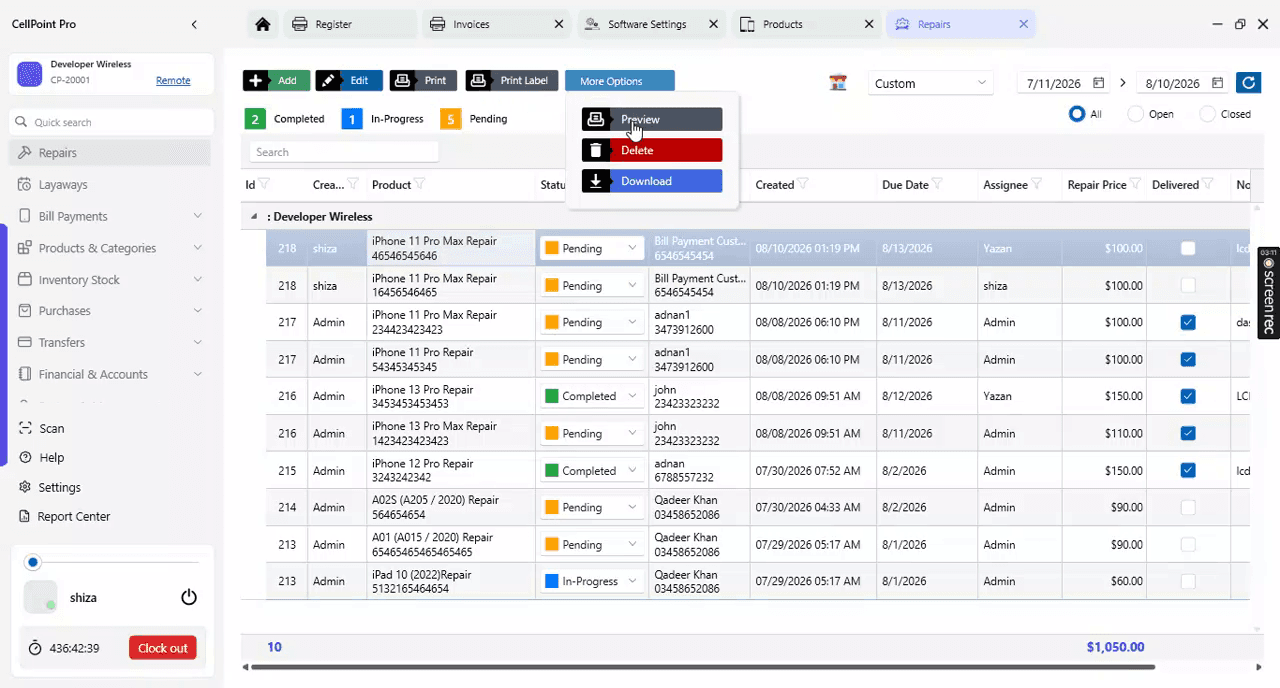
The receipt includes professional-looking details such as device information, diagnostic information, parts used, and payment history. It also contains a QR code that customers can scan to check the live status of their ticket.
Step 9: Manage and Complete Existing Tickets
To manage an existing ticket,
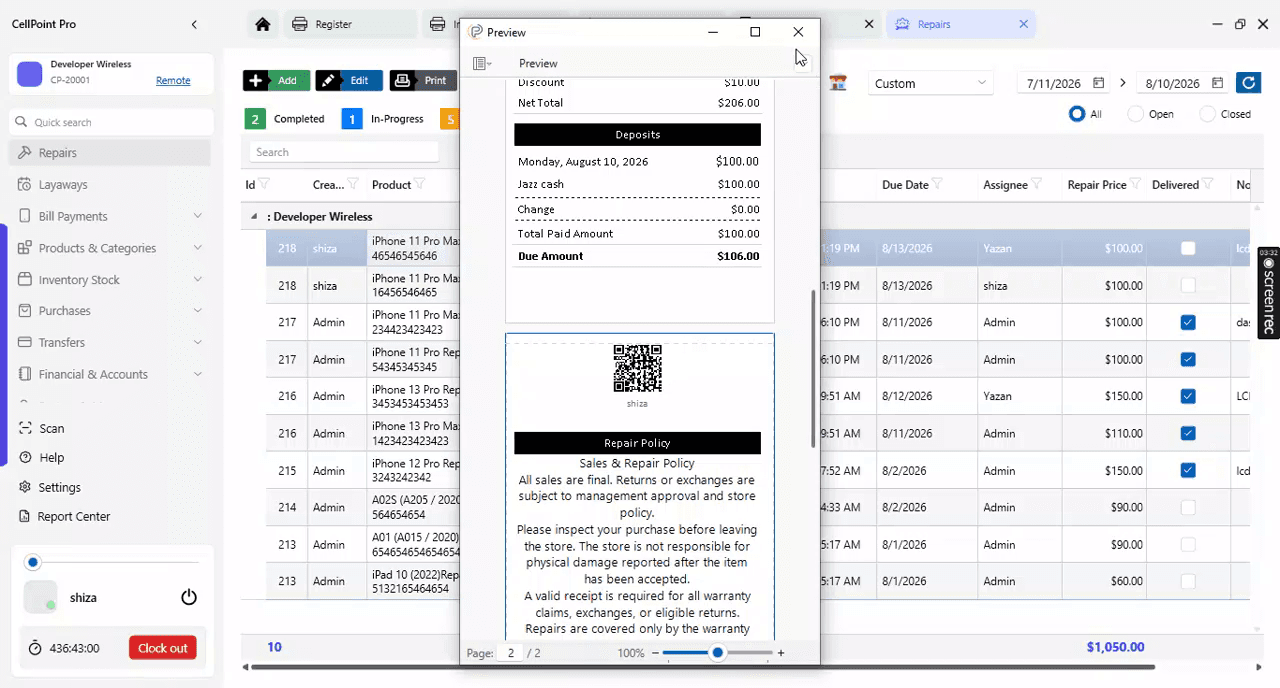
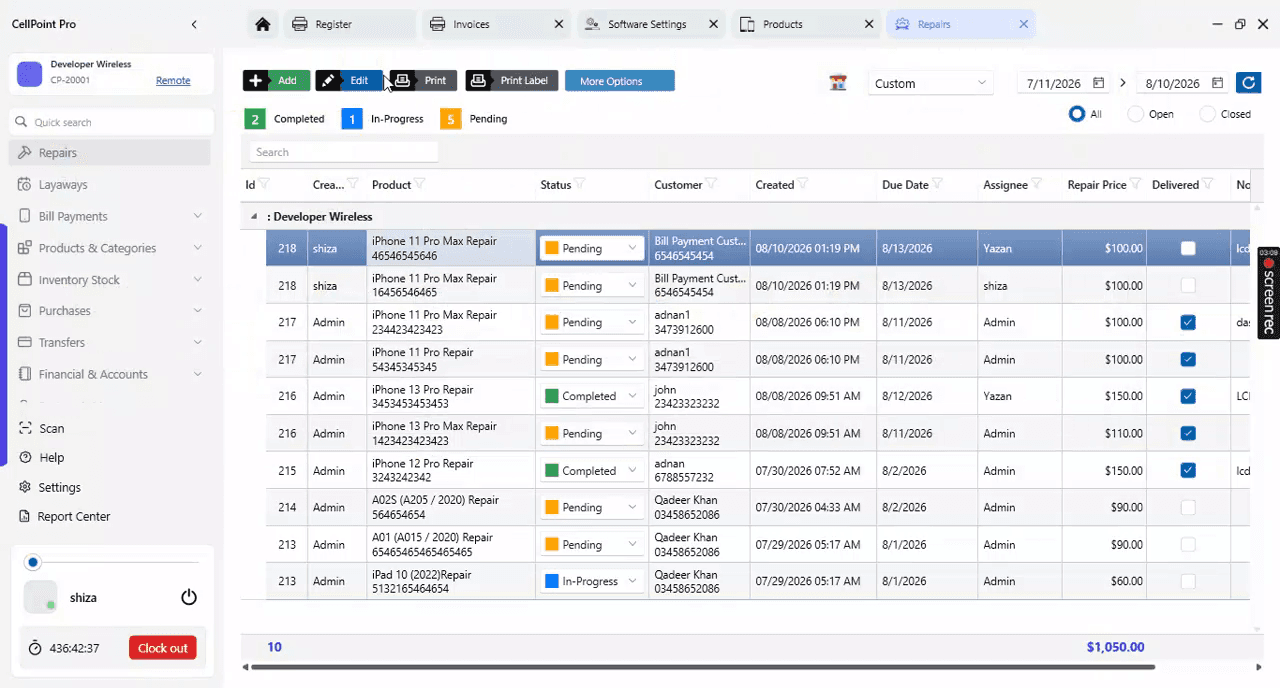
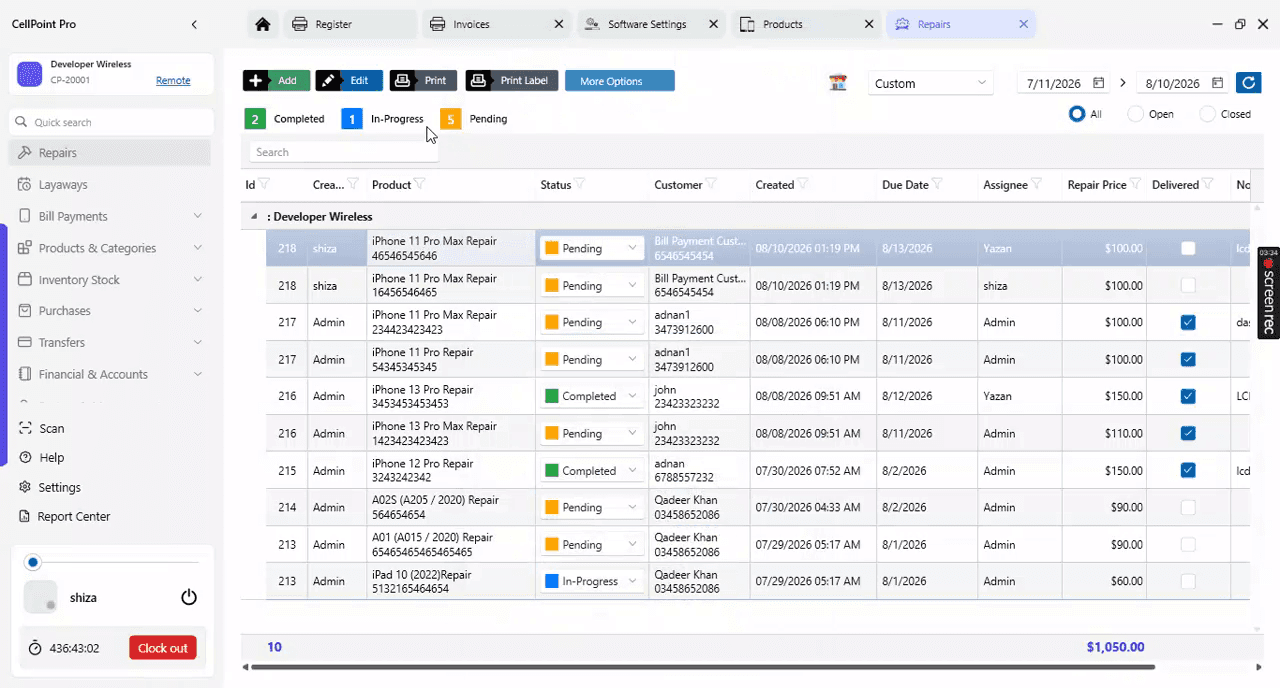
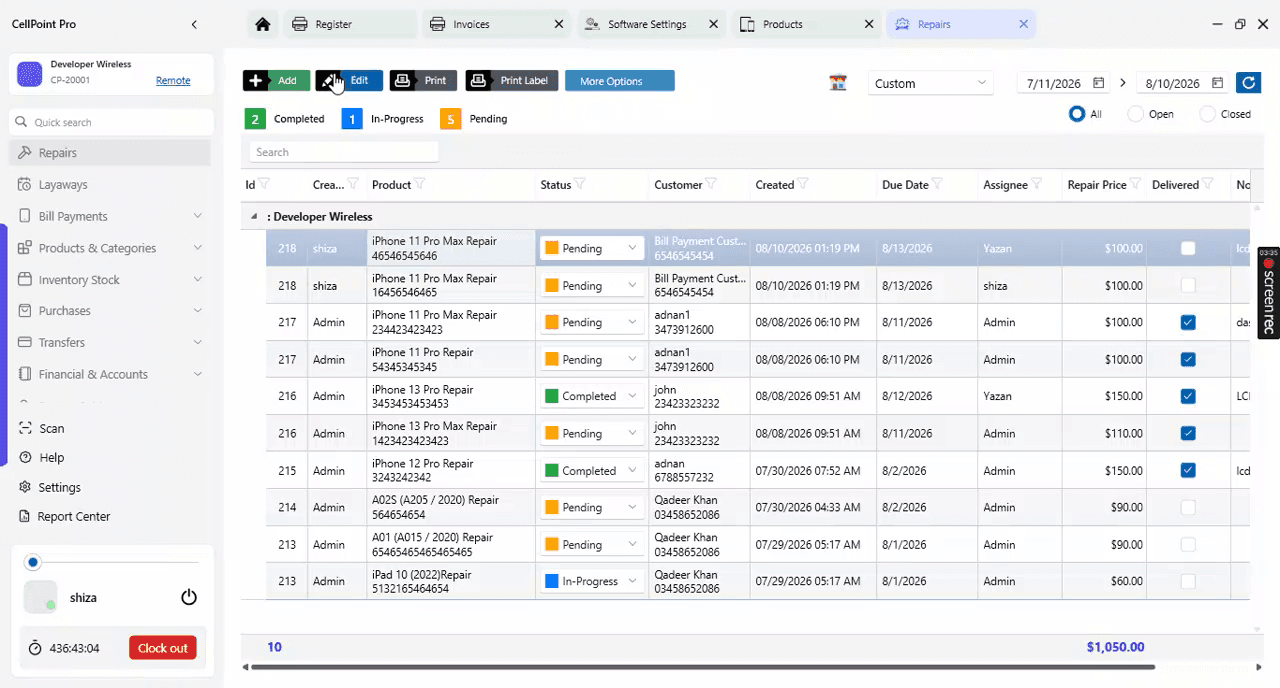
select the ticket from your list, then click Edit.
From here, you can manage multiple devices in the same window and update issues, parts, and other details as needed. Once all work is done, complete the ticket.
When the repair is finished and you are ready to deliver the device, ensure you have collected the necessary final payment.
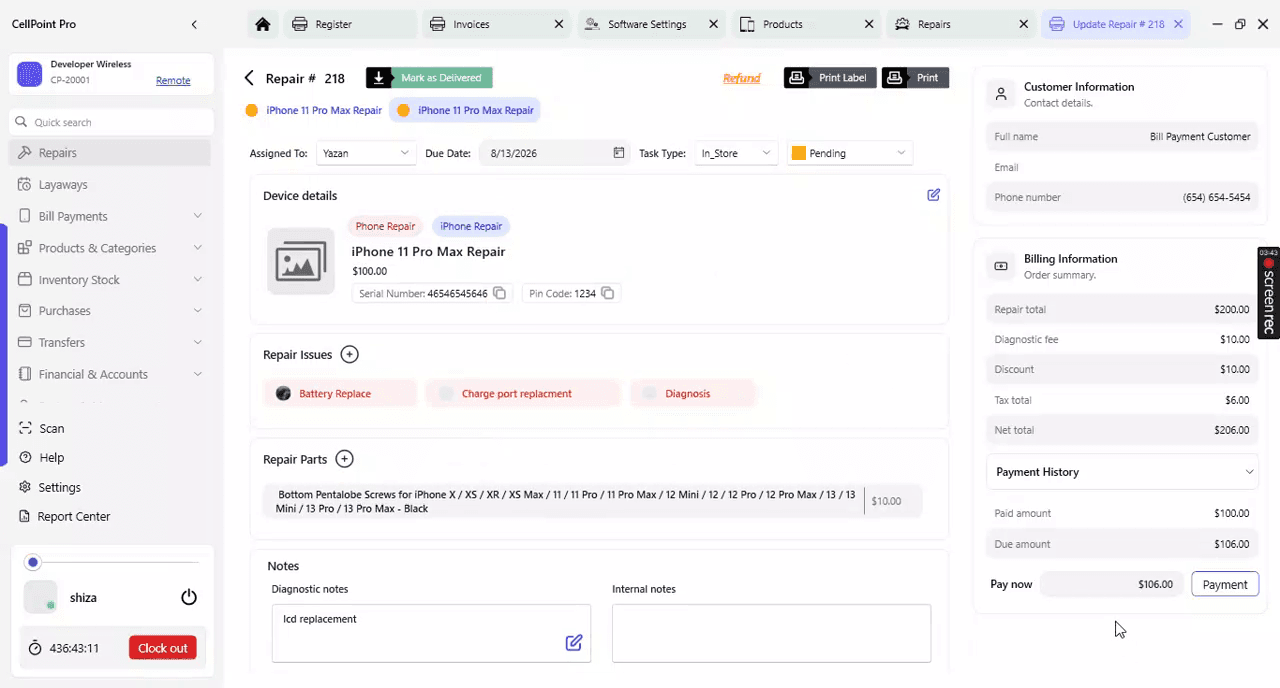
Once the payment is done,
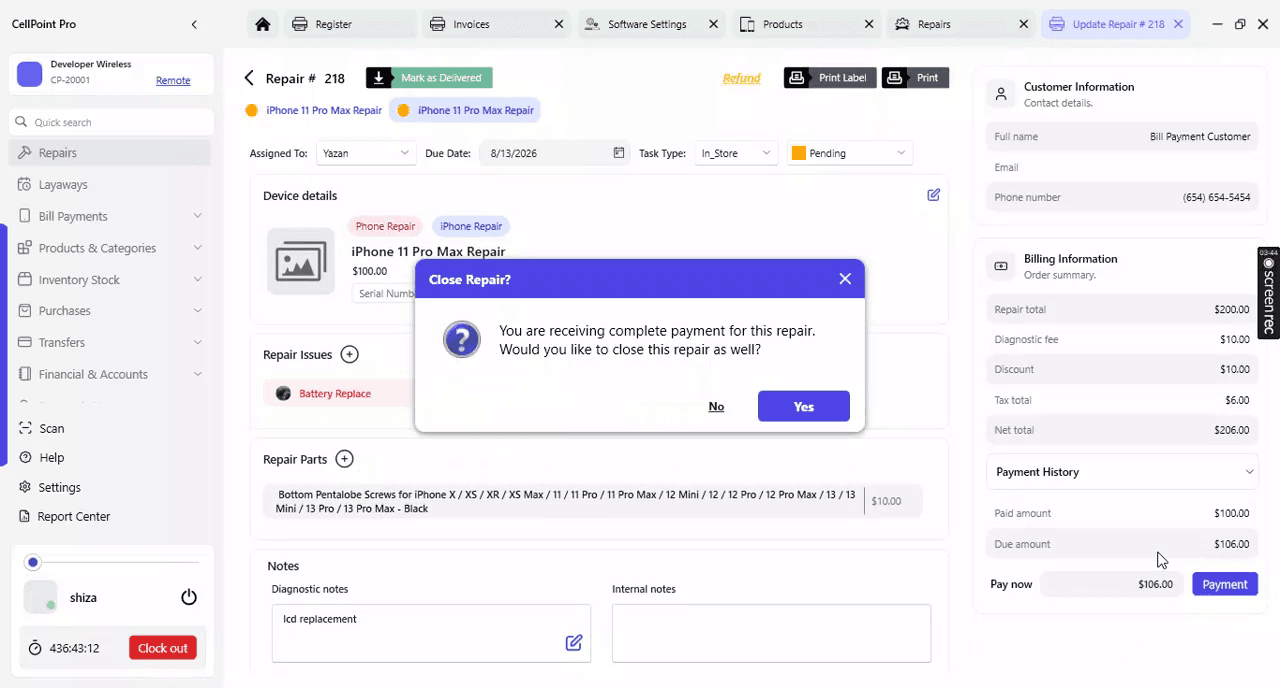
click Checkout again if there is a remaining balance.
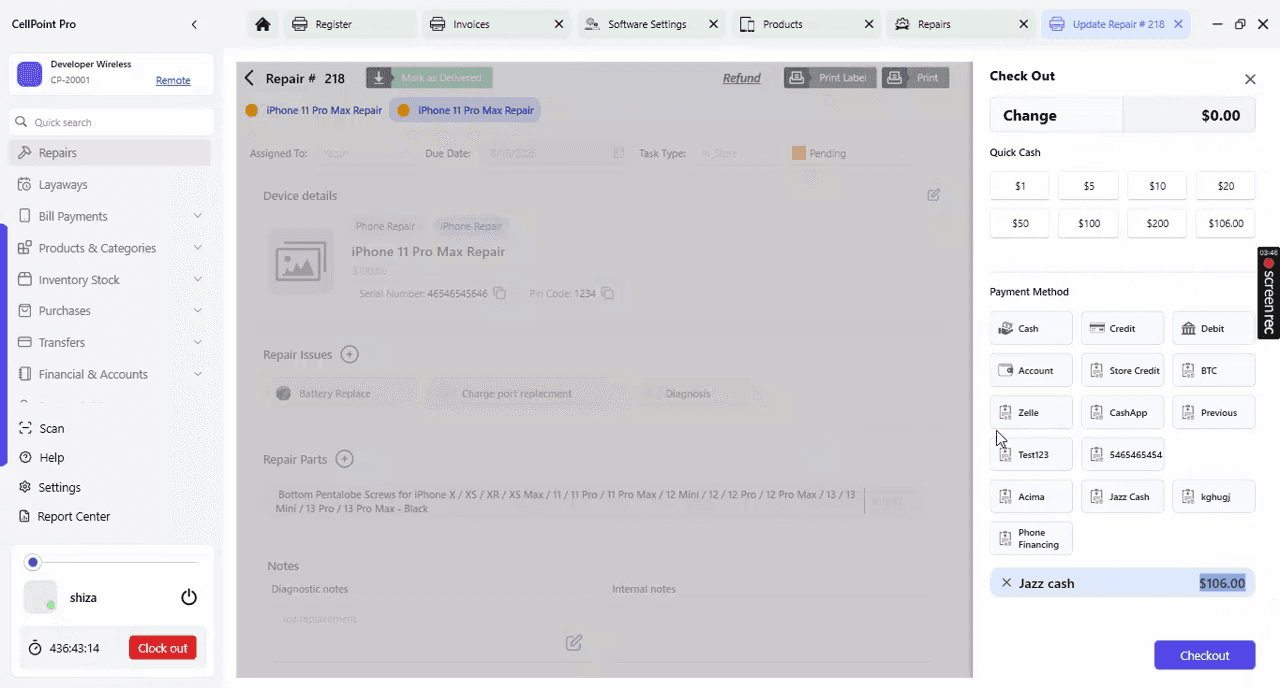
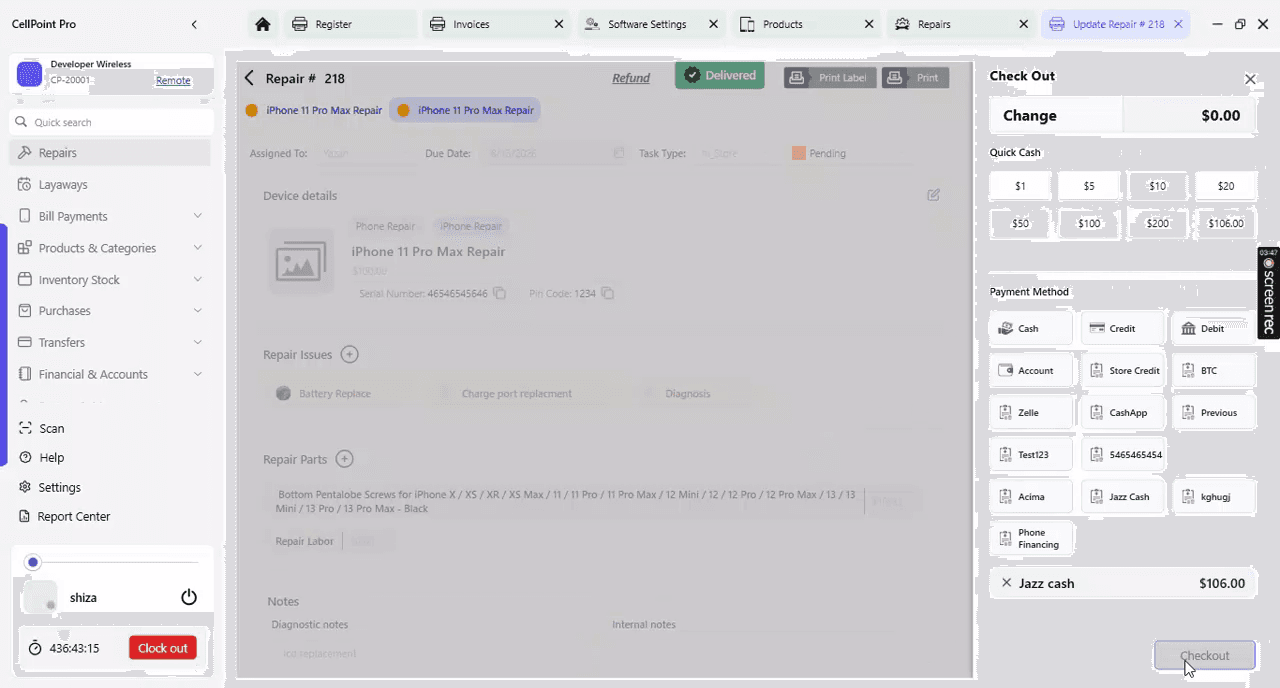
At this point, the item is delivered to the customer.
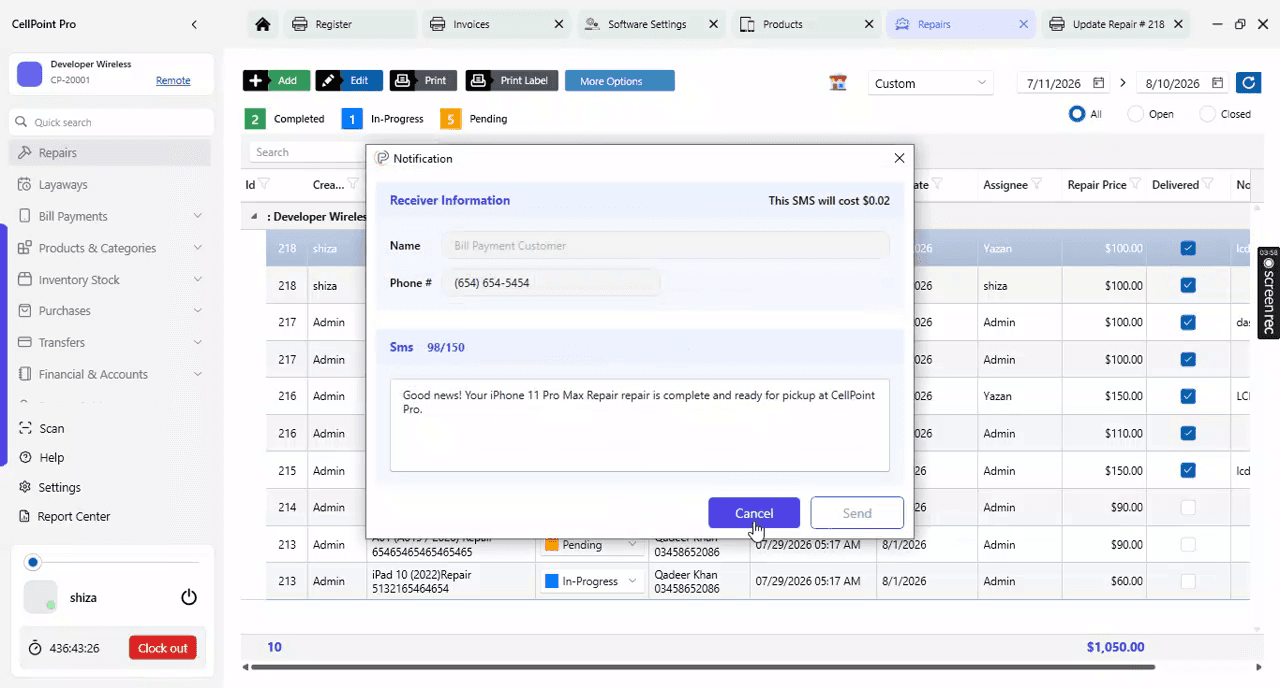
If you want to notify the customer by SMS, you can send a text message as soon as you change the ticket status to Completed, informing them that their phone is fixed and ready for pickup.
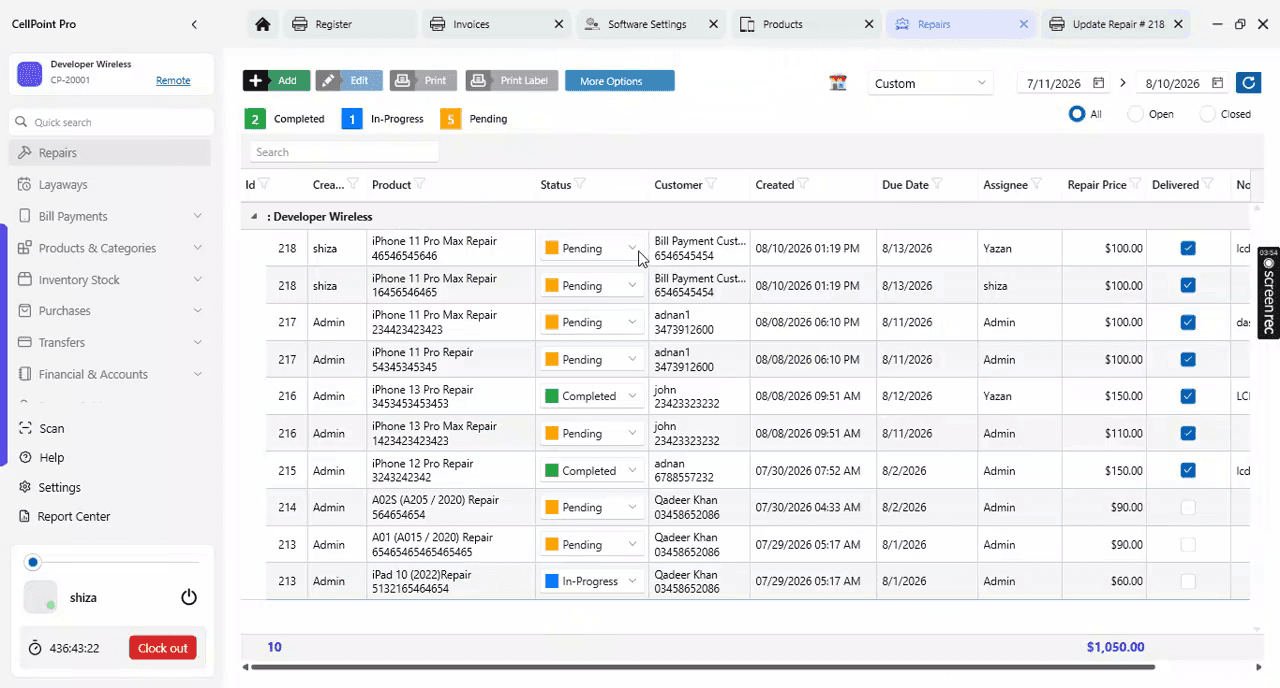
You can trigger the text message notification from here.
Step 10: Monitor Open and Closed Repair Tickets
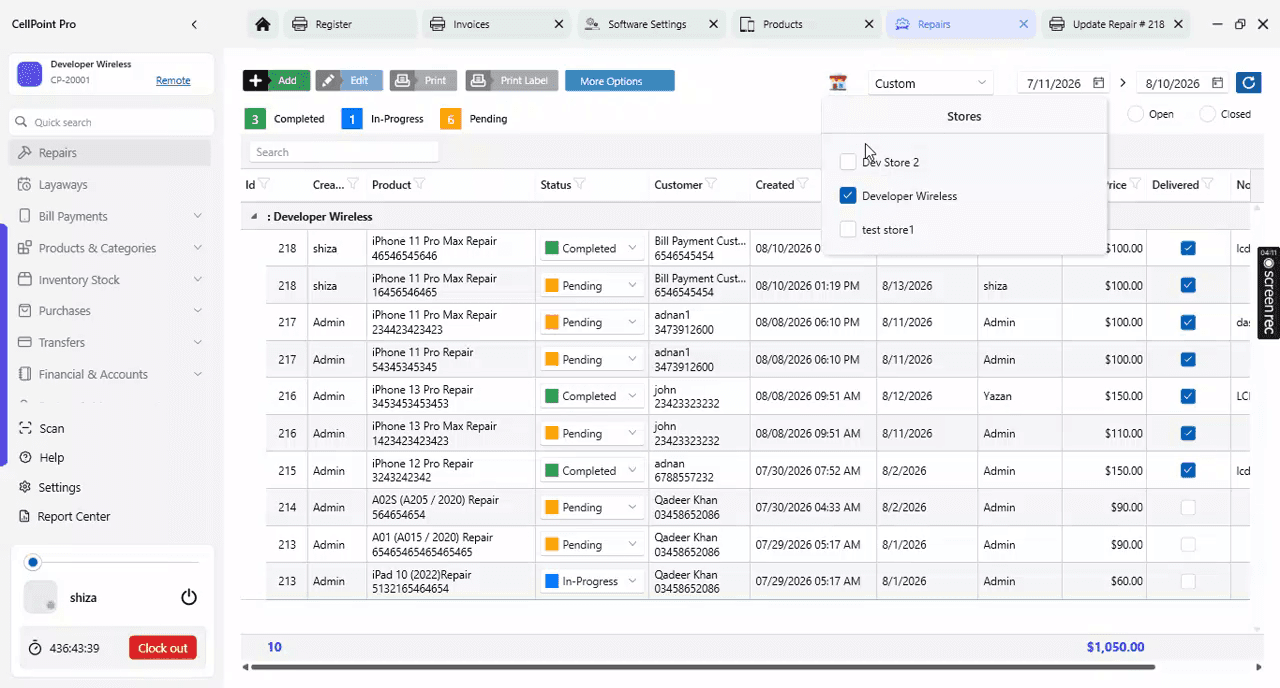
Use the repair management view to see your open and closed repair tickets.
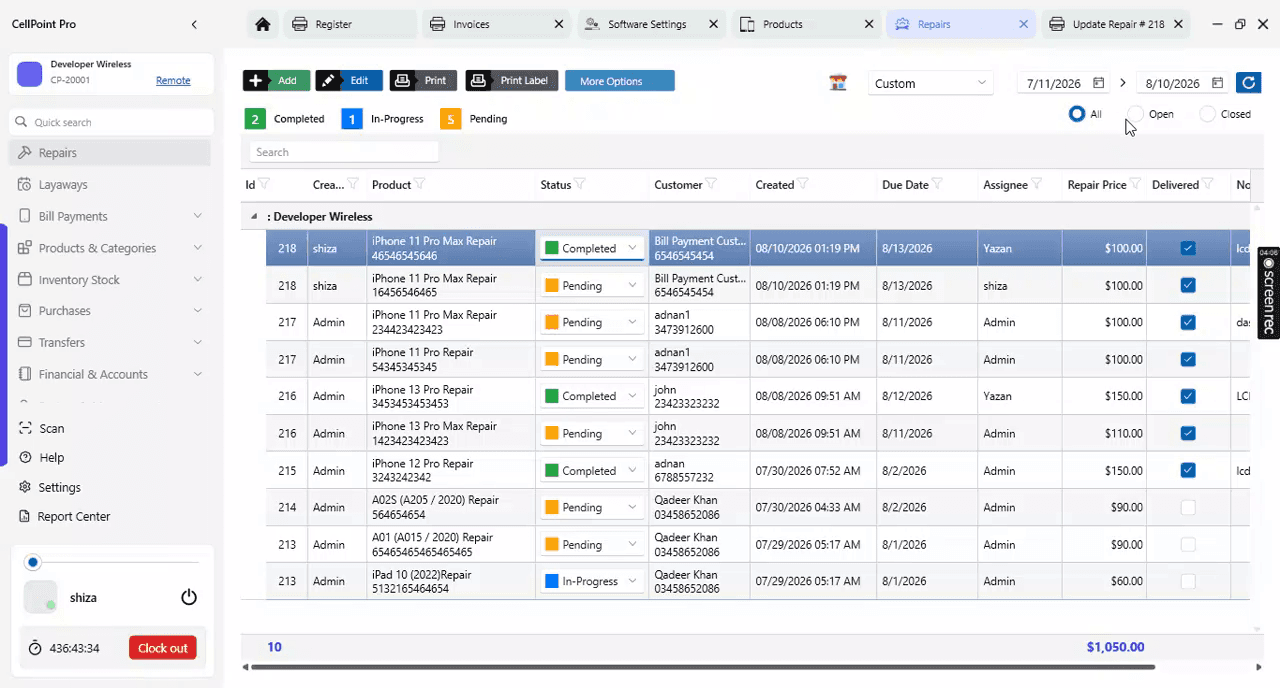
The Open list shows all ongoing repairs, and the Closed list shows completed ones.
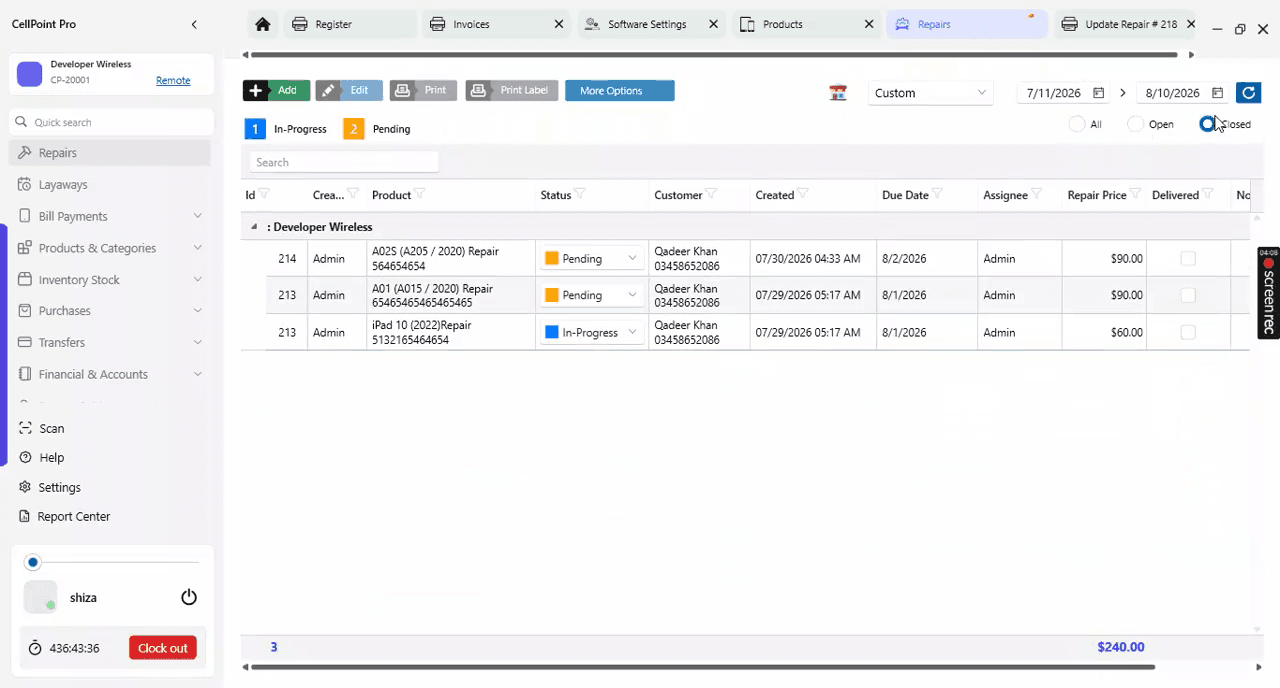
From this interface, you can manage all your repairs in one place.
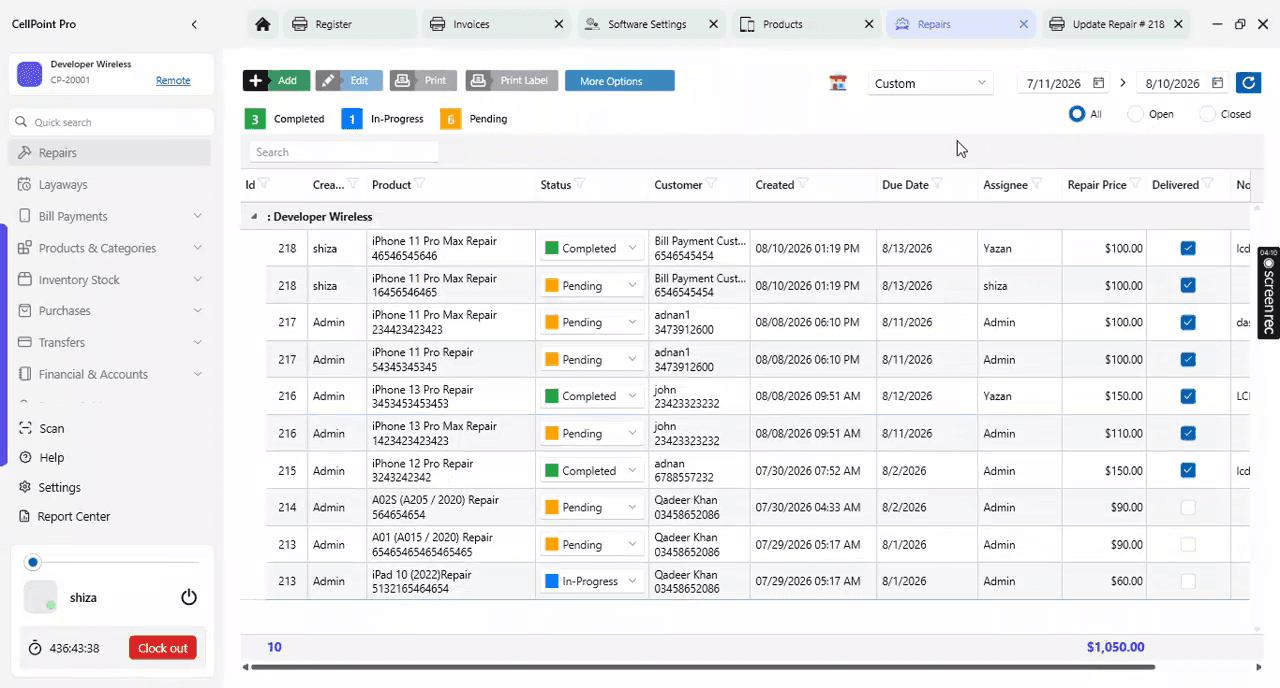
For multi-store environments, you can manage repairs from multiple locations within the same window, ensuring centralized control over all repair tickets.
Watch the Video Tutorial
On This Page
Overview
Steps & Instructions
Video Tutorial