
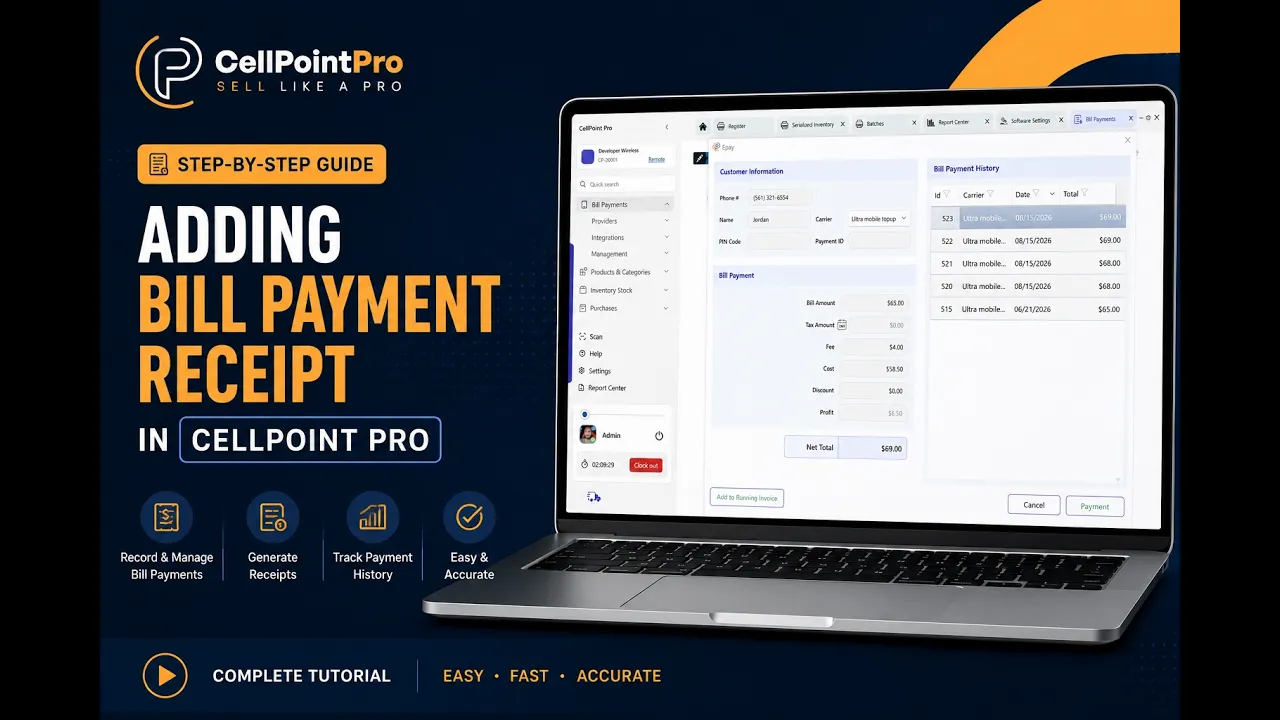
Payments
·
Tutorial
3 Minutes

Adding a Bill Payment Receipt in CellPoint Pro
This document explains how to add and process a bill payment receipt in CellPoint Pro, including handling single and multiple bill payments on the same invoice, applying convenience fees and discounts, and completing checkout.
Step 1: Access the Bill Payment Module
From the home screen, open the bill payment section.
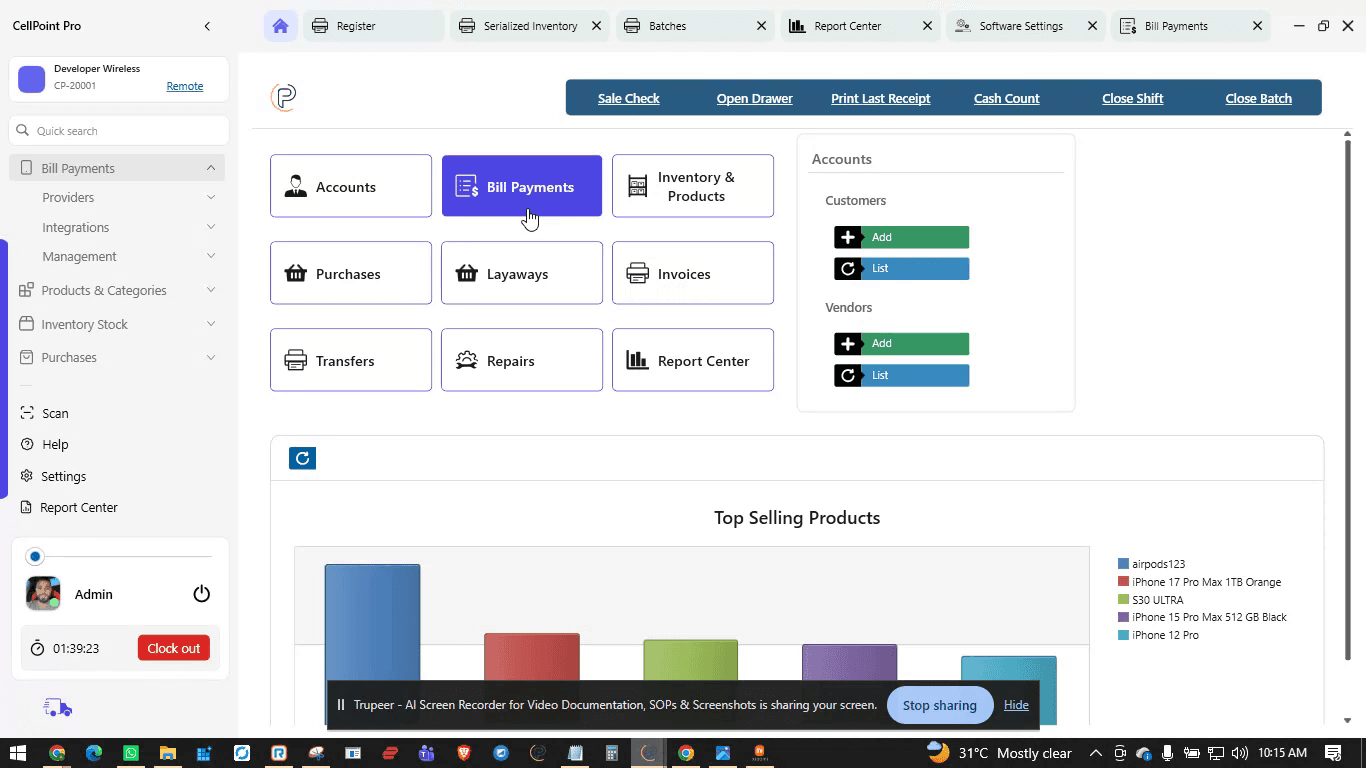
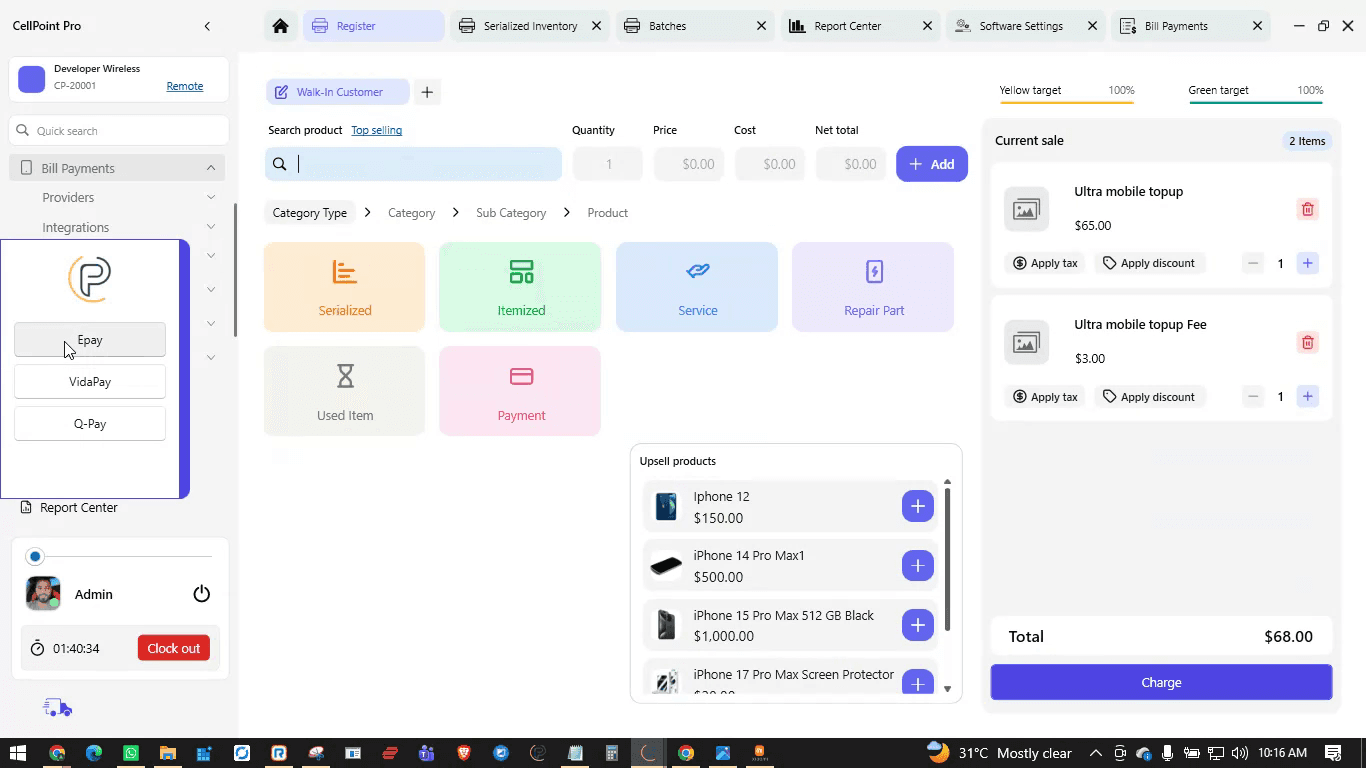
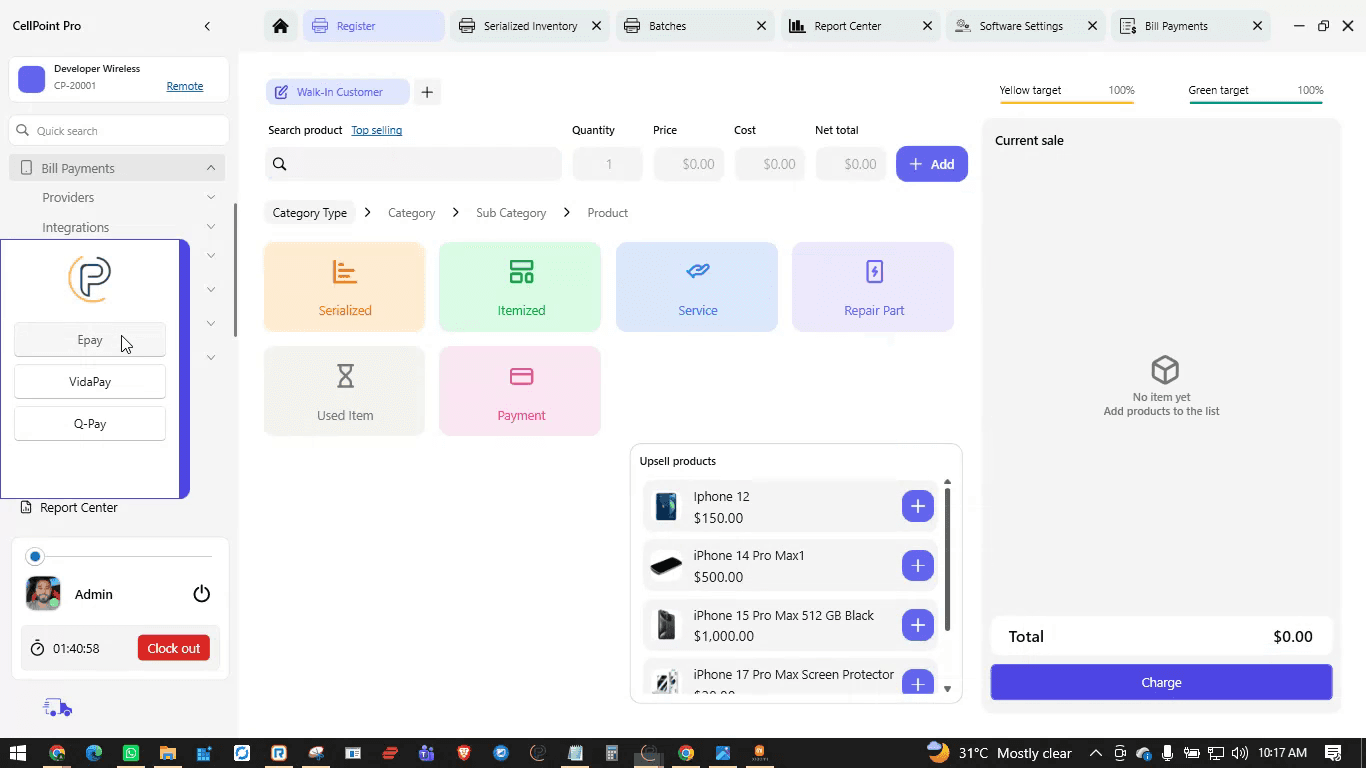
Click on the Provider Button / E-Pay in this Instance.
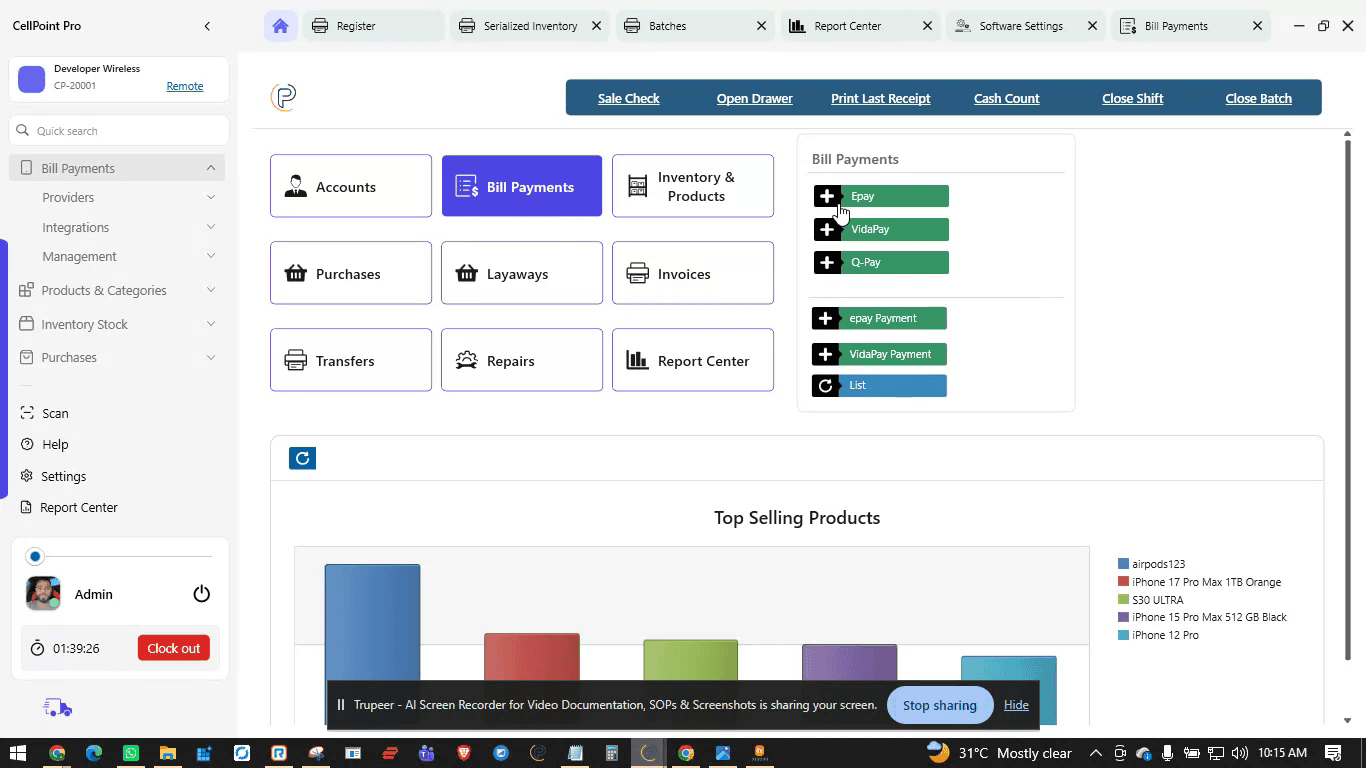
You can add all your providers here, and the system supports integration for E-Pay Bill Payment as well.
Step 2: Use the Quick Bill Payment Option (Optional)
On the left side panel, there is an option to quickly post a bill payment receipt even if you are outside the main software workflow.
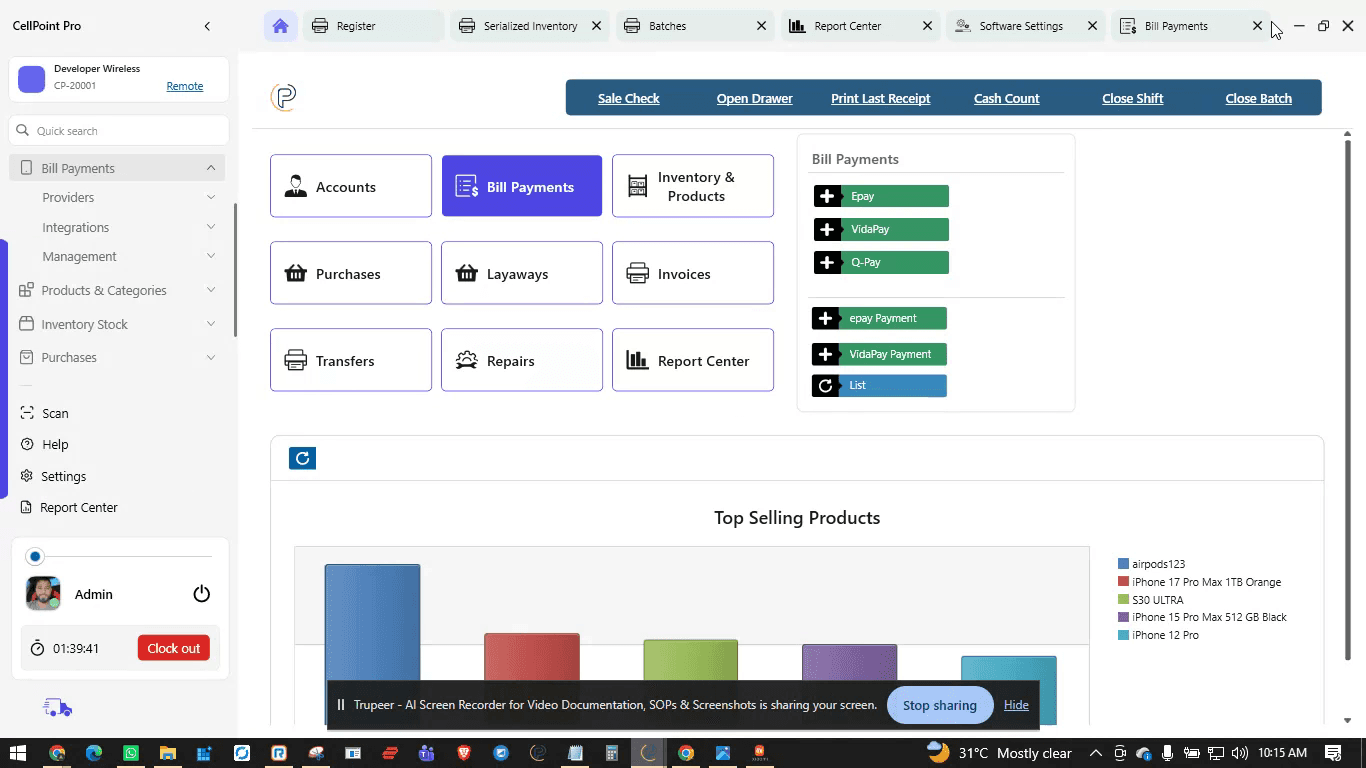
You can still post a
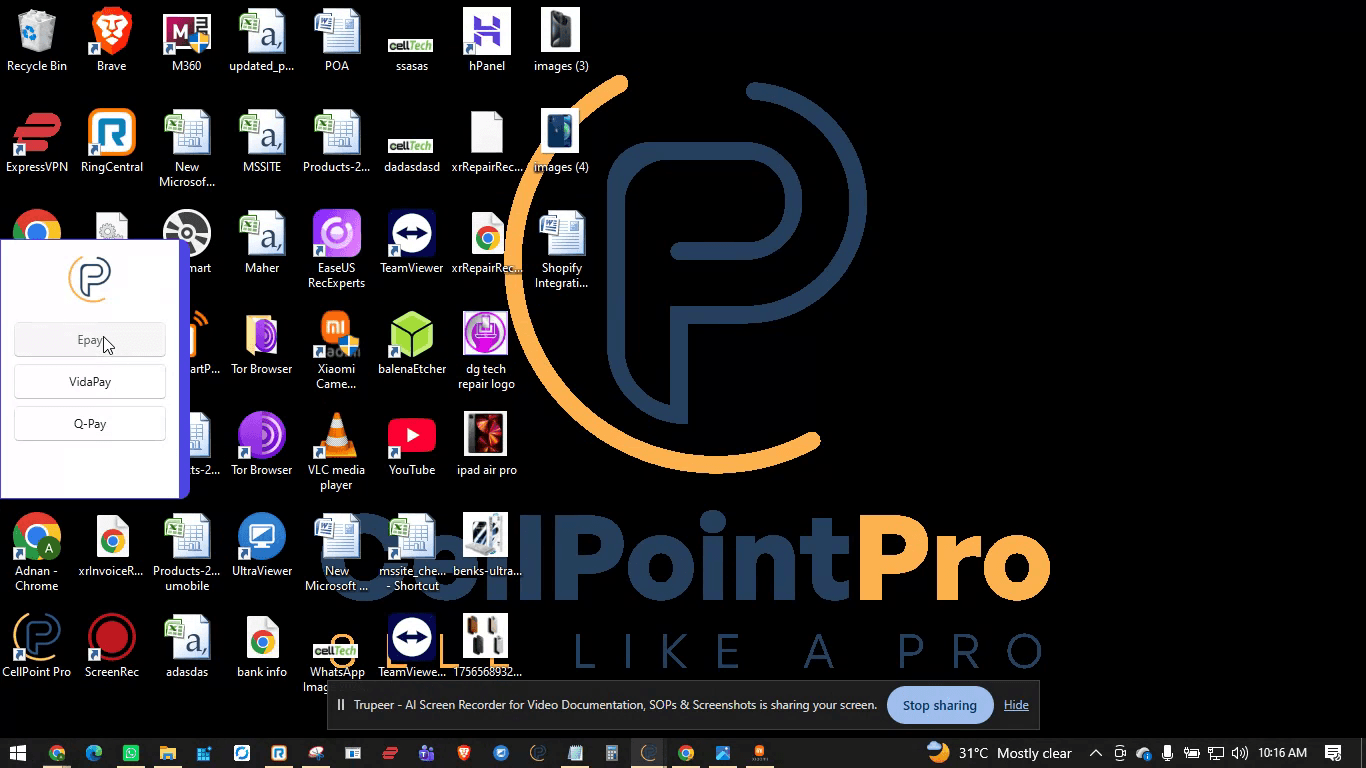
bill payment receipt very
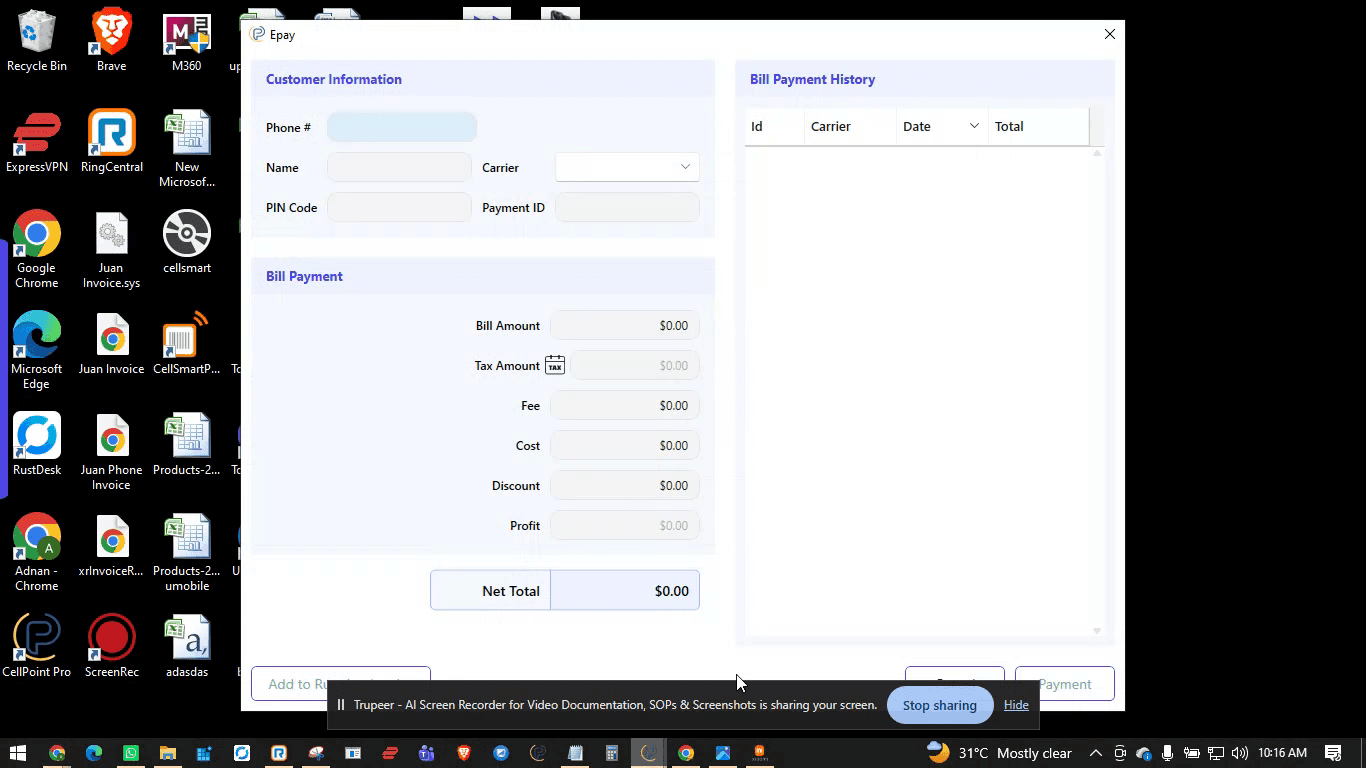
quickly using this shortcut.
Step 3: Start a New Bill Payment Receipt
Return to the main software interface and open the Bill Payment section.
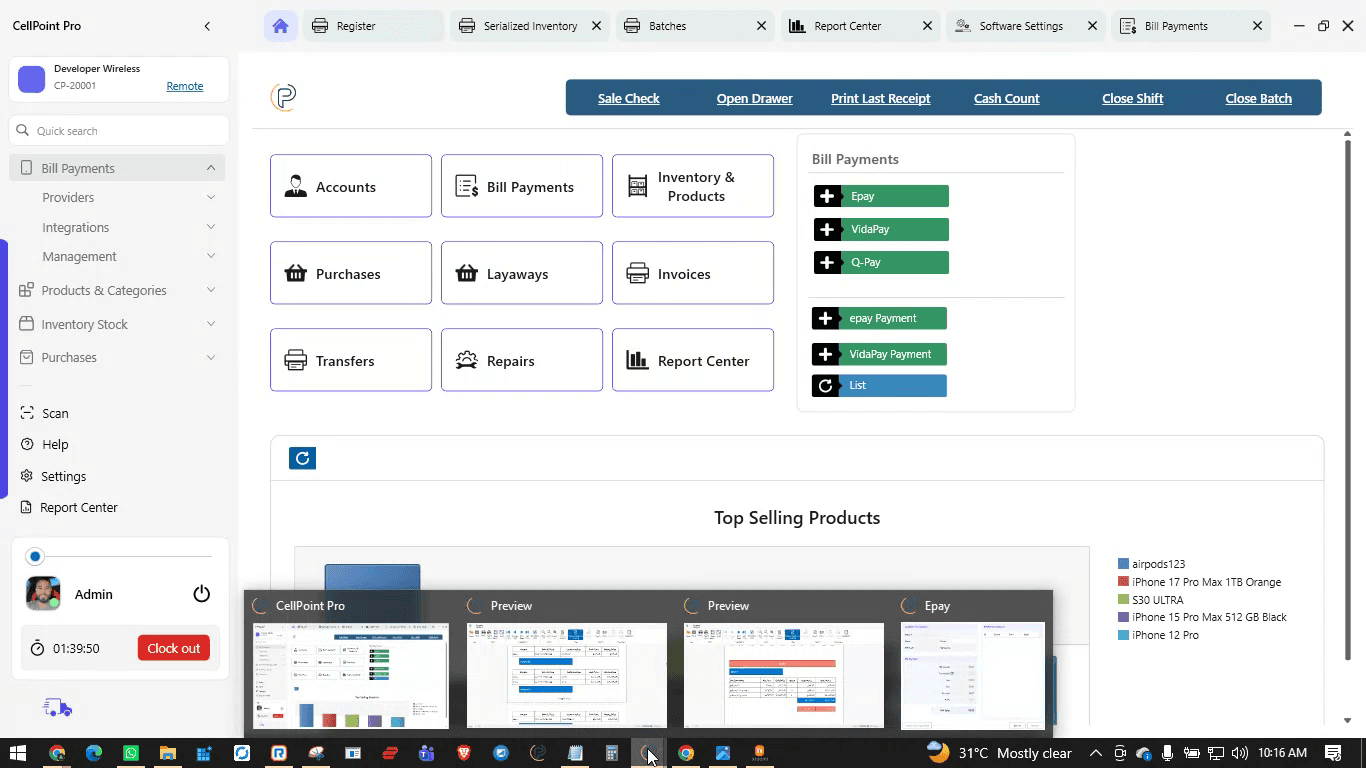
Choose New Bill Payment Receipt.
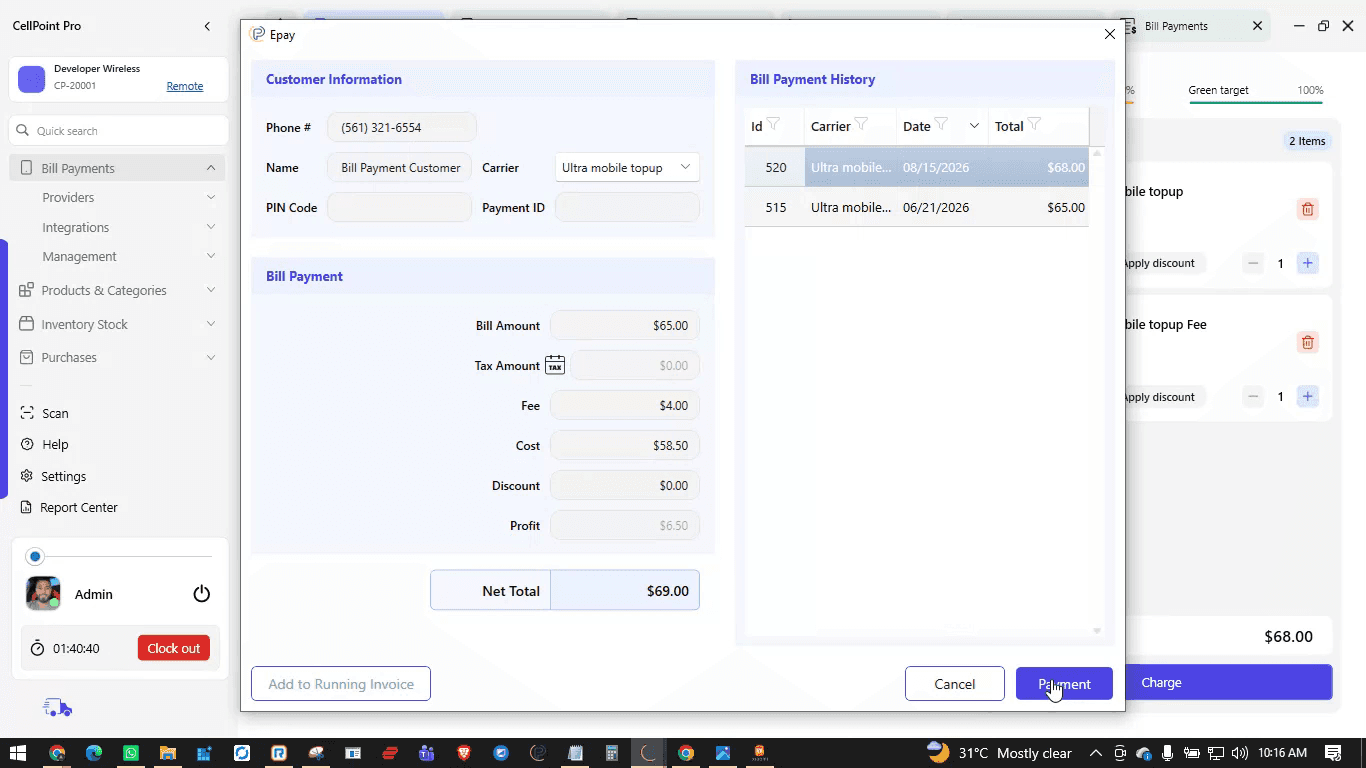
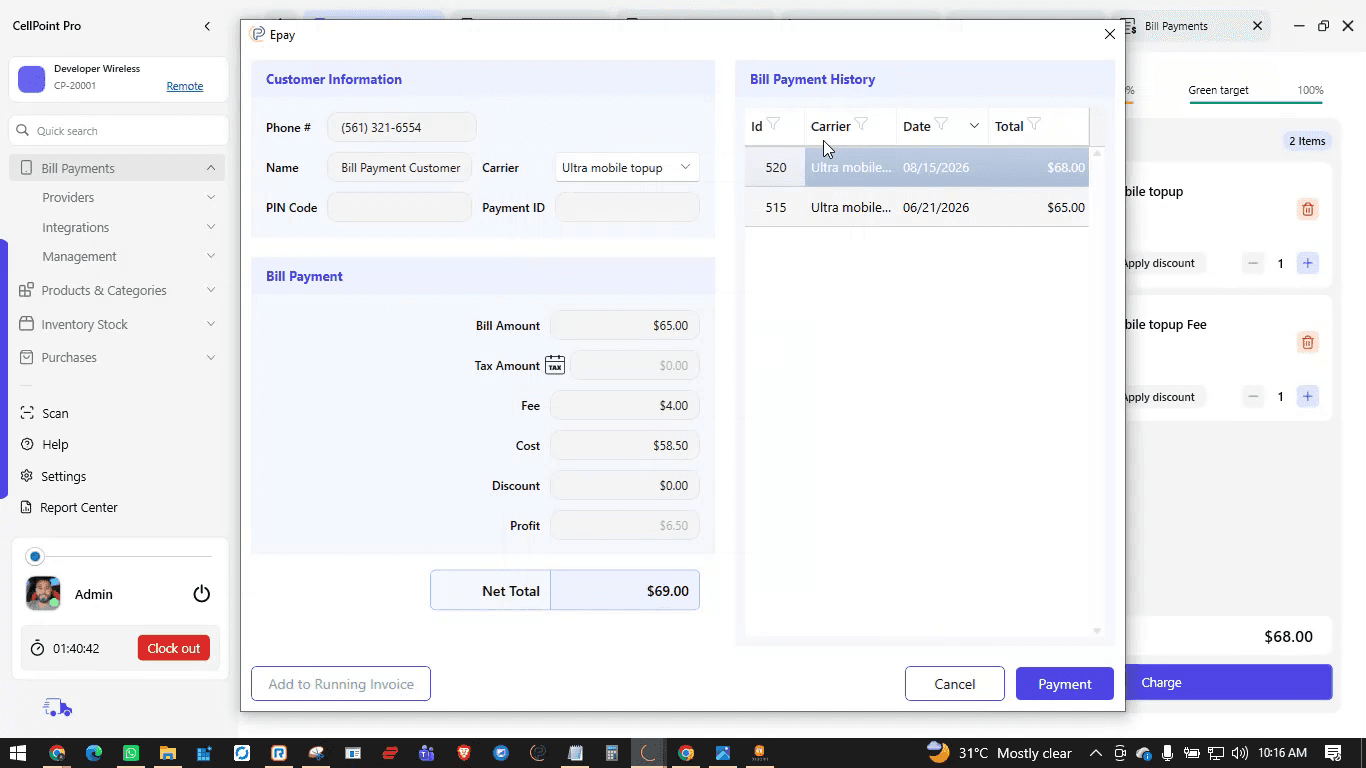
Enter the customer’s phone number; the customer’s history will be pulled up automatically.
Step 4: Configure Fees, Discounts, and Amounts
You can add and adjust the convenience fee and update the cost as needed.
If applicable, enter any discount manually.
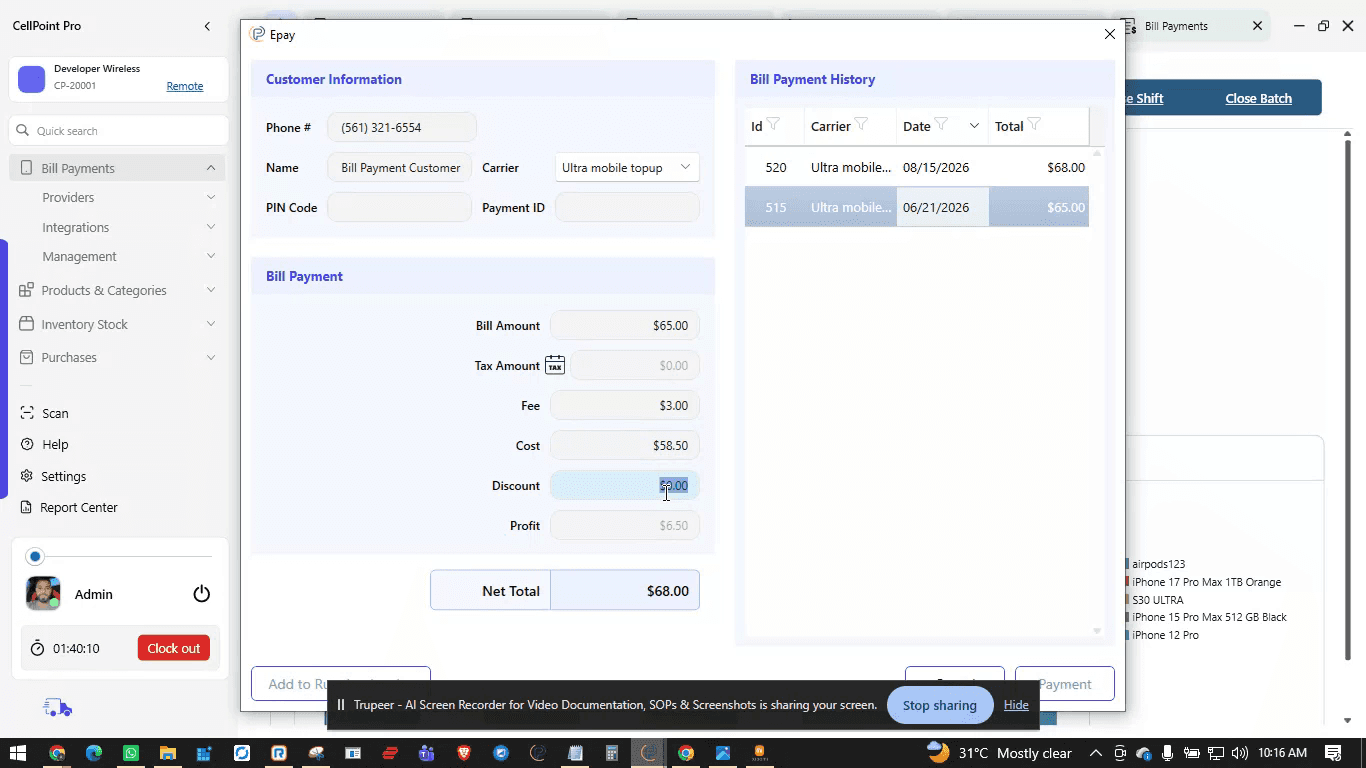
Step 5: Complete the Bill Payment or Add to a Running Invoice
To complete the bill payment immediately, click on Payment and Checkout.
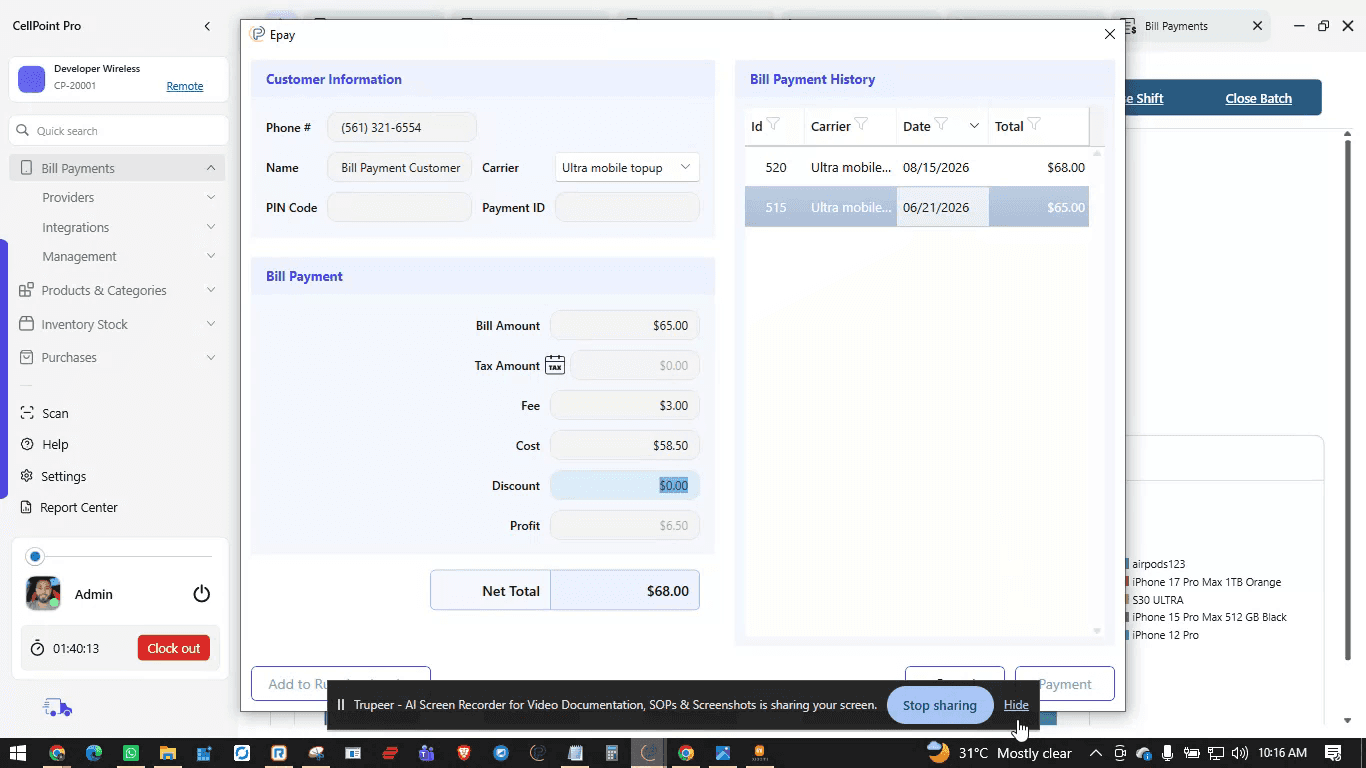
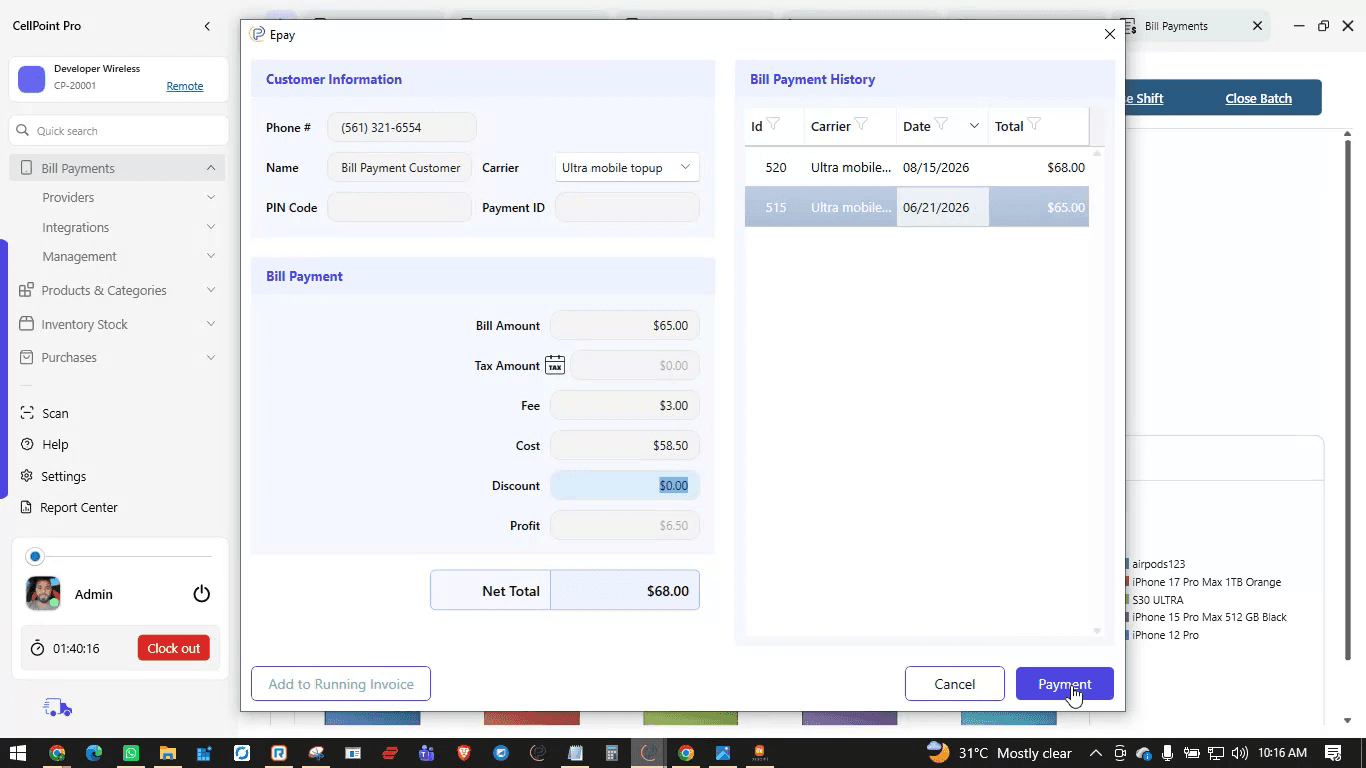
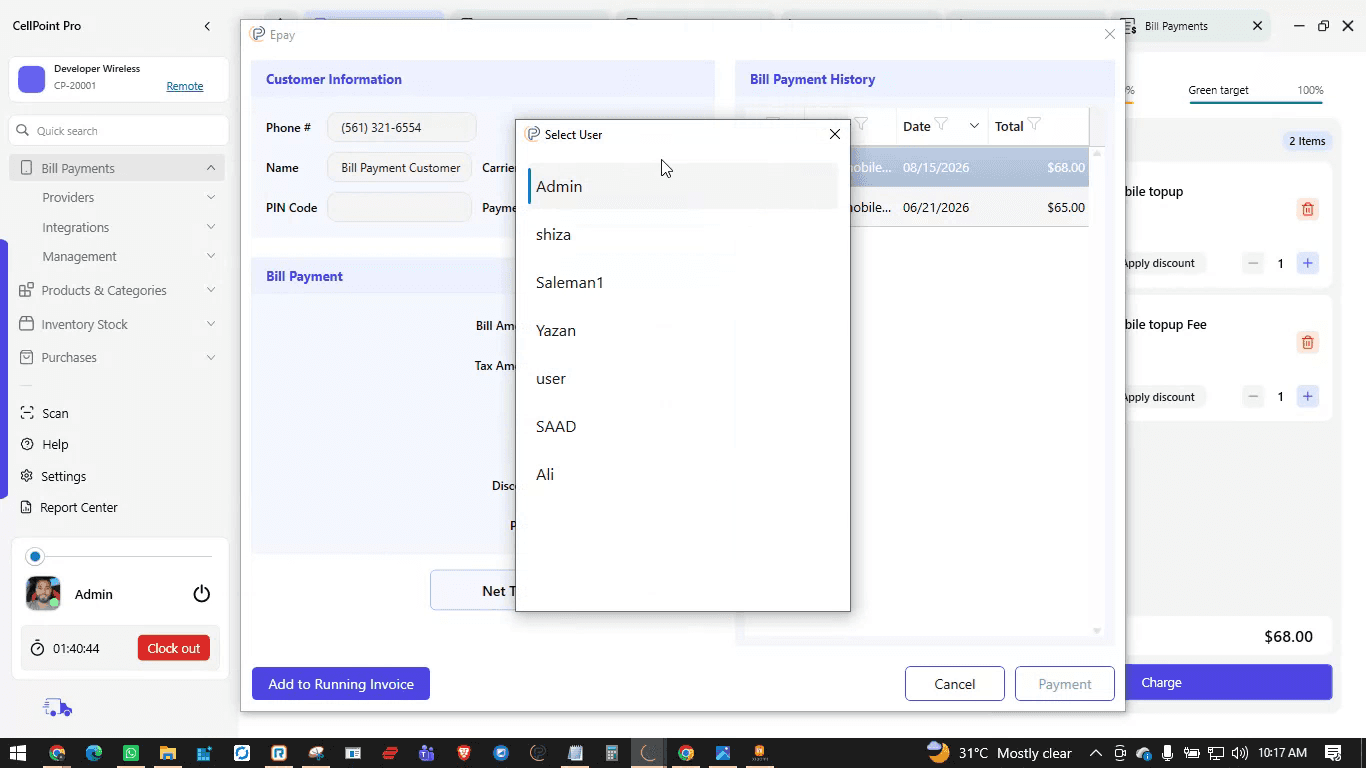
If there are multiple bill payments on the same invoice (for example, a family plan with multiple numbers), click Add to Running Invoice instead.
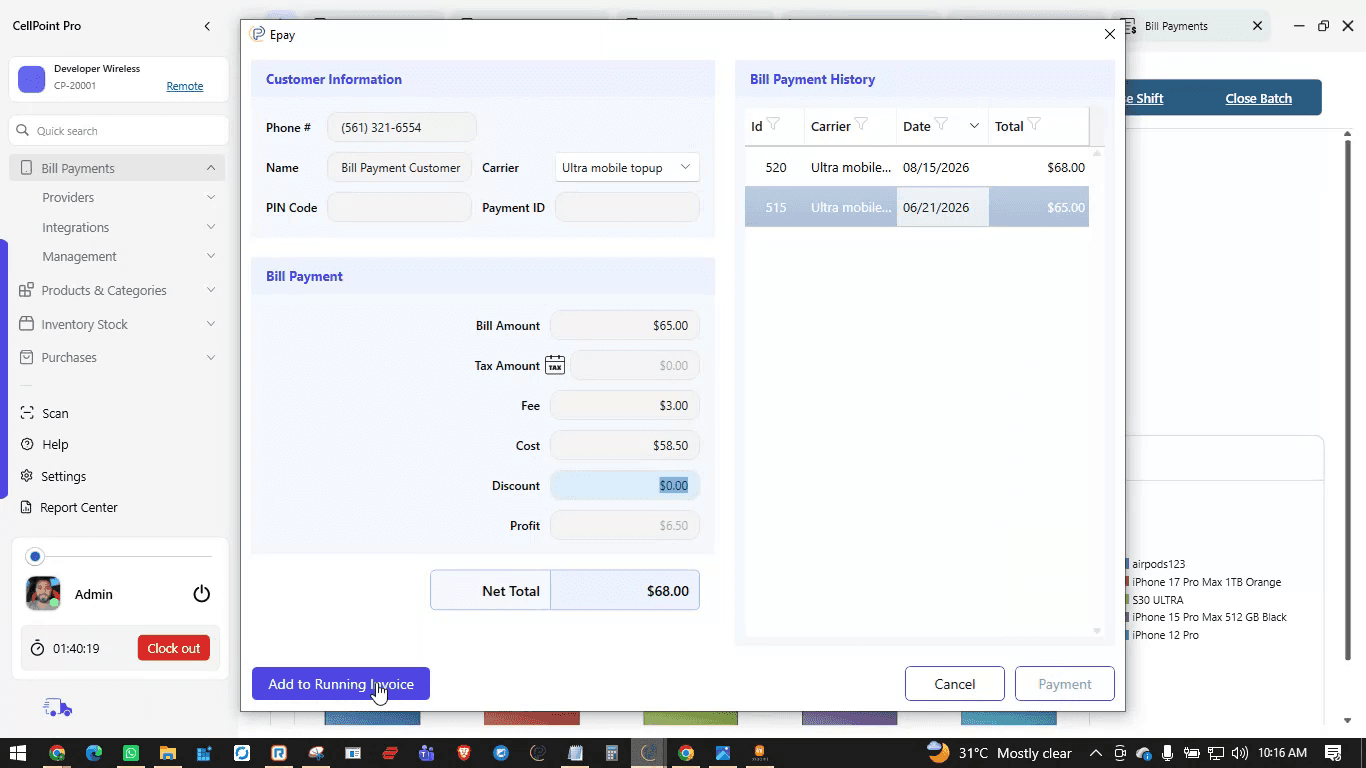
You
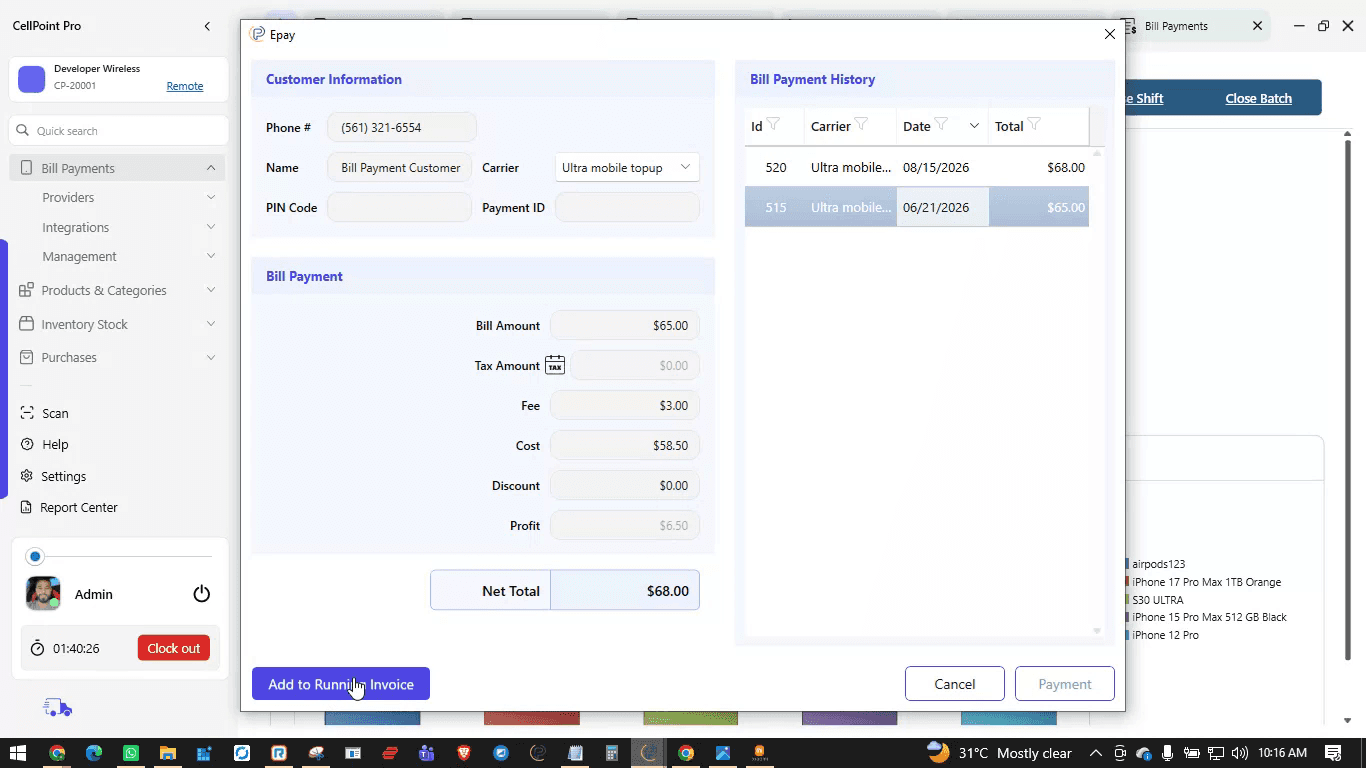
can click on Add to Running Invoice to include additional bill payments on
that particular receipt. Payment.
It
will be added to a running
invoice, where all the bill payments in the system are accumulated before final charge.
Charge.
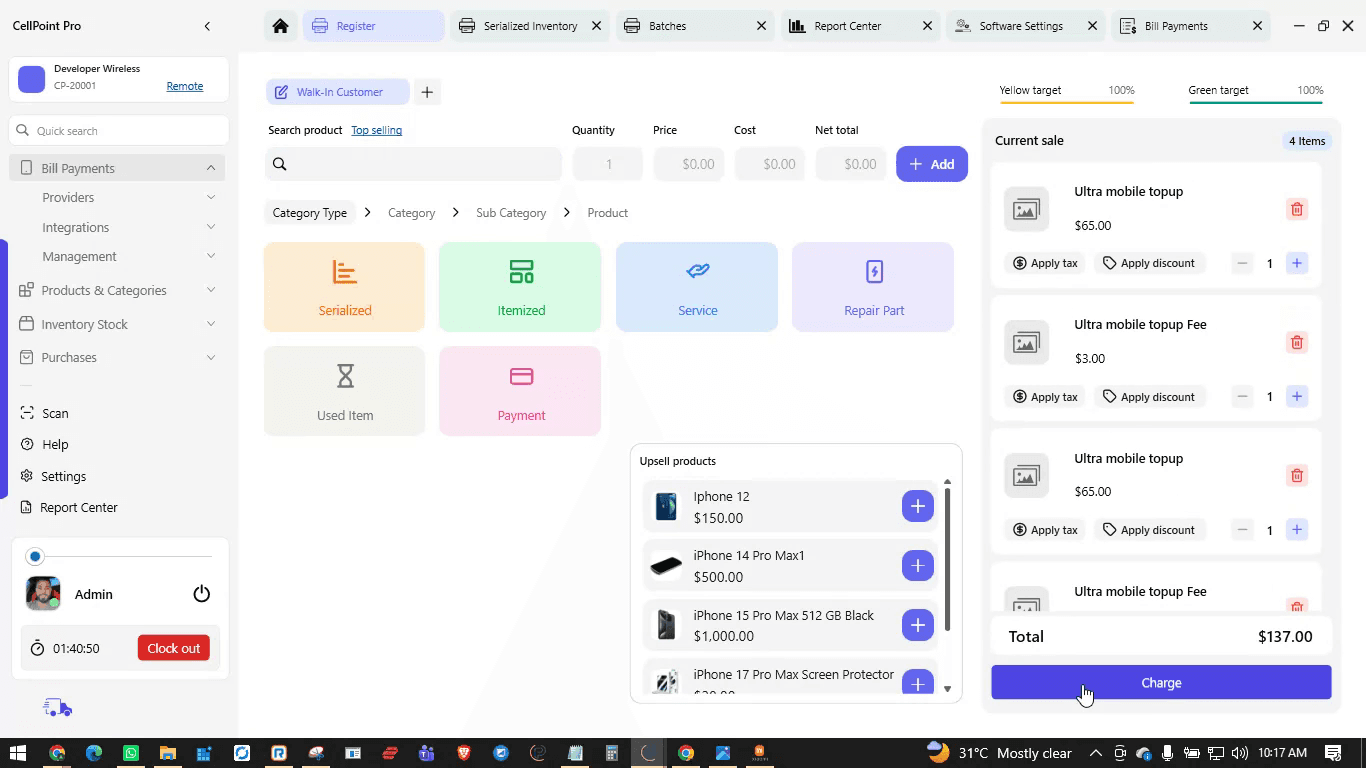
Then proceed to Checkout.
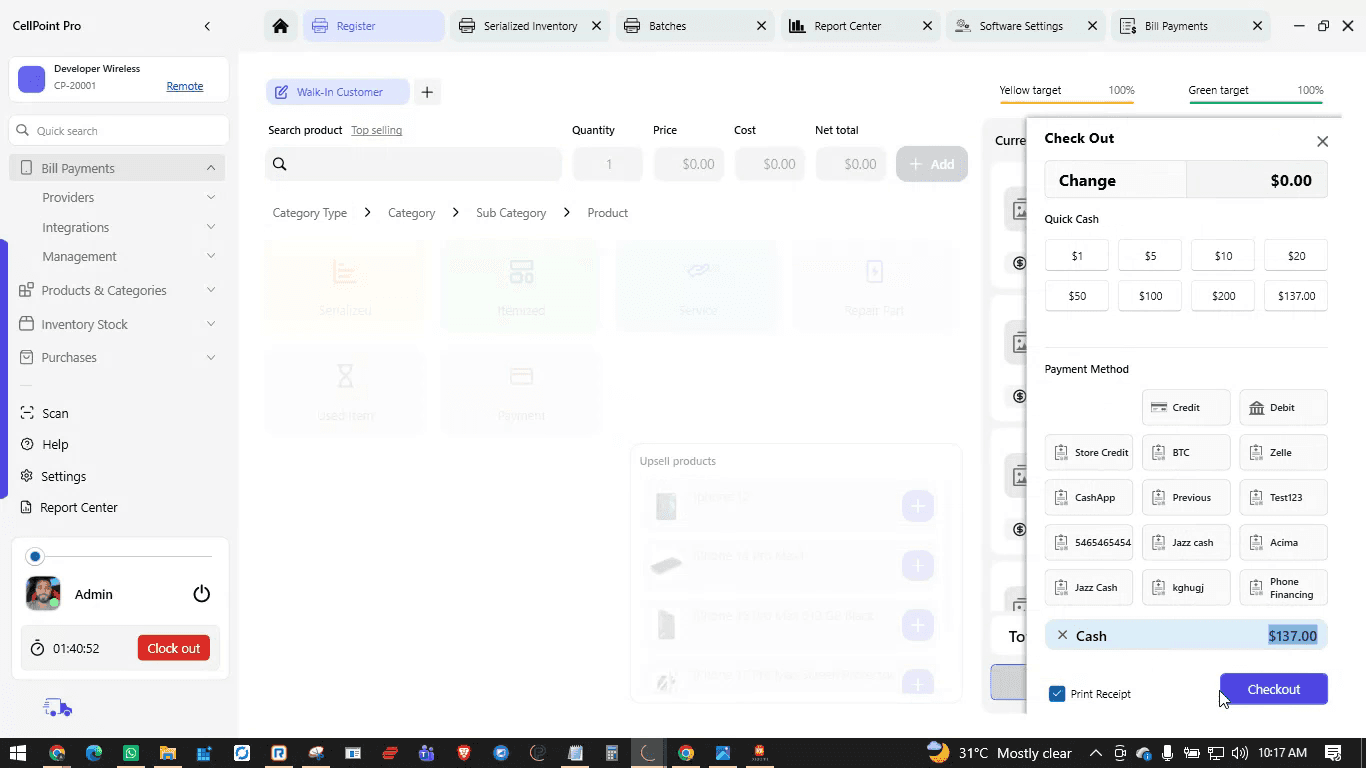
Step 6: Process a Single Bill Payment
If it is a single bill payment:
Go to E-Bill Payment.
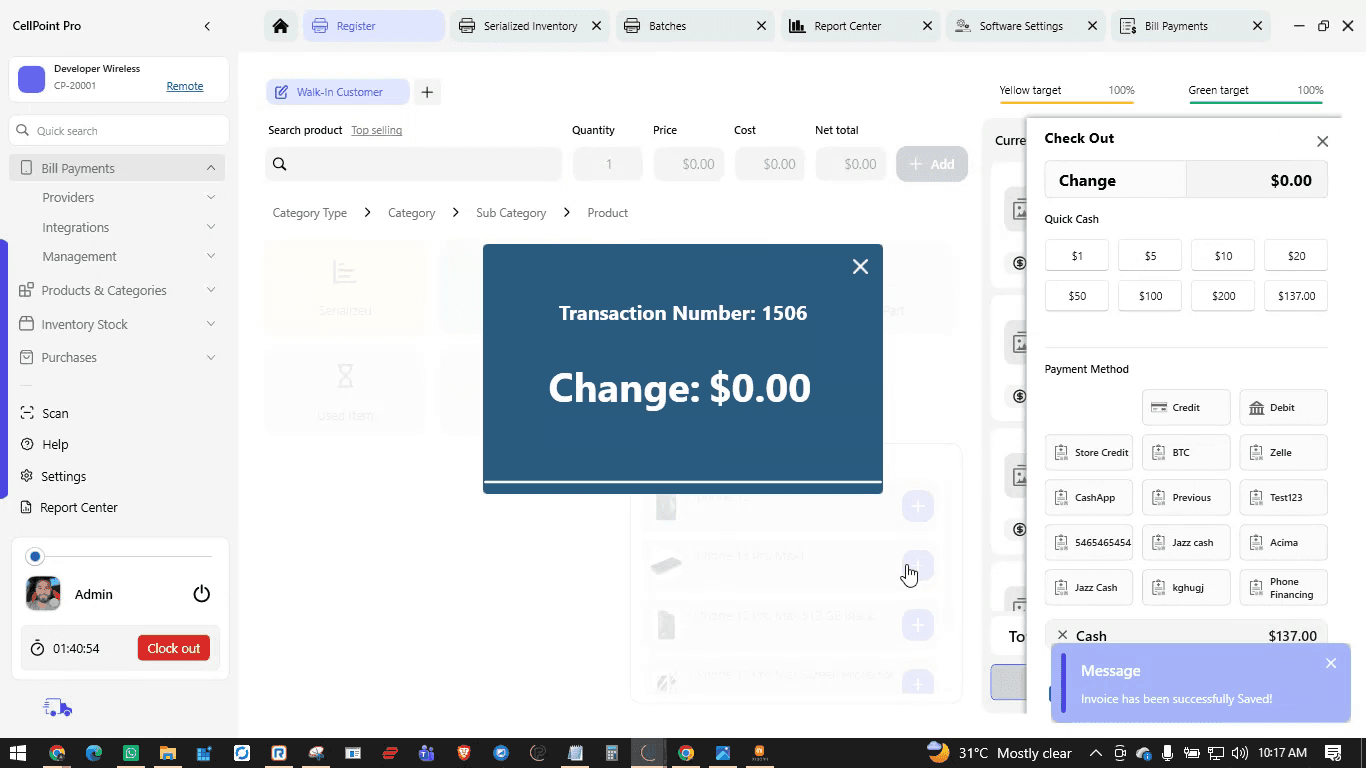
Enter the customer’s phone number and type in the bill payment amount.
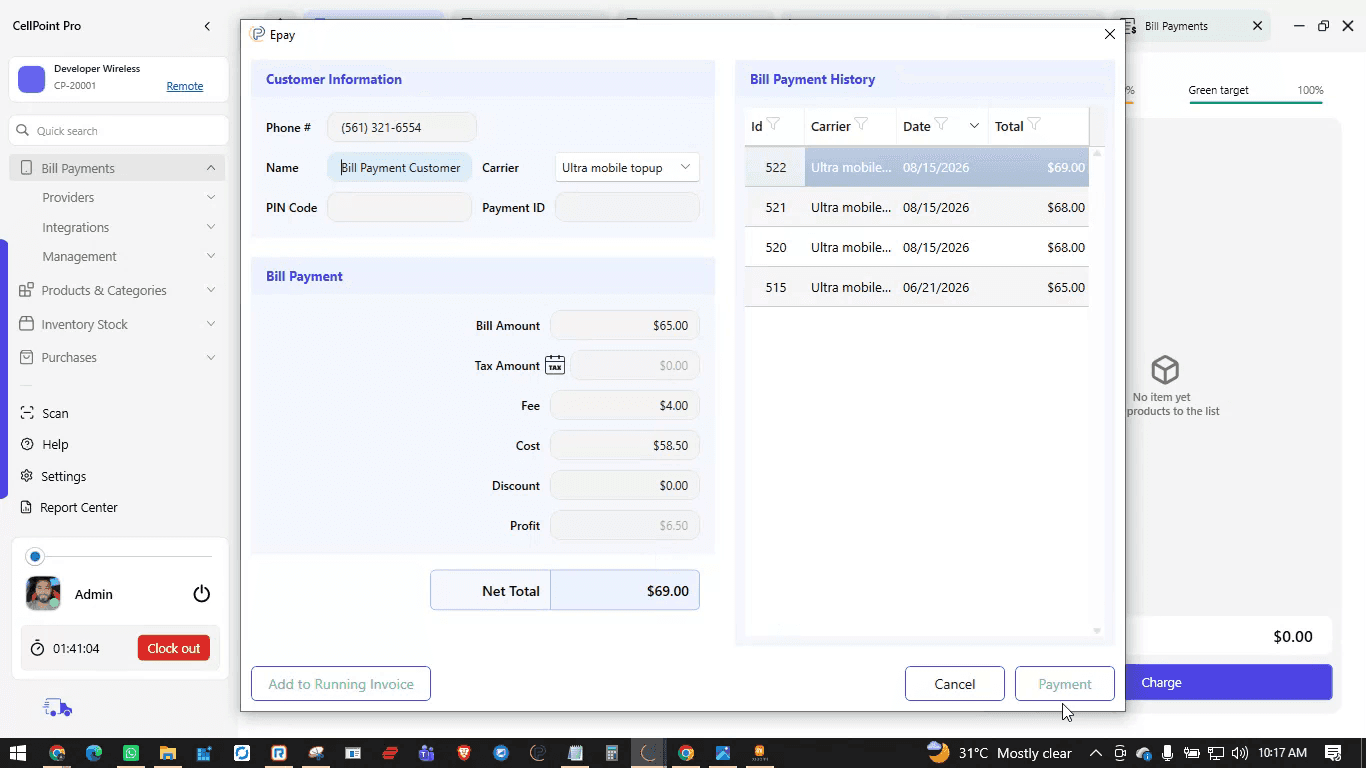
Click Payment, then select the user who is performing the transaction.
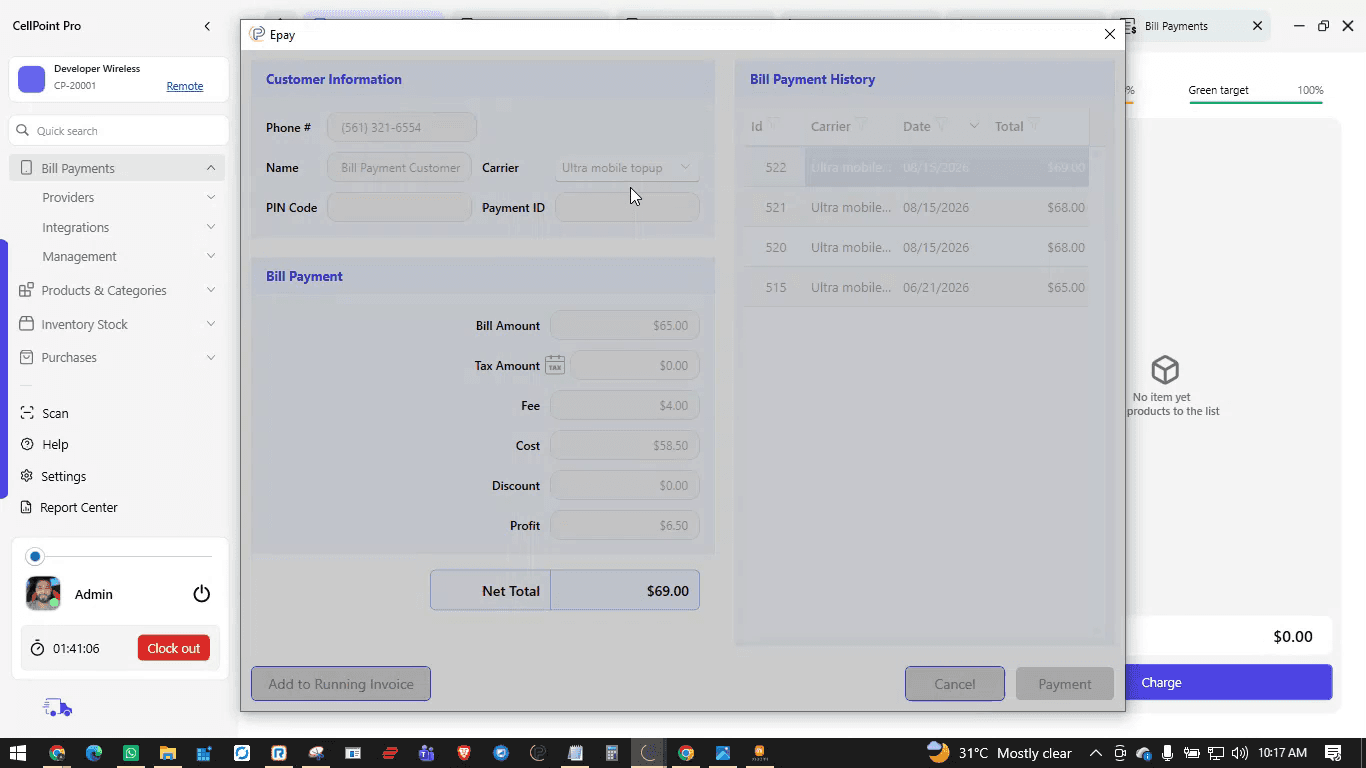
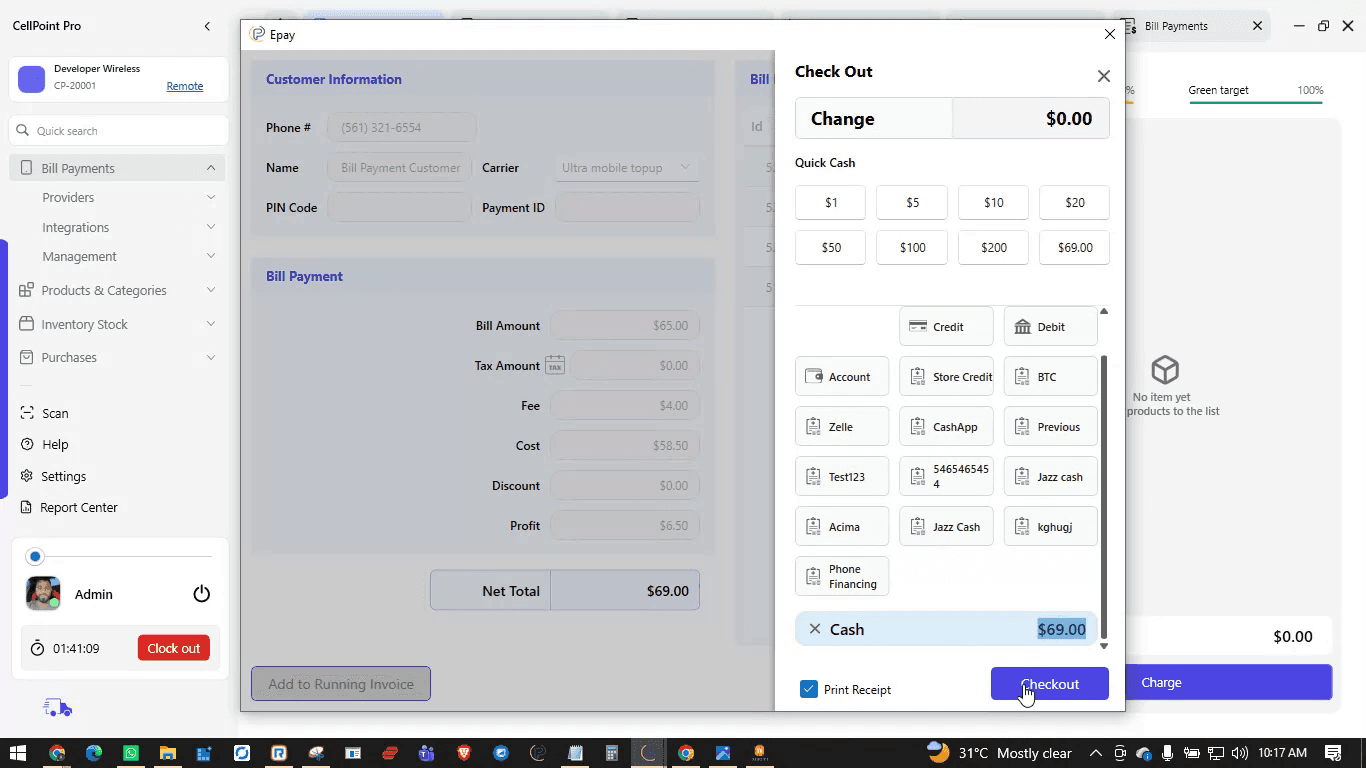
Choose the mode of payment and proceed to Checkout.
That’s
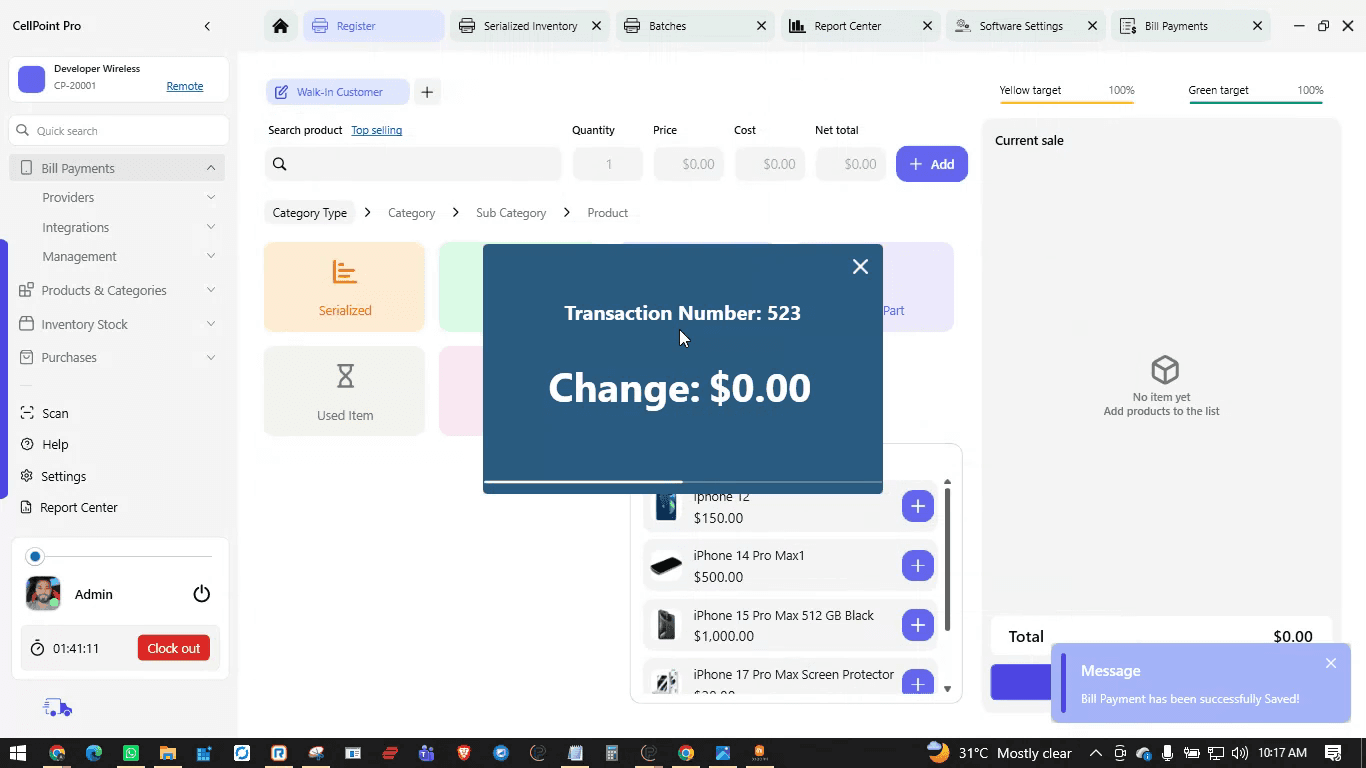
it. The bill payment receipt is now created.
Watch the Video Tutorial
On This Page
Overview
Steps & Instructions
Video Tutorial