
Purchases
·
Tutorial
5 min read

Creating and Managing Purchases in CellPoint Pro
This document explains how to create a new purchase from the Purchases menu in CellPoint Pro, add products (including restocks), check device blacklist status, complete payment, and manage existing purchase records including printing and exporting receipts.
Step 1: Open the Purchases Section
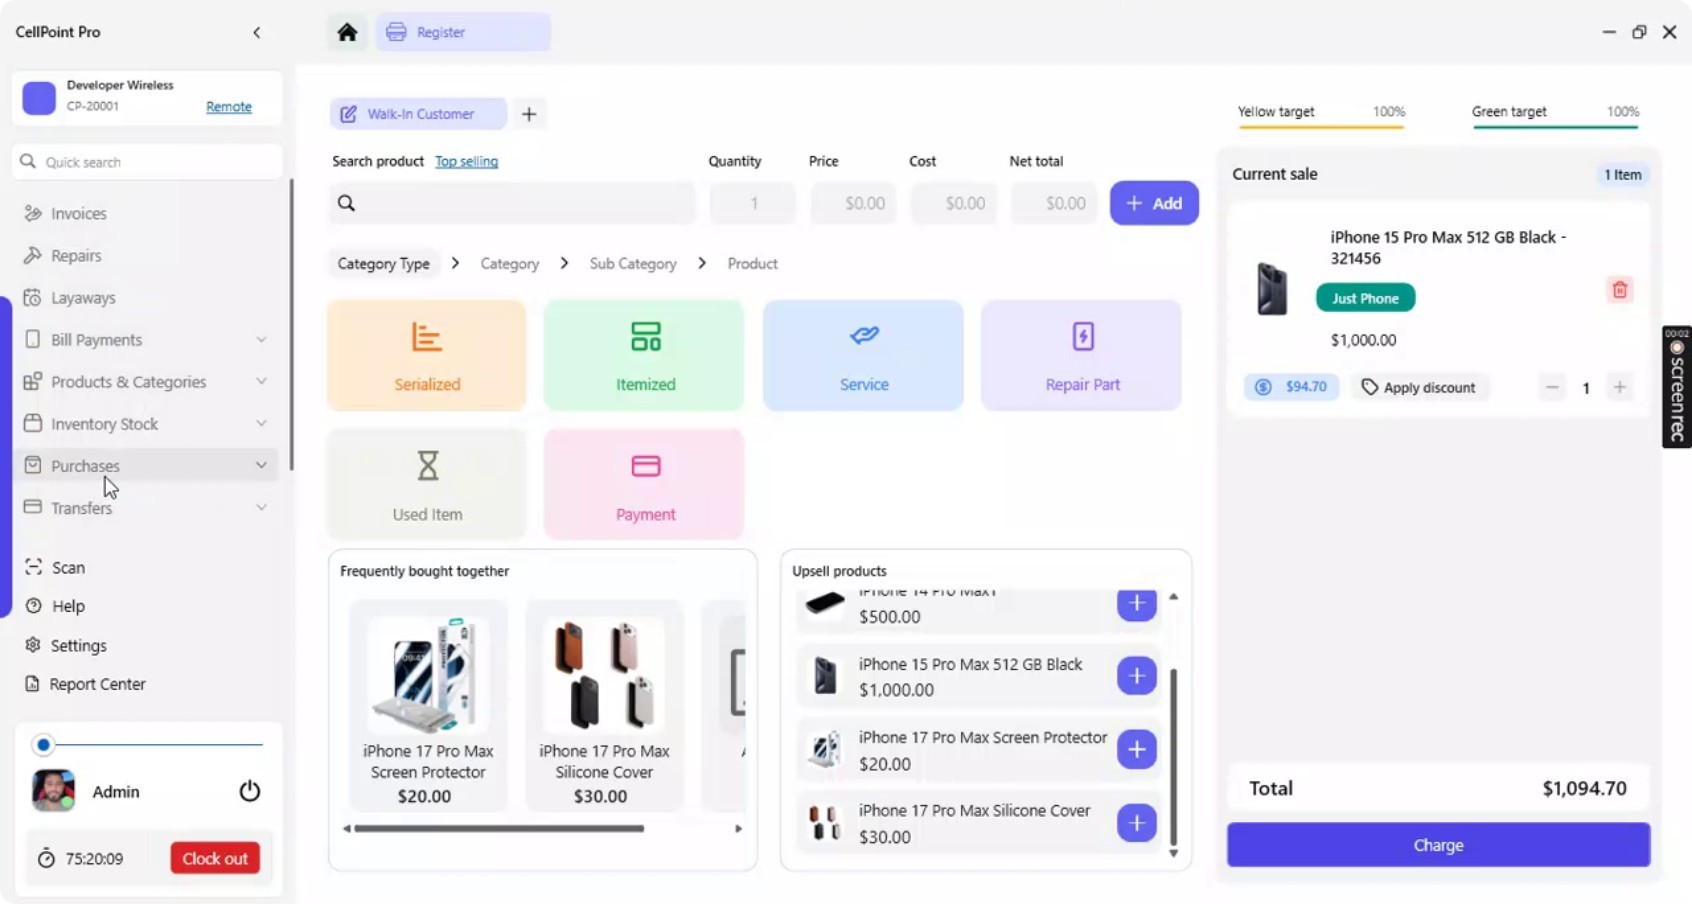
From the left-side menu, navigate to the Purchases section to view the list of all your purchases.
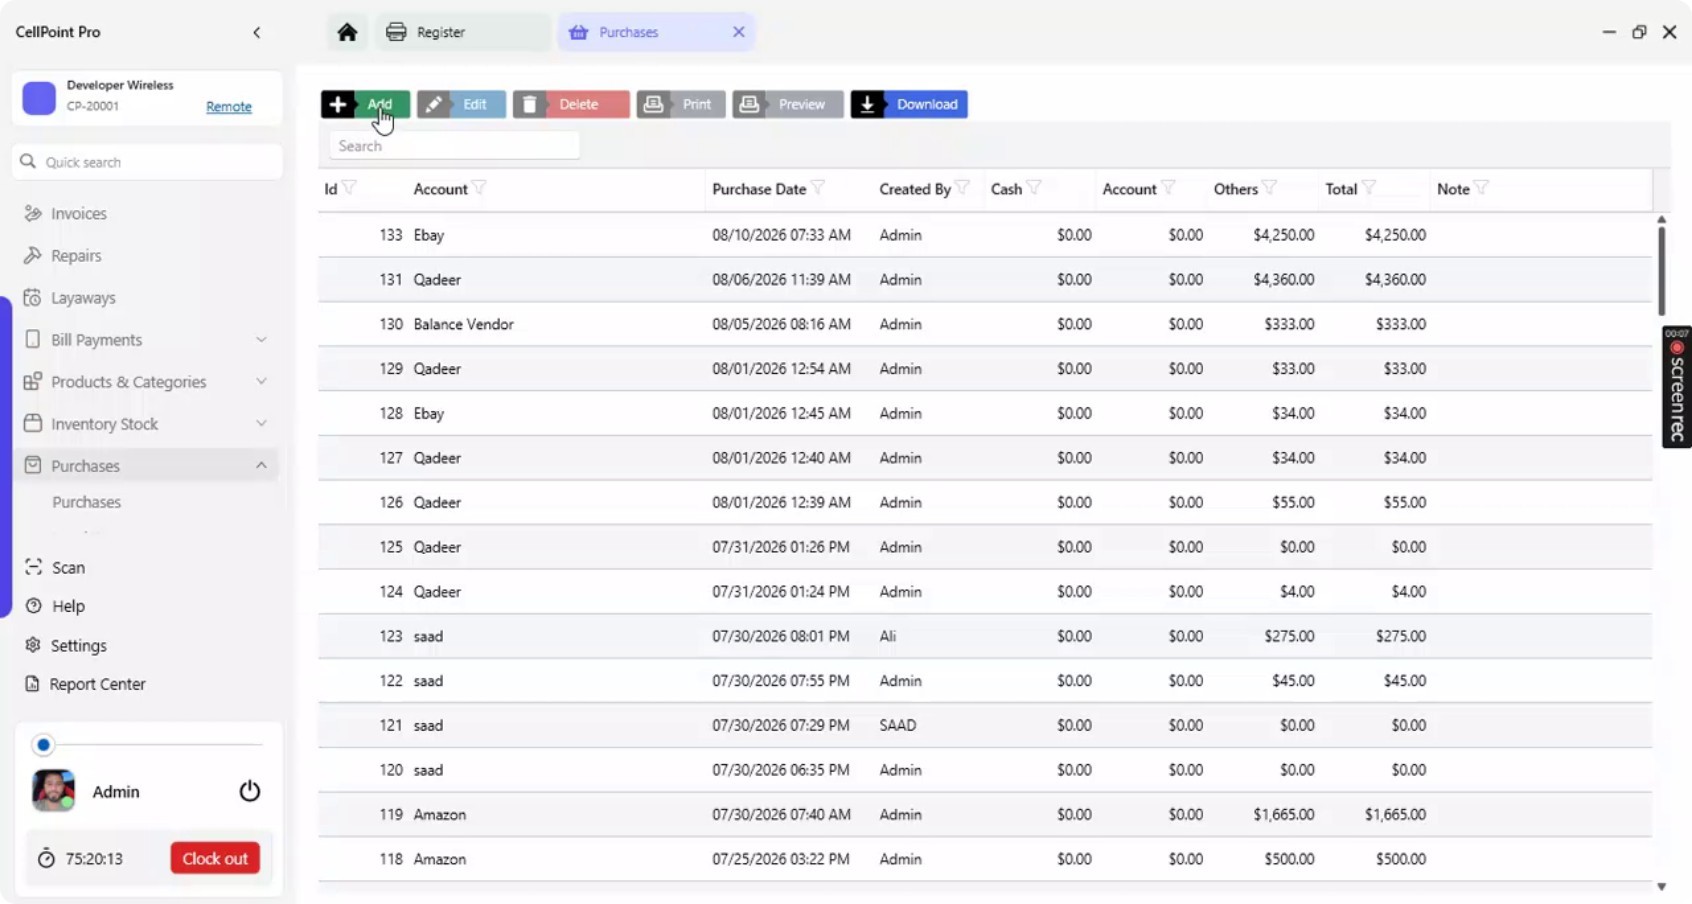
Step 2: Start a New Purchase
To add a new purchase, begin by creating a new purchase entry from this screen.
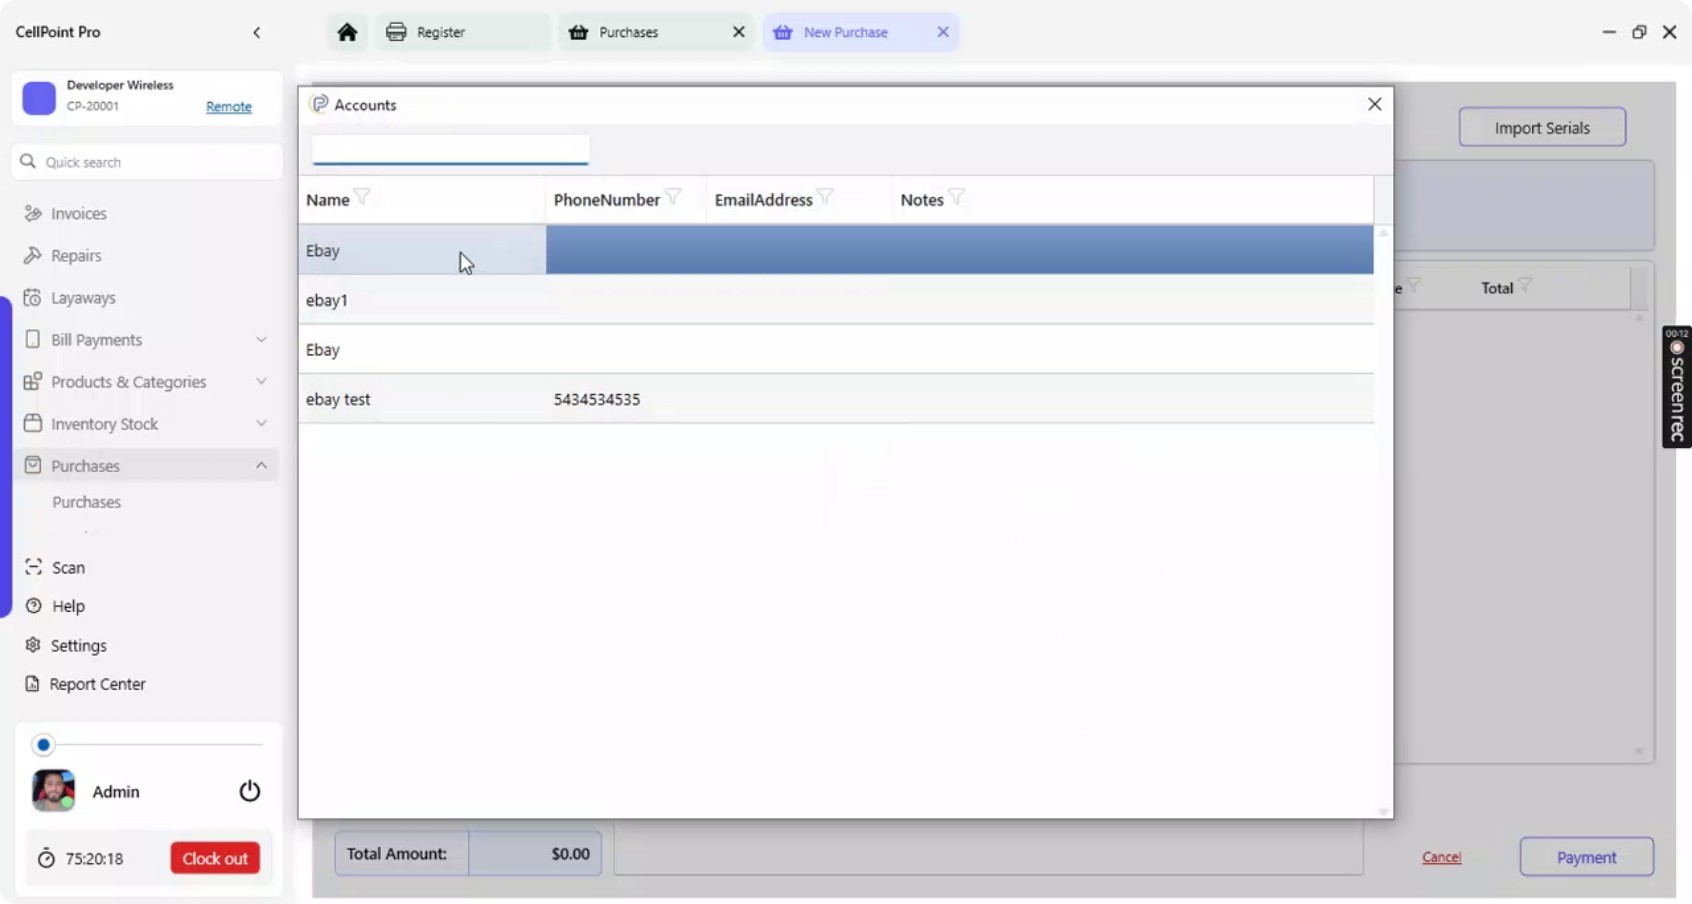
Step 3: Select the Vendor
First, bring up the vendor information and select the appropriate vendor for this purchase.
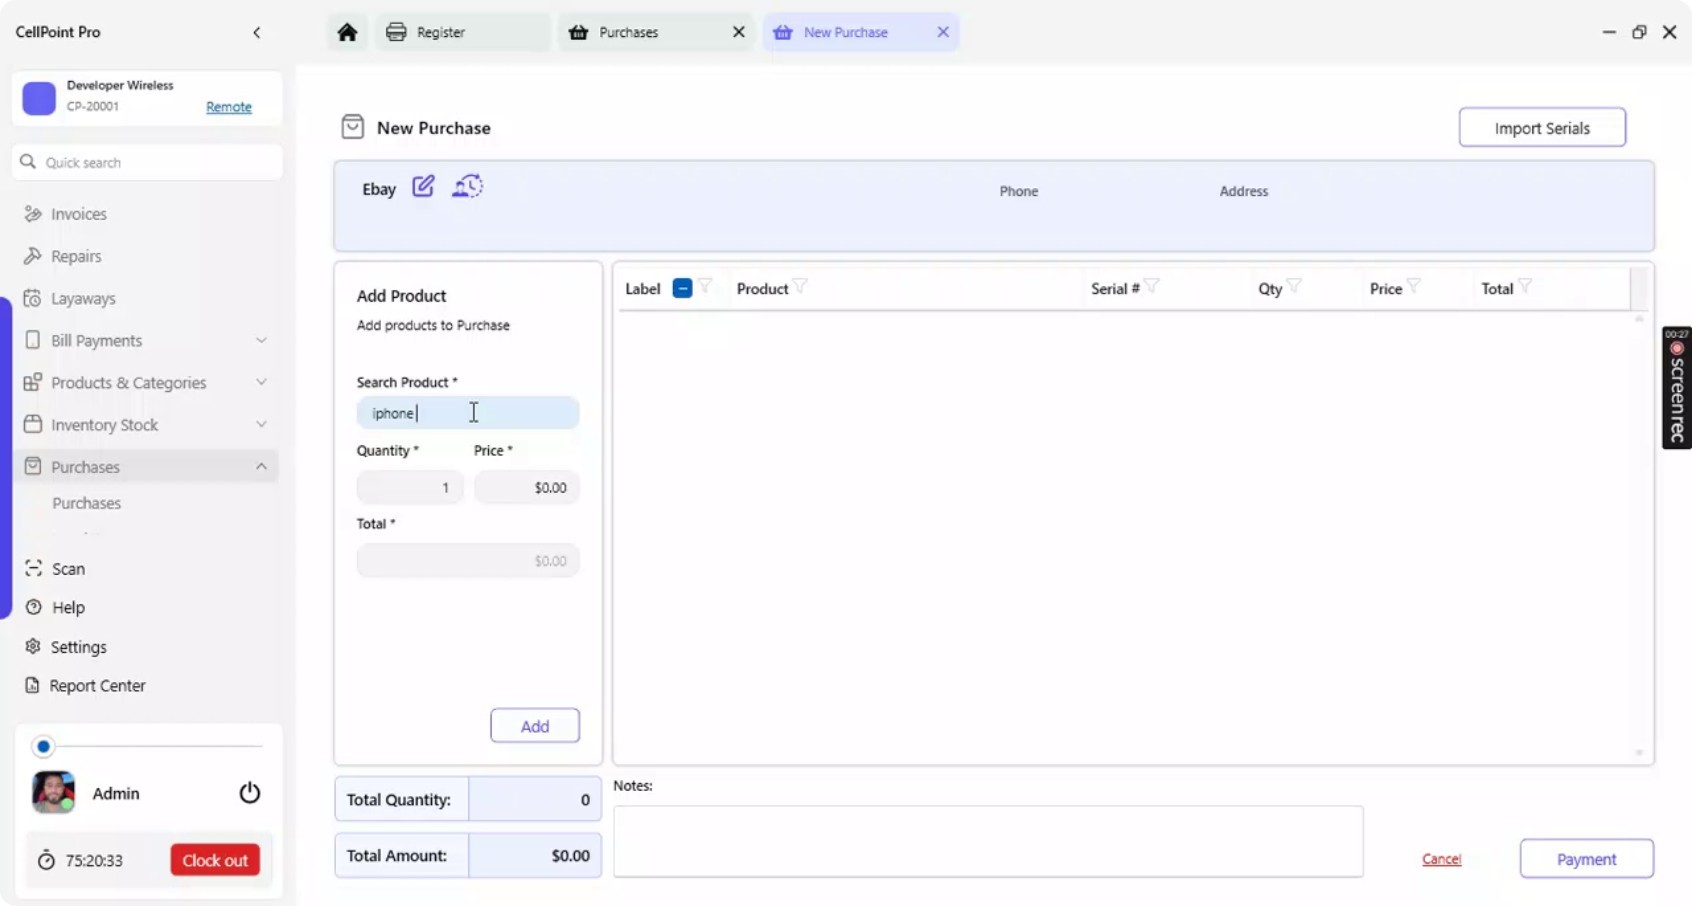
Step 4: Locate or Add the Product
Bring up the product you want to add to the system by scanning or searching. You can:
Scan the barcode, SKU, or IMEI, or
Search by SKU, barcode, full name, or part of the product name (useful for restocking existing items).
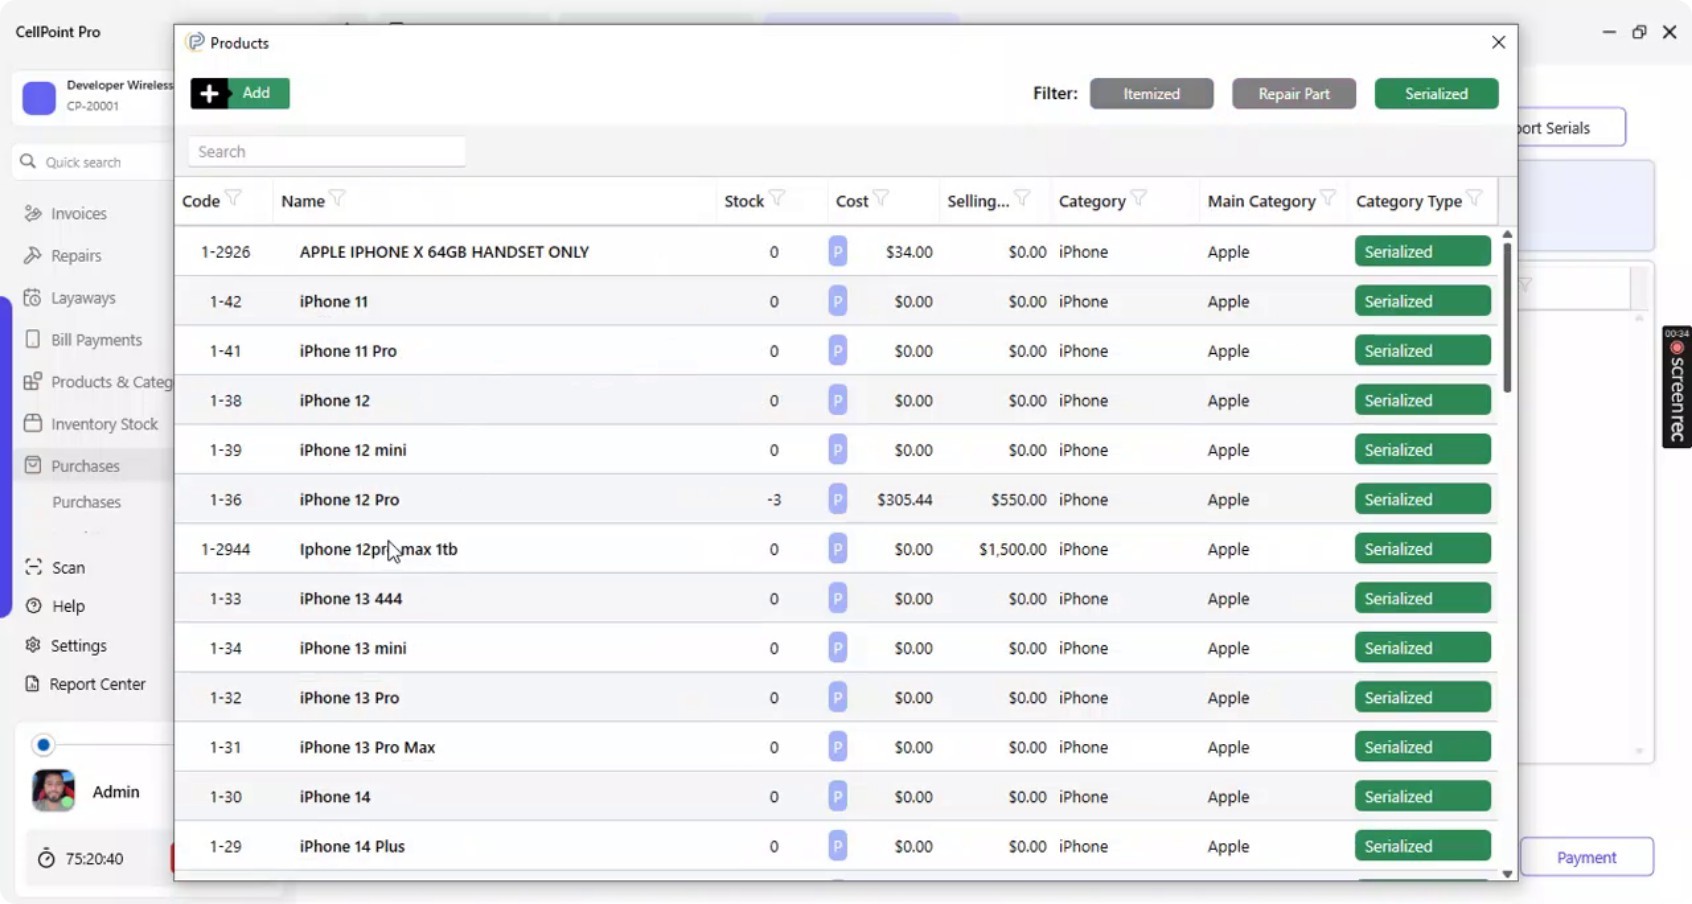
Step 5: Example – Adding Phone Devices
For example, if you are stocking up on phones (e.g., iPhone 11, 12 Pro Max, 1 TB, etc.), select the appropriate models you want to add to the purchase.
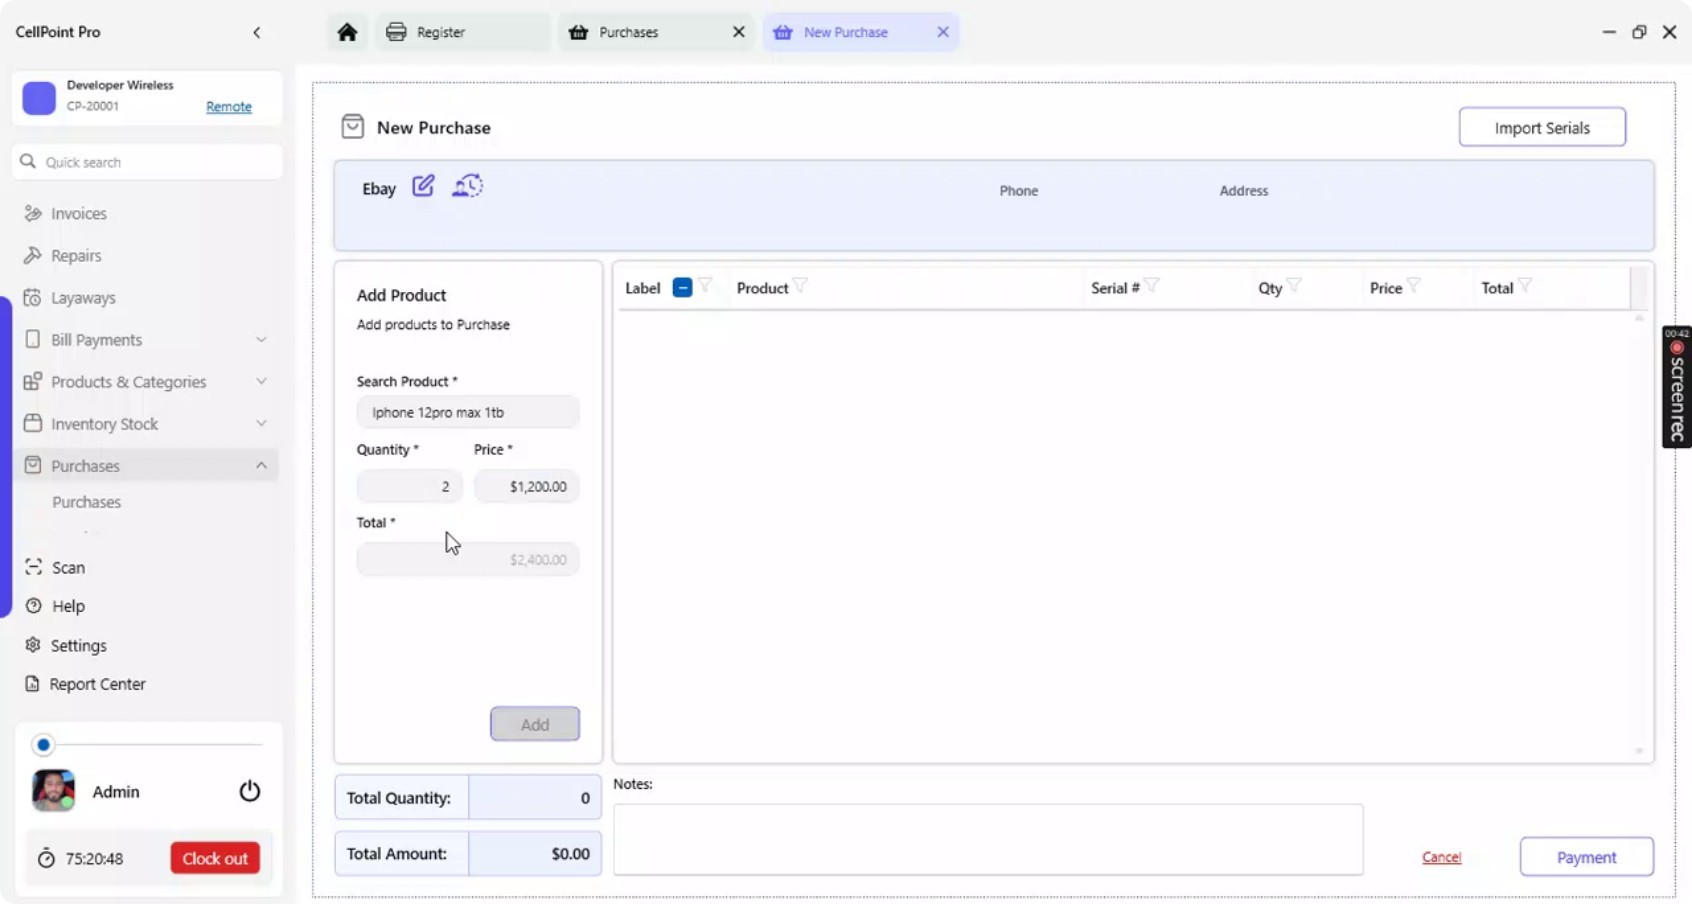
Step 6: Enter Quantity and Device Identifiers
Specify the quantity (e.g., adding two devices), then:
Add the line items, and
Scan or type the IMEIs for each device, pressing Enter after each entry.
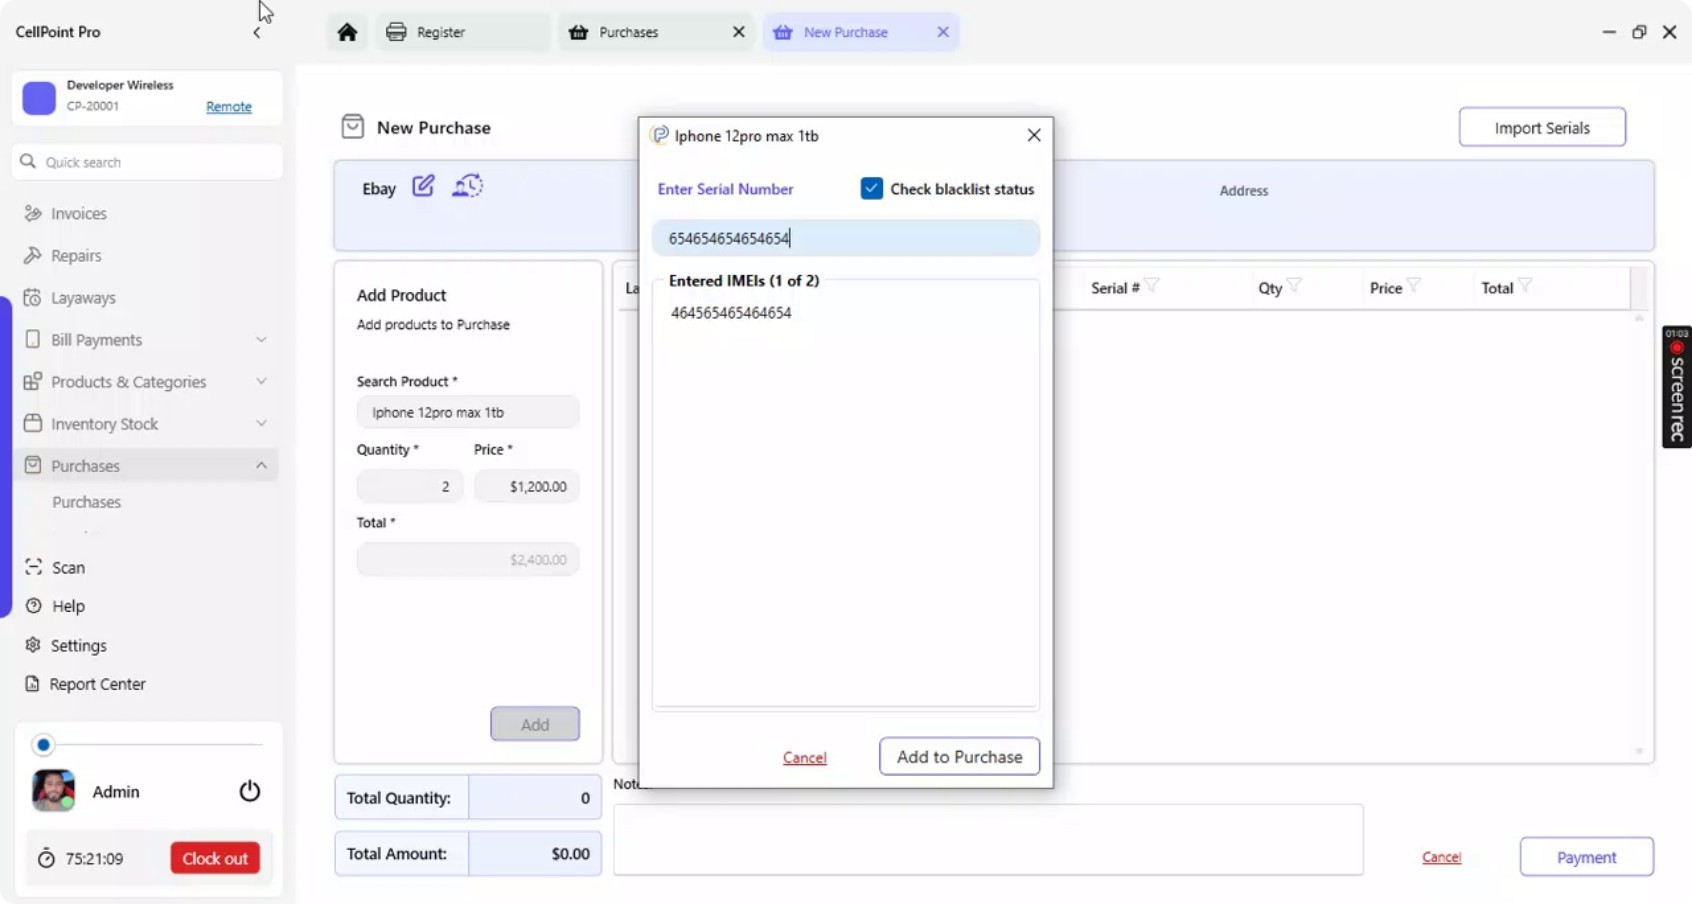
Step 7: Check Device Blacklist Status (Optional)
If you are dealing in used or buyback devices, use the integrated blacklist-checking service to verify the blacklist status of any device before finalizing the purchase.
Step 8: Complete the Purchase Payment
To finalize the purchase:
Proceed to the Payment section.

Select the user (if required).

3- Choose the appropriate payment method you are using to pay for the purchase.
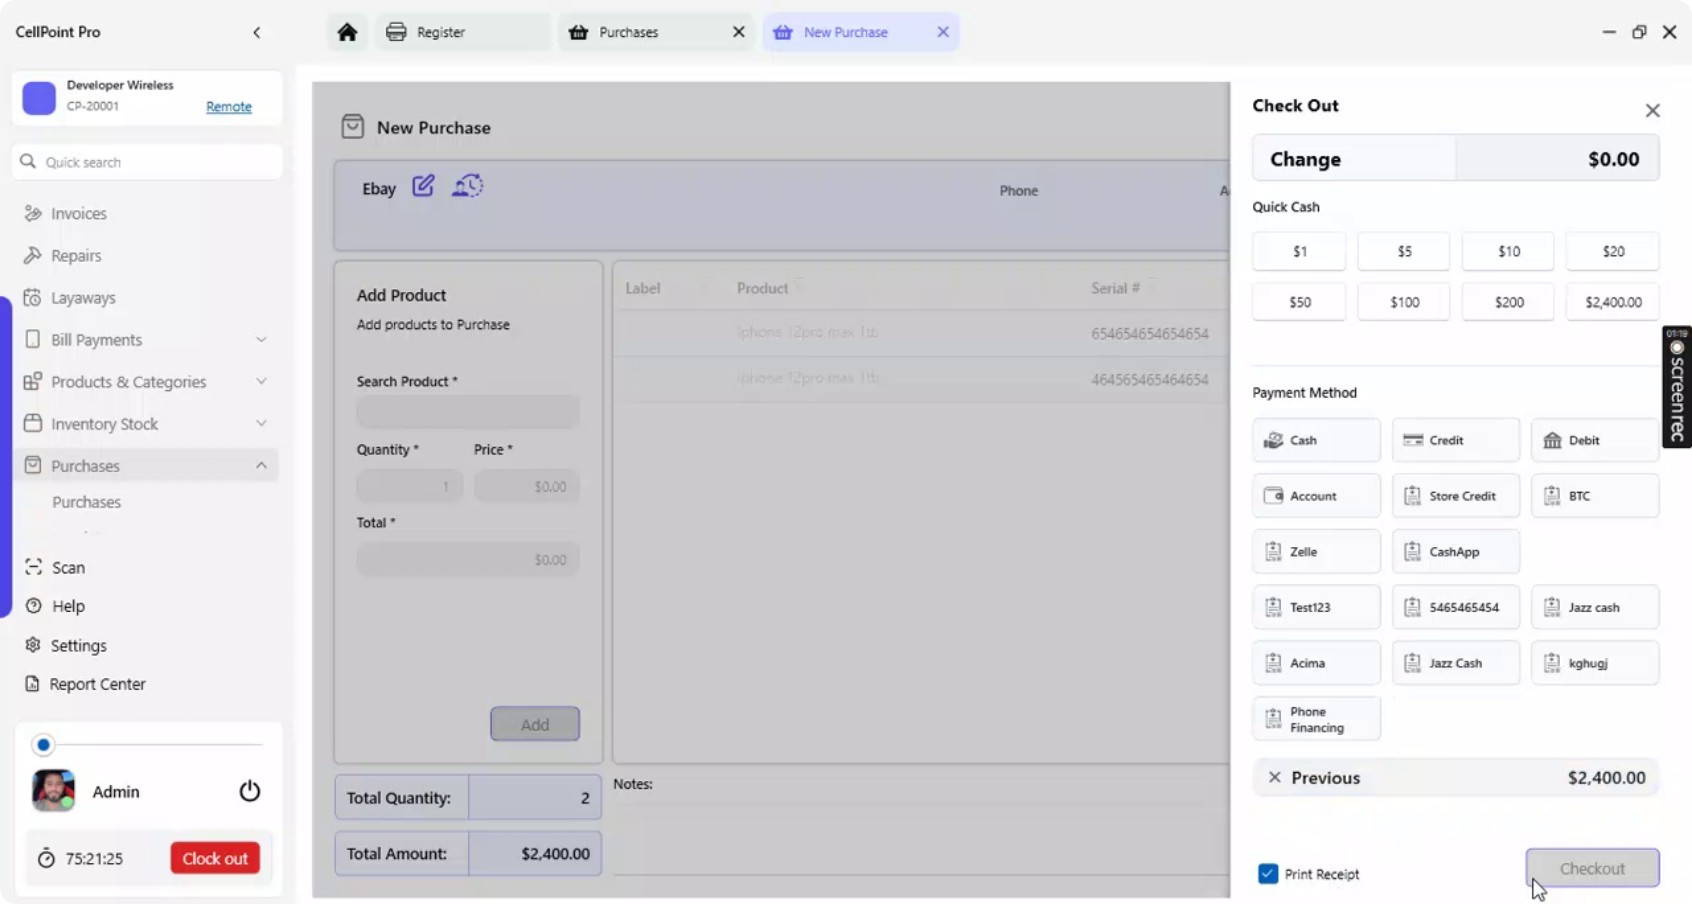
Click on Checkout. This will complete the purchase.
Step 9: Manage and Export Purchase Records
To manage your existing purchases, return to the Purchases list where you can:
View the complete list of purchases
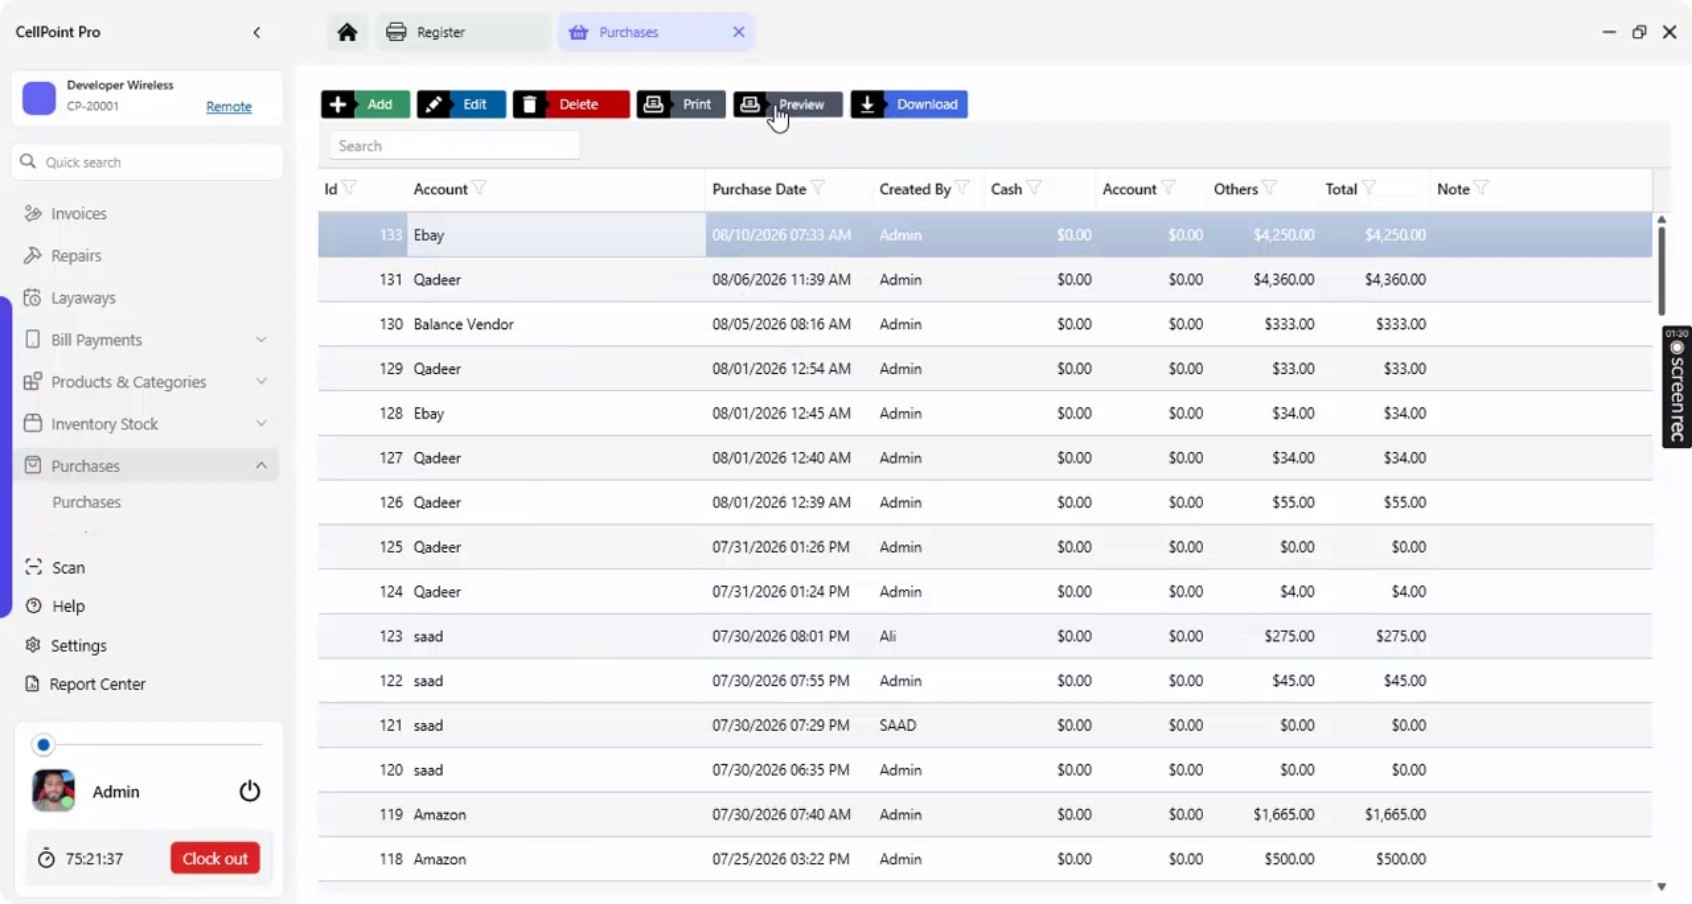
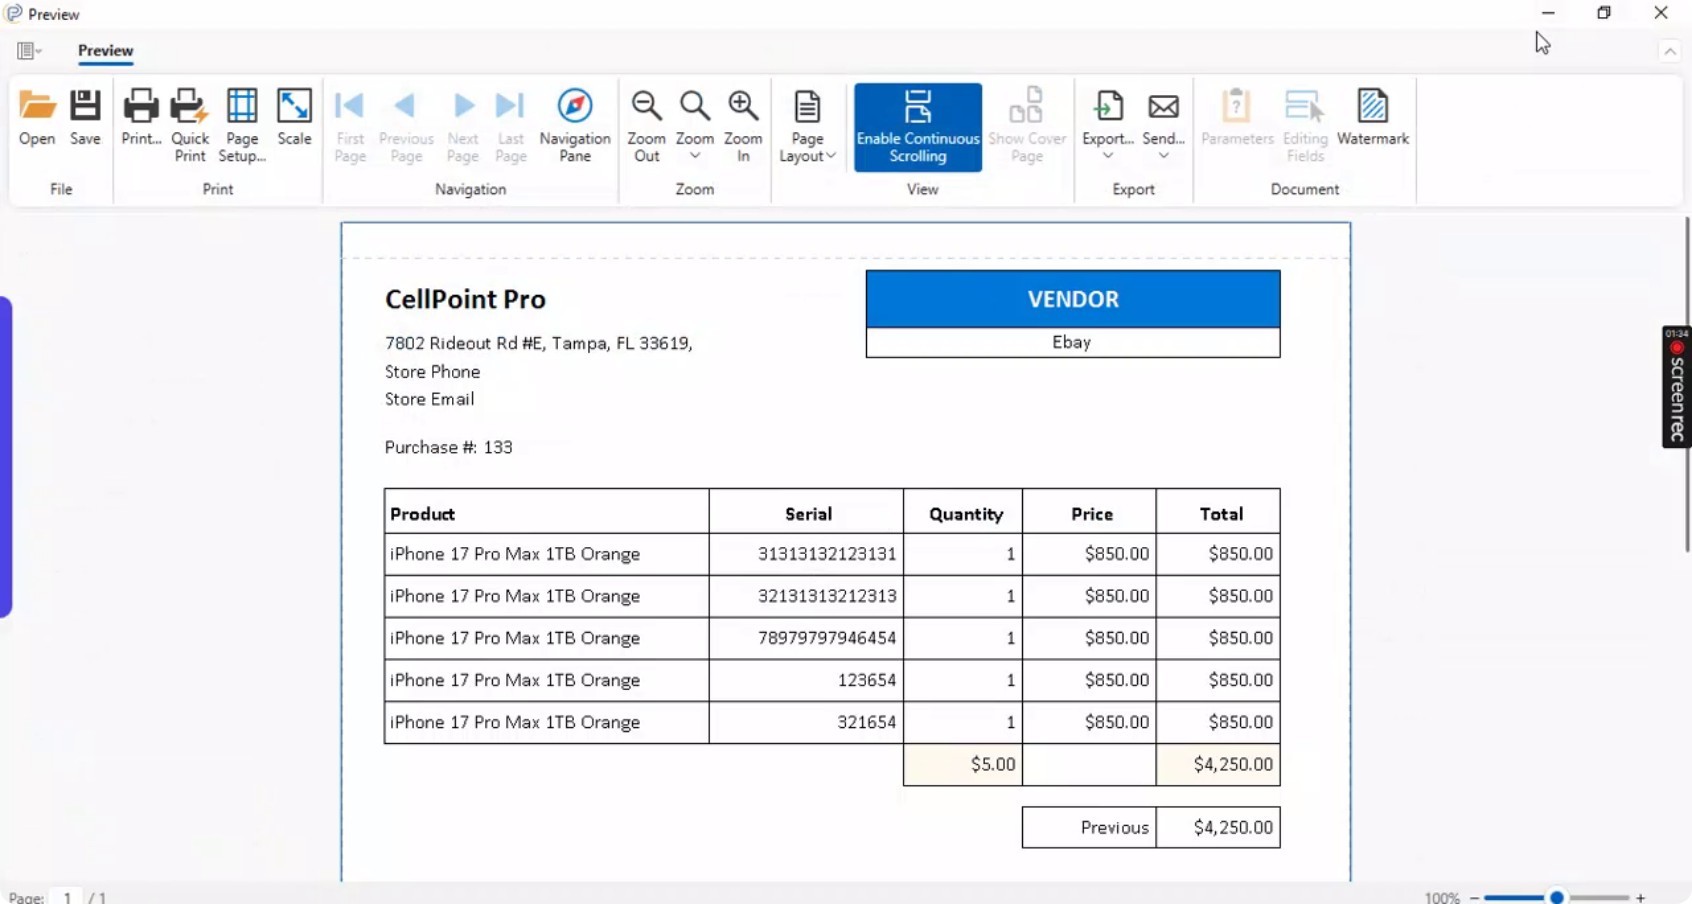
Preview receipts, print them, or export them via email
Export purchase data in different file formats as needed
Purchase receipts can be exported, emailed, or sent via a Text Message as well.
Watch the Video Tutorial
On This Page
Overview
Steps & Instructions
Video Tutorial