
Layaways
·
Tutorial
5 min read
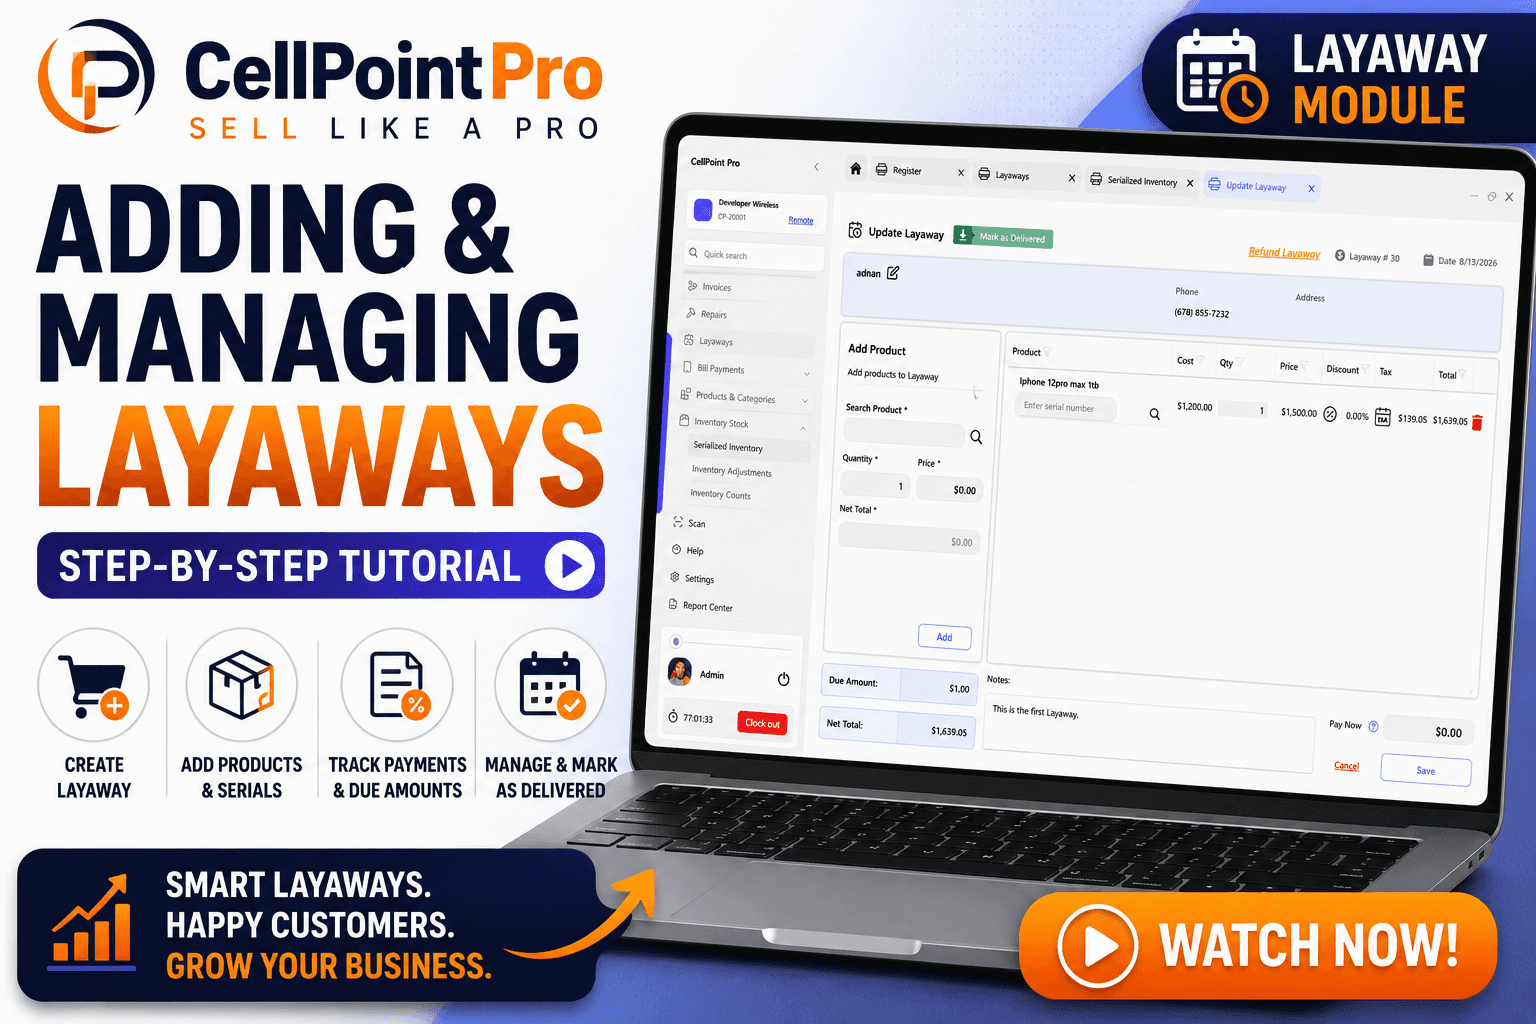
Creating and Managing Layaways in CellPoint Pro
This document explains how to create a new layaway in CellPoint Pro, collect payments, and mark the layaway as delivered once fully paid.
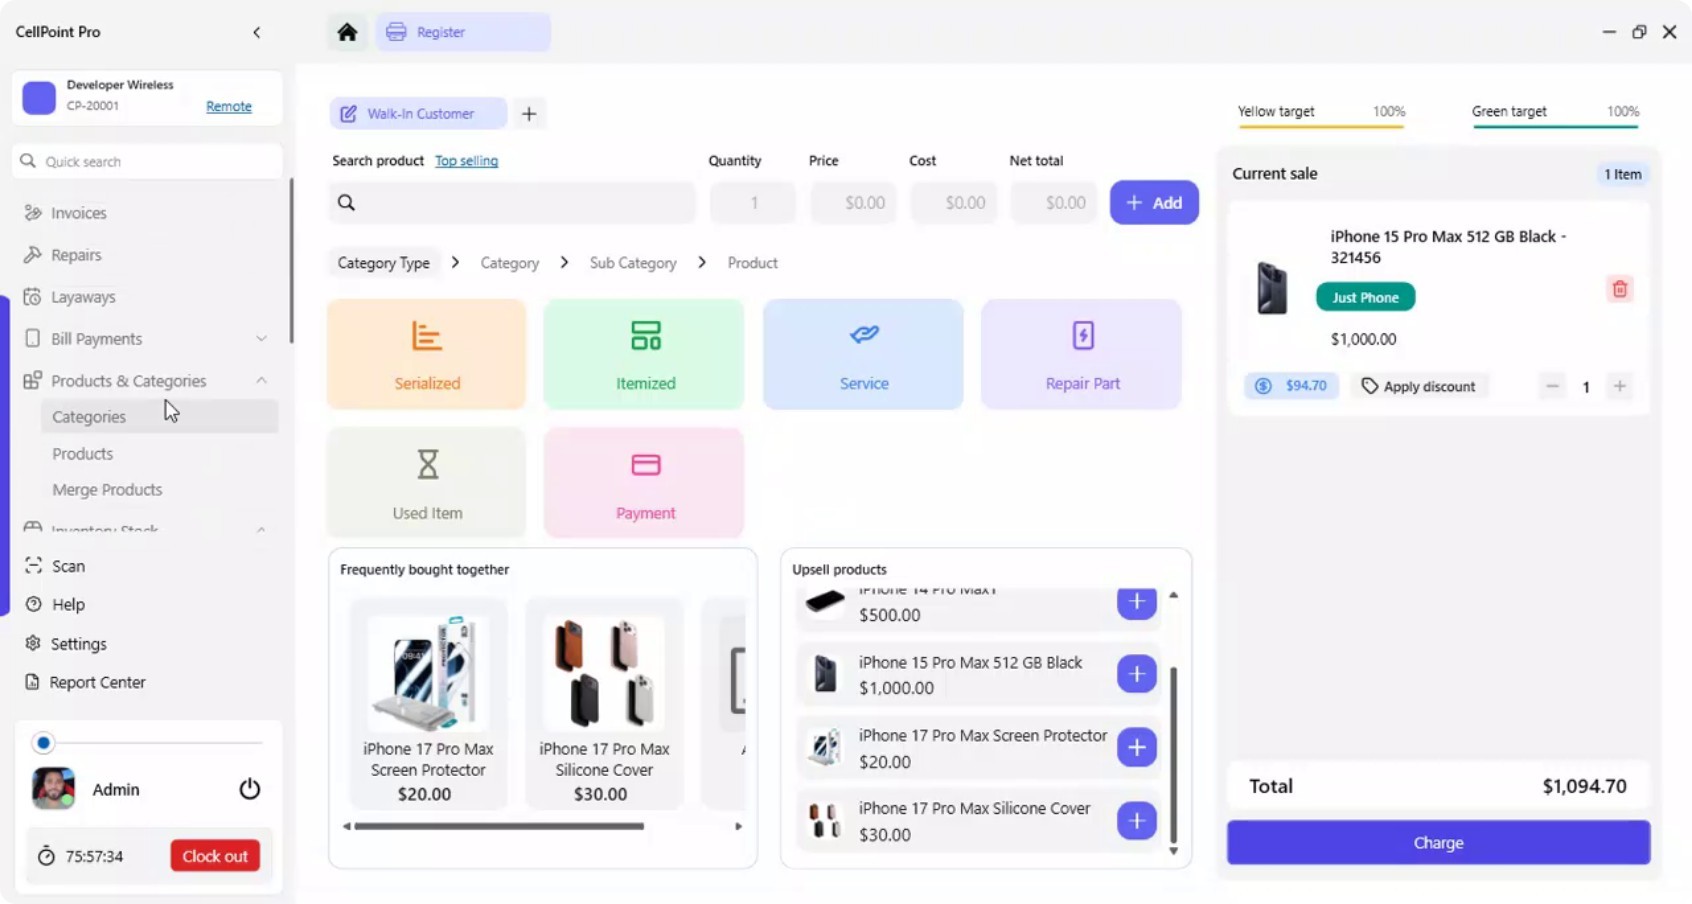
Step 1: Navigate to the Layaways Section
From the left-side menu in CellPoint Pro, navigate to the Layaways section.
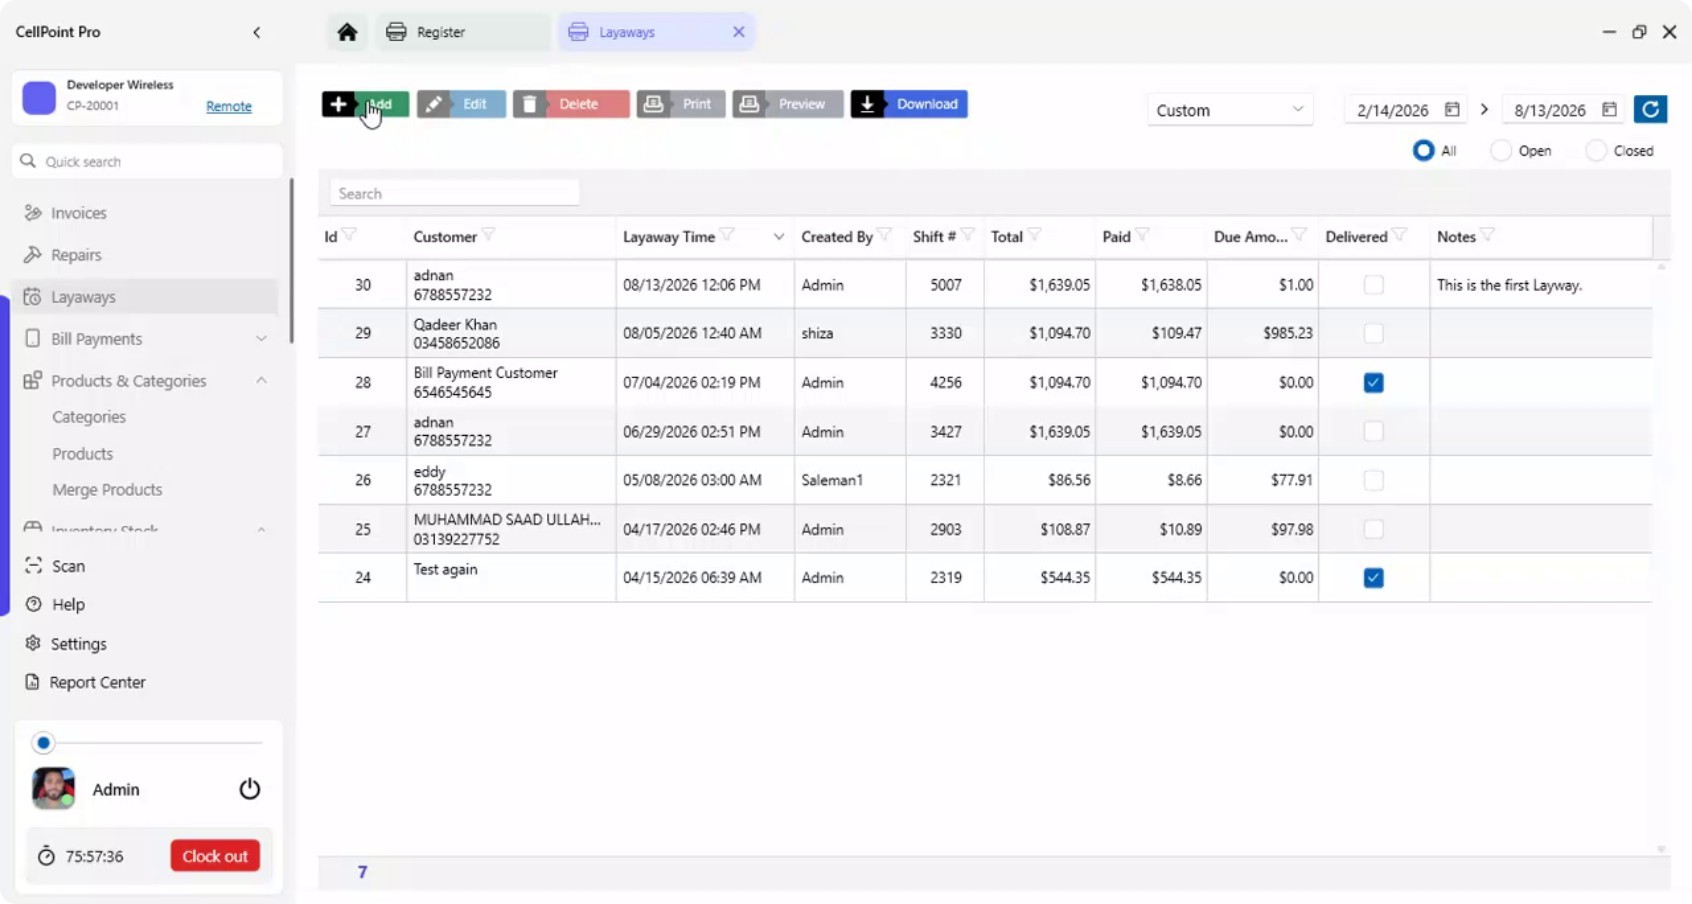
Step 2: Start a New Layaway
Click on Add to create a new layaway.
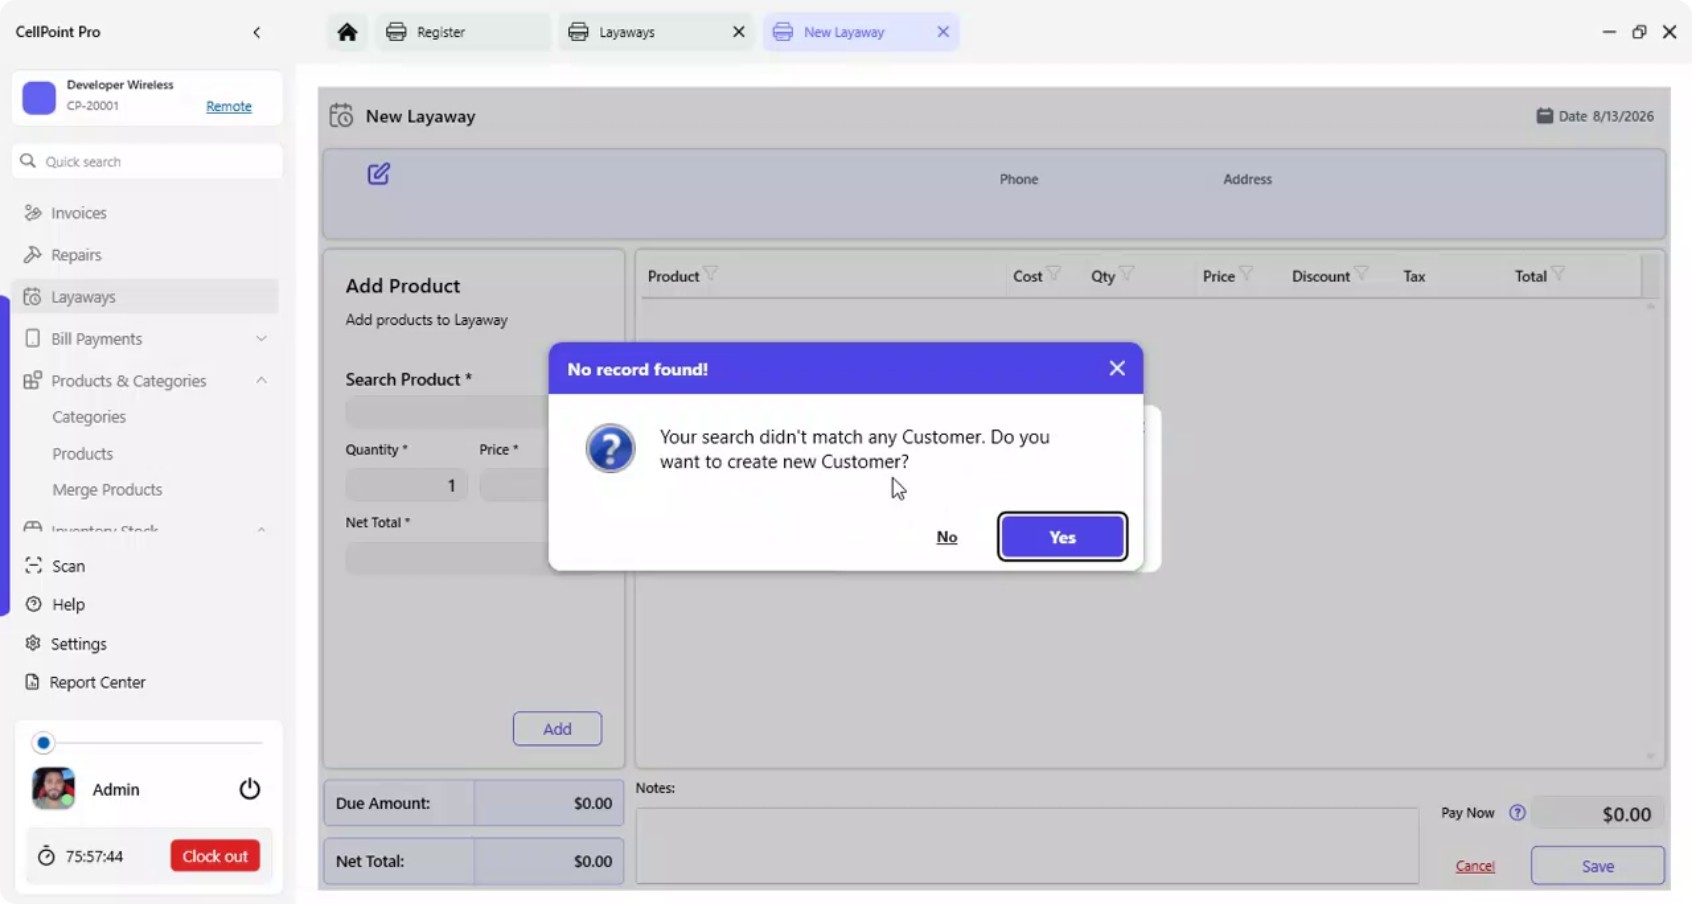
Step 3: Add Customer and Contact Information
Ring up the customer and enter their details. You can add information such as date of birth and email address (for example, tina@gmail.com).
Providing this information is recommended, as it allows you to run birthday promotions and send text messages through SellPoint Pro. Save the customer details.

Step 4: Add Items and Reserve IMEI (If Applicable)
Add the product to the layaway. You have two options for handling IMEI numbers:
Option 1: Reserve the IMEI immediately by scanning or manually entering the IMEI.
Option 2: Add the product by name now and add the IMEI later, once the payment is complete and you are ready to deliver the layaway.
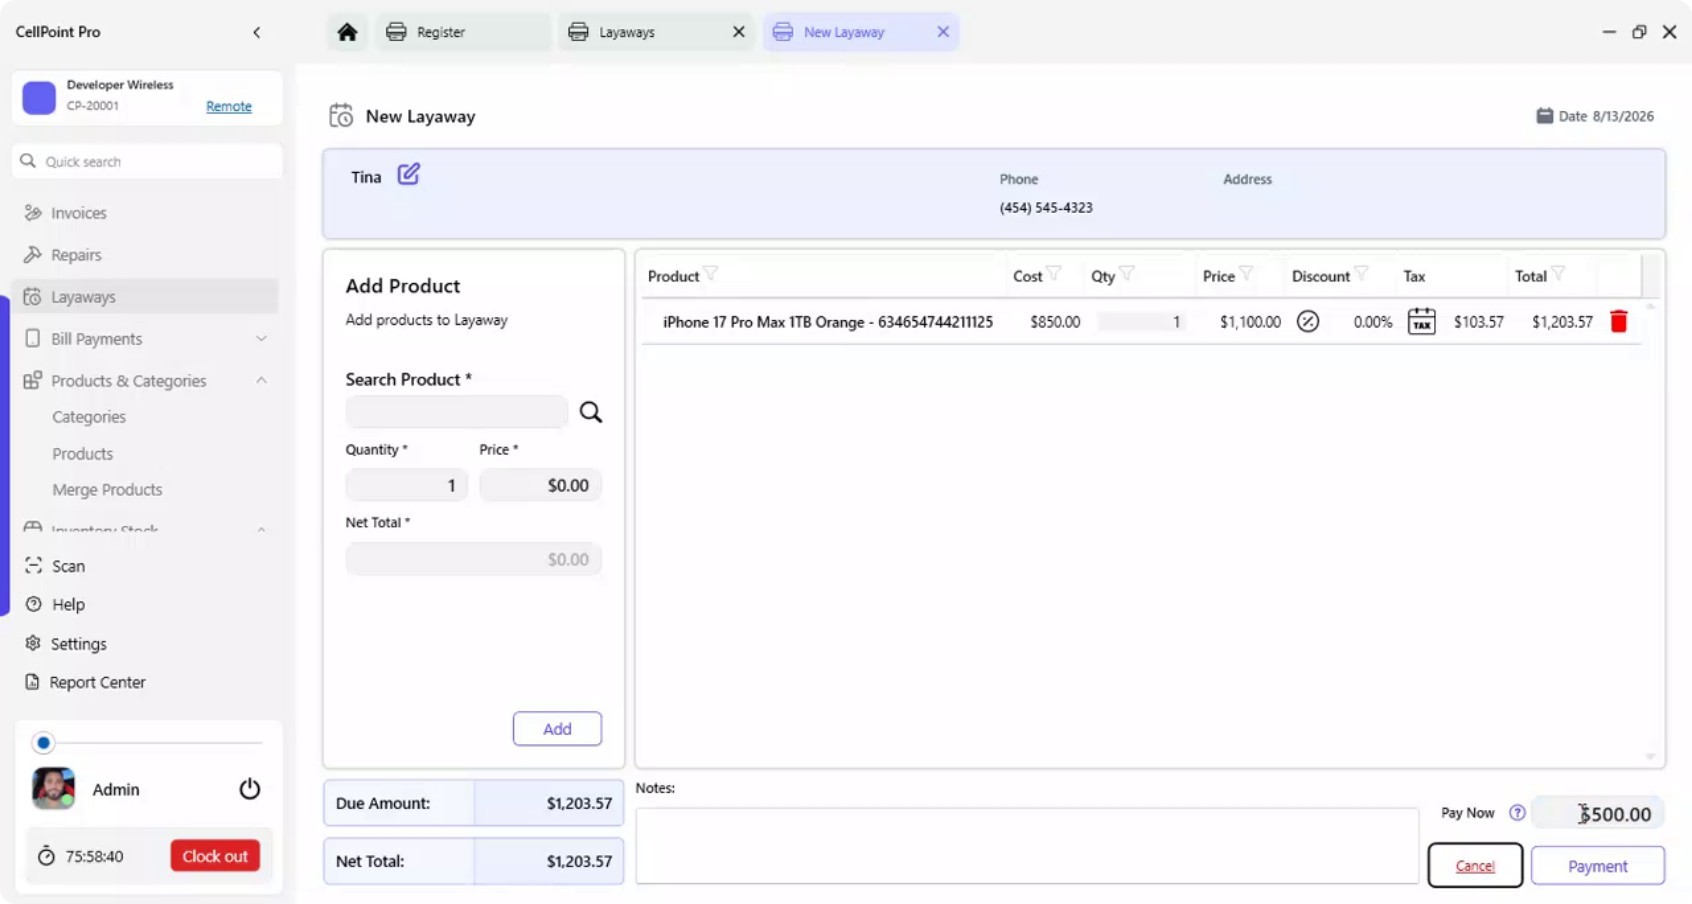
For this example, reserve the specific IMEI for the layaway.
By default, the system is set to collect a 10% initial payment, but you can change this and collect any amount you prefer.
Step 5: Collect the Initial Payment
Click on Payment to proceed with collecting the initial layaway payment.
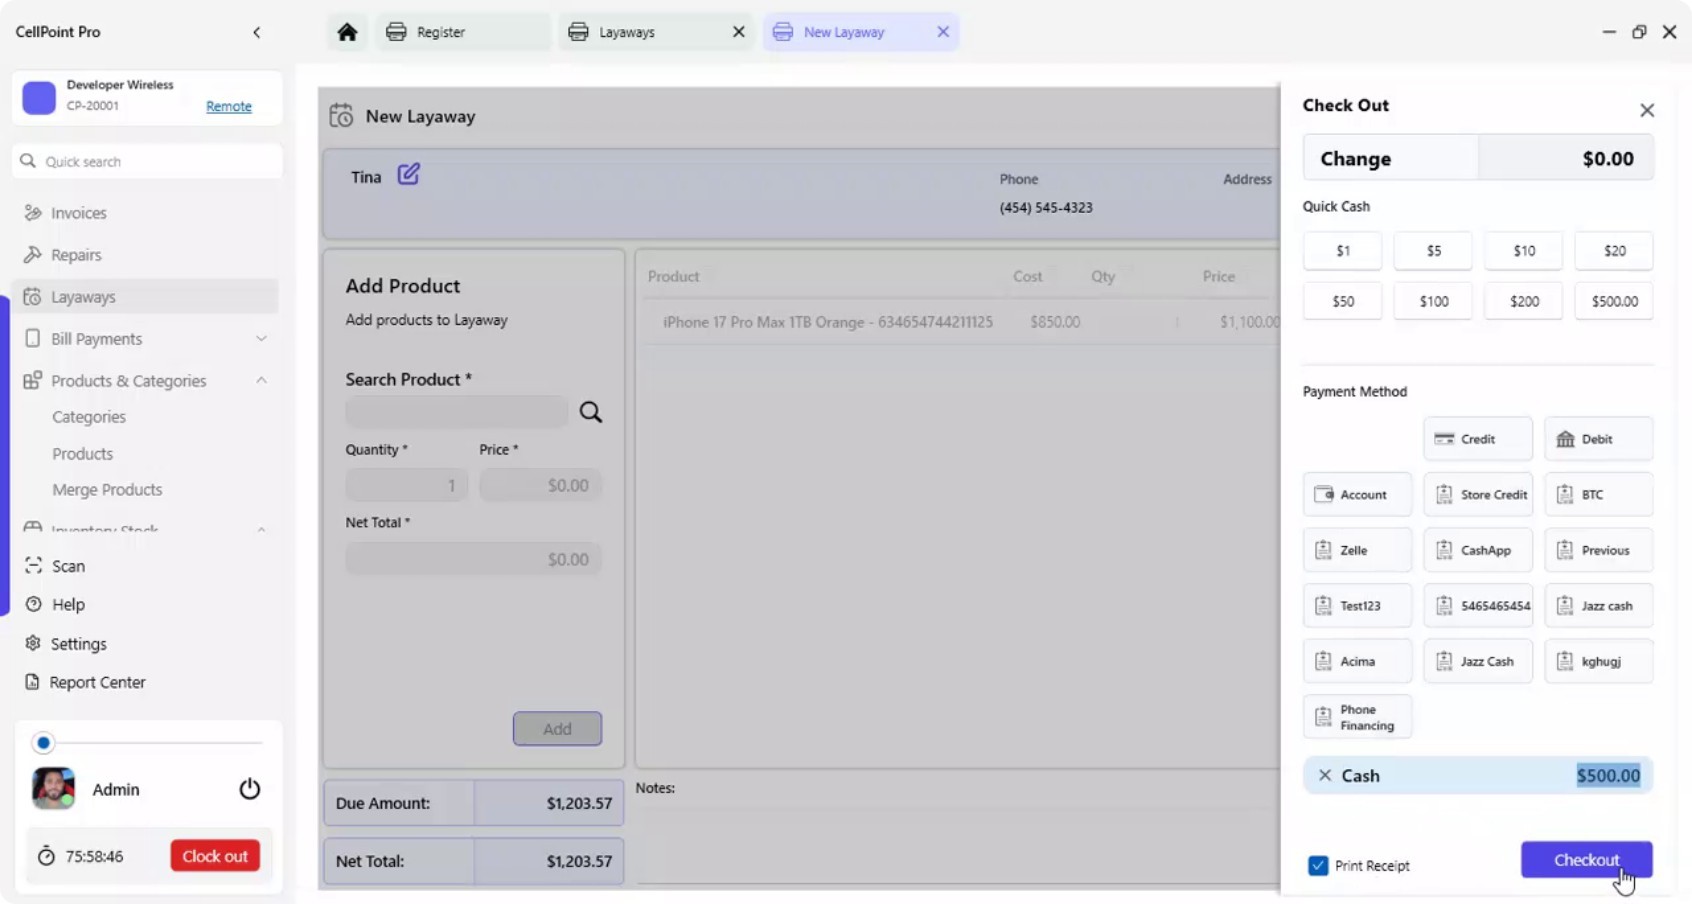
Select the customer’s preferred mode of payment, then check out and print the receipt for the customer.
Step 6: Manage Layaways from the Layaway List
Return to the Layaway List to manage existing layaways.
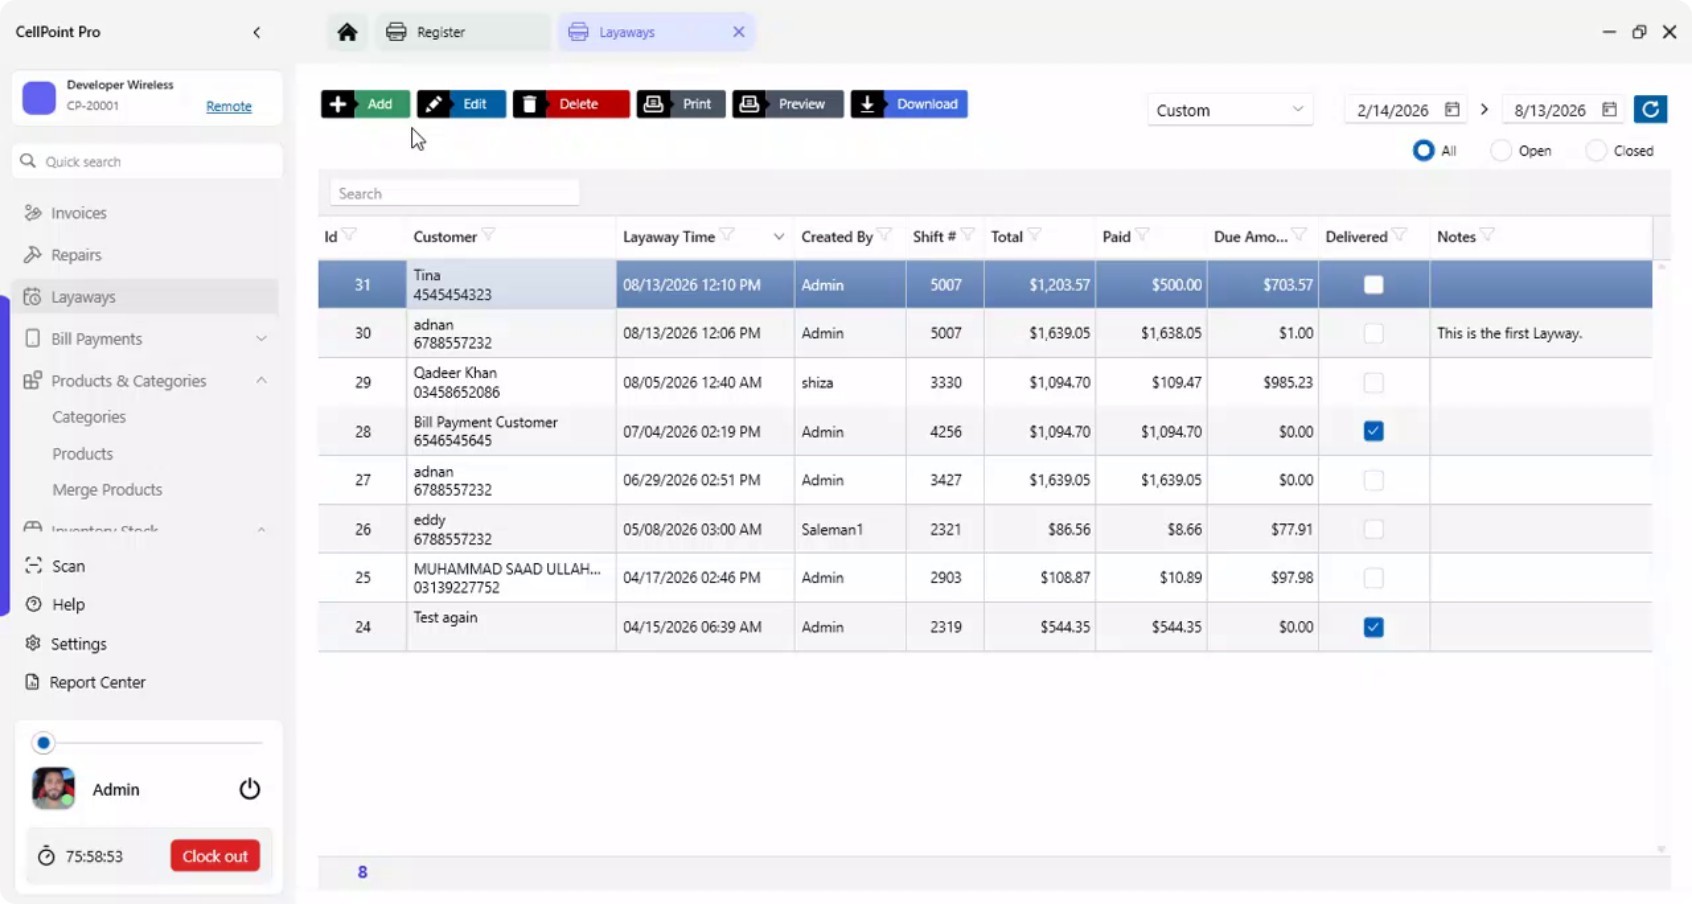
From here, you can open a layaway and click Edit to update payments and track the due amount (for example, a remaining balance of 703.57).
Step 7: Record Final Payment and Mark as Delivered
Once the customer has paid the full remaining amount, process the final payment by checking out the due amount.
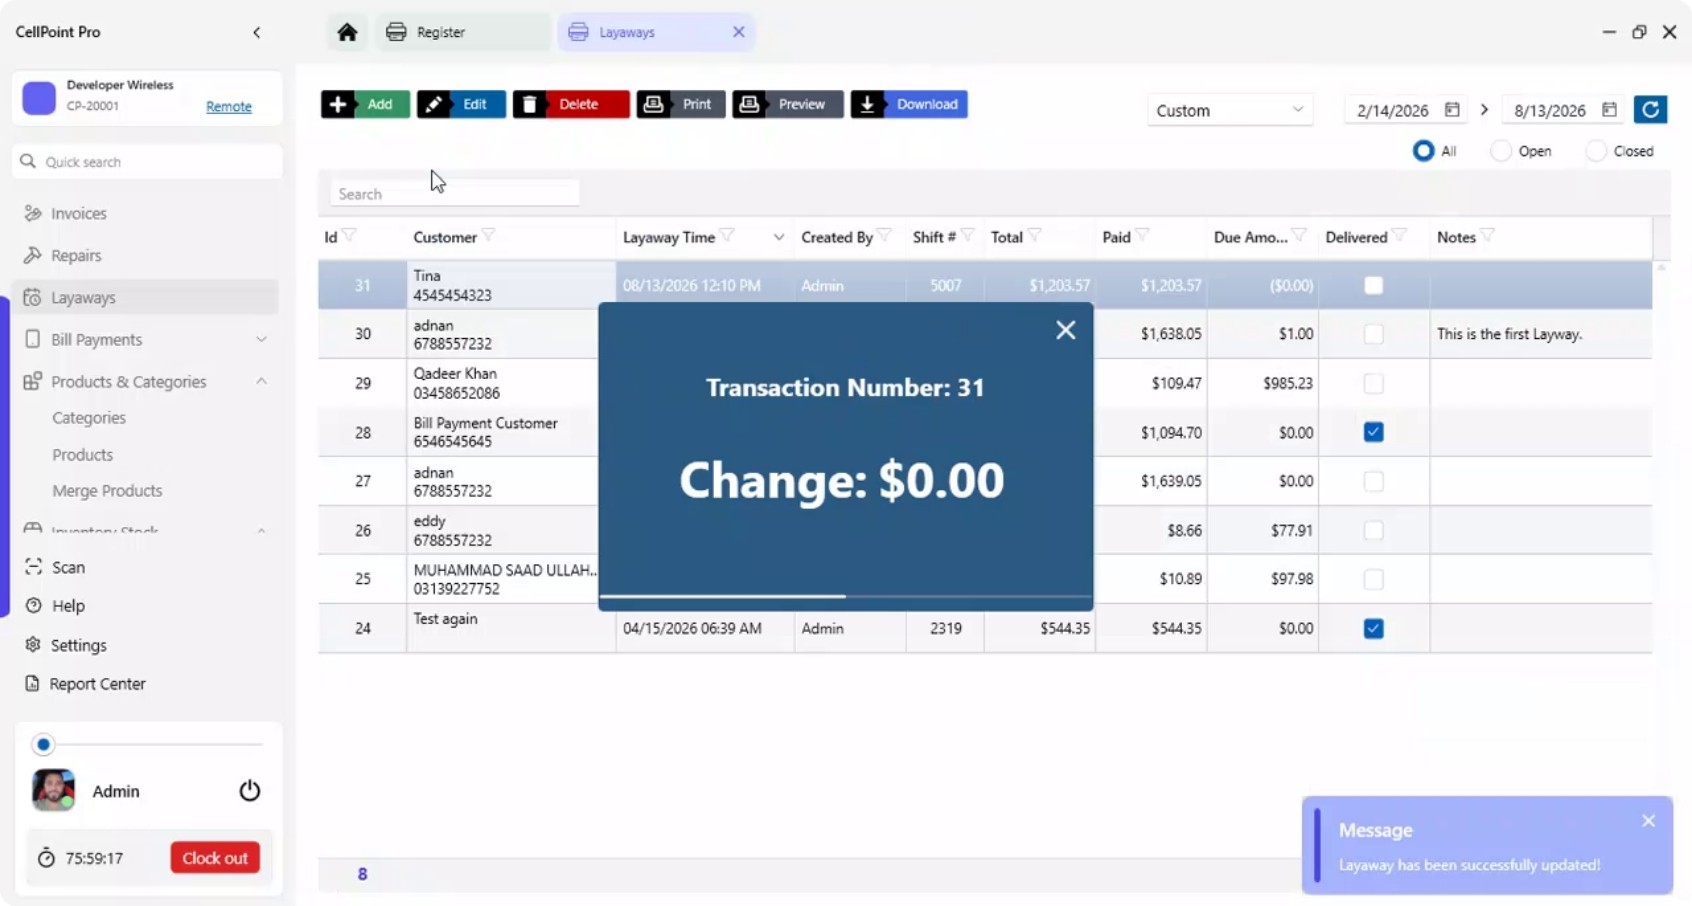
Complete the checkout.
Then mark the layaway as Delivered to remove it from the pending layaway list and finalize it in the system.

On This Page
Overview
Steps & Instructions
Video Tutorial