
Inventory
·
Guide
4 min read

How to Add and Manage a Product in CellPoint Pro
This document explains how to add a new serialized product to the inventory system and how to manage products from the product list, including pricing, stock, tax, barcodes, labels, and history.
Step 1: Navigate to the Inventory & Products Section
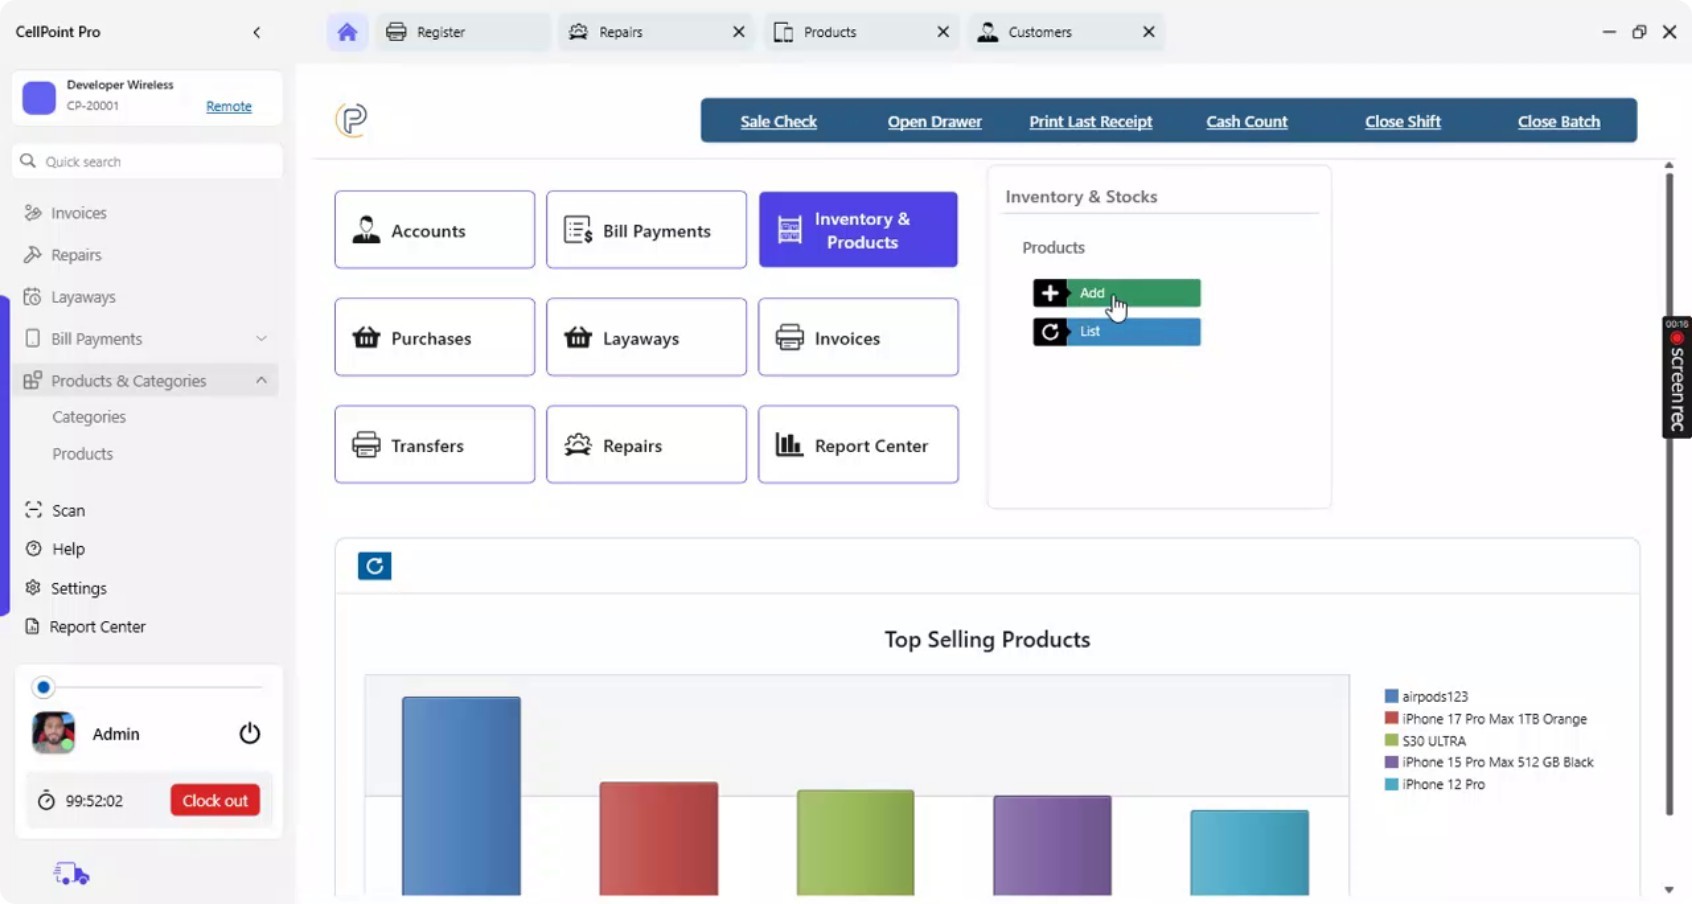
From the home screen, go to Inventory & Products to begin adding a new product.

Click Add Products to open the product creation window.
Step 2: Choose the Product Type (Serialized Product)
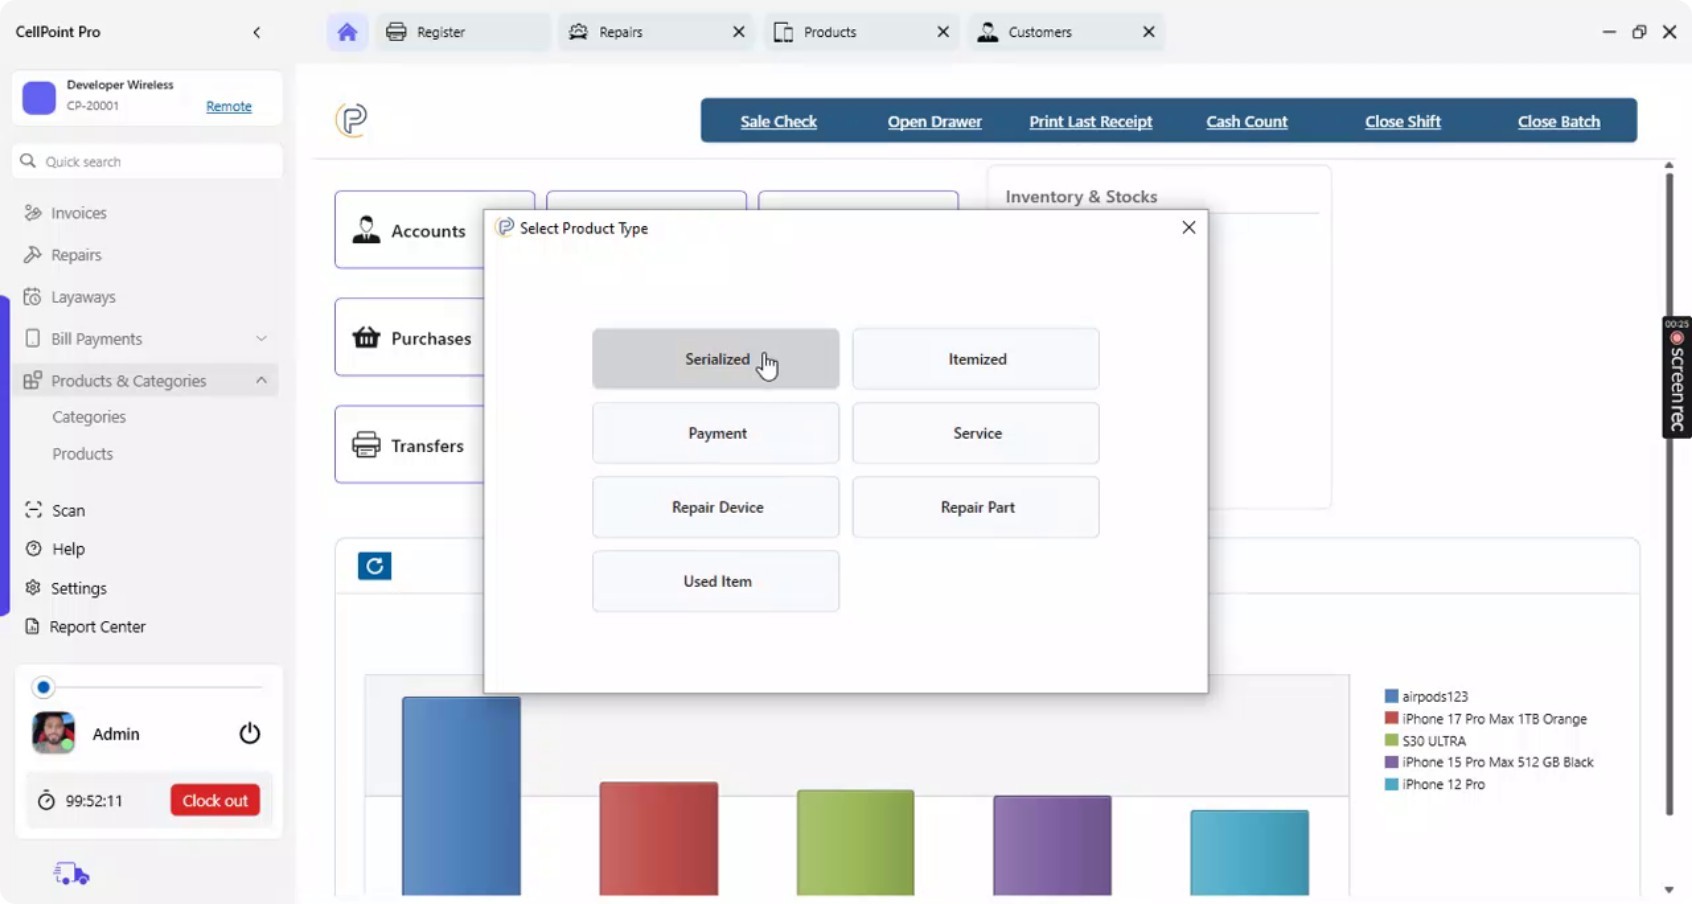
In the Add Products screen, select the appropriate product type.
For this example, choose a serialized product.
Step 3: Select or Create Main Category and Subcategory
In the main product window, select the main category for your product.
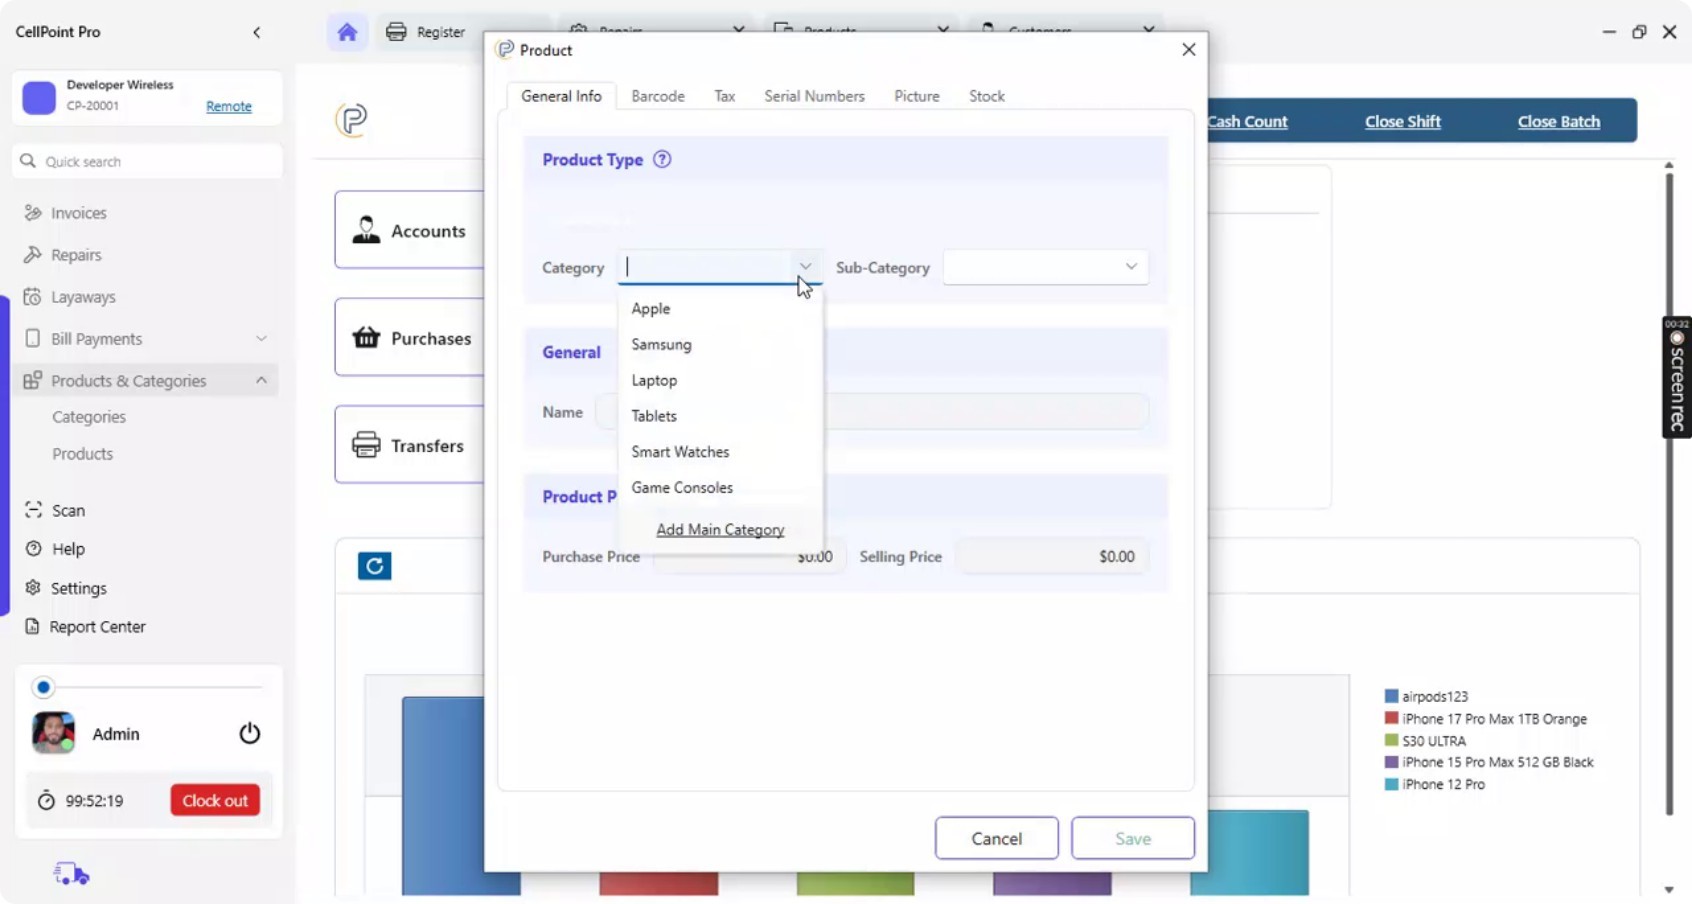
If you need a new main category, click Add Main Category and create one.
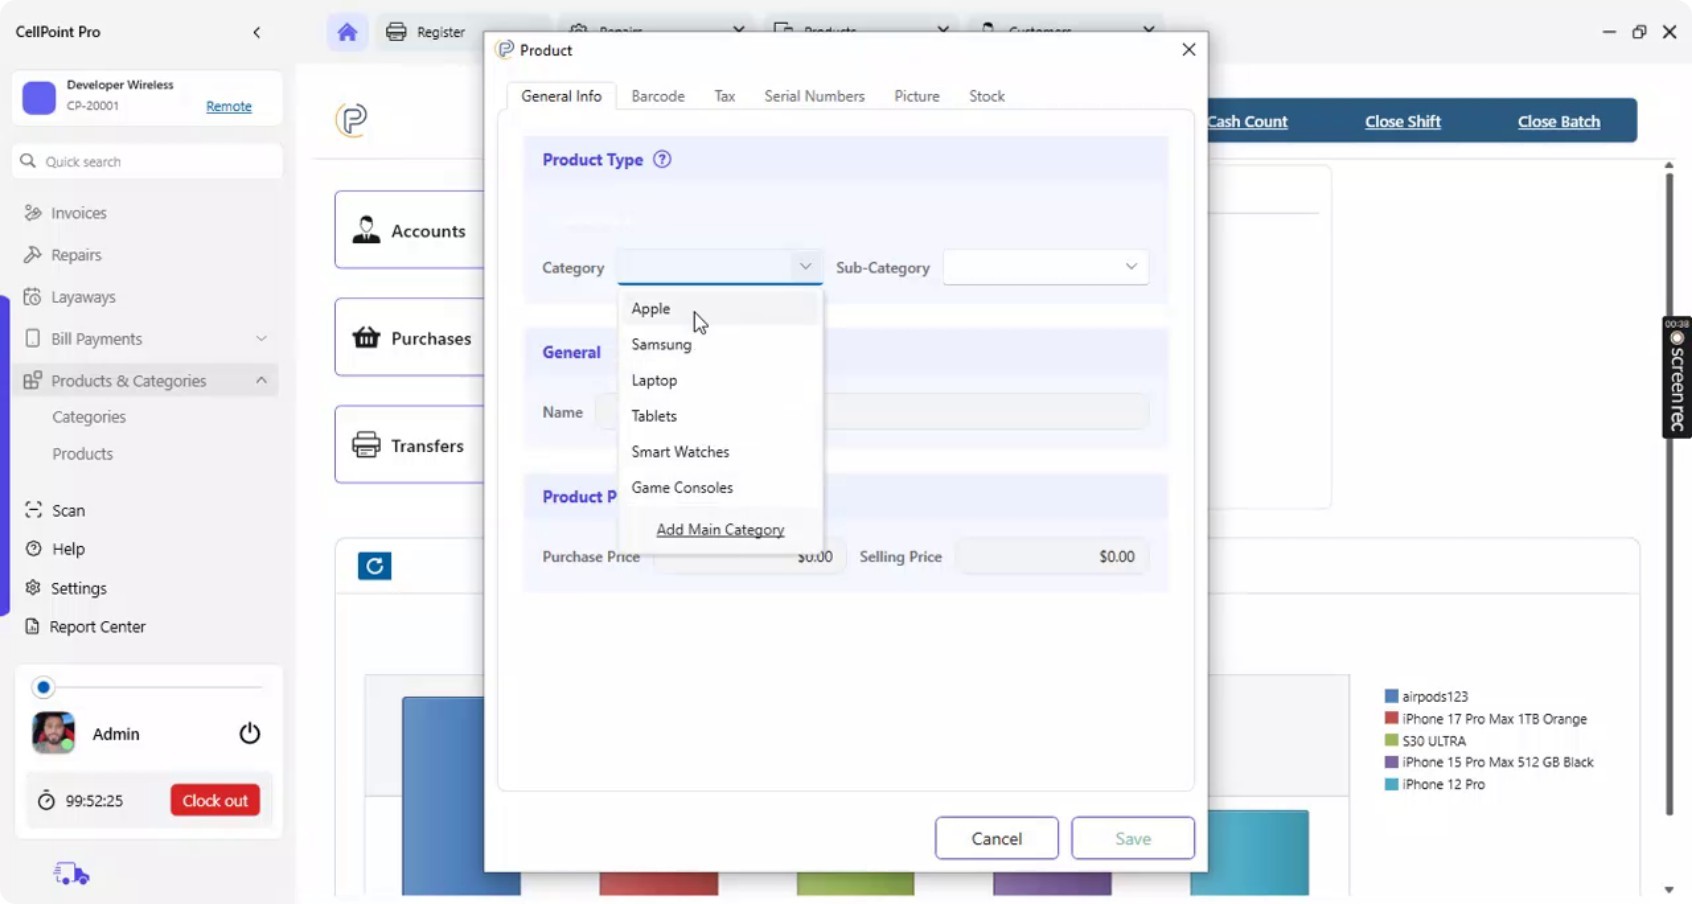
For example, you might add an Apple device category.
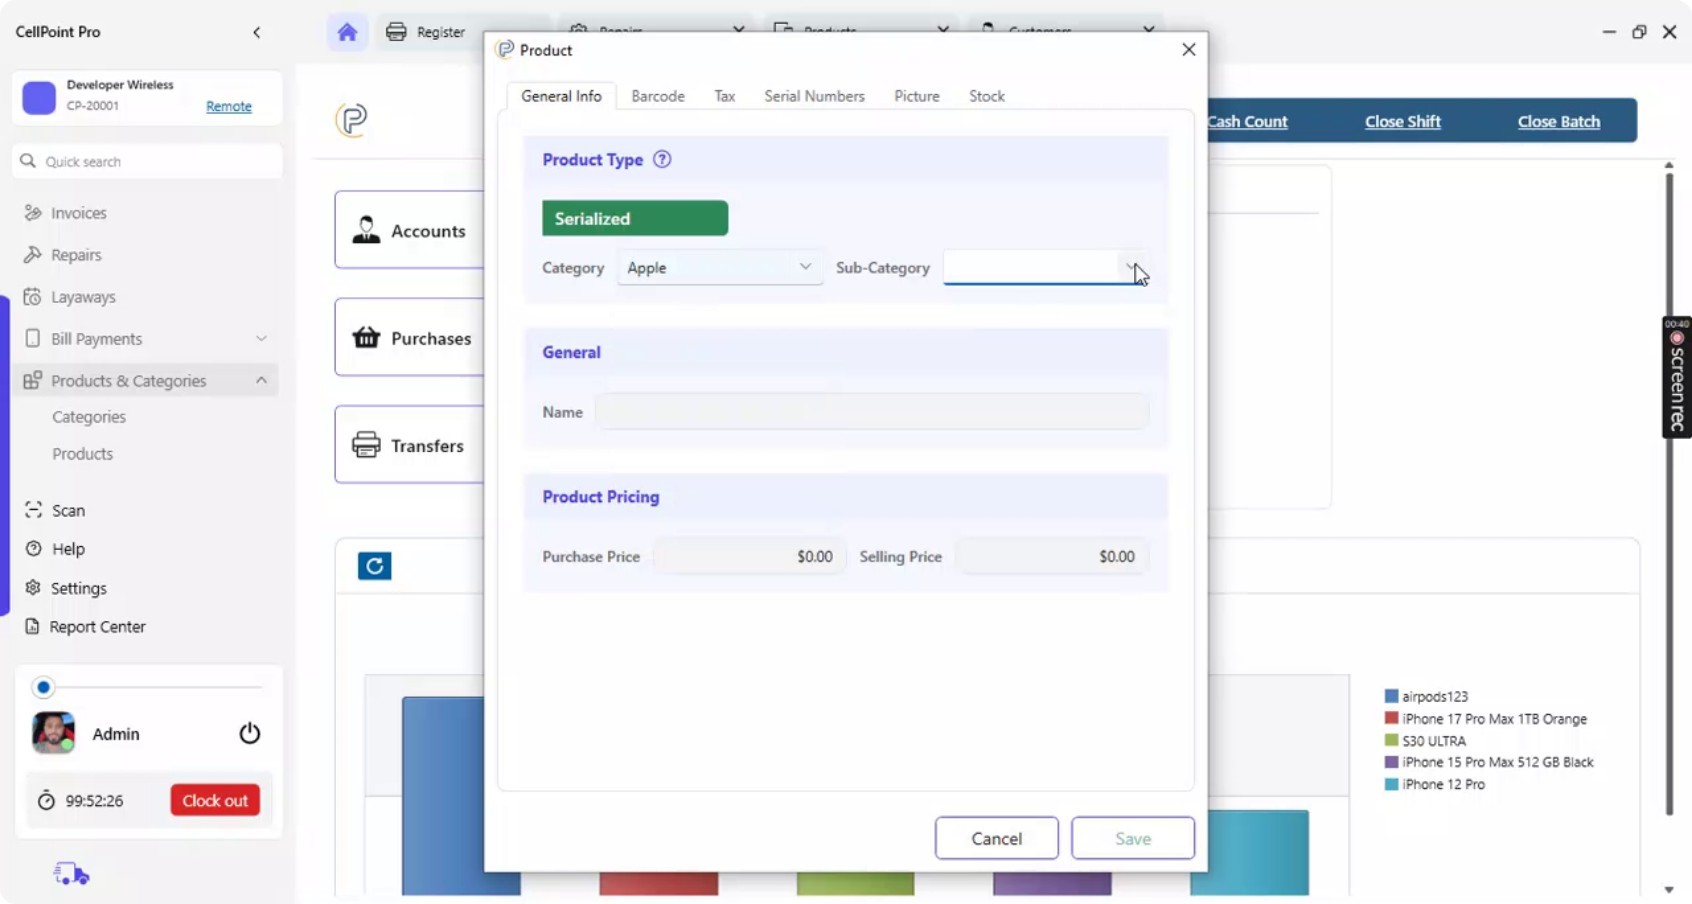
You can also create a subcategory (e.g., a specific model line) and select it for the product.

Step 4: Enter Product Name and Pricing
Enter the product name.
Then add:
Purchase price: the cost you paid to the vendor for this device.
Selling price: the price at which you will sell the product.
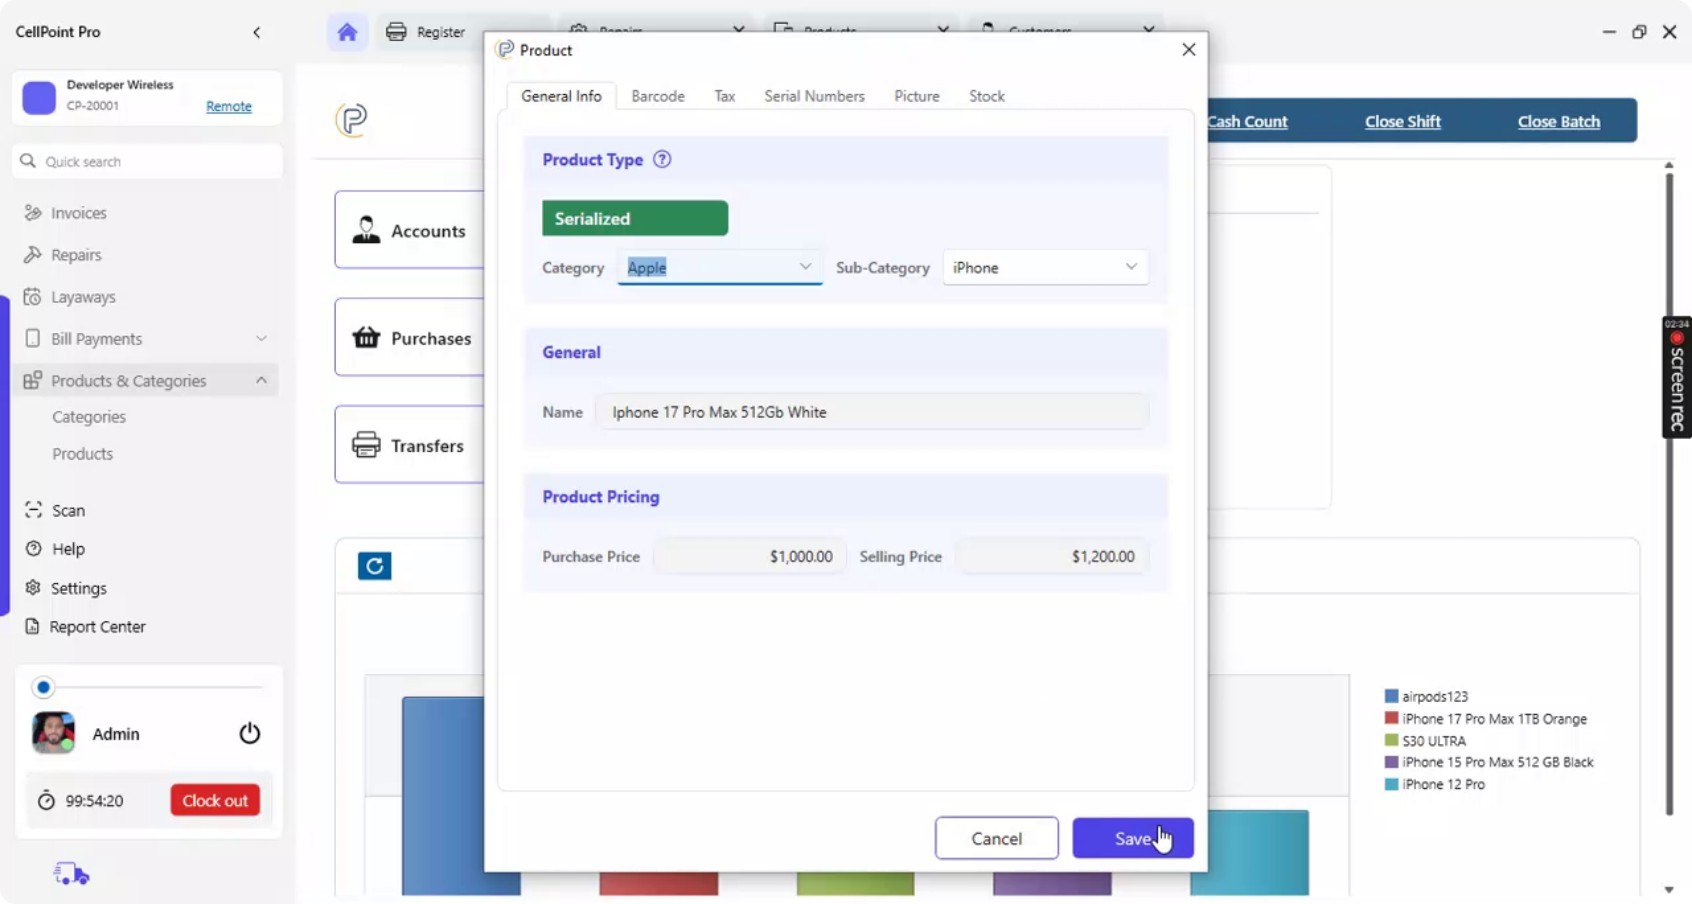
Step 5: Add Barcodes and Additional Details
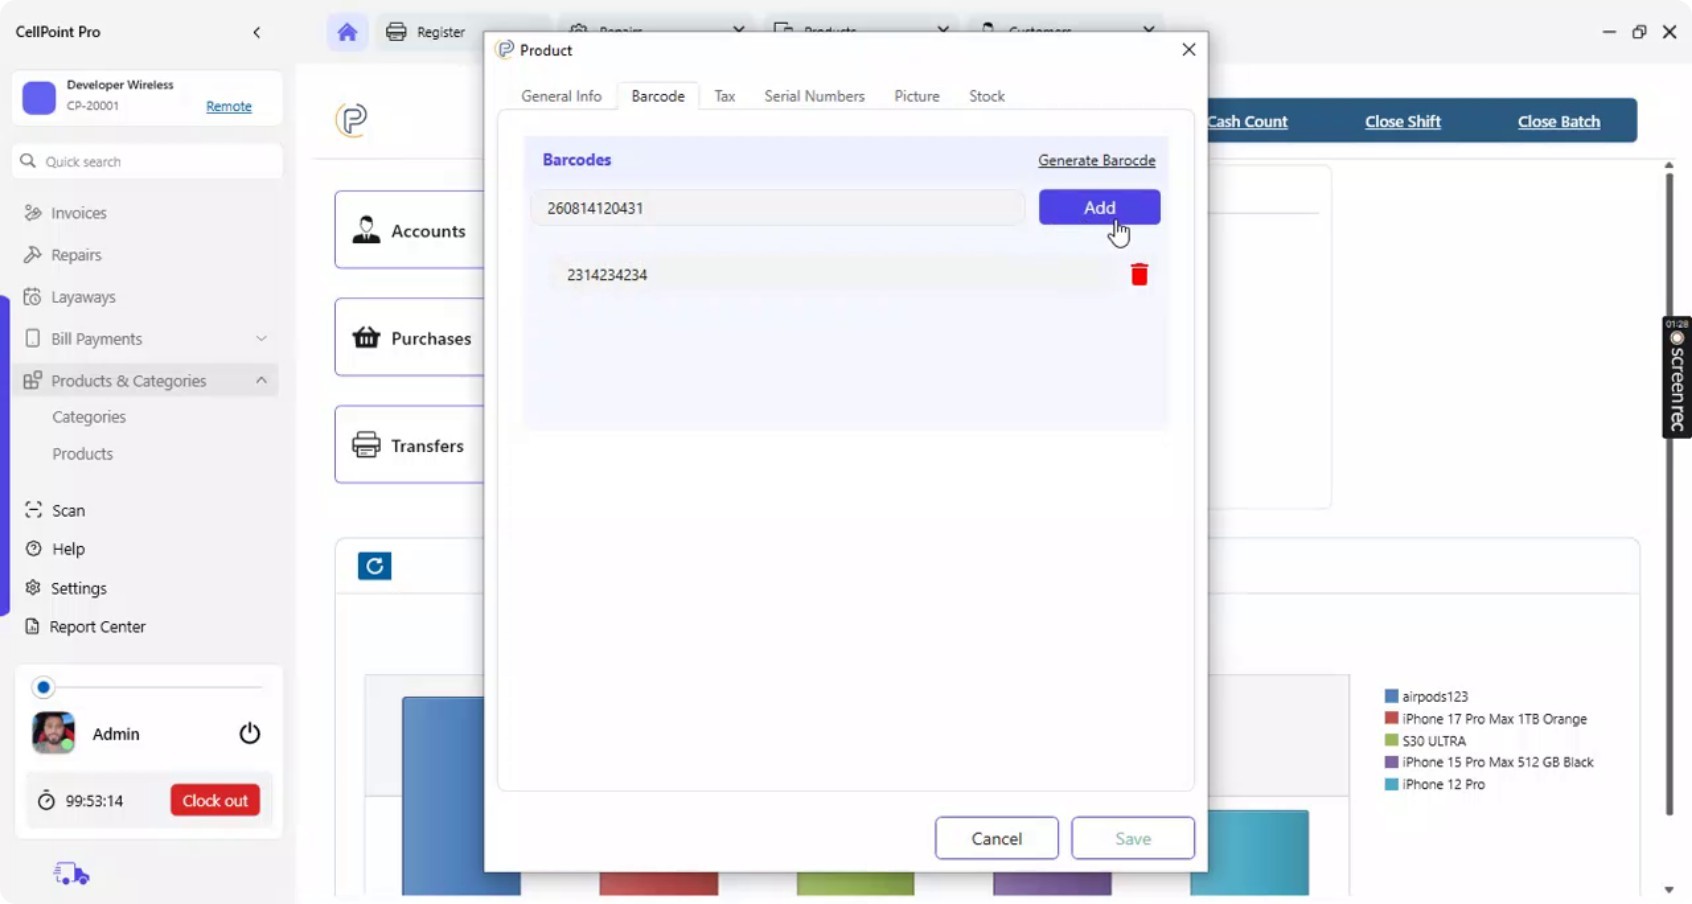
Under Additional Details, you can manage barcodes for the product.
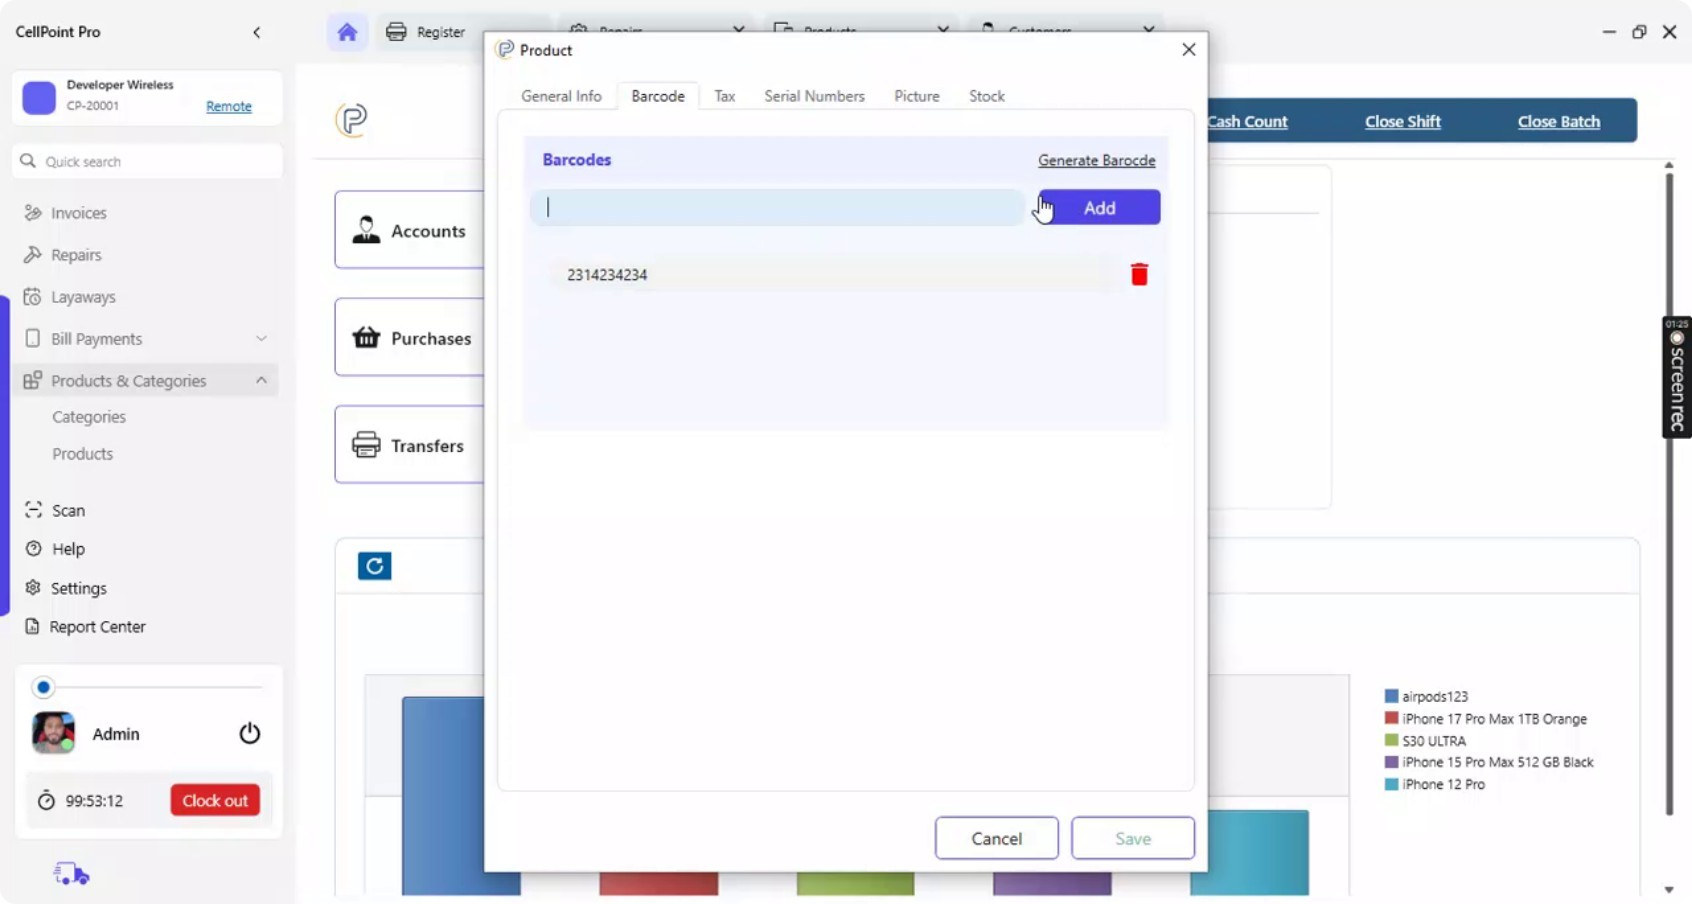
You may:
Add multiple barcodes,
Scan or type the barcodes manually
Or assign system auto-generated barcodes to the product.
Step 6: Configure Tax Management
Go to Tax Management.

Assign the appropriate tax templates to the product according to your tax setup.
Step 7: Review and Check Serial/IMEI Numbers under Product
Open the Serial Number section.
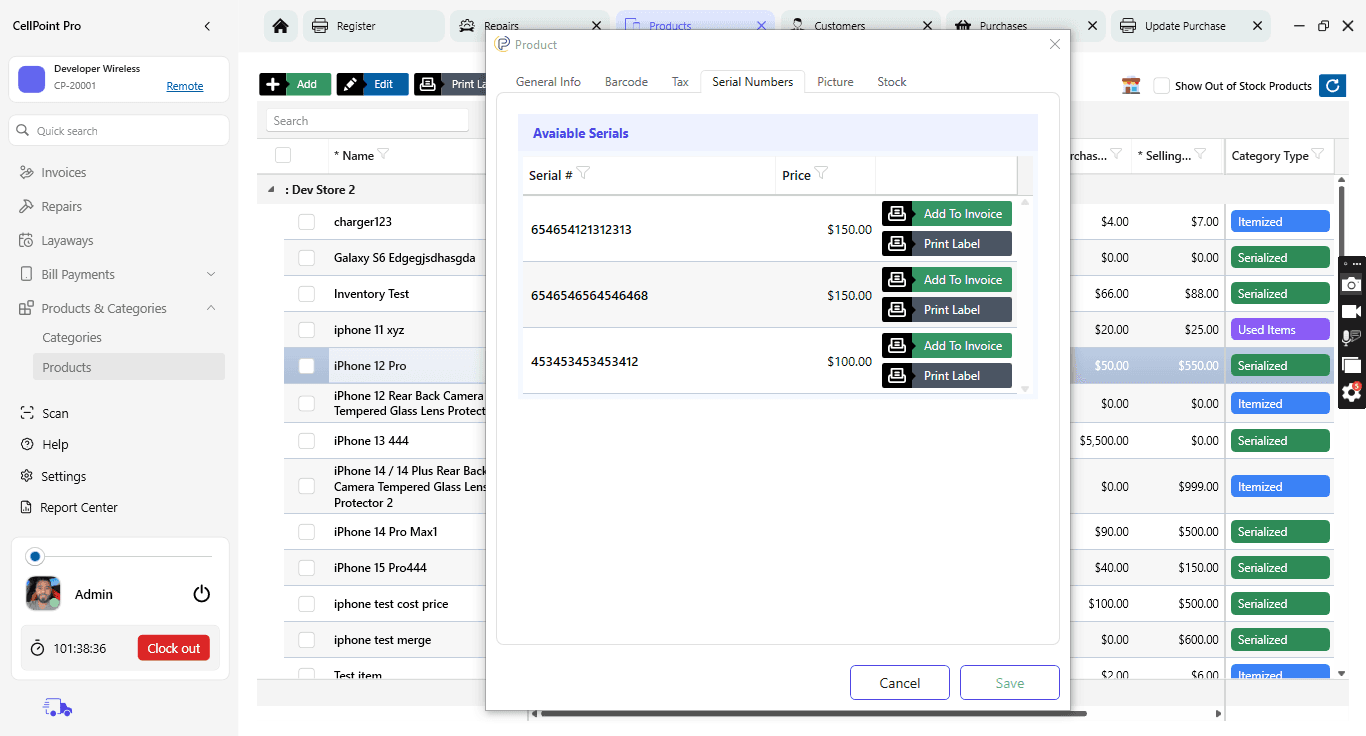
Here you can view and manage the serialized inventory associated with this serialized product.
Step 8: Add Product Images
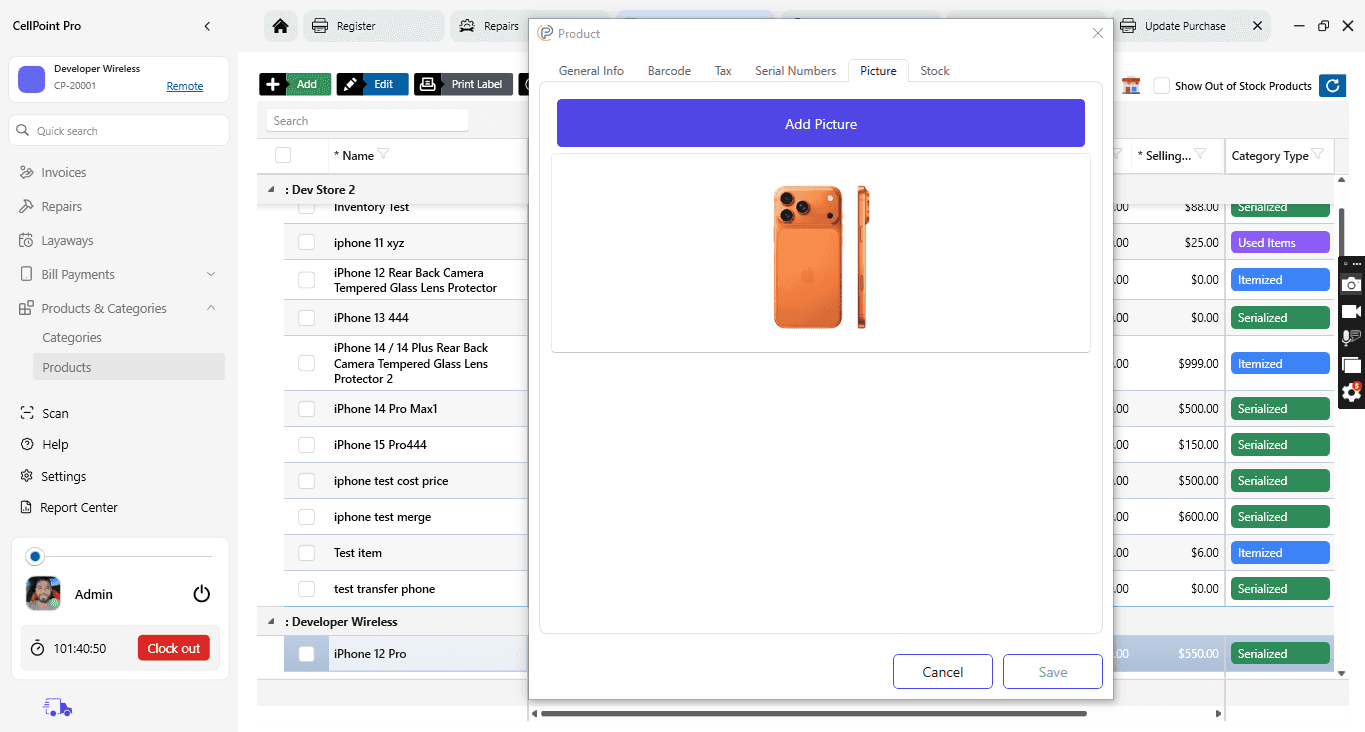
Go to the Pictures section.
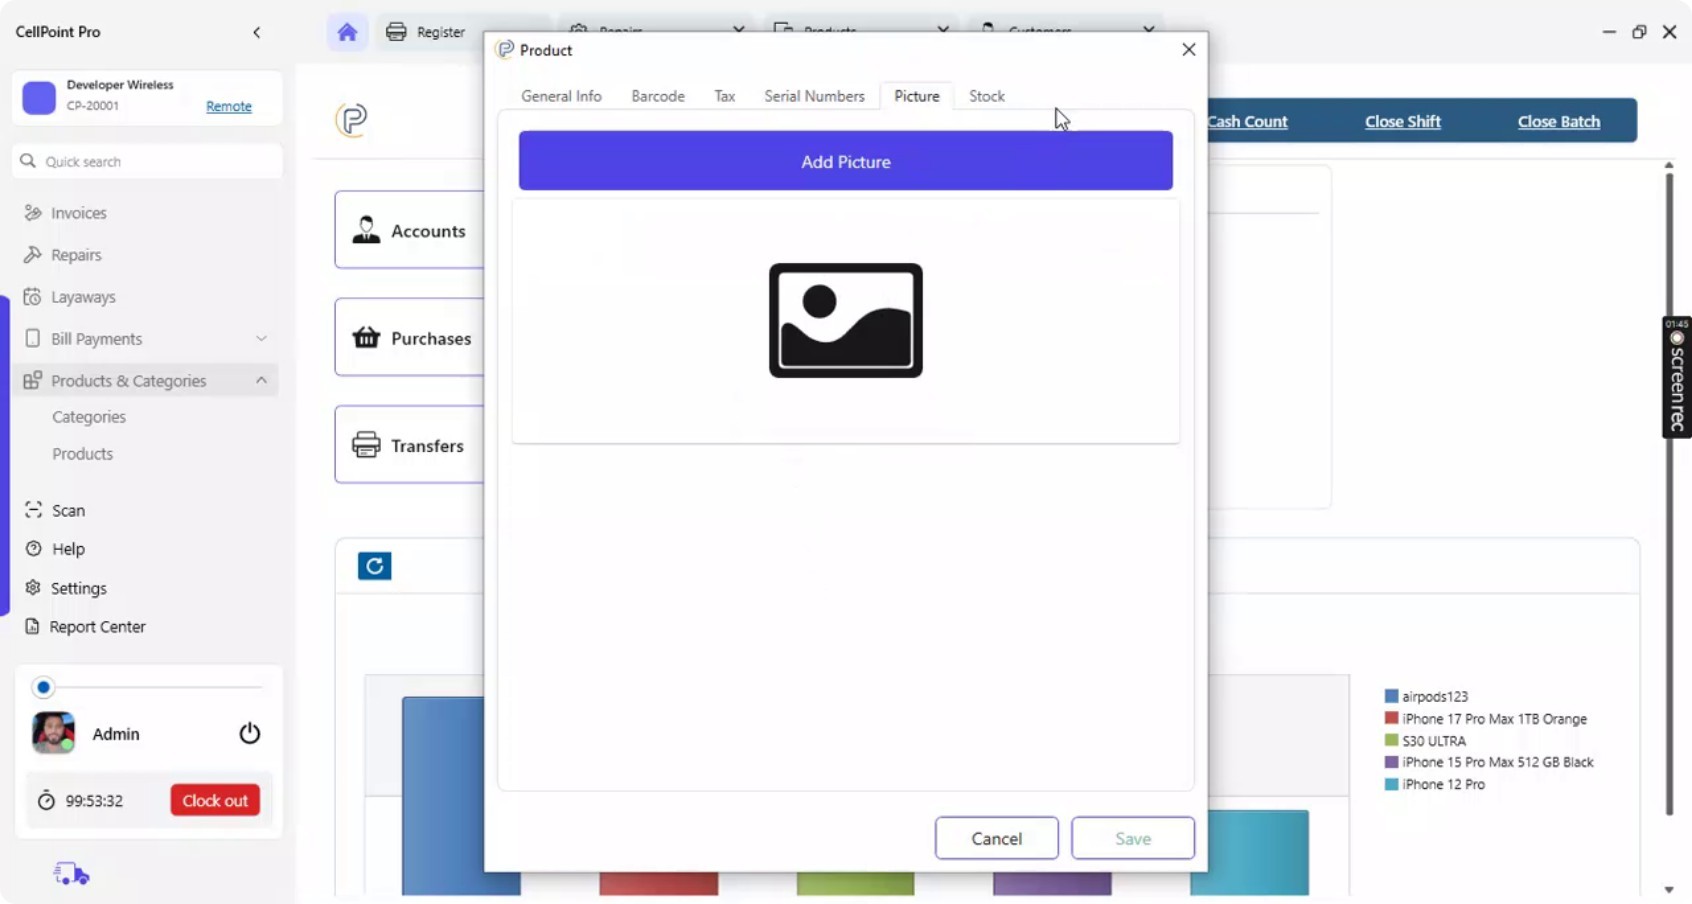
Add custom images for the device (e.g., product photos or reference images).
Step 9: Configure Stock, Locations, and Reorder Level
In the Stock section, review and manage stock across multiple locations. You can:
Monitor current stock levels per location,
Make the same product available at other locations so it can be used there as well.
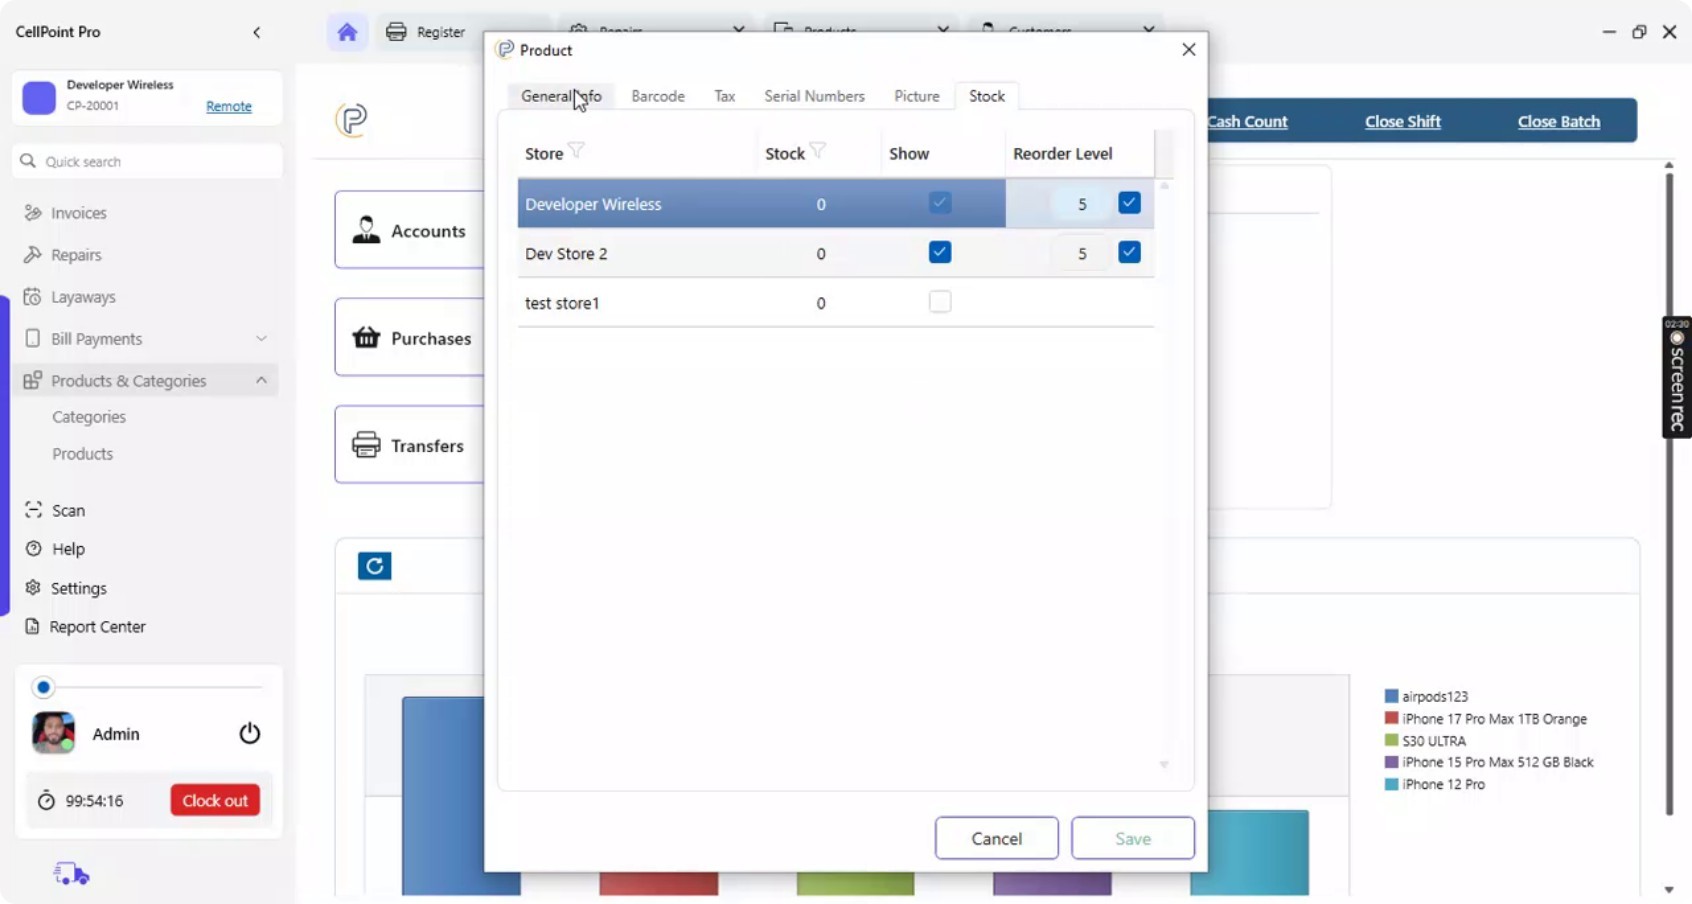
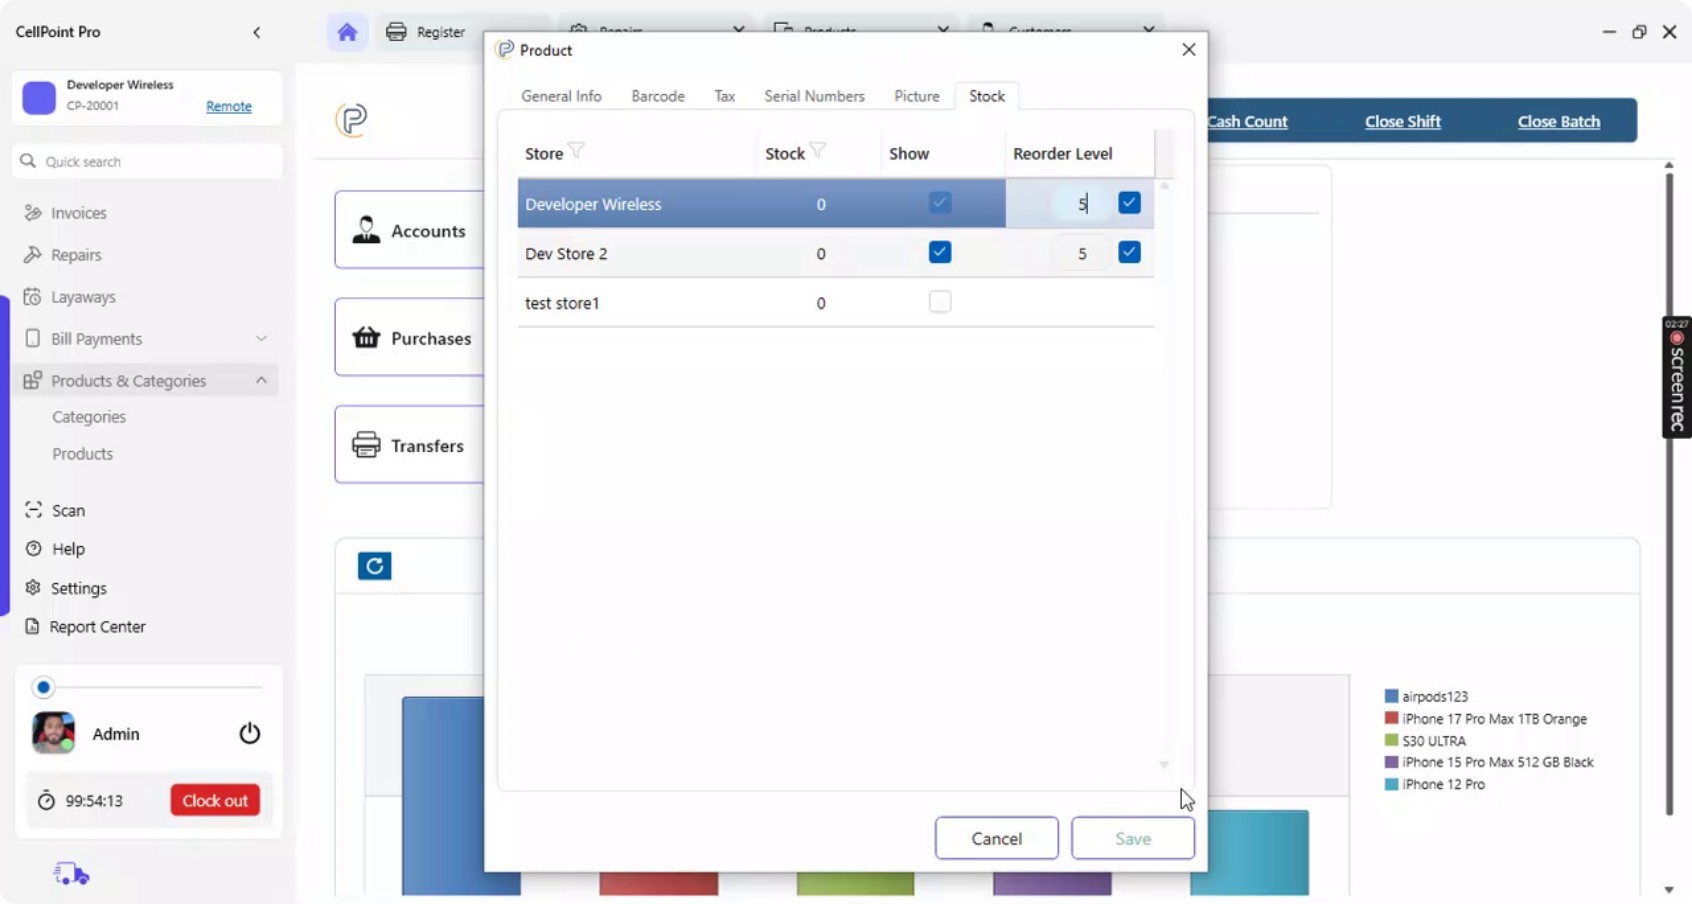
Set the Reorder Level (minimum inventory threshold) under Stock.
For example, if you set the reorder level to 5 units, system-generated reports and notifications will alert you when stock falls to or below this level so you know which items need to be replenished.
Step 10: Save the New Product
After entering all required information (categories, pricing, barcodes, tax, images, stock, and reorder level), click Save to create the product.
Step 11: Open and Search the Product List
To view your products, navigate to the Product List from the left-side menu

or via Home > Inventory & Products > List.
In the product list, you can search for products by:
Product name (e.g., “17 Pro”),
SKU,
Barcode.
Step 12: Edit Product Fields Directly in the List
To change certain product details (such as name or pricing), you do not need to open the full edit screen.
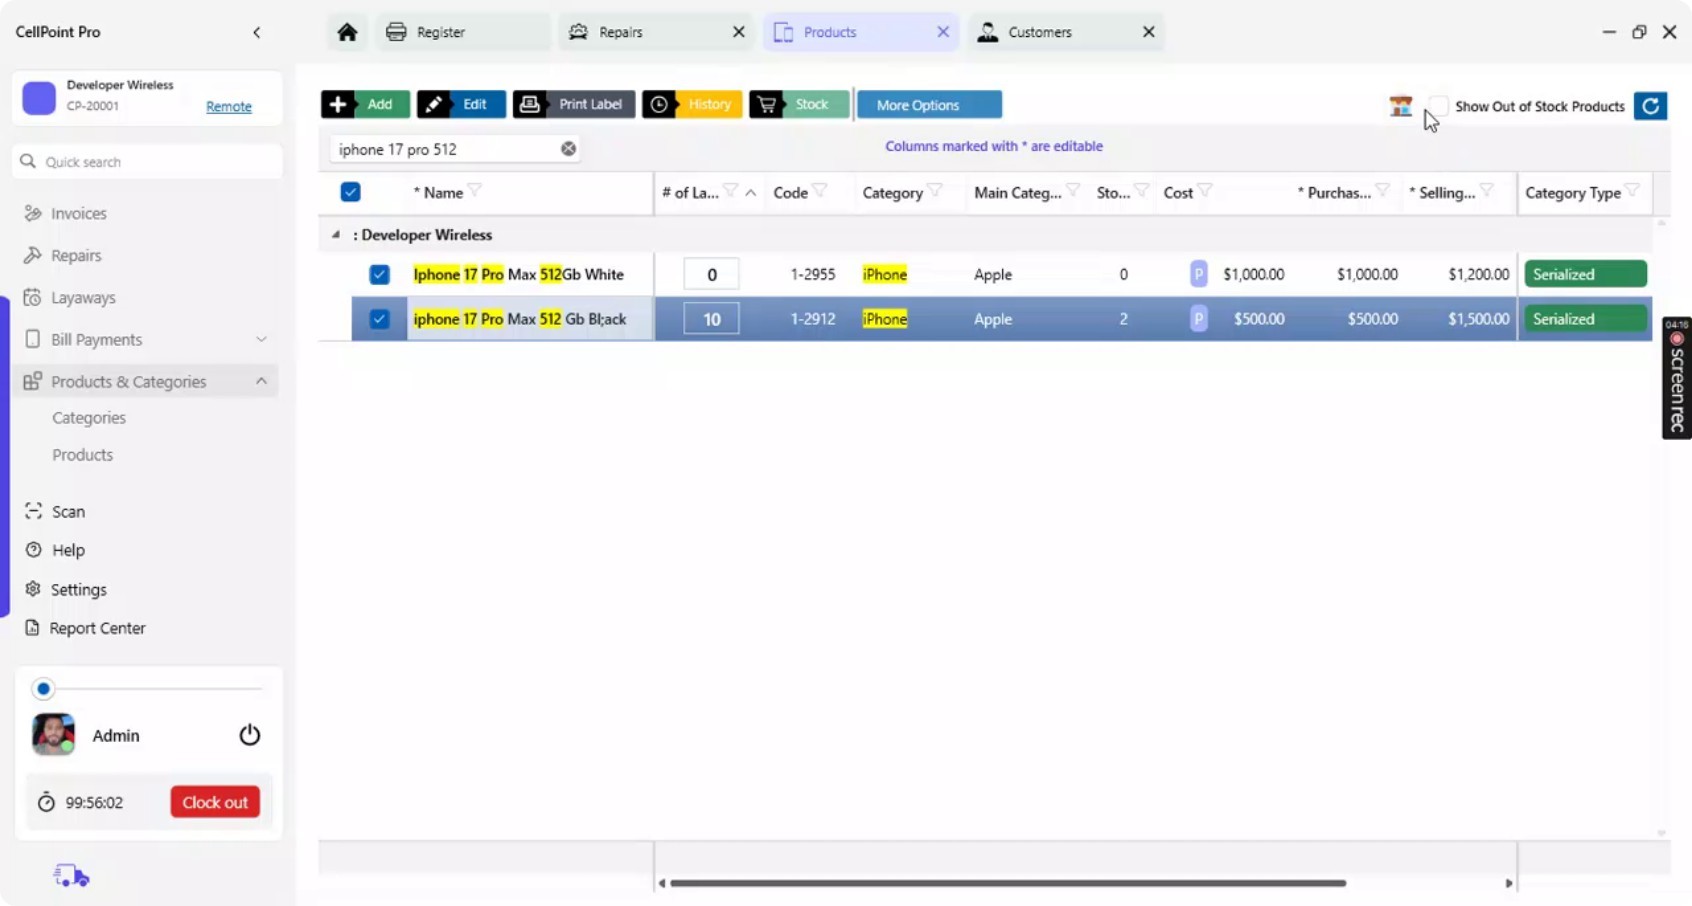
Any column marked with a star is directly editable, similar to an Excel sheet. You can update fields like:
Product name,
Cost price,
Selling price.
Step 13: Print Product Labels
To print labels for an item:
Check/select the product you want to print labels for.
Enter the number of labels you need.
Print the labels.
Step 14: View Product History
To check the history of a specific product:
Select the product in the list.
Click History.
This displays the complete history of the product, including stock situation at the time of each action.
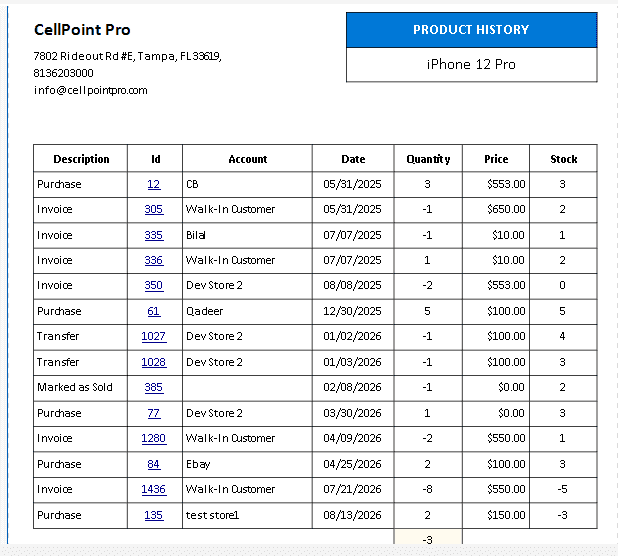
You can preview:
Related invoices,
Purchase records,
When the item was added to inventory.
This helps you manage products and their lifecycle from the Product List.
Step 15: Manage Multi-Location Inventory and Export the List
For multi-location setups, you can switch between stores to view and manage each store’s inventory and perform actions as needed.
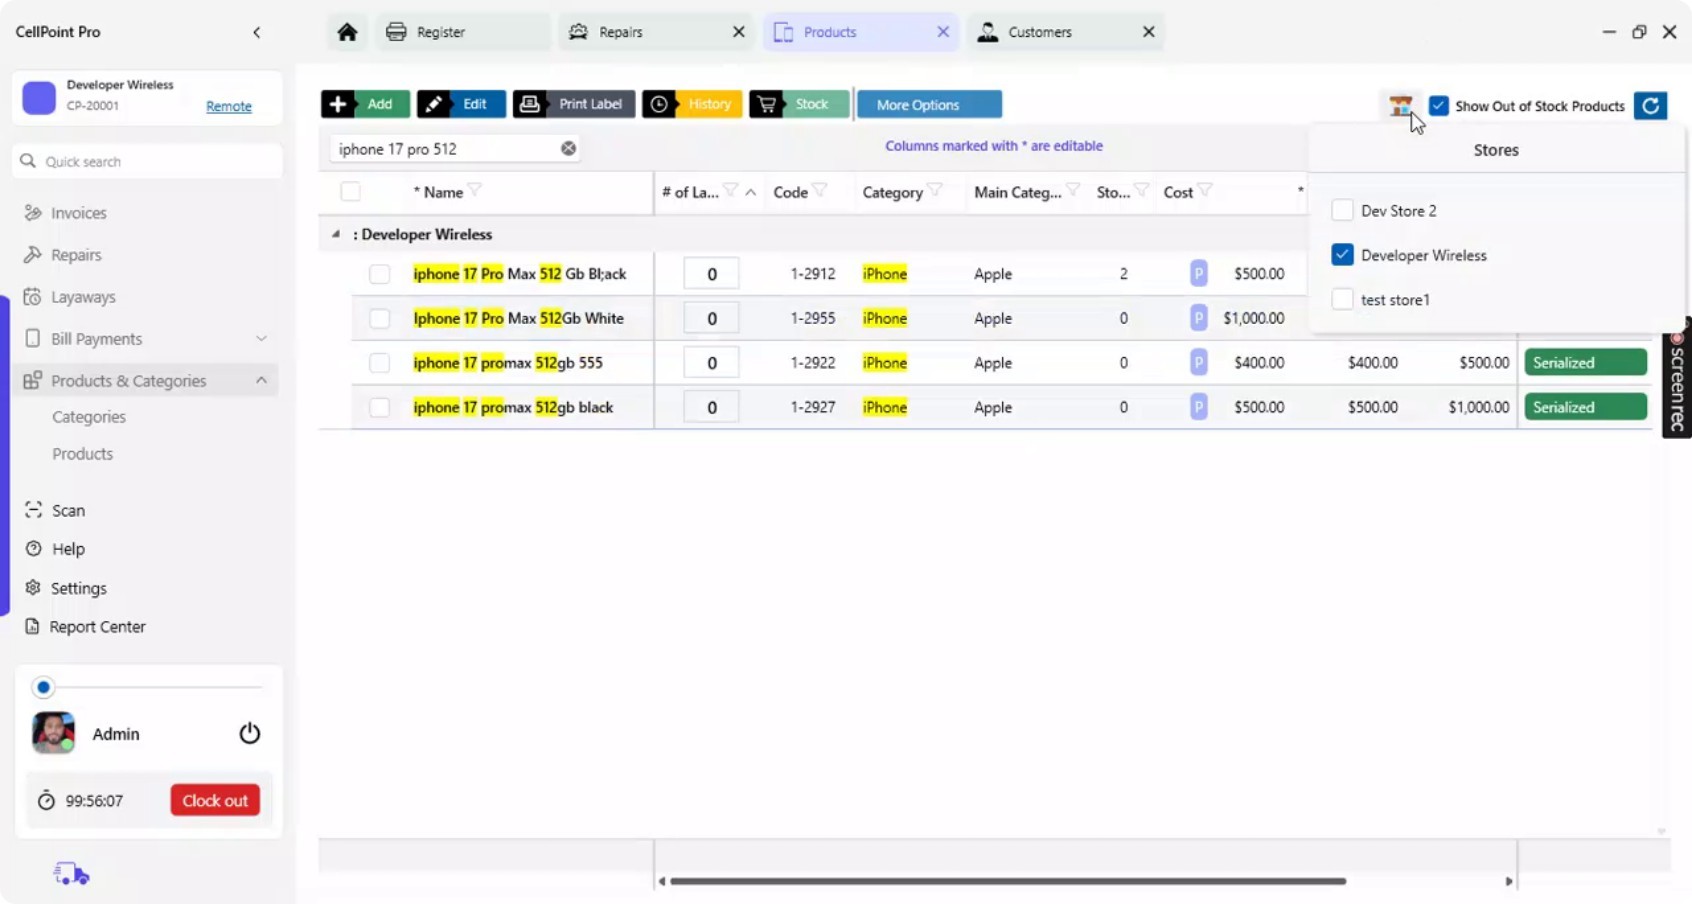
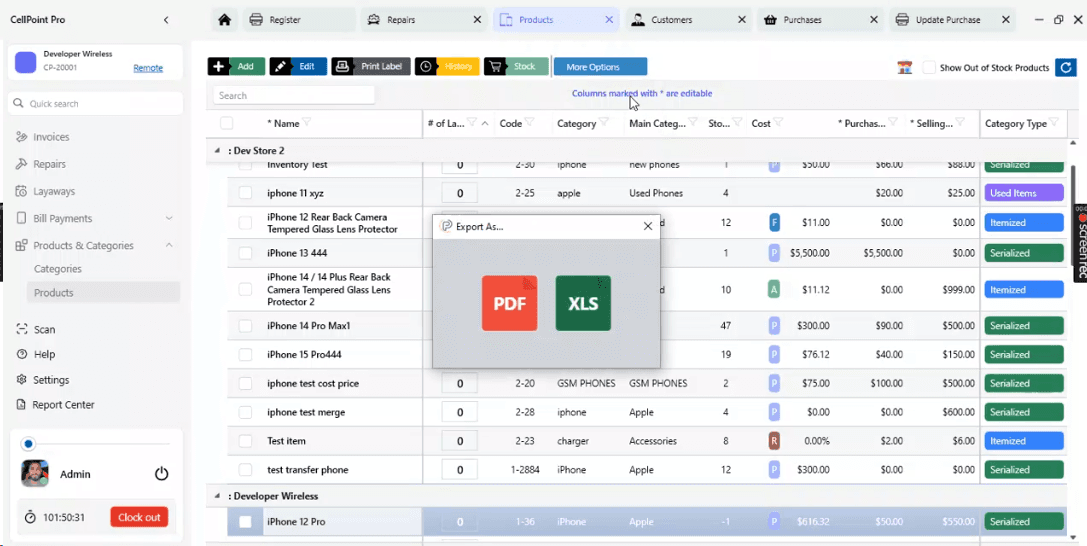
You can also download the product list in Excel or PDF format.
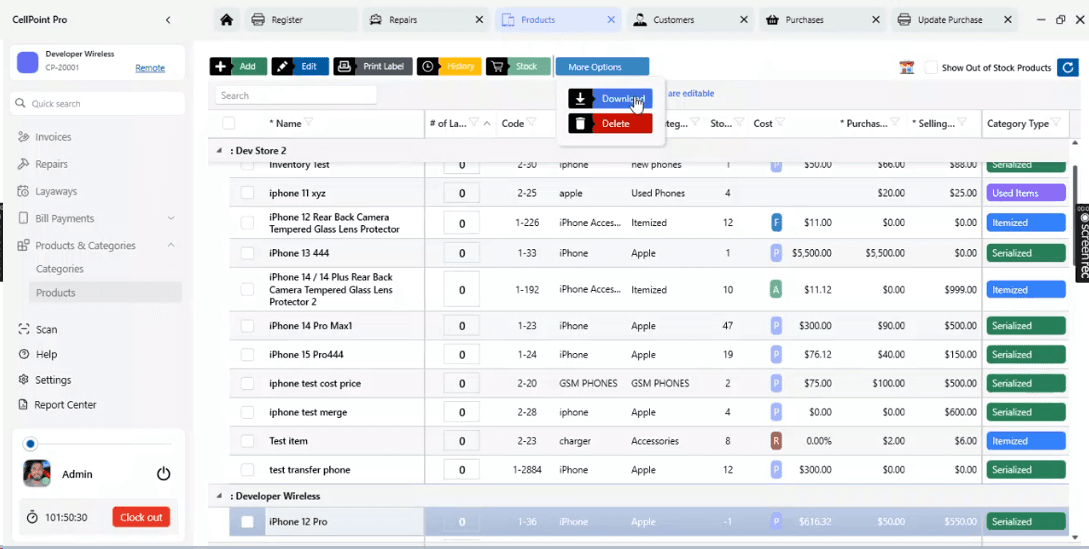
Click Download and choose your preferred format.
Step 16: Delete Items and Review Stock Across Locations
Use the Delete button to remove any product from the system when required.
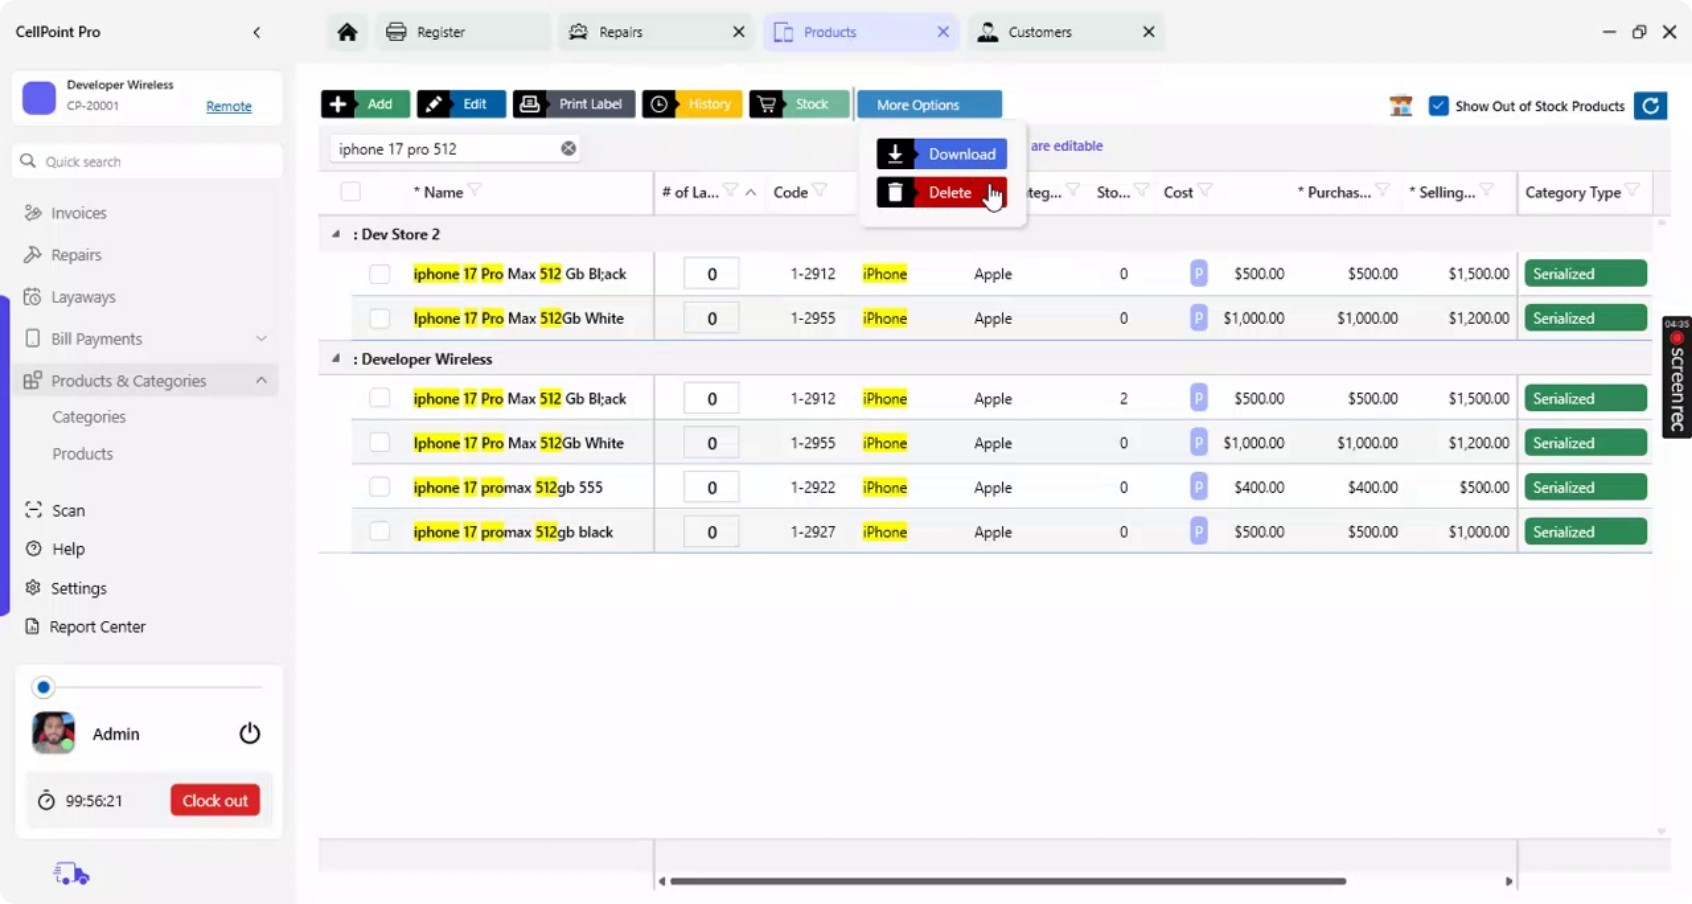
The Stock view shows the stock of a particular product across all locations, giving you a consolidated view of availability.
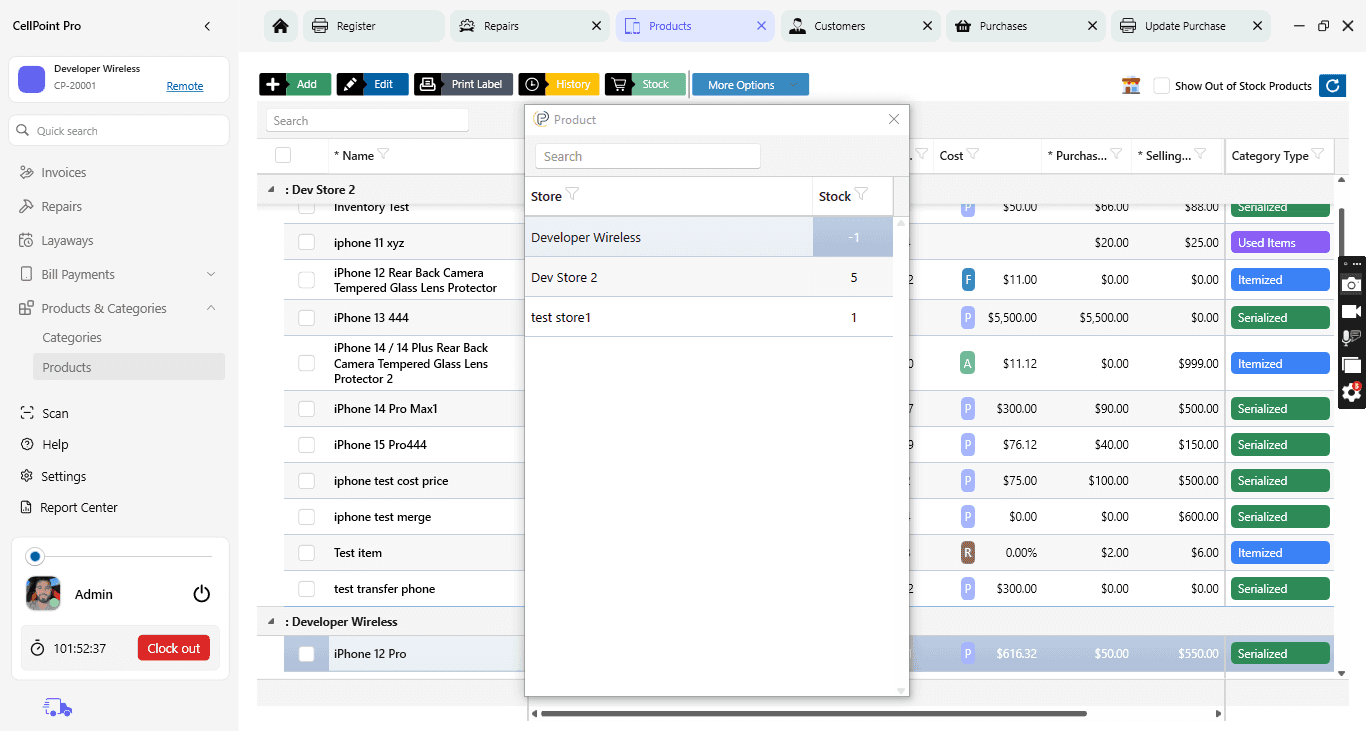
This completes the process of adding a new product and managing it through the product list.
Watch the Video Tutorial
On This Page
Overview
Steps & Instructions
Video Tutorial